Free Crochet Rectangle Bag Pattern for Stylish Accessory
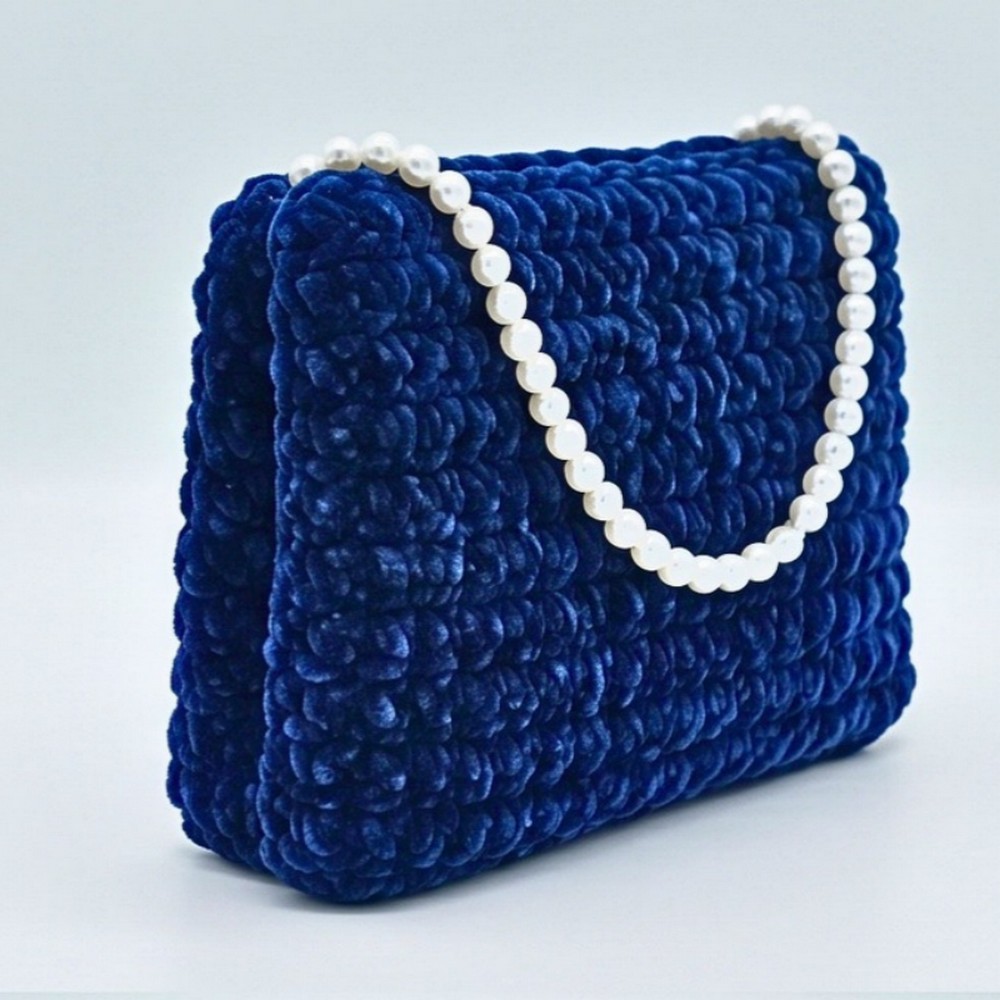
A crochet rectangle bag begins as one flat panel, but every fold reveals how the final shape takes form. This tutorial follows each stage in a clear sequence, showing how a simple rectangle becomes a roomy everyday bag with neatly integrated handles. Each step makes the construction more satisfying to follow, showing how a single crochet panel gradually turns into a finished bag.
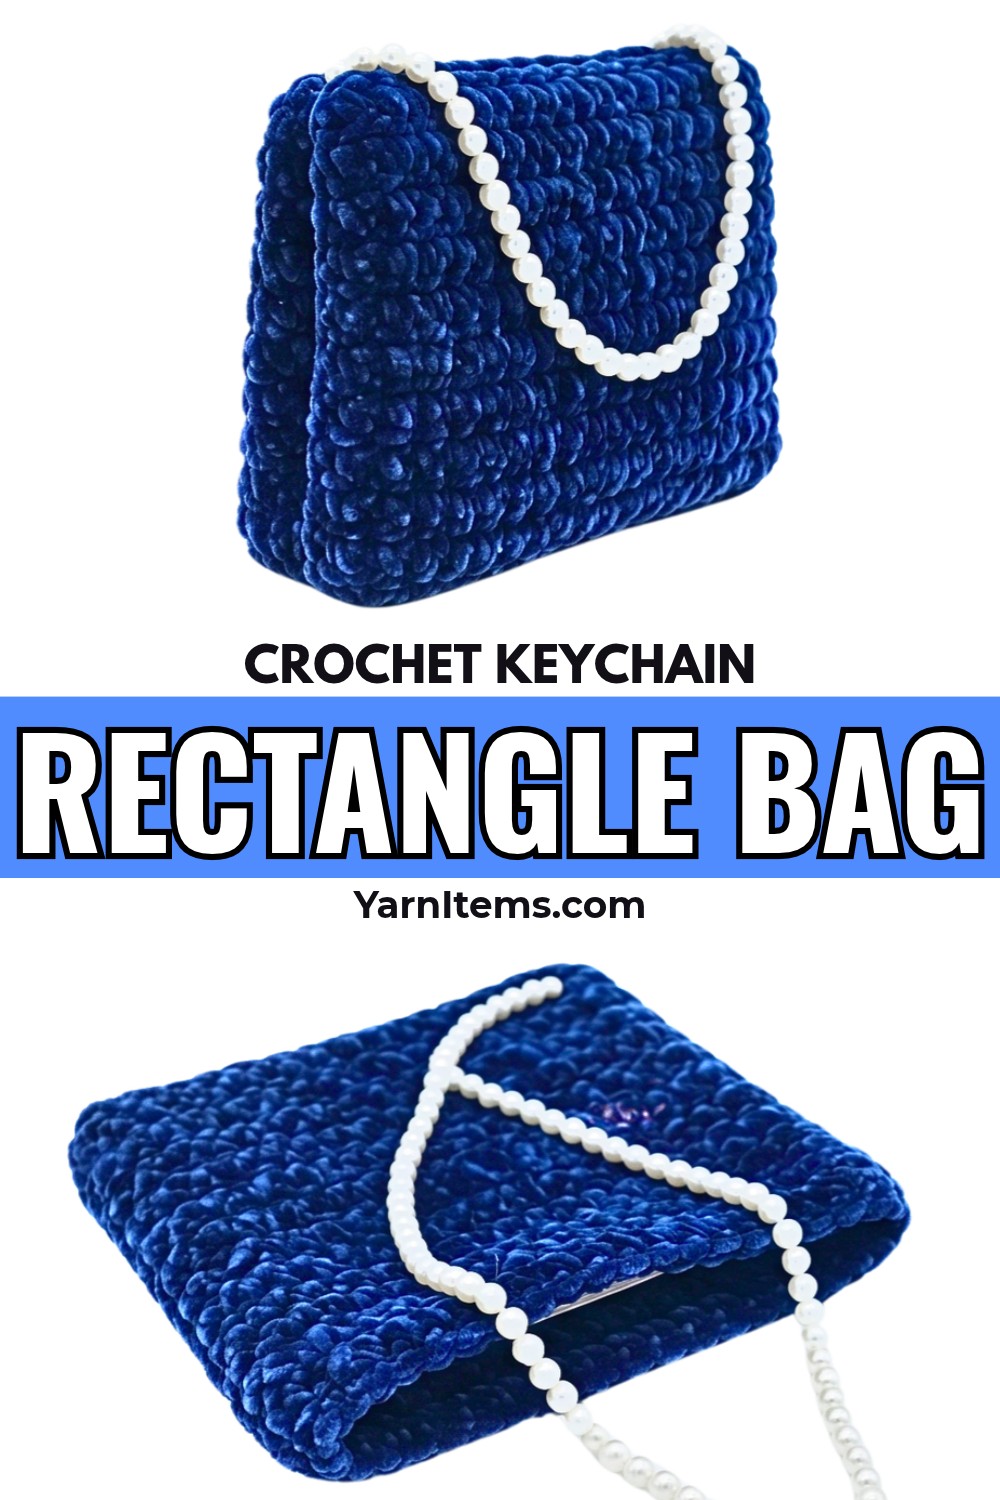
Half-double crochet stitches create a sturdy fabric that holds its shape without unnecessary bulk. You’ll see exactly when the panel is folded, how the handles are built into the design, and how each stage connects to the next. By the final round, the once-flat rectangle has become a durable bag with construction that’s easy to remember and enjoyable to crochet again.
Credit Felicia Andronic
Materials & Tools Needed
- Yarn: Two strands of 3-weight (light) yarn held together for thickness.
- Crochet Hook: 7 mm crochet hook.
- Scissors: For cutting yarn.
- Tapestry Needle: For weaving in ends and securing the bag.
Finished Size & Customization Ideas
- Finished Size:
- Length: 41 cm
- Width: 26 cm
- Customization Ideas:
- Adjust the foundation chain to make the bag longer or shorter.
- Change yarn colors for stripes or add embellishments like appliques, buttons, or tassels.
- Modify the handle length for either a crossbody or a shoulder bag.
Pattern Abbreviations & Terminology
- ch: Chain
- hdc: Half Double Crochet
- sc: Single Crochet
- st(s): Stitch(es)
- sl st: Slip Stitch
- yo: Yarn Over
(Note: Pattern uses US crochet terminology.)
Step-by-Step Detailed Crochet Instructions
Base Rectangle & Bag Body
Step 1: Create the Foundation Chain
- Hold two strands of yarn together for thickness.
- Make a slip knot and chain 41 (or adjust this number for desired bag length).
Step 2: Row 1 – Half Double Crochet
- Skip the first chain from the hook.
- Starting in the second chain from the hook, work 1 hdc in each chain across.
- You should have 40 hdc by the end of this row.
- Ch 1, turn your work.
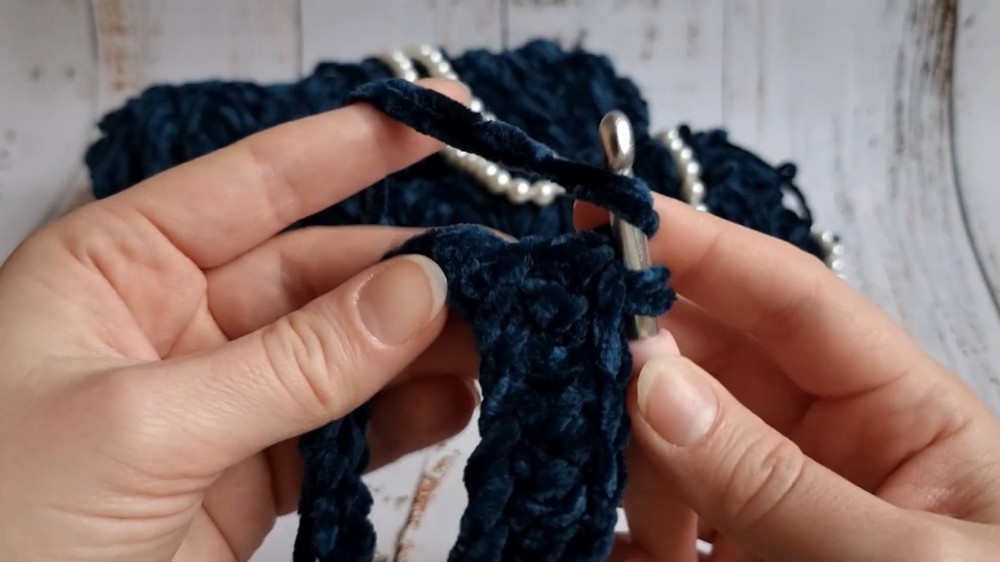
Step 3: Row 2 and Beyond
- Work 1 hdc in each stitch across, skipping the turning chain at the start of each new row.
- Repeat this process for 18 rows in total, ensuring the stitch count remains consistent (40 hdc per row).
- Pro Tip: Use a stitch marker to make counting easier, if necessary.
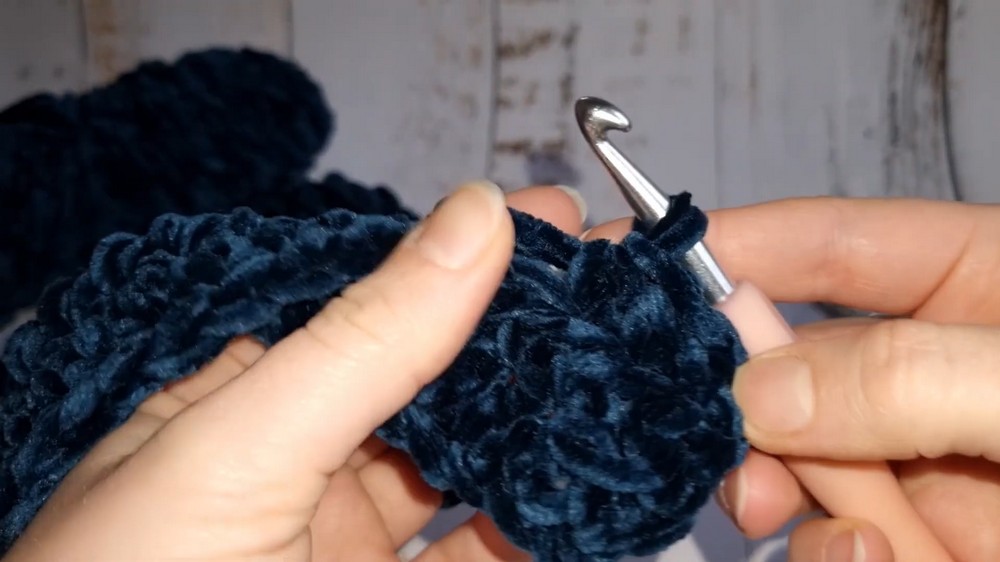
Adding the Handle
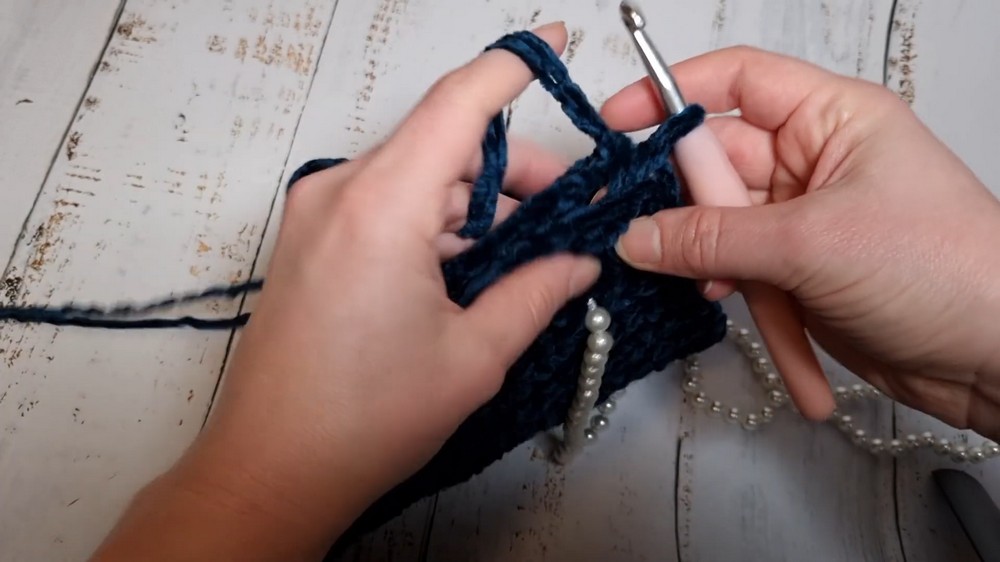
- After completing a few rows, it’s time to attach the handle.
- Start the row as usual:
- Work 3 hdc at the beginning of the row.
- Take your handle, position it where you want it to attach, and crochet it into the working row.
- Insert your hook through the handle AND the next st on the main body, then complete the hdc as normal.
- Continue attaching the handle until the middle section of the row.
- Once it’s securely attached on one side, repeat the same process on the opposite side of the bag, making sure both ends of the handle are aligned.
- After attaching the handle, continue crocheting hdc rows to finish the entire bag body.
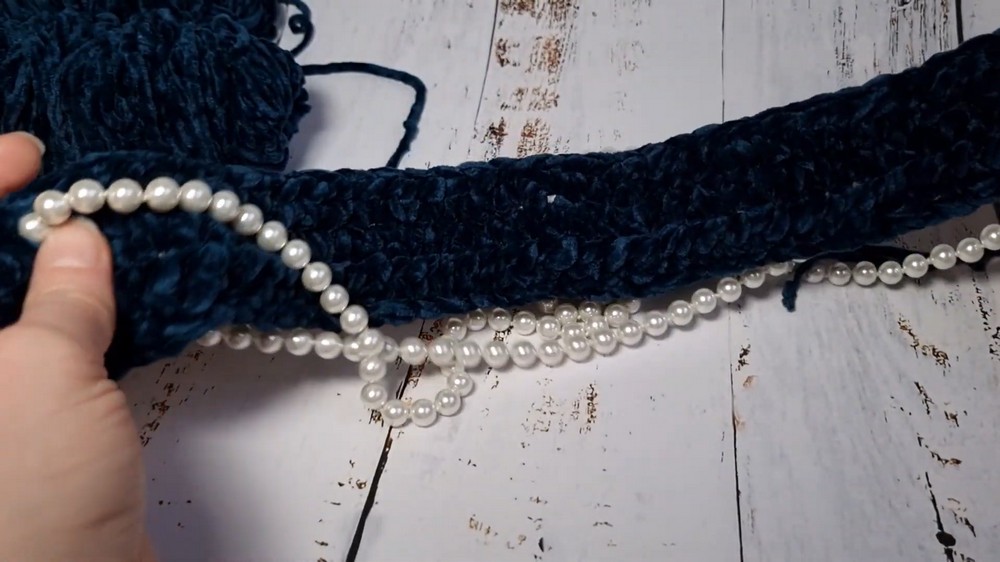
Assembling and Securing the Bag
Step 1: Fold the Rectangle
- Fold the rectangle in half with the right sides (front sides) facing outward.
- The handles should be neatly tucked inside, ensuring proper orientation.
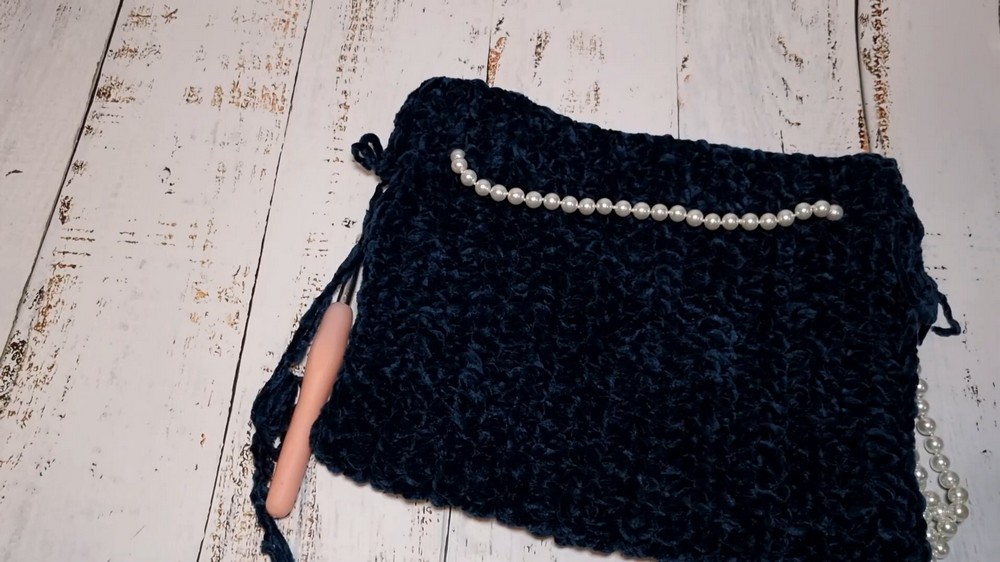
Step 2: Seaming the Sides
- Using a tapestry needle or crochet hook, seam the sides together using single crochet (sc) stitches.
- Work into the front loop of one side and the back loop of the other.
- This creates a tidy seam visible as a small ridge.
- Continue seaming all the way up each side until both sides are closed.
- When nearing the top of the bag (at the handle), ensure stitches are secure with additional reinforcement if needed.
Final Touches
- Weave in any remaining yarn tails using a tapestry needle.
- Trim excess yarn.
- Turn the bag inside out (if seams are visible).
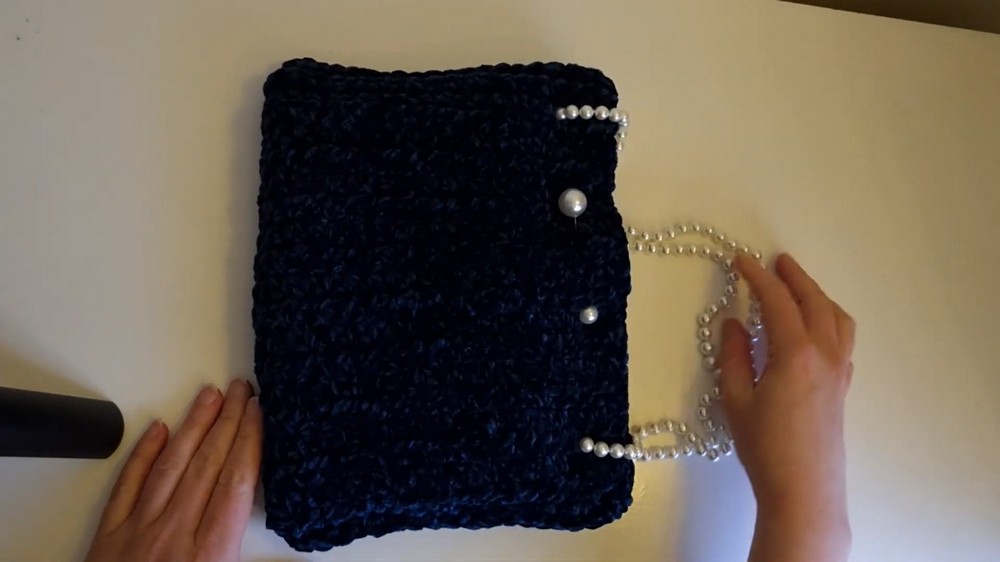
- Your rectangle bag is complete!
Pattern Notes
- Customization: For striping, change yarn colors when starting a new row.
- Seaming: Keep the stitch tension even while seaming the bag to maintain symmetry.
- Handle Length: The bag is designed as a versatile crossbody or shoulder bag. Adjust the length of the strap based on your preference.