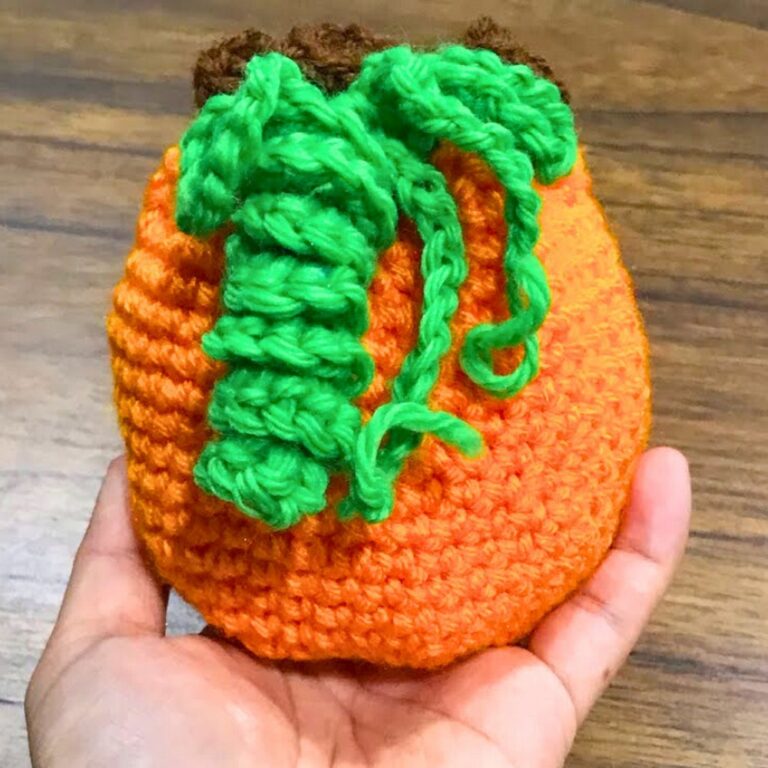
Crochet Bear Tea Coaster Pattern For Creative Table Setting
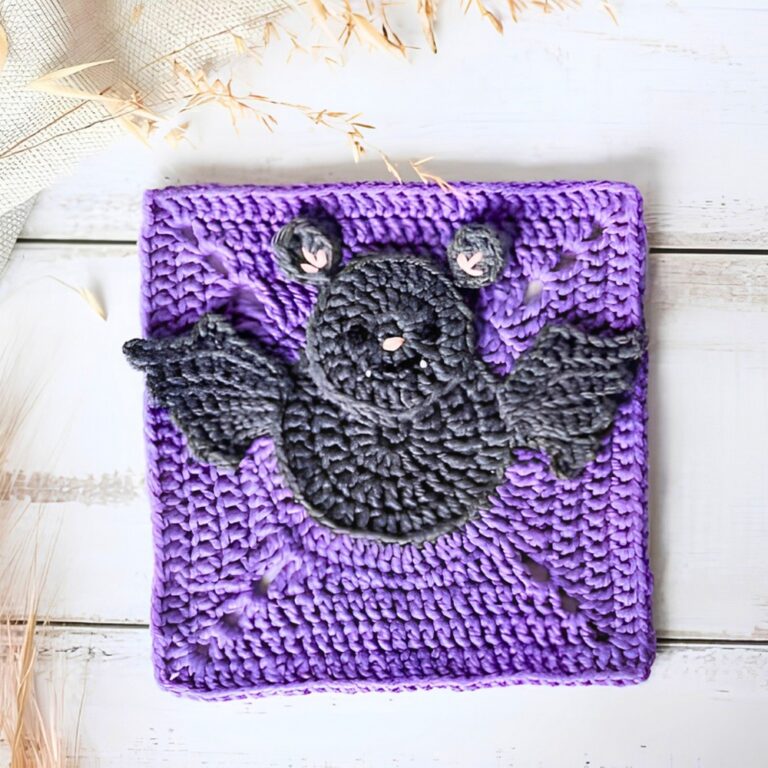
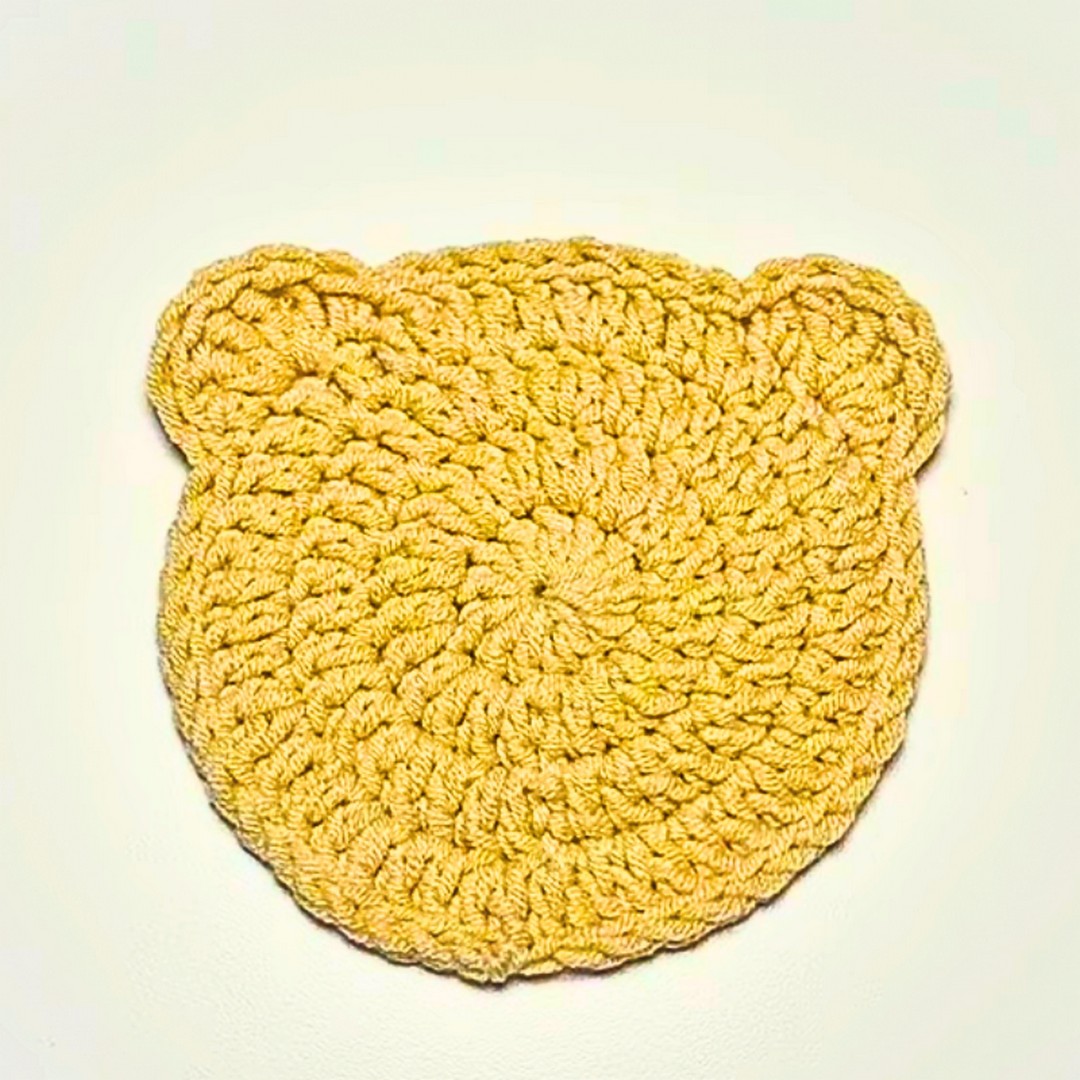
A crochet bear tea coaster brings a playful detail to everyday tea or coffee without taking over your table. Its round shape keeps mugs steady, while the tiny bear ears give it a cheerful look that instantly catches the eye.
Whether it rests beside your favorite cup or becomes part of a cozy table setting, this little crochet piece is both decorative and practical. The simple design makes it easy to appreciate before you even pick up your hook.

This crochet pattern begins with a neat circular base before adding the small details that transform it into an adorable bear. Each step is explained in a clear, beginner-friendly way, making it easy to follow at a comfortable pace.
As the shape comes together, you’ll see how a few simple stitches. Create a crochet bear tea coaster that’s both useful and full of personality. Keep reading to make a charming handmade piece that will brighten every tea break.
Credit huniebi 🌷
Materials & Tools Needed
- Yarn: Cotton or acrylic yarn in at least two colors (e.g., brown for the bear and black for facial details).
- Crochet hook: Corresponding to the yarn size (e.g., 4.0mm or 4.5mm recommended).
- Stitch markers (optional, but very helpful).
- Darning needle for weaving in ends.
- Scissors.
Finished Size & Customization Ideas
- The finished coaster is approximately 4 to 5 inches in diameter, depending on yarn weight and tension used.
- Customization Ideas:
- Use pastel colors for a soft look.
- Embroider a smile or add safety eyes for a playful touch.
- Use different yarn textures for added charm, like velvet or gradient-colored yarn.
Pattern Abbreviations & Terminology
- ch: Chain.
- dc: Double crochet.
- tr: Treble crochet.
- sl st: Slip stitch.
- st: Stitch.
- inc: Increase (two stitches in the same stitch).
- magic circle: A loop to begin crocheting in the round.
Note: The tutorial uses U.S. crochet terminology.
Step-by-Step Detailed Crochet Instructions
Base (Bear’s Face)
- Magic Circle Start:
- Hold the tail end of the yarn and wrap it around your index finger twice.
- Insert the hook through the loops, pull up a loop, and chain 1 to secure.
- Round 1:
- Chain 2 (this does NOT count as a stitch).
- Make 12 double crochets (dc) into the magic circle.
- Use a stitch marker to mark the first dc.
- Pull the loose end of the yarn to tighten the circle.
- Slip stitch (sl st) into the first dc to close the round.
(Stitch count: 12)
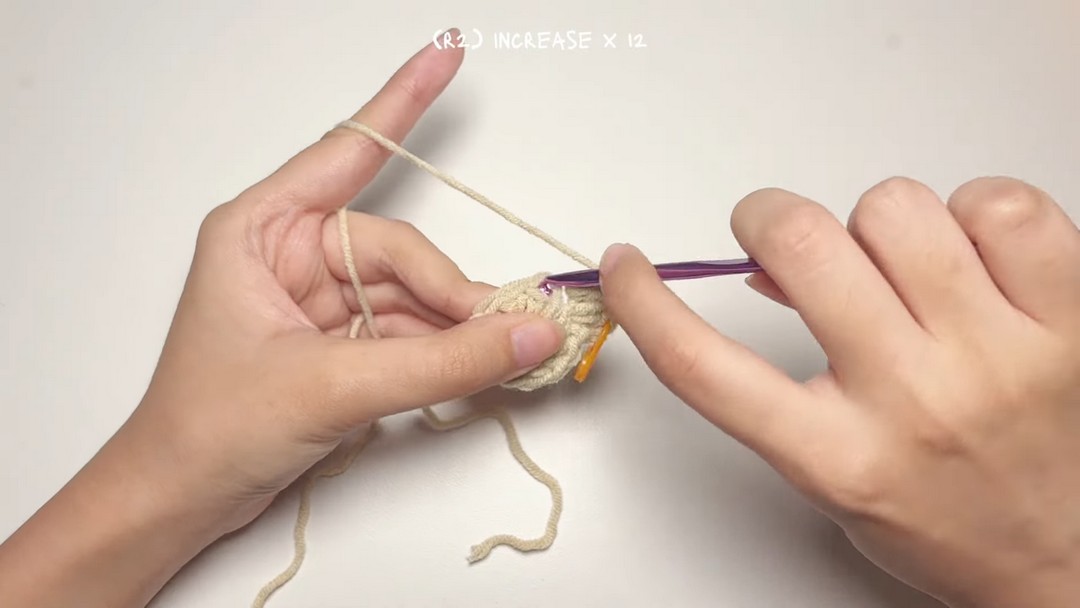
- Round 2:
- Chain 2 (does not count as a stitch).
- 2 dc in each stitch around (inc in every stitch).
- Mark the first stitch and repeat until the round is complete.
- Slip stitch into the first dc to close the round.
(Stitch count: 24)
- Round 3:
- Chain 2.
- Make 1 double crochet into the first stitch, mark it.
- In the next stitch, 2 dc (increase).
- Continue the pattern: 1 dc in one stitch, 2 dc in the next.
- Slip stitch into the first dc.
(Stitch count: 36)
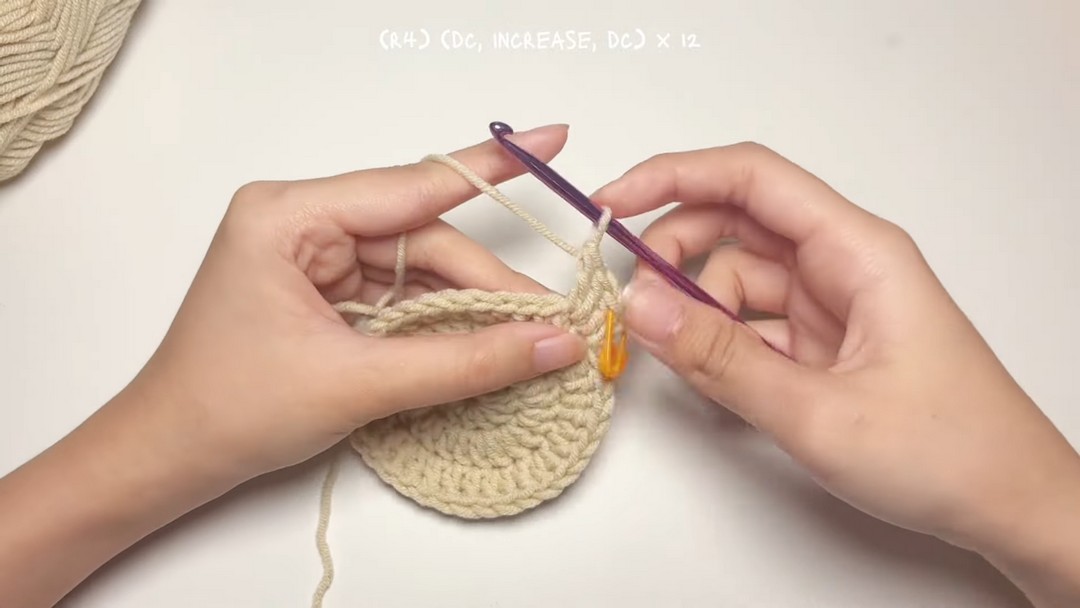
- Round 4:
- Chain 2.
- Make 1 double crochet into the first stitch, mark it.
- Make 1 dc in the next stitch.
- In the following stitch, 2 dc (increase).
- Continue the pattern: 1 dc, 1 dc, 2 dc in the next.
- Slip stitch to close the round.
(Stitch count: 48)
Bear Ears
- Slip stitch across the next 14 stitches to position your hook for the first ear.
- First Ear:
- In the next stitch:
- Work 1 dc.
- Work 4 treble crochets (tr) into the same stitch.
- Work 1 dc into the same stitch.
- Slip stitch into the following 10 stitches to position for the second ear.
- In the next stitch:
- Second Ear:
- Same as the first ear:
- Work 1 dc.
- Work 4 treble crochets (tr) into the next stitch.
- Work 1 dc into the same stitch.
- Slip stitch to the end.
- Same as the first ear:

Finishing Touches
- Fasten off:
- Pull your hook to extend the yarn, then cut with scissors.
- Tie off by pulling the yarn end through the loop, securing it.
- Weave in ends:
- Using the darning needle, weave the loose ends along the edges of your work.
- The magic circle start can be secured by threading the loose end back through the circle edge and tying it off.
Tips for a Perfect Bear Coaster
- Stitch Markers Are Key: Use them to mark the beginning of rounds, especially when working in the round, as it’s easy to lose track of your first stitch.
- Count Your Stitches: Each round’s correct stitch count is critical for a symmetrical coaster.
- Personalization: Add embroidered facial features (eyes, nose, mouth) once the coaster is complete.