Free Crochet Christmas Tree Bag Pattern for Holidays
A Simple Crochet Christmas Tree Bag is a cheerful project that turns festive yarn into something both decorative and useful.
Its tree-inspired shape makes it a fun choice for wrapping small gifts, hanging as holiday décor, or carrying little Christmas treats. With just a few stitches, you can create a handmade crochet piece that brings extra holiday spirit wherever it’s used.
Crochet Christmas Tree Bag
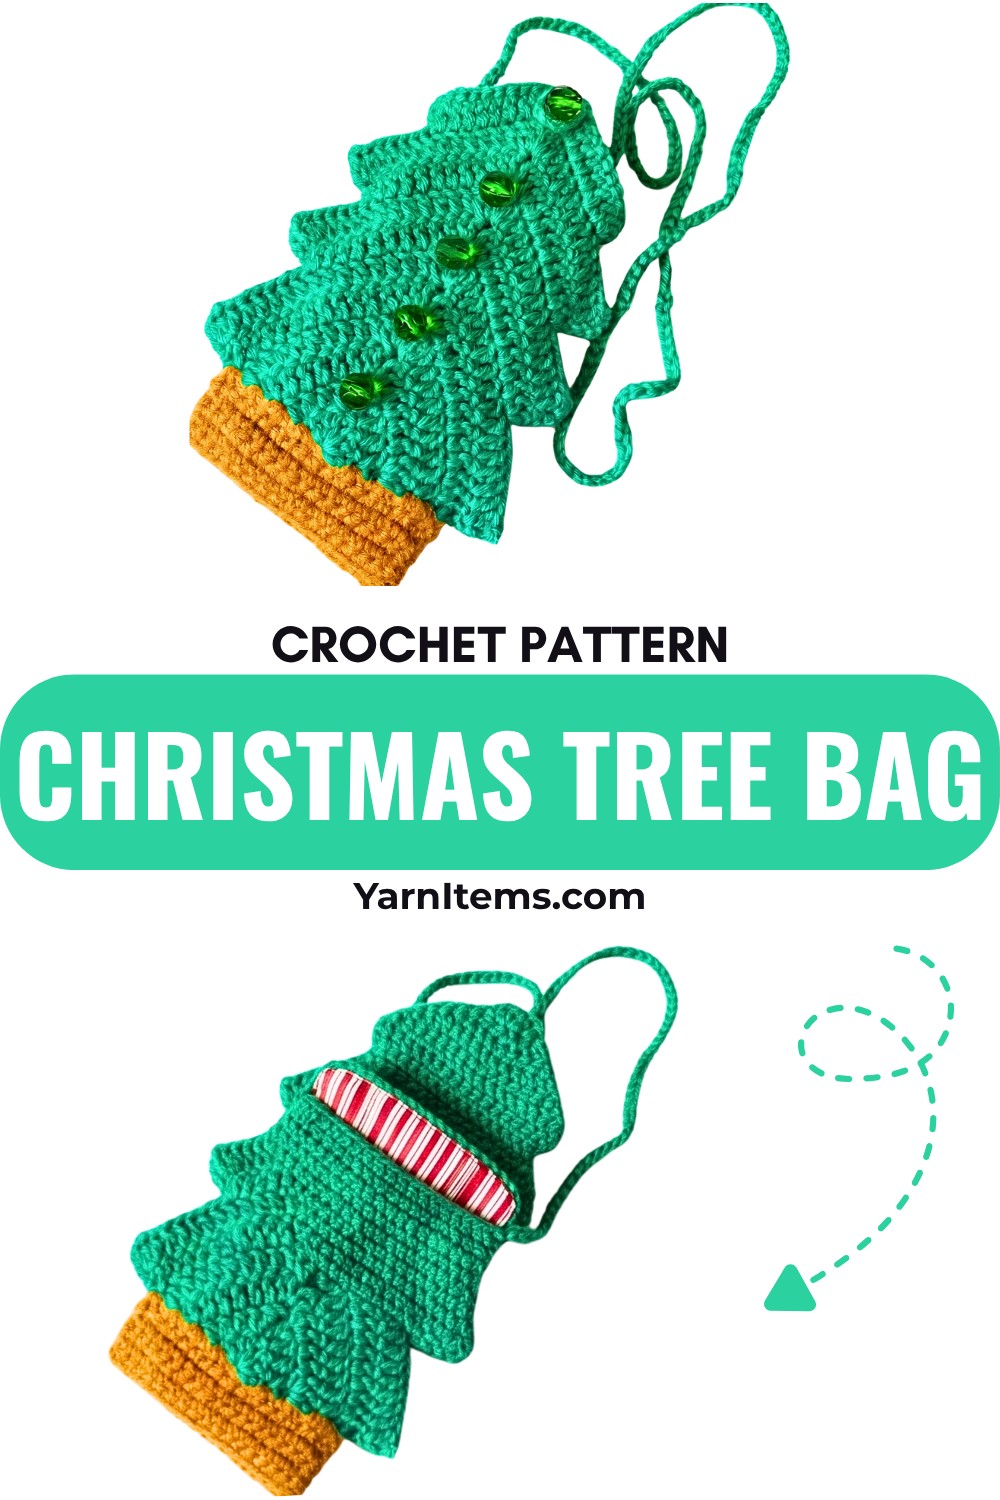
The crochet pattern is designed to be easy to follow while keeping the finished bag neat and eye-catching. It comes together quickly, making it a great piece for beginners or anyone looking for a fast seasonal make. Follow the crochet step-by-step instructions to see how each section is formed and transform simple materials into a charming Christmas bag you’ll enjoy making again.
Credit Crochet Mili
Materials & Tools
- Yarn: Medium weight (worsted) yarn in:
- Green – tree panels
- Brown – stump
- Hook: 4.0 mm
- Beads: Green glass beads (or any small decorative beads)
- Other tools: Scissors, yarn needle
Abbreviations
- MR – Magic Ring
- ch – Chain
- st(s) – Stitch(es)
- sl st – Slip stitch
- sc – Single crochet
- dc – Double crochet
- ch-sp – Chain space
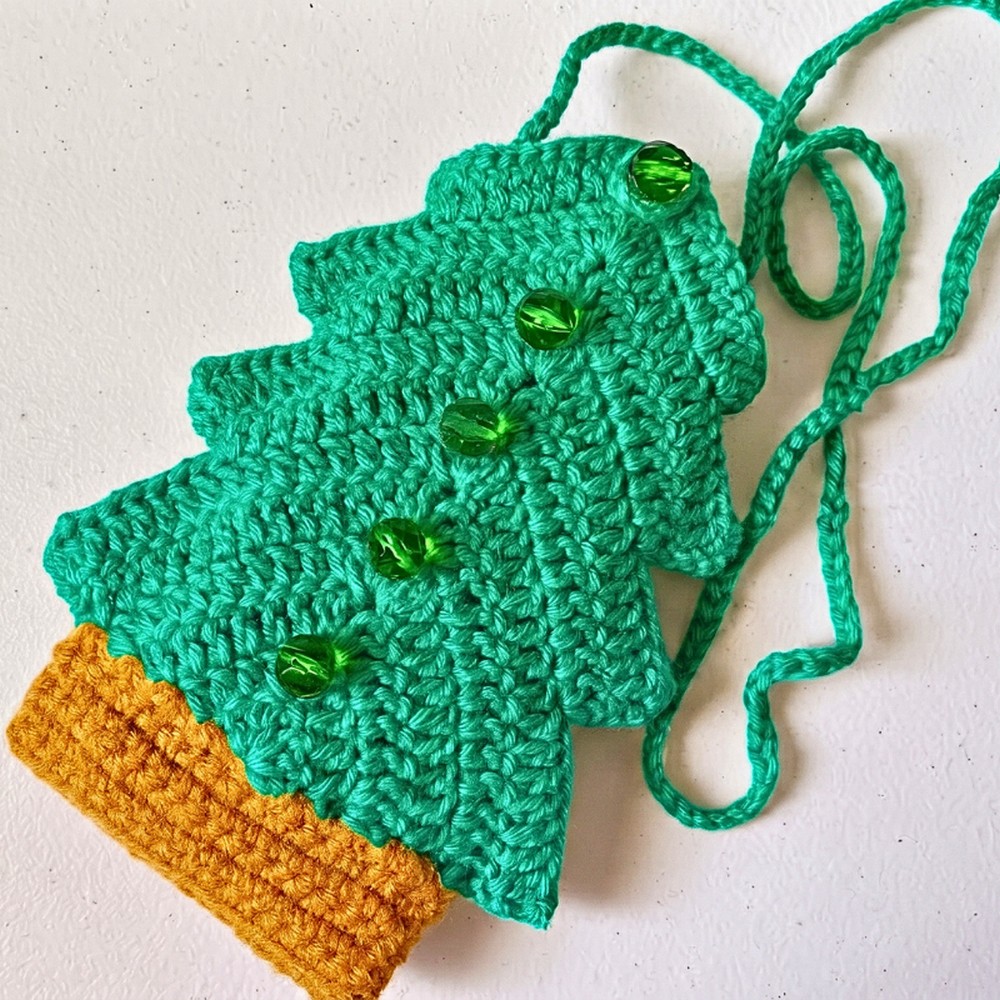
Part 1: Christmas Tree Panel (Make 2)
You will make two identical tree panels.
Row 1
- Make a magic ring.
- Ch 3 (counts as first dc).
- Work 6 dc into the ring. (7 dc total: 1 from ch-3 + 6 dc)
- Pull ring tight.
- Ch 3, turn.
(7 sts)
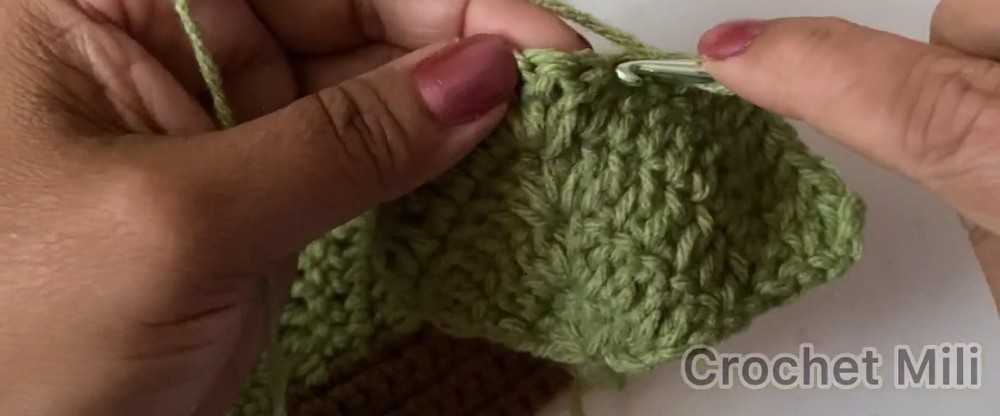
Row 2
- 1 dc into the same st (at the base of the ch 3).
- 1 dc into each of the next 2 sts.
- In the next (center) st: work [2 dc, ch 1, 2 dc].
- 1 dc into each of the next 2 sts.
- 2 dc into the last st.
- Ch 3, turn.
Row 3
- 1 dc into the same st.
- 1 dc into each of the next 5 sts.
- In the ch-1 sp: work [2 dc, ch 1, 2 dc].
- 1 dc into each of the next 5 sts.
- 2 dc into the last st.
- Ch 3, turn.
Row 4
- 1 dc into the same st.
- 1 dc into each of the next 8 sts.
- In the ch-1 sp: work [2 dc, ch 1, 2 dc].
- 1 dc into each of the next 8 sts.
- 2 dc into the last st.
- Ch 3, turn.
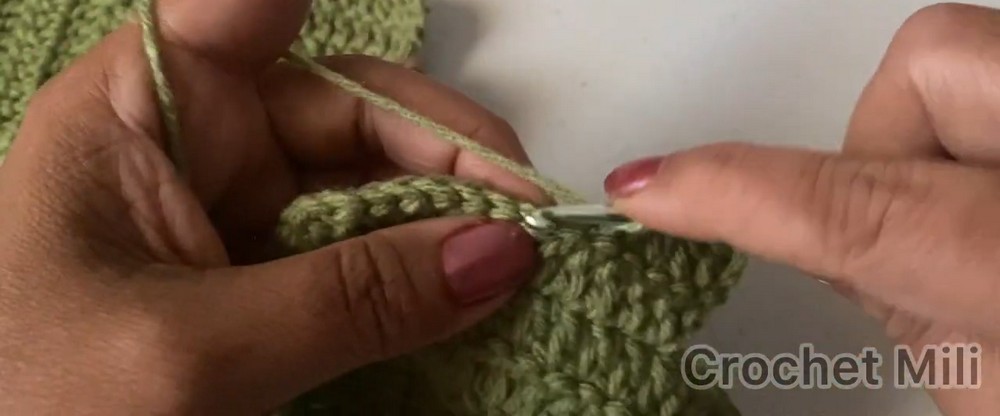
Row 5
- 1 dc into the same st.
- 1 dc into each of the next 11 sts.
- In the ch-1 sp: work [2 dc, ch 1, 2 dc].
- 1 dc into each of the next 11 sts.
- 2 dc into the last st.
- Ch 3, turn.
Row 6
- 1 dc into the same st.
- 1 dc into each of the next 14 sts.
- In the ch-1 sp: work [2 dc, ch 1, 2 dc].
- 1 dc into each of the next 14 sts.
- 2 dc into the last st.
- Ch 1, turn.
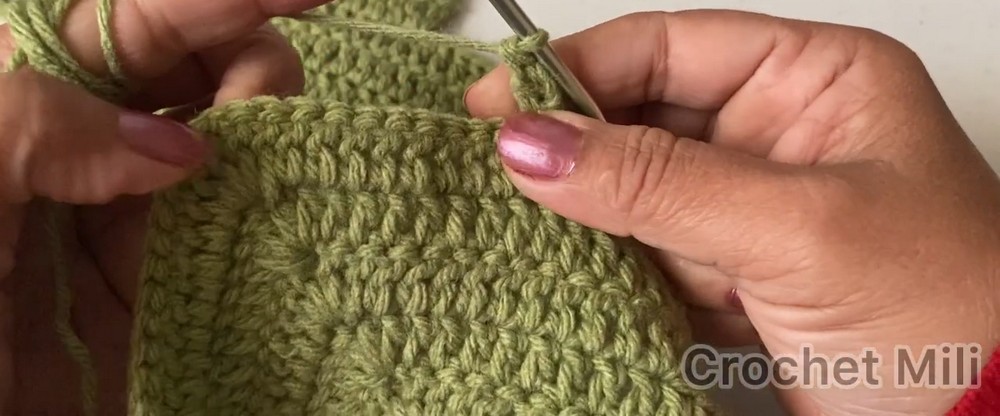
Row 7 – First Tier Shaping
- Skip the first st.
- Sl st in next 8 sts.
- Ch 3 (counts as 1 dc), 1 dc into the same st.
- 1 dc into each of the next 9 sts.
- In the ch-1 sp: work [2 dc, ch 1, 2 dc].
- 1 dc into each of the next 9 sts.
- 2 dc into the next st.
- Leave remaining sts unworked.
- Ch 3, turn.
Row 8
- 1 dc into the same st.
- 1 dc into each of the next 12 sts.
- In the ch-1 sp: work [2 dc, ch 1, 2 dc].
- 1 dc into each of the next 12 sts.
- 2 dc into the last st.
- Ch 1, turn.
Row 9 – Second Tier Shaping
- Skip the first st.
- Sl st in next 7 sts.
- Ch 3, 1 dc into the same st.
- 1 dc into each of the next 8 sts.
- In the ch-1 sp: work [2 dc, ch 1, 2 dc].
- 1 dc into each of the next 8 sts.
- 2 dc into the next st.
- Leave remaining sts unworked.
- Ch 3, turn.
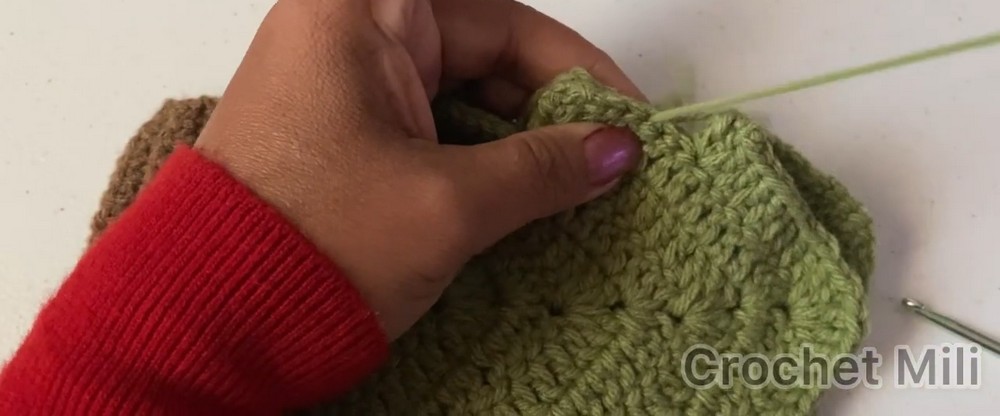
Row 10
- 1 dc into the same st.
- 1 dc into each of the next 11 sts.
- In the ch-1 sp: work [2 dc, ch 1, 2 dc].
- 1 dc into each of the next 11 sts.
- 2 dc into the last st.
- Ch 1, turn.
Row 11 – Top Tier
- Skip the first st.
- Sl st in next 8 sts.
- Ch 3, 1 dc into the same st.
- 1 dc into each of the next 7 sts.
- In the ch-1 sp: work [2 dc, ch 1, 2 dc].
- 1 dc into each of the next 7 sts.
- 2 dc into the next st.
- Fasten off and cut yarn.
Repeat all of Part 1 to make two identical tree panels.
Part 2: The Tree Stump
You now attach brown yarn to the flat bottom edge of the widest tier (bottom) of the tree.
Row 1
- Join brown yarn to the chosen edge st.
- Work 1 sc in each of the next 18 sts along the base.
- Ch 1, turn.
(18 sts)
Rows 2–6
- 1 sc in each st across (18 sc).
- Ch 1, turn at the end of Rows 2–5.
- At the end of Row 6, fasten off and cut the yarn.
Repeat for the second panel so each tree has a stump.
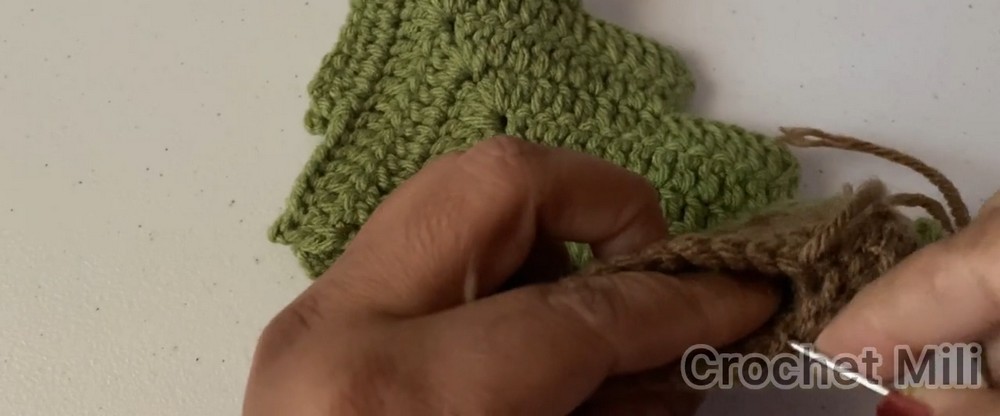
Part 3: Assembly, Strap & Finishing
Joining the Bag
- Place the two finished tree panels right sides facing out, aligned.
- With green yarn and a yarn needle, sew around the sides and stump, matching stitches.
- Sew through back loops only (BLO) to create a neat visible ridge.
- Leave the top tier open – this is the bag opening.
Beads / Ornaments
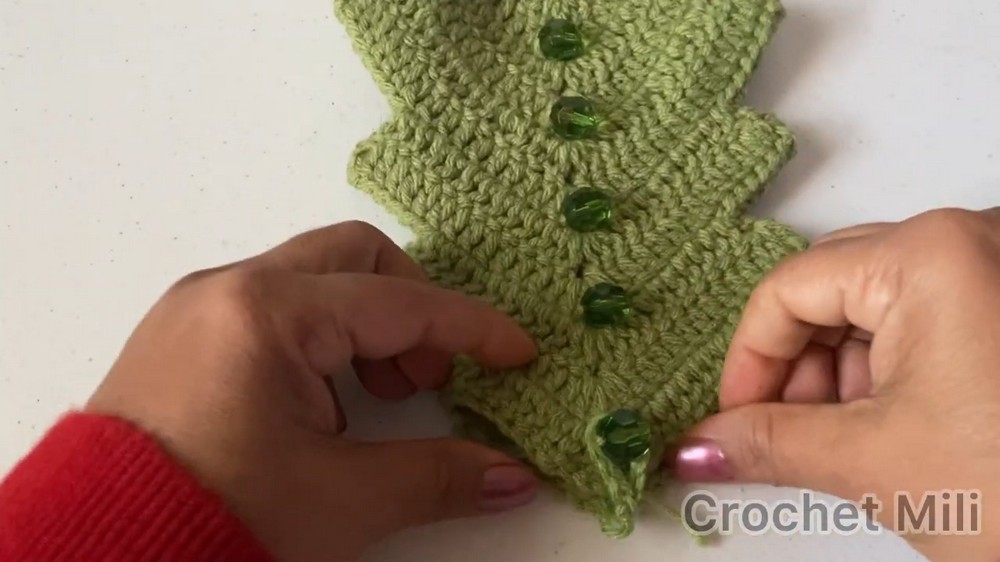
- On the front panel, sew beads down the vertical center line to resemble tree ornaments/buttons.
- Ensure the top bead lines up with where your closure loop will be.
Button Loop Closure
- Attach green yarn near the top inside edge of the back panel, aligned under the top bead.
- Ch 12 (or enough chains to loop comfortably over the bead).
- Sl st into the same st where you joined to form a loop.
- Fasten off and weave in the ends.
- Test the loop over the top bead and adjust chain length if needed.
Strap
- Make a slip knot.
- Ch 175 (or more/less depending on desired strap length).
- Cut yarn leaving a tail for sewing.
- Using a yarn needle, sew each end of the strap securely to the inside corners of the bag’s opening (top left and top right).
- Weave in all remaining loose ends.