Crochet Snowflake Coaster Pattern For Holiday Decor
Have you ever seen a snowflake that doesn’t melt? This crochet snowflake coaster is both beautiful and functional, perfect for any occasion!
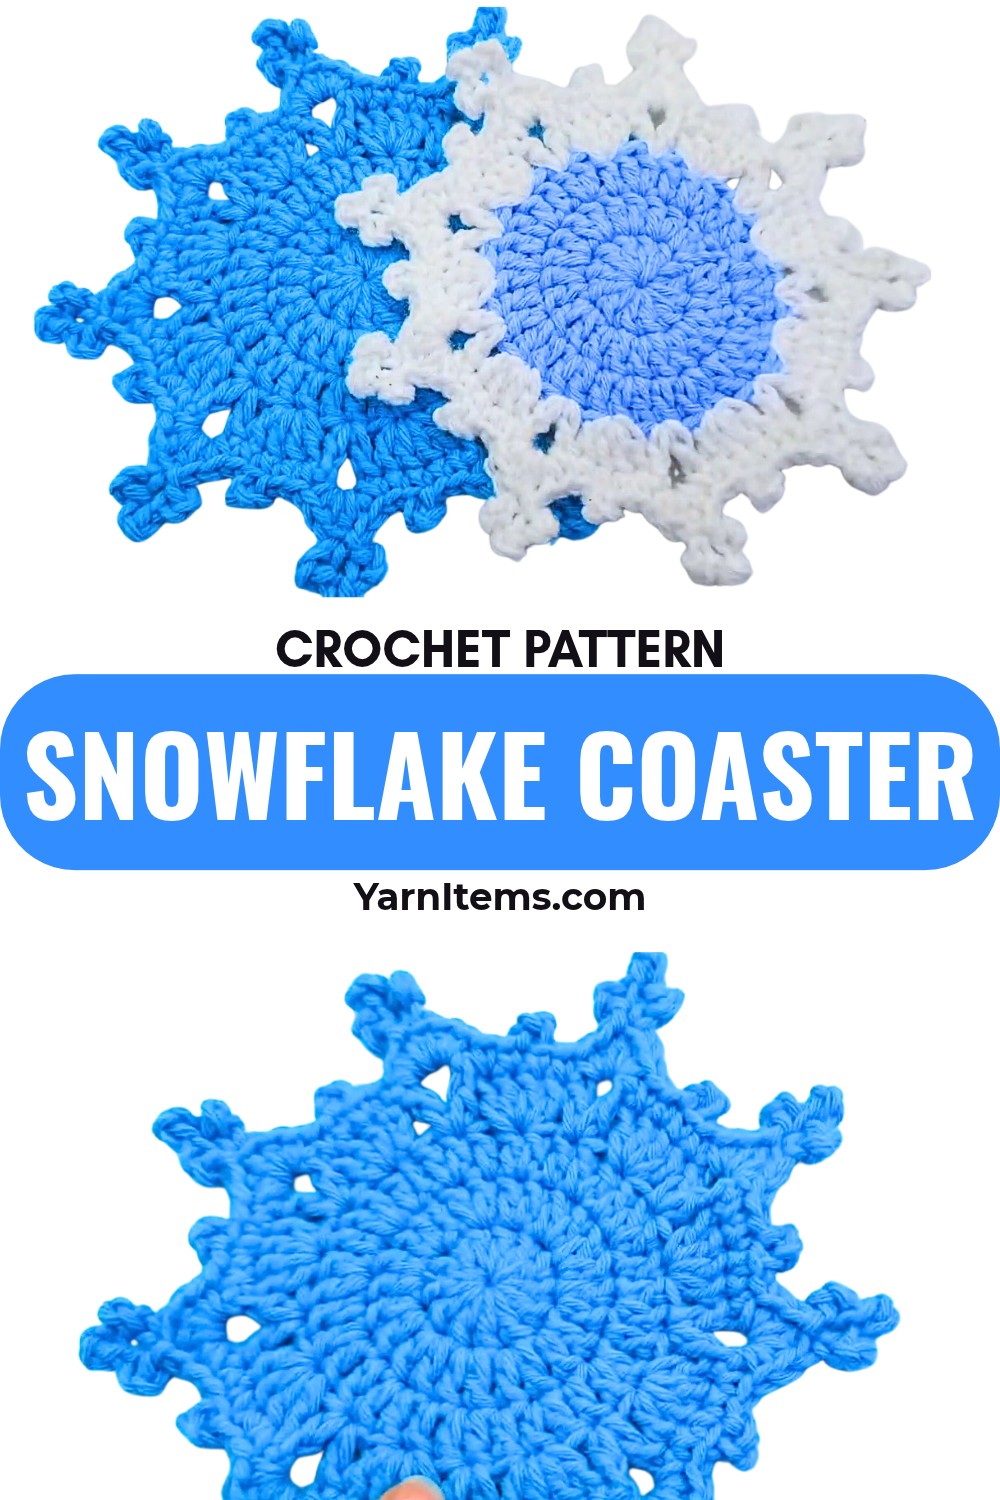
There is something special about handmade snowflakes that never lose their beauty, and this crochet snowflake coaster captures that feeling perfectly. Beginning with a smooth circular base and gradually unfolding into delicate pointed edges, every round adds a little more charm while creating a crochet coaster that’s as practical as it is decorative.
The pattern grows at a comfortable pace, making each round enjoyable to complete without feeling complicated. Simple stitches, airy chain spaces, and decorative picots work together to create a detailed crochet design that’s perfect for holiday tables, thoughtful handmade gifts, or adding a subtle winter touch to your home all year long.
Everything You’ll Need Before You Begin
- Yarn: Acrylic yarn, DK (Light Worsted / Category 3)
- Crochet Hook: 3.0 mm hook
- Tapestry/Yarn Needle: For weaving in ends
- Scissors: To cut yarn
Finished Coaster Dimensions
- Finished Size: Approx. 4.5 inches (11.5 cm) in diameter across from point to point.
Creative Ways to Make It Your Own
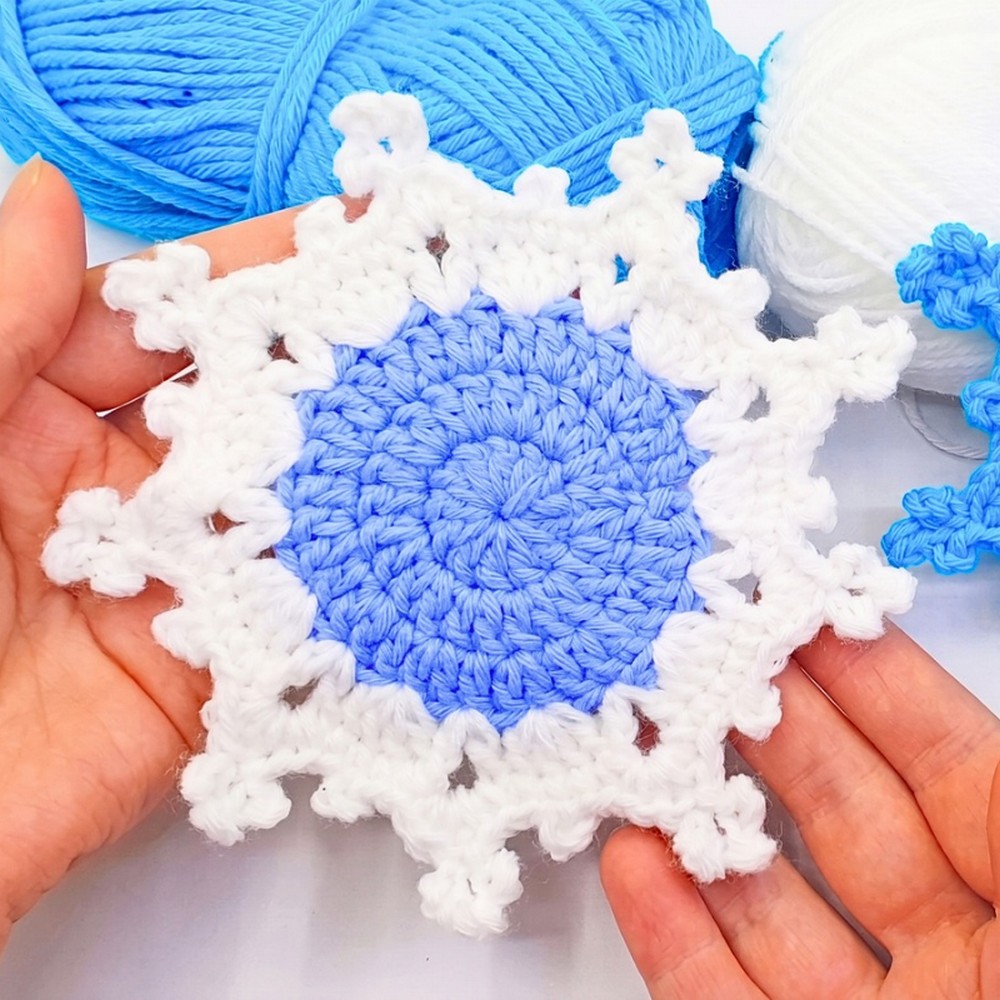
- Two-Tone Coaster:
Work Rounds 1–3 in a main color (e.g., light blue) and switch to white for Rounds 4 & 5 for a frosty winter look. - Ornament Variation:
Add a chain loop (15–20 chains) at the top of one of the main points during the final round to hang as a Christmas tree ornament.
Crochet Terms Used in This Pattern
(US Terms)
- MR: Magic Circle / Magic Ring
- st(s): Stitch(es)
- ch: Chain
- sl st: Slip stitch
- sc: Single crochet
- hdc: Half double crochet
- dc: Double crochet
- picot: Chain 3, sl st into the 1st chain made
- ch-space: Chain space
Read These Tips Before You Start
- Round 1 begins with a ch 2, which does not count as a stitch.
- Round 3 begins with a ch 3, which does count as 1 double crochet.
- Every round is joined with a slip stitch into the top of the first stitch (not the chain unless specified).
Tips for Perfect Snowflake Points
To ensure your snowflake coaster turns out beautifully, follow these helpful tips:
- Maintain Even Tension
- Keep your stitches uniform and consistent to ensure each snowflake point appears balanced and symmetrical.
- Count Your Stitches
- Double-check your stitch counts after every round. This prevents any design shifts and ensures your pattern stays accurate.
- Weave in Ends
- Once you’ve completed your coaster, securely weave in all yarn ends. This step promotes a clean, professional finish.
- Block for Final Touches
- Blocking is key! It helps open up the picot details, ensures crisp and well-defined points, and gives your snowflake coaster a polished, elegant look.
Let’s Crochet It Round by Round
1. Round 1: Magic Circle Foundation (12 sts)
- Make a magic circle, ch 2.
- Work 12 dc into the magic circle.
- Pull the tail tight to close the center hole.
- Join: Sl st into the first dc made. (12 dc)

2. Round 2: Solid Circle Expansion (24 sts)
- Ch 2 (does not count as a stitch).
- Make 2 dc in the same stitch where you joined.
- Work 2 dc in each stitch around.
- Join: Sl st into the first dc. (24 dc)

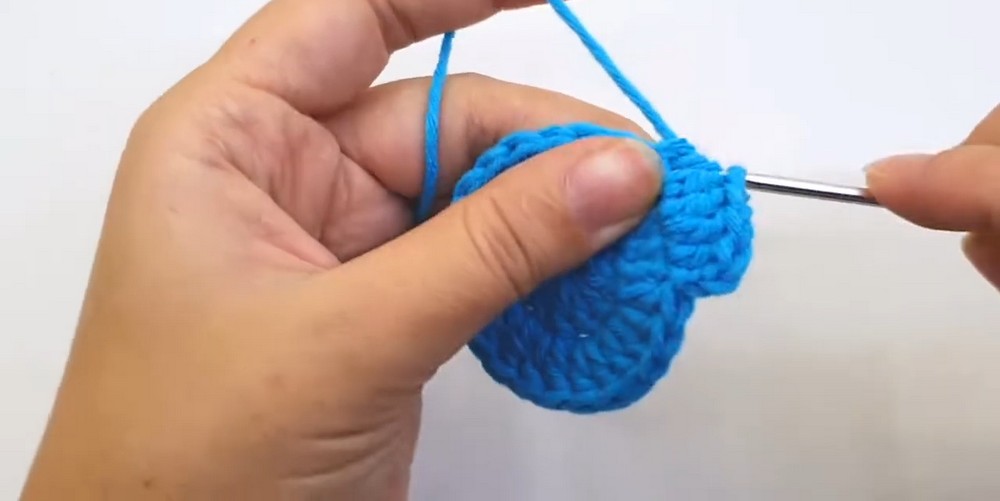
3. Round 3: Outer Wheel & V-Stitches (36 sts)
- Ch 3 (counts as 1 dc).
- Work 3 dc in the same stitch.
- Skip 1 stitch, then in the next stitch work: (1 dc, ch 3, 1 dc) to create a V-space.
- Repeat the sequence [Skip 1 st, 4 dc in next st, skip 1 st, (1 dc, ch 3, 1 dc) in next st] a total of 8 times around.
- Join: Sl st in the first dc (or 3rd ch of initial ch-3).
4. Round 4: Inner Edging & Picot Shells (Base of snowflake points)
- Ch 1, work 1 sc in the same stitch.
- In the next stitch, work 1 sc + ch-3 picot (ch 3, sl st into 1st ch).
- Work 1 sc in each of the next 2 sts.
- In the ch-3 space, work: 1 sc, 1 hdc, 1 dc.
- Triple Picot Tip: Work 3 picots in sequence – (ch 3, sl st in 1st ch) 3 times total. Sl st back into the top of the dc to anchor the crown.
- In the same ch-3 space, work: 1 hdc, 1 sc.
- Repeat this entire edging around all 8 sections.

Finish with a Clean, Polished Look
- After completing the final repetition, sl st to the initial sc.
- Fasten off and cut the yarn, leaving a 4-inch tail.
- Using a tapestry needle, weave in all ends securely on the back side.
- Optional: Block with steam or wet blocking to crisp up the snowflake points.
Your snowflake coaster can be such a versatile and delightful addition to your home! Here’s how you can put it to good use:

Creative Ways to Use Your Snowflake Coaster
- Underneath Cups and Mugs
- Protect your tables and countertops while showcasing seasonal charm. Perfect for coffee, tea, hot cocoa, or any cozy winter beverage.
- Christmas Table Settings
- Elevate your holiday dining experience by incorporating the coaster into your table decor. It’s an elegant way to complement festive plates and silverware.
- Winter Centerpieces
- Use the snowflake coaster as part of a seasonal centerpiece. Combine it with candles, greenery, or other winter accessories for a cohesive decorative display.
- Christmas Tree Ornament
- Add a small hanging loop to the final round, and voilà—you have a one-of-a-kind tree ornament that’s both functional and festive.
- Handmade Gifts
- Include the coaster in a holiday-themed gift set or give it individually as a thoughtful, handmade present for loved ones, teachers, or neighbors.

Video Tutorial