No-Sew Crochet Baby Chick Tutorial for Beginners
Looking for a quick handmade chick? This beginner-friendly crochet tutorial guides you through no-sew wings, simple shaping, stuffing, and sweet facial details.
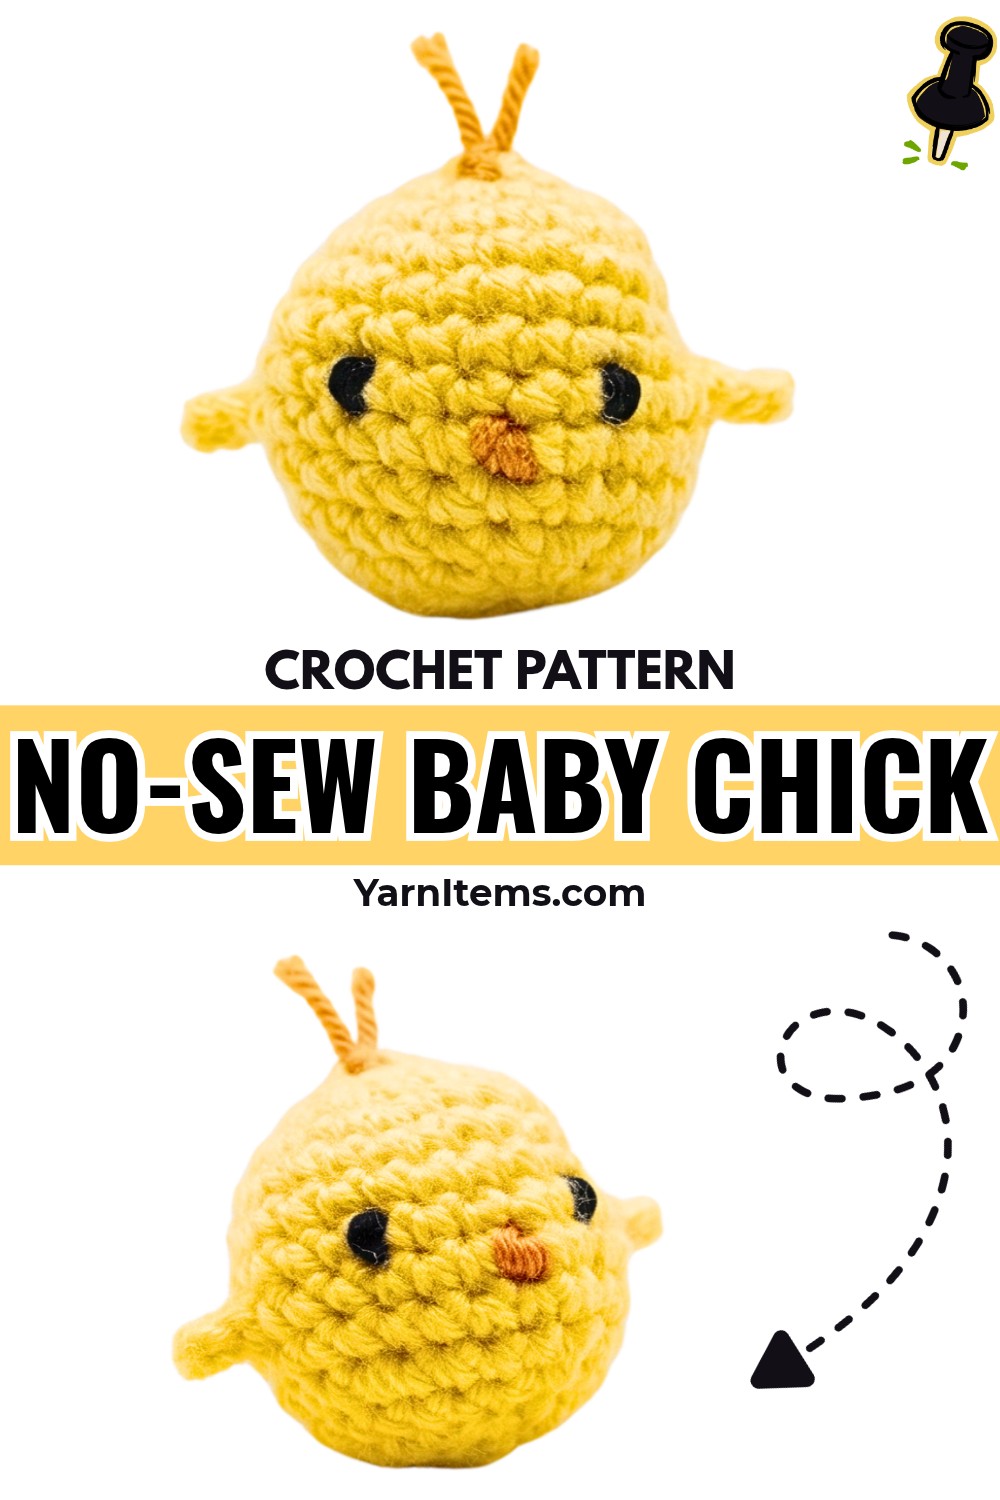
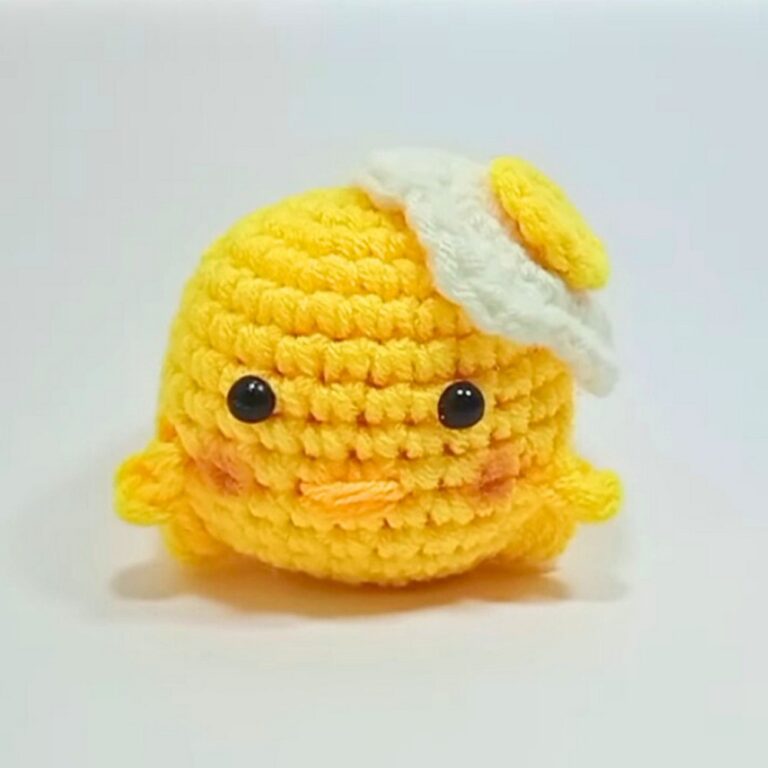
Small amigurumi can seem tricky when separate pieces have to be made and sewn together, especially for beginners. This crochet baby chick keeps crochet simple by building its wings into the body as you work.
Inside this crochet tutorial, you’ll learn how to shape the chick, create integrated wings without sewing, continue through the body, and finish it with stuffing and facial details. Let’s get started.
Credit Maddy Marie
Materials & Tools
- Yarn: Yellow worsted-weight or DK yarn for the main body, plus a small amount of orange or yellow yarn for the beak and feet, if applicable.
- Crochet Hook: Use a hook suited to your yarn, such as a 3.5 mm to 4.0 mm hook.
- Yarn Needle: For finishing and hiding the yarn tail.
- Stitch Markers: Helpful for keeping track of rounds.
- Fiberfill Stuffing: For giving the chick its rounded shape.
- Safety Eyes: Or use black embroidery floss to stitch the eyes.
Finished Size & Customization
This chick is approximately palm-sized and can be made in under an hour.
For a spring-inspired version, replace yellow with soft pastel shades. White or brown yarn can give the chick a tiny-hen appearance. For a larger, softer toy, try plush or chenille yarn.
Pattern Abbreviations & Terminology
- st(s): Stitch(es)
- ch: Chain
- sl st: Slip stitch
- sc: Single crochet
- FLO: Front loop only
- BLO: Back loop only
- […]: Repeat instructions for the specified rounds

Step-by-Step Crochet Instructions
Step 1: Build the Chick’s Main Body
Begin by working Rounds 1–6 in continuous spirals using standard beginner amigurumi increases and round increments.
These first rounds establish the rounded head and upper body, so keep your stitches consistent as you move around. Using a stitch marker can help you identify the beginning of each continuous round.
Once these rounds are complete, the chick should already be developing its compact rounded shape. The next round is where the wings become part of the body rather than separate pieces.

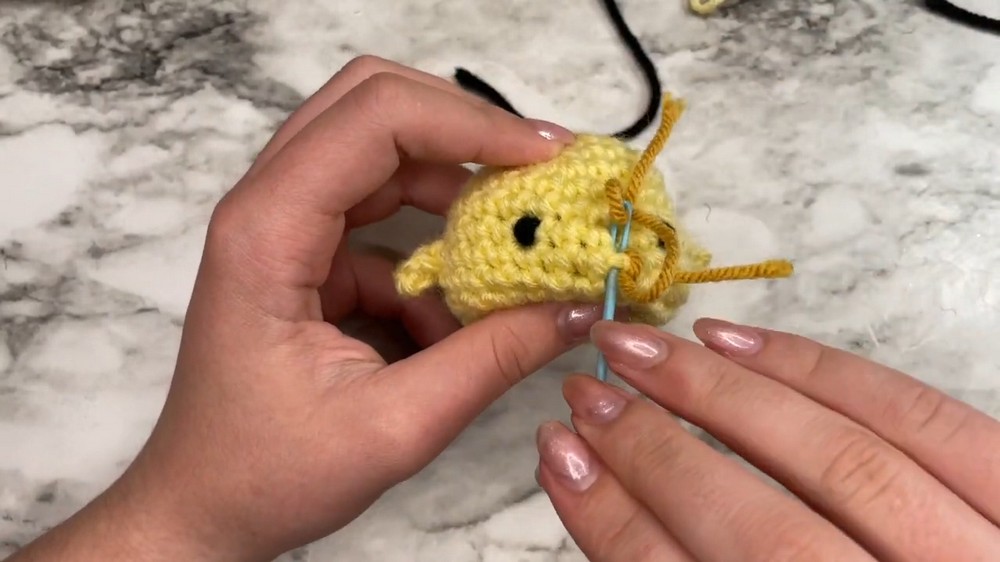
Step 2: Create the First Integrated Wing
For Round 7, work 6 single crochets into the first 6 stitches.
On the 7th stitch, make a slip stitch through the front loop only (FLO). This front loop is important because it provides the working point for the first wing.
Chain 2. Then make the special wing stitch by yarning over twice, inserting the hook into that same front loop, and pulling up a loop so there are 4 loops on the hook.
Yarn over and pull through 2 loops. Then yarn over again and pull through the final 3 loops.
Chain 2 once more, then slip stitch into the same front loop to finish the first wing ring.
Helpful check: The wing should form a small raised loop attached directly to the body. You are creating it within the round, so there is no separate wing piece to sew on later.
Step 3: Work Across the Body Before the Second Wing
After completing the first wing, work 1 single crochet into each of the next 10 stitches.
Keep these stitches worked normally so the body section between the wings stays even.
This middle section gives the chick enough space between its two wings and keeps the second wing positioned opposite the first.
Step 4: Form the Second Wing
Repeat the same wing sequence for the second wing.
Work a slip stitch in the FLO, chain 2, and make the custom wing stitch using the same front loop. Chain 2 again, then slip stitch into that same front loop to complete the second wing ring.
The second wing should mirror the first one as closely as possible.
Result check: At this point, two small integrated wing shapes should be visible on opposite sides of the chick’s body. They should be attached directly to Round 7 rather than hanging as separate pieces.
Step 5: Complete Round 7
Once the second wing is finished, work 6 single crochets into the remaining 6 stitches.
This closes out the wing round and brings you back into the regular circular body construction.
Take a moment to check that both wings remain clearly positioned on the sides of the chick before moving forward. If their placement looks balanced, continue with the next round.

Step 6: Work Around the Wings Using the Back Loops
From Round 8 onward, pay attention to the unused loops created during Round 7.
When working past the wing sections, place your single crochet stitches into the back loops only (BLO) that were left behind from Round 7.
Continue around normally to shape the lower portion of the body.
Why this matters: The unused back loops provide the working points needed to continue the body after the wings have been formed through the front loops. Keeping these loops clear helps the body transition smoothly around the integrated wings.
Step 7: Shape and Stuff the Finished Body
Continue the remaining body work according to the pattern until the chick is ready for its bottom to be closed.
Before closing the base, firmly fill the body with fiberfill stuffing.
Add stuffing gradually rather than placing everything in at once. This makes it easier to fill the rounded areas evenly and maintain the chick’s compact shape.
Result check: The finished body should feel firm and rounded without becoming so tightly stuffed that the stitches spread apart.

Step 8: Add the Eyes and Beak
Once the body is shaped, add the facial details.
Attach safety eyes between the upper rounds, positioning them evenly on the face.
If preferred, use black yarn or embroidery floss to create sleepy or happy embroidered eyes instead.
For the beak, use orange yarn to embroider a small triangle centered beneath the eyes.
Helpful tip: Check the eye placement from the front before securing everything. Small changes in spacing can noticeably change the chick’s expression.
Step 9: Close the Bottom and Finish
To close the chick, thread the remaining yarn tail through the stitches around the base.
Pull the yarn tightly to cinch the opening closed.
Once the base is secure, weave in the remaining tail and hide the loose end inside the body.
Your no-sew baby chick is now complete, with its wings worked directly into the body and no separate limb pieces to attach.