Basket Weave Crochet Beanie Hat Tutorial with Easy Rounds
There’s something instantly eye-catching about a beanie that looks carefully woven even though it’s made with simple crochet stitches. This cozy piece creates a rich basket weave texture that adds warmth, depth, and timeless style without making the pattern difficult to follow.
Once the repeating stitch sequence begins, the fabric grows steadily and keeps every round interesting. The finished look feels polished enough for everyday wear or thoughtful handmade crochet gifts.
Crochet Beanie Hat Tutorial
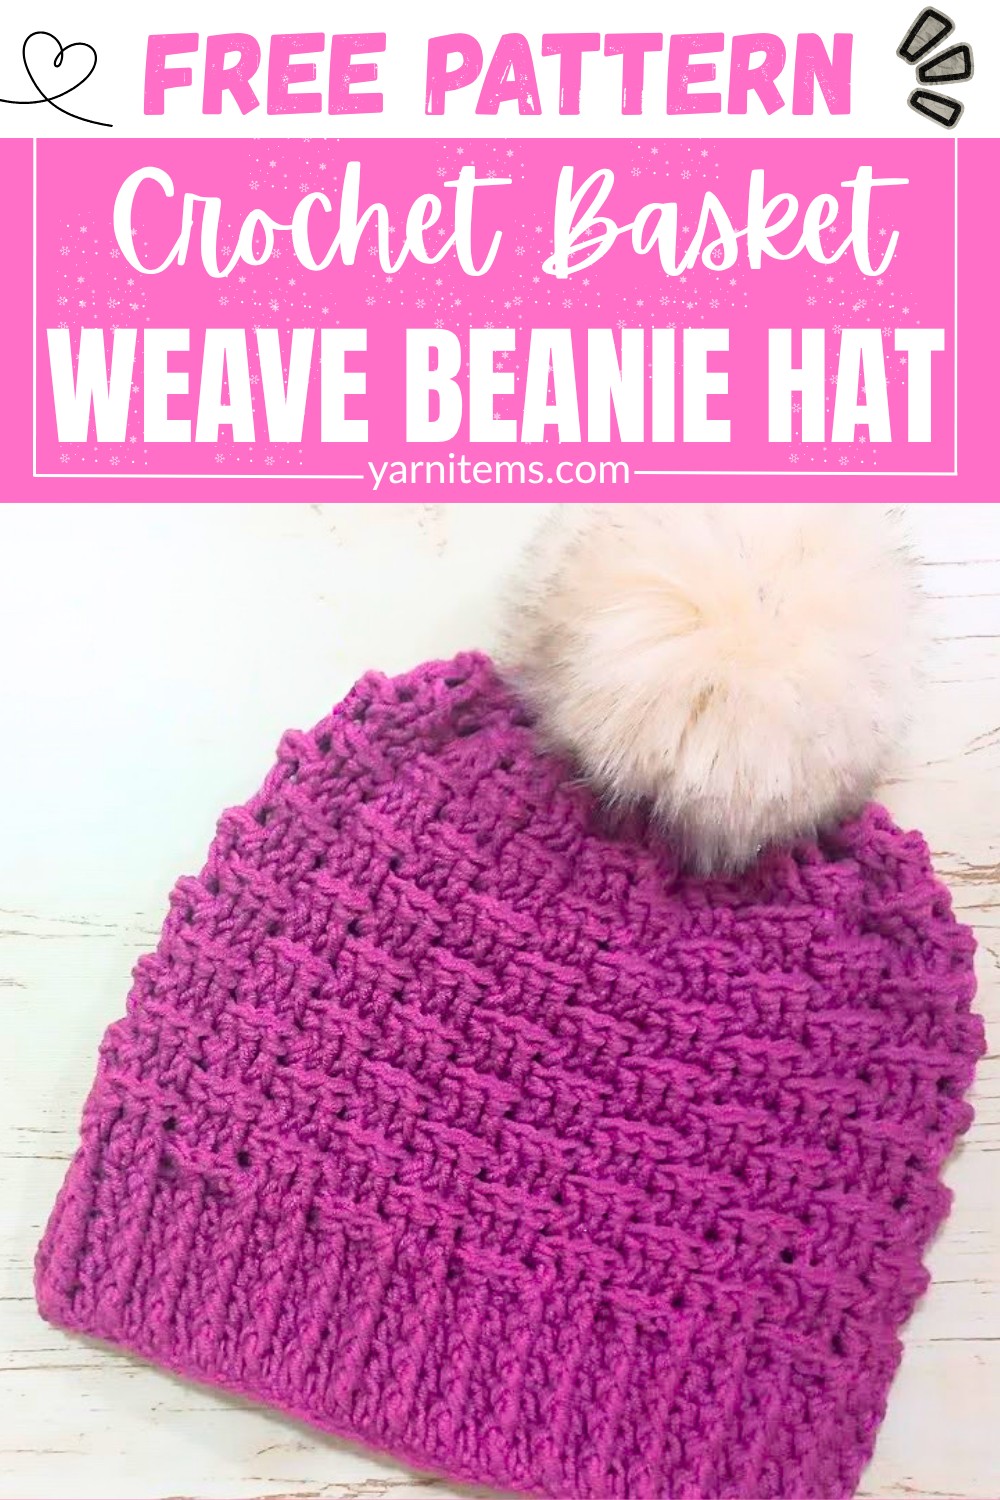
A comfortable brim, adjustable sizing, and a neatly shaped crown make this crochet beanie easy to customize for different ages and preferences. The design relies on repeating front and back post stitches, allowing the woven texture to stand out beautifully from top to bottom. A fluffy pom pom can be added for extra charm, while different yarn colors create a completely fresh look. This crochet piece brings together comfort, texture, and flexibility in a way that keeps every stitch enjoyable from start to finish.
Credit zhavin crochet
Why This Method Works So Well
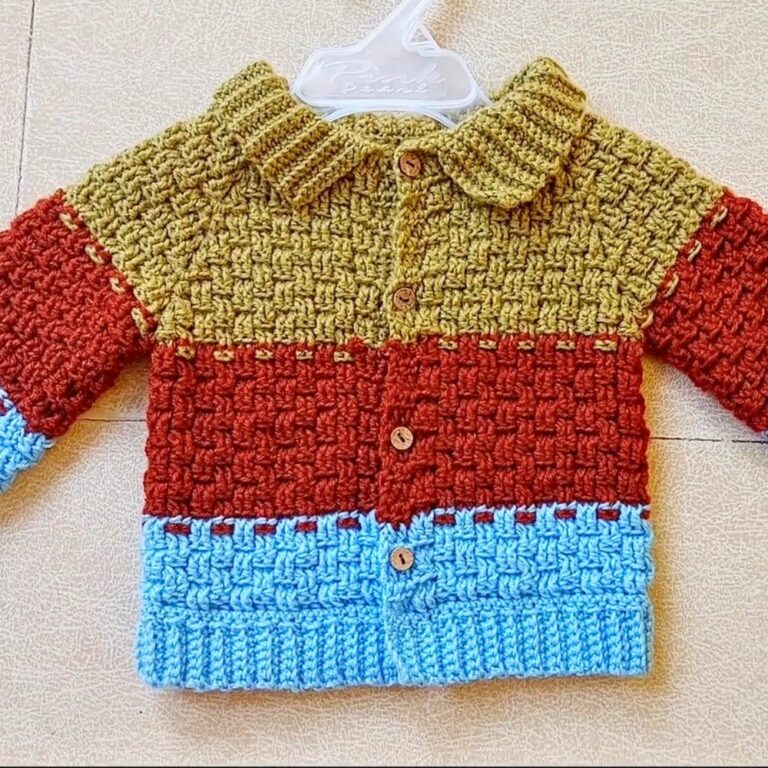
The basket weave stitch offers texture and shape while being easy to learn. By alternating front post and back post stitches, you create a thick, woven look that’s sturdy, warm, and elegant.
The Golden Rule Every Maker Should Know
- Always ensure the starting chain length matches the desired circumference for the brim.
- Accuracy in the stitch counts and the sequence is vital to maintain the pattern.
Don’t Start Until You Read This!
This hat’s sizing depends on the chain and stitch counts you begin with. Do not rush the initial brim setup.
Use consistent tension on stitches to avoid uneven textures as you move into the body of the hat.
Materials & Tools Needed
- Yarn: Worsted weight yarn
- Hook: 4.5mm crochet hook
- Tapestry needle (for finishing)
- Optional: Pom pom for decoration
Gauge
Gauge in double crochet stitches:
4 inches x 4 inches = Approximately 16 double crochets x 10 rows.
Pattern Notes
- The pattern alternates front post and back post stitches to form its unique texture.
- You will repeat two rounds for the body to keep the weave consistent.
- The top of the hat is finished with decreases for a neat close.
Pattern Abbreviations & Terminology
- ch: Chain
- sl st: Slip Stitch
- dc: Double Crochet
- fpdc: Front Post Double Crochet
- bpdc: Back Post Double Crochet
- dec fpdc: Decrease Front Post Double Crochet
- dec bpdc: Decrease Back Post Double Crochet
Finished Size & Customization Ideas
- The tutorial creates a beanie with an approximate height of 8 inches from the brim to the top.
- Add more rounds for a longer body or a slouchy appearance.
- Use different yarn colors to create stripes or patterns for personalization.
Helpful Tips Before You Start
- Count stitches after every round to ensure accuracy.
- Tug gently on your foundation chain to ensure it’s not twisted before joining in a circle.
- Use stitch markers to keep track of your rounds.
Step-by-Step Detailed Crochet Instructions
Brim
- Create foundation chain: Start with a slip knot. Crochet a multiple of 6 chains until it matches your desired circumference. For the tutorial’s version, the hat uses 66 chains.
- Join foundation chain: Make sure the chain isn’t twisted. Join with a sl st into the first chain.
- Round 1:
- ch 3 (counts as first dc), then make 1 dc into each chain around.
- Total: 66 dc.
- At the end of the round, join with a sl st into the third chain of the beginning ch 3.
- Round 2:
- ch 1, then work:
- 1 fpdc around the first stitch.
- 1 dc into the top of the next stitch.
- Repeat: fpdc, dc sequence around the brim.
- End with a sl st into the first fpdc.
- ch 1, then work:
- Round 3:
- Repeat Round 2.
- At the end of this round, sl st into the first fpdc.
- Repeat Round 2 two more times for a total of 5 rounds for the brim. Add more rounds if you want a higher brim.
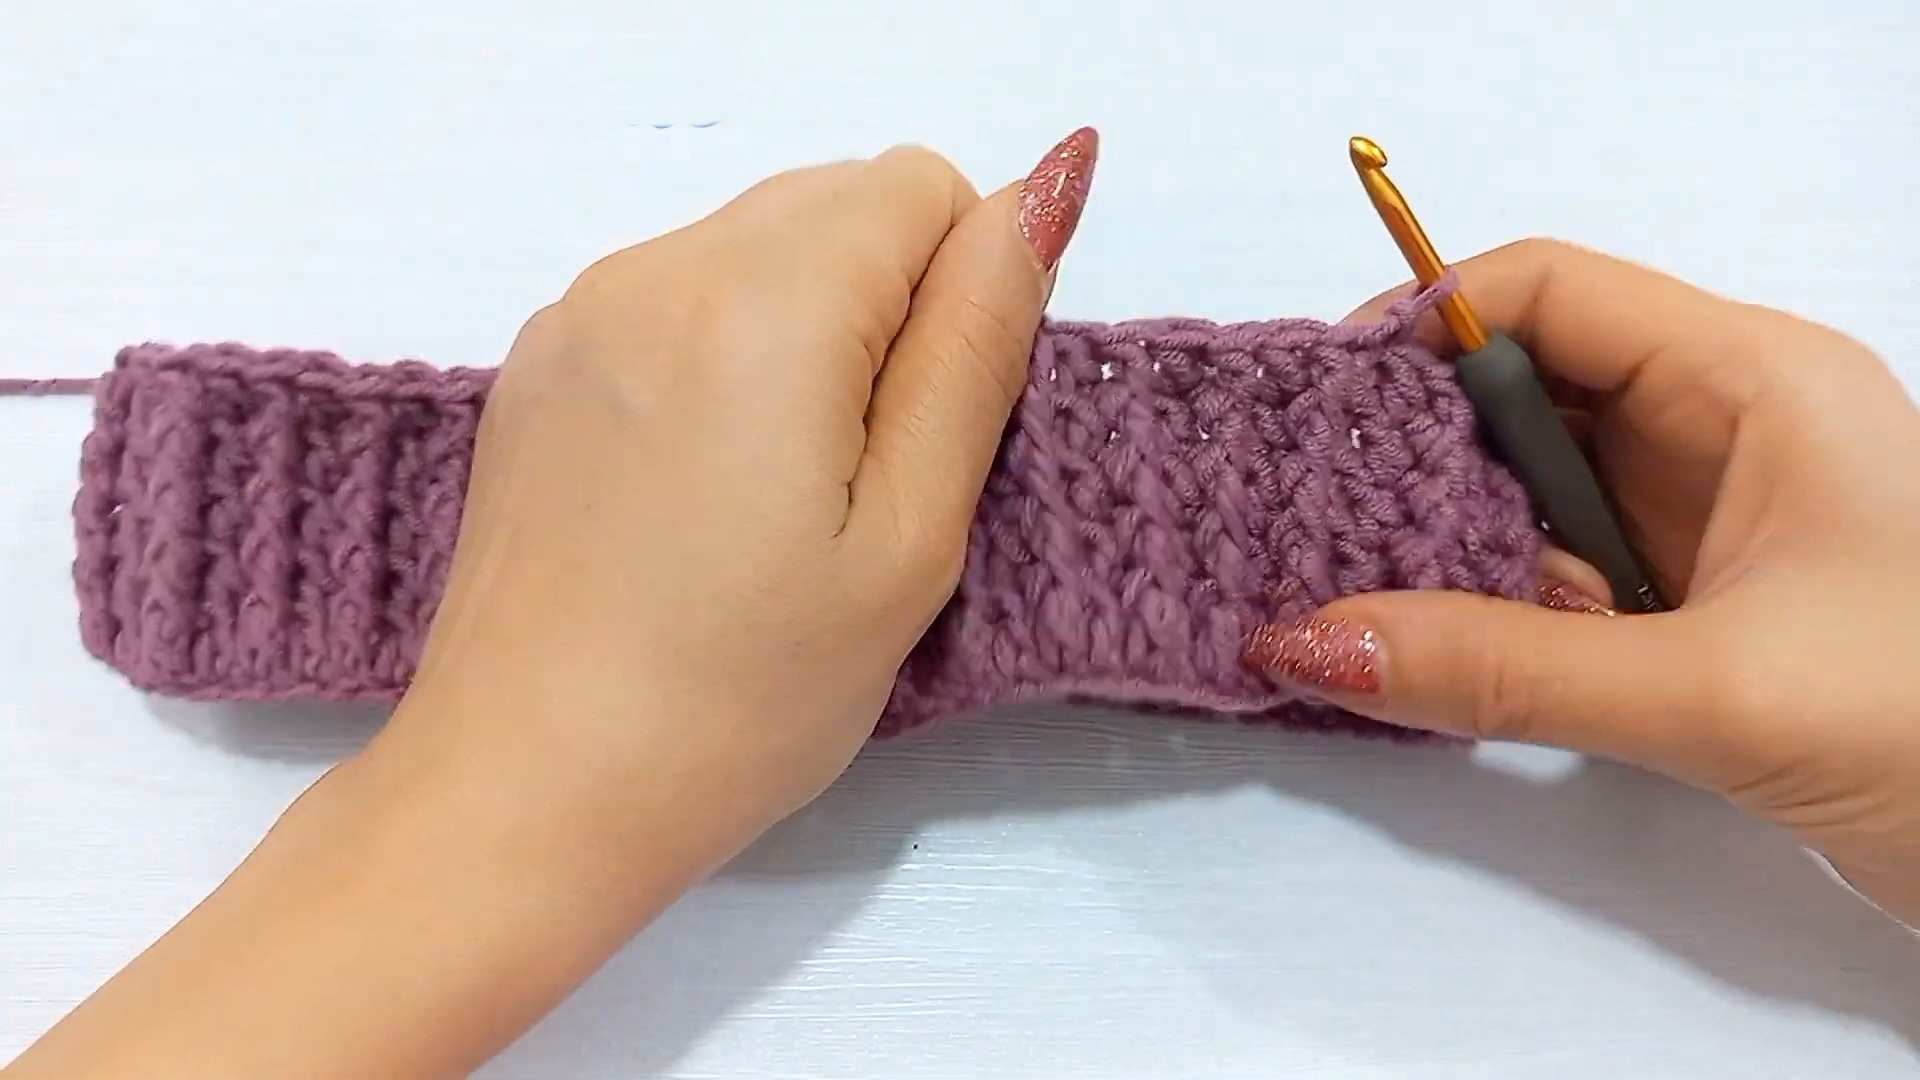
Body
- Round 1:
- ch 1, then work:
- 1 fpdc around the first 3 stitches.
- 1 bpdc around the next 3 stitches.
- Repeat: 3 fpdc, 3 bpdc sequence throughout the round.
- End with a sl st into the first fpdc.
- ch 1, then work:
- Round 2:
- ch 1, then work:
- 1 bpdc around the first 3 stitches.
- 1 fpdc around the next 3 stitches.
- Repeat: 3 bpdc, 3 fpdc sequence throughout the round.
- End with a sl st into the first bpdc.
- ch 1, then work:
- Repeat Rounds 1 and 2 alternately until the total height of the hat from the beginning of the brim measures 8 inches.
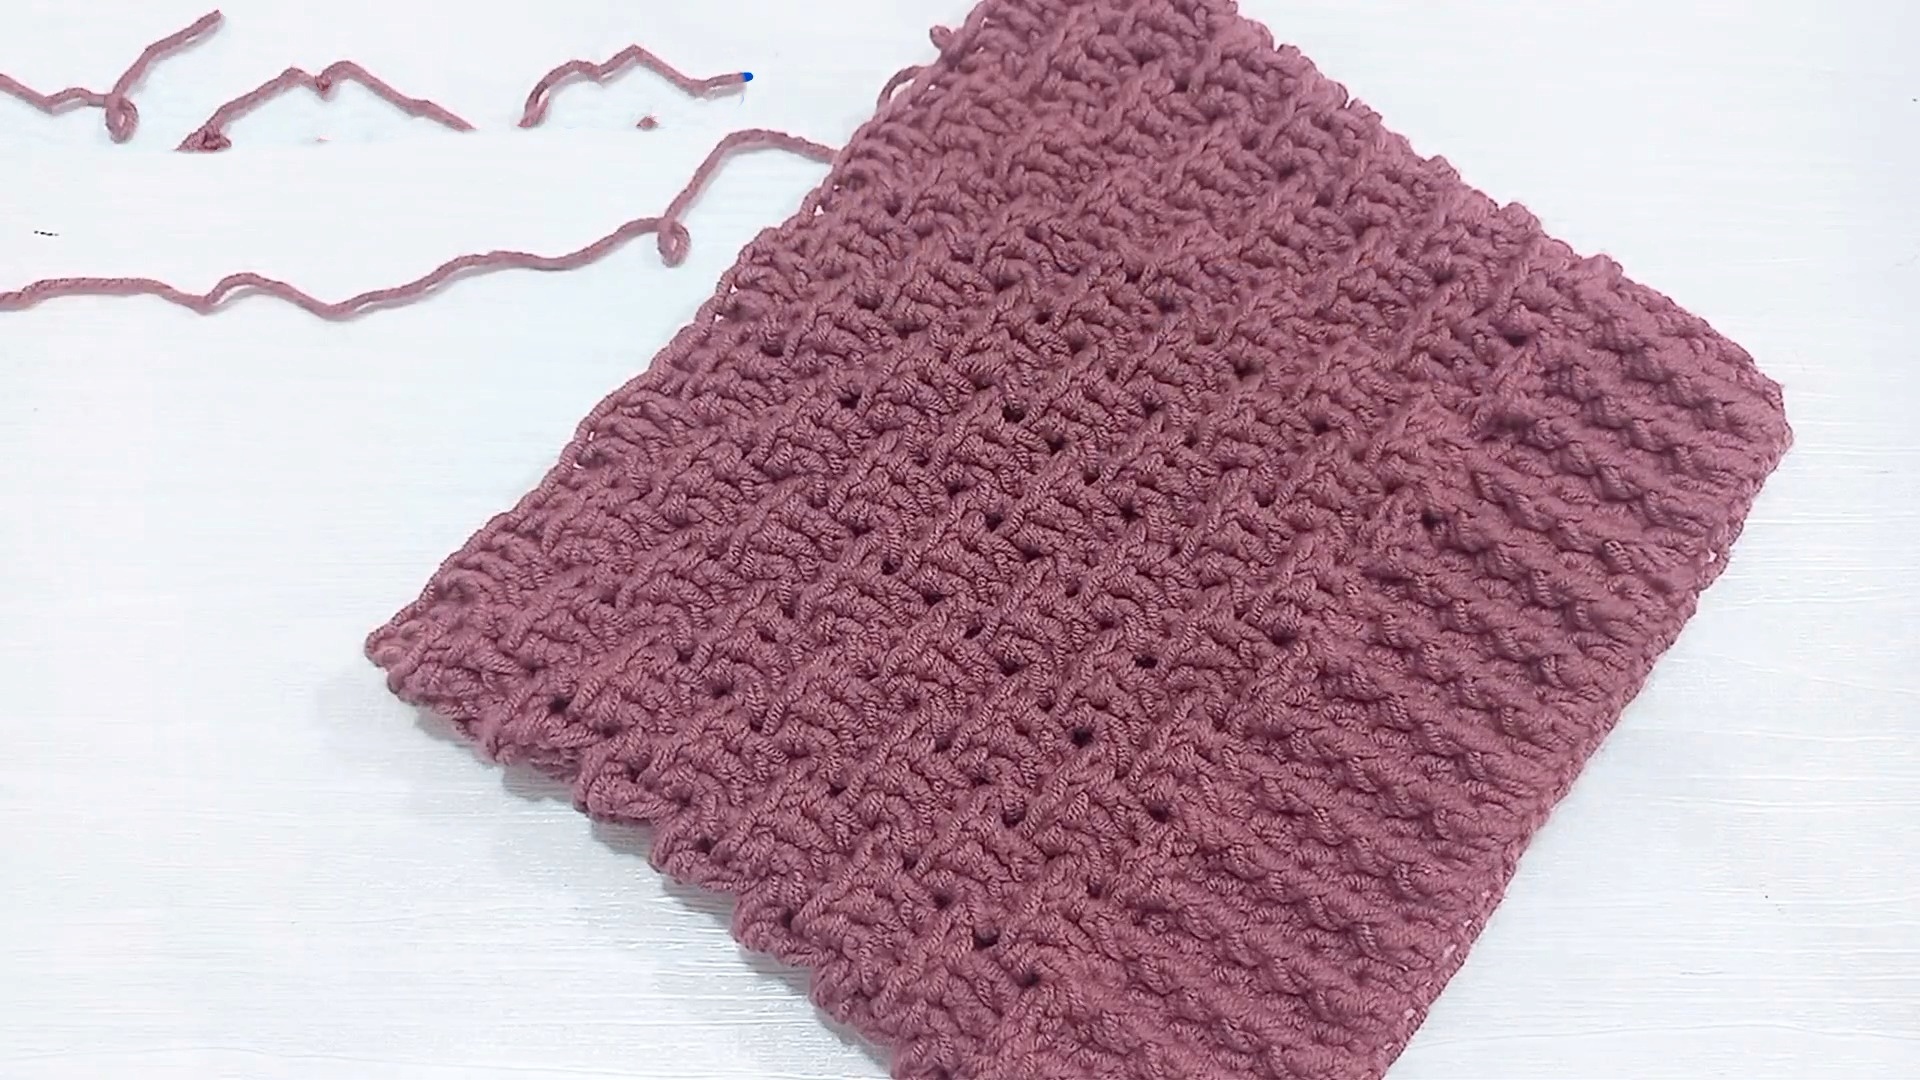
Top/Decreases
- Round 1 (Decrease Round):
- ch 1, then work:
- 1 dec fpdc over the first 2 stitches.
- 1 fpdc around the next stitch.
- 1 dec bpdc over the next 2 stitches.
- 1 bpdc around the next stitch.
- Repeat this sequence throughout the round.
- End with a sl st into the first dec fpdc.
- ch 1, then work:
- Round 2:
- ch 1, then work:
- 1 dec bpdc over the first 2 stitches.
- 1 dec fpdc over the next 2 stitches.
- Repeat this sequence throughout the round.
- End with a sl st into the first dec bpdc.
- ch 1, then work:
- Round 3:
- ch 1, then work:
- 1 dec fpdc across every 2 stitches.
- Repeat until the hole at the top is very small.
- End with a sl st into the first dec fpdc.
- ch 1, then work:
- Finishing:
- Cut the yarn, leaving a long tail.
- Thread the tail through a tapestry needle, weave it through the remaining stitches, and pull tight to close the top.
- Optionally, attach a pom pom for decoration.
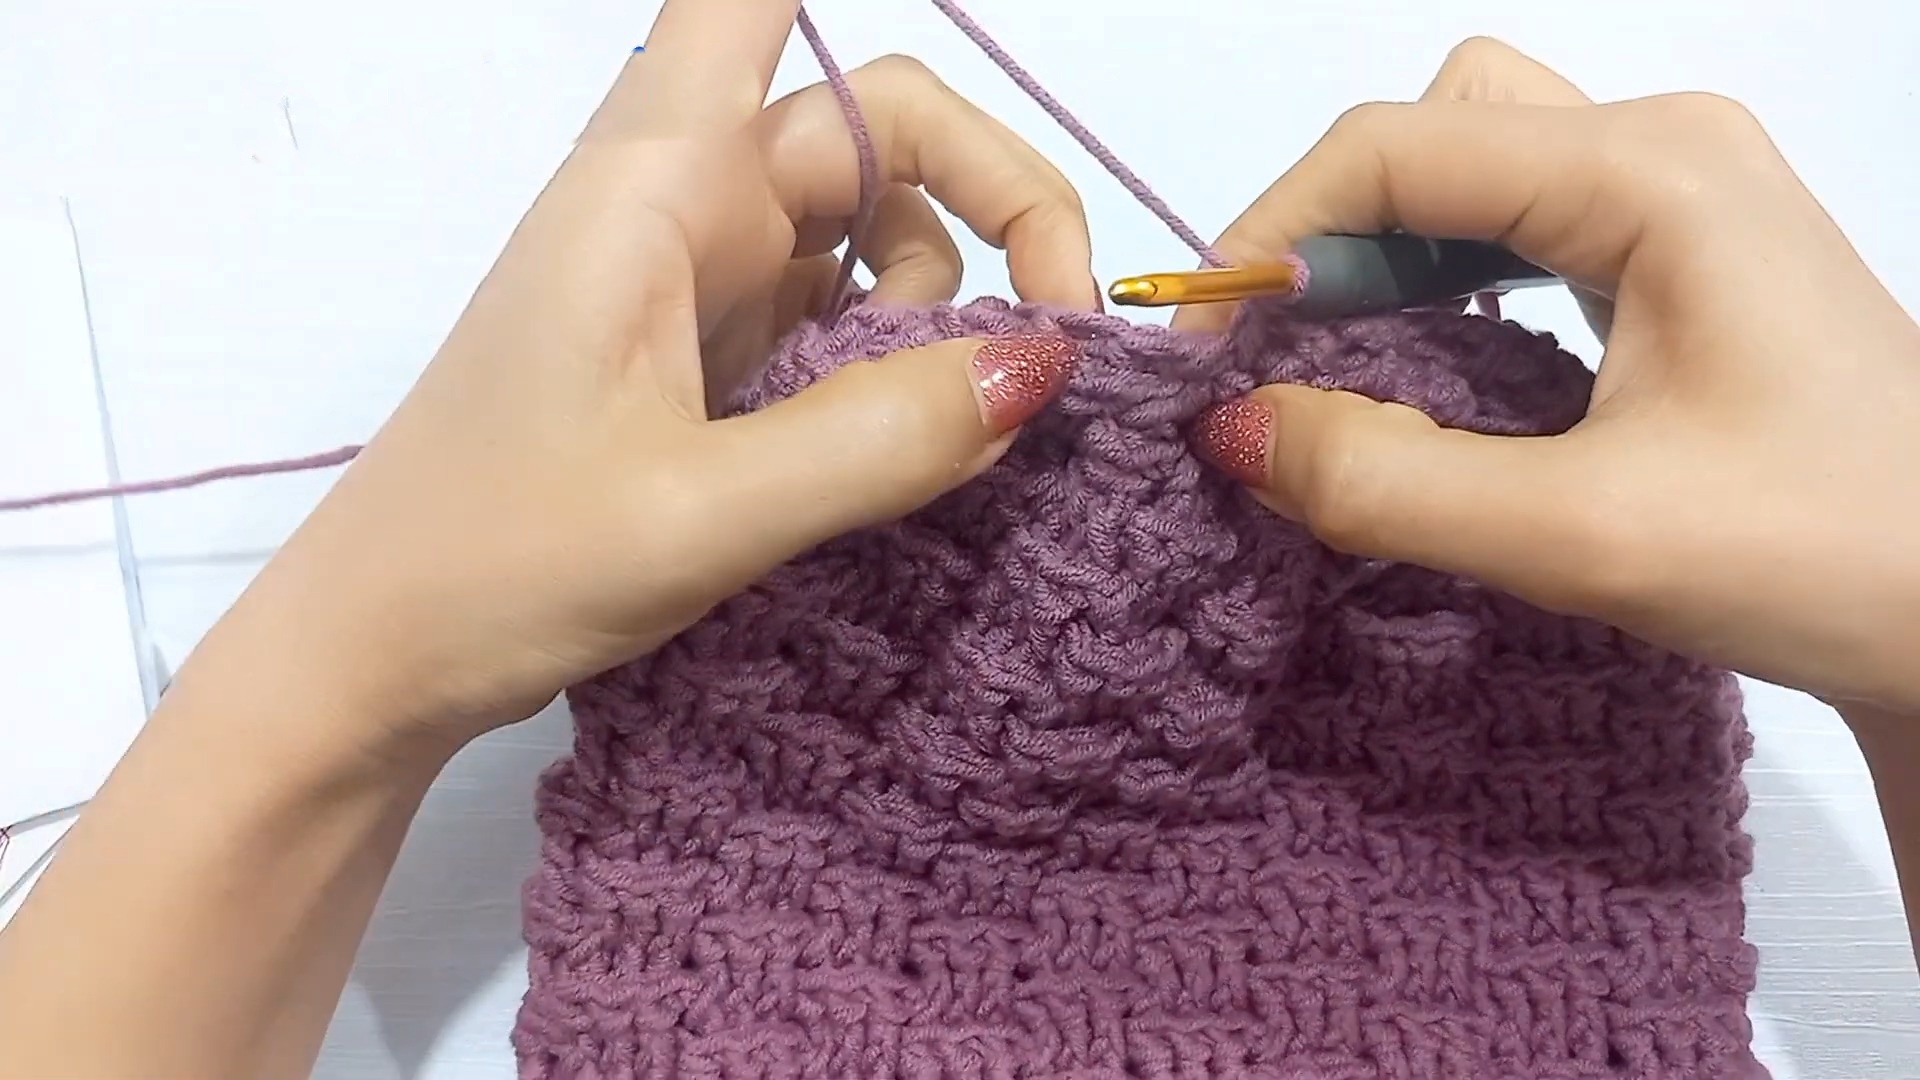
Assembly & Finishing
- Weave in all ends securely using the tapestry needle.
- Shape the hat gently using your hands to ensure the weave lies flat and the edges look polished.
Double-Check Before You Finish!
- Ensure the brim fits comfortably around the head.
- Verify the stitch texture is consistent, and the top closure is secure.
Bonus Ideas You’ll Want to Try Next
- Add stripes by switching colors every few rounds of the body.
- Extend the height to make a slouchy beanie.
- Create matching mittens for a complete winter set.
Conclusion
Your beautiful basket weave crochet beanie hat is now ready! The textured body, snug brim, and optional pom pom make this a perfect project for gifting or personal use. Share your results and explore variations with different yarns or colors!
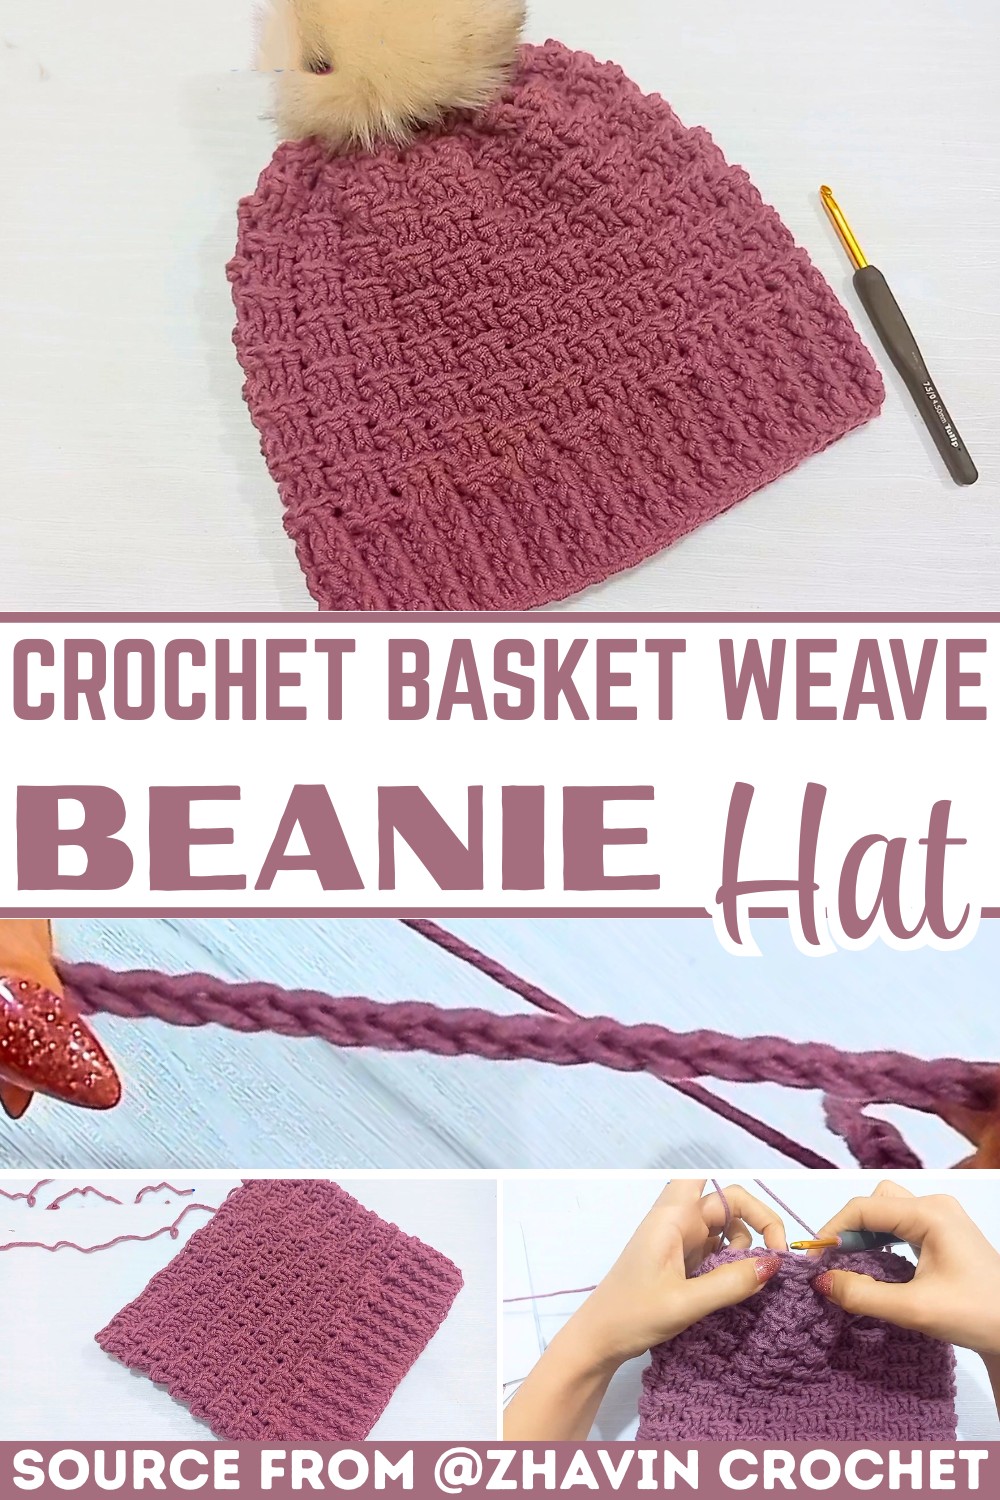
Video Tutorial