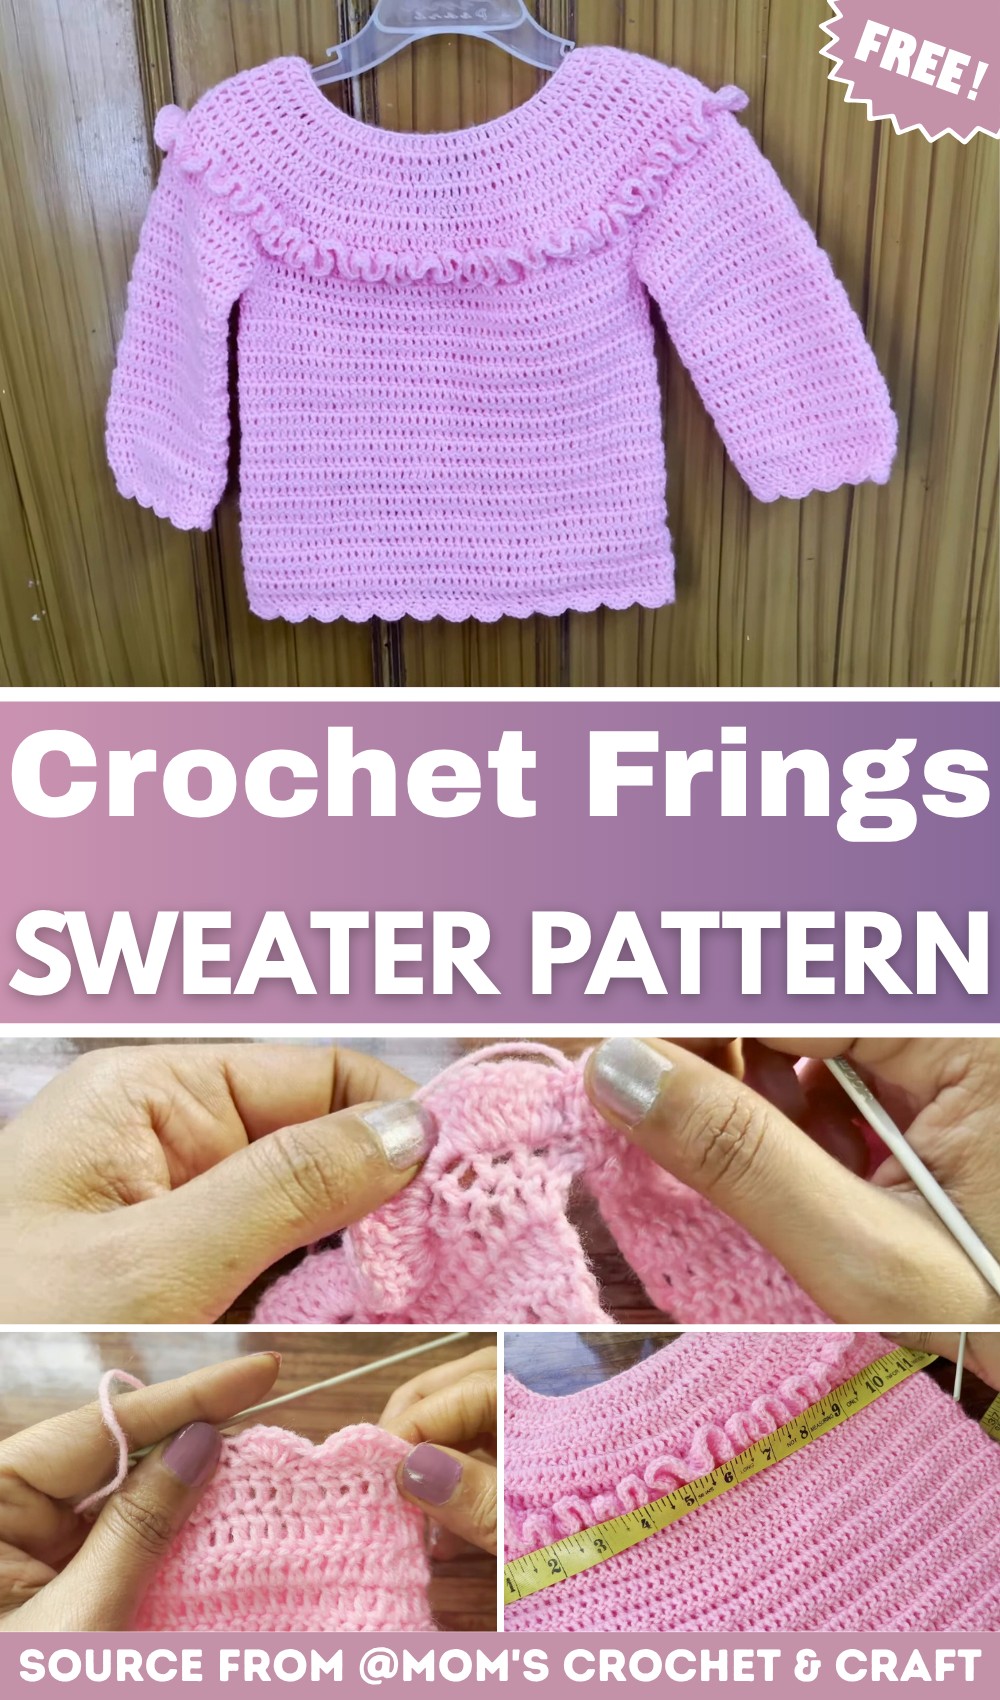
Crochet Fringe Sweater Pattern for Ages 3-4
A playful crochet fringe can turn a simple children’s sweater into a handmade piece full of personality. Designed for ages 3 to 4 years, this cozy crochet sweater combines a comfortable fit with soft texture and eye-catching fringe details that little ones will love.
Its thoughtful construction keeps the design practical for everyday wear while adding a fun finishing touch. The finished crochet piece is perfect for cooler days, family outings, and special occasions alike.
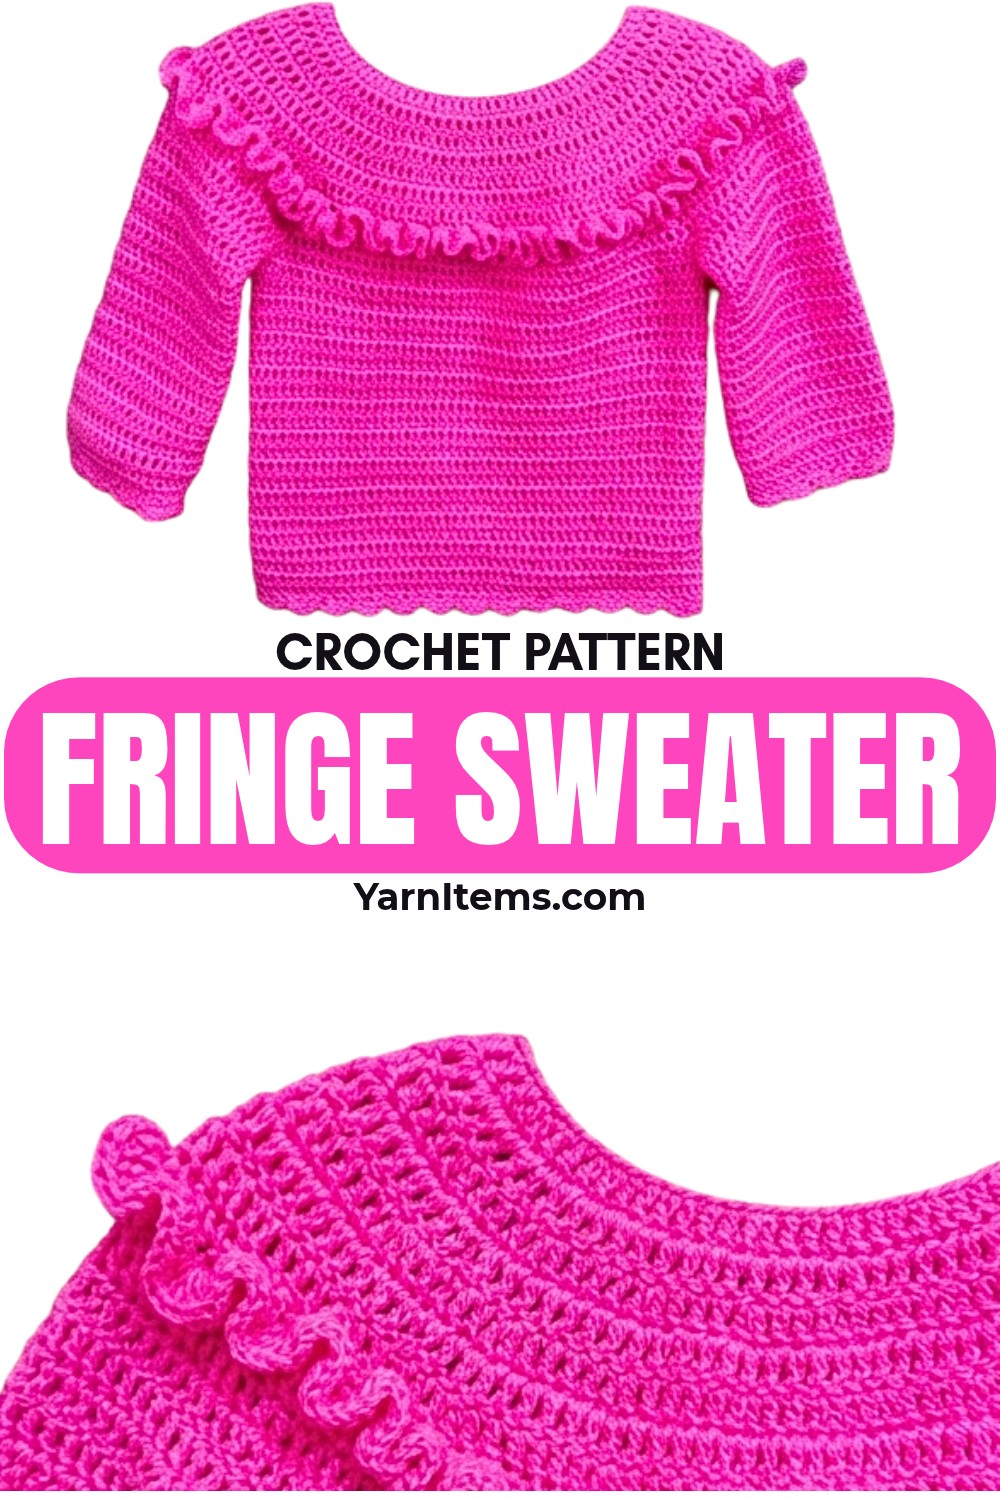
Easy shaping and customizable details make this crochet sweater an enjoyable piece to create at your own pace. The guide below includes the materials, stitch abbreviations, sizing notes, detailed construction steps, sleeve instructions, and finishing techniques needed for a polished result. You’ll also find helpful customization ideas for adjusting the fit, adding length, or experimenting with different colors. Once completed, this charming handmade crochet piece will become a cheerful addition to any child’s wardrobe.
Credit Mom’s Crochet & Craft
Materials & Tools Needed
- Yarn: Vardhman Cuddly yarn (or equivalent soft acrylic yarn)
- Hook: 3 mm crochet hook
- Other Tools: Scissors, stitch markers (optional), and a yarn needle for finishing.
Pattern Note
- Sizing: The sweater is sized to fit children aged 3-4 years.
- Expansion: Rows with increases are incorporated to adjust for sizing.
- Custom Adjustments:
- Larger sizes: Add additional rows or stitches to expand the sweater.
- Smaller sizes: Reduce the number of rows or stitches to scale down the project.
Finished Size
- Chest Circumference: Approximately 26–28 inches, depending on tension and yarn selection.

Customization Ideas
- Adjust Armhole Depth
- Skip fewer or more stitches to create customized armhole openings.
- Add Length
- Incorporate additional rows before creating the fringe to achieve extra length.
- Alternate Colors
- Use different colors for stripes to add visual interest.
- Include Embellishments
- Add buttons, appliqués, or other decorative elements to enhance the design.
Pattern Abbreviations & Terminology
- ch: Chain
- sc: Single crochet
- dc: Double crochet
- hdc: Half double crochet
- sl st: Slip stitch
- st(s): Stitch(es)
- gs: Group stitch
- gb: Join back
- htr: Half treble crochet
- sk: Skip
This pattern is written in US Terminology.
Step-by-Step Detailed Crochet Instructions
Body of the Sweater
- Foundation Row:
- Start by chaining 66 (approximately 13.5 inches).
- Row 1: Work 1 dc into the first chain and 5 dc into the next 2 chains.
- Then, 2 ch in the next one. Repeat this across the row.
- At the end of Row 1, you should have 88 stitches.
- Row 2:
- Chain 1 and turn. Work 1 ch in every stitch across to the end of the row.
- Repeat this pattern, ending Row 2 with 110 stitches.
- Row 3:
- Chain 1 and turn. Work 3 sl st in every 4th stitch.
- At the end of Row 3, you should have 110 stitches.
- Row 4:
- Chain 1 and turn. Work 1 sc in every stitch across the entire row.
- Row 5:
- Chain 1 and turn. Work 2 sc every 5th stitch across the entire row.
- At the end of Row 5, you should have 132 stitches.
- Row 6:
- Chain 1 and turn. Work 1 ch in every stitch across.
- Then in Row 7, make 2 ch every 6th stitch.
- At the end of Row 7, you should have 154 stitches.

Joining the Yoke
- Row 8:
- Chain 1 and turn. Work 1 sc in each stitch across the row.
- Finish by joining the end of the row with gs to the top of the first sc.
Adding Fringe
- Row 9:
- Chain 4 in each stitch across the entire row to form frill or fringe.
- Join with gs to the top of the first sc. Cut the yarn here.
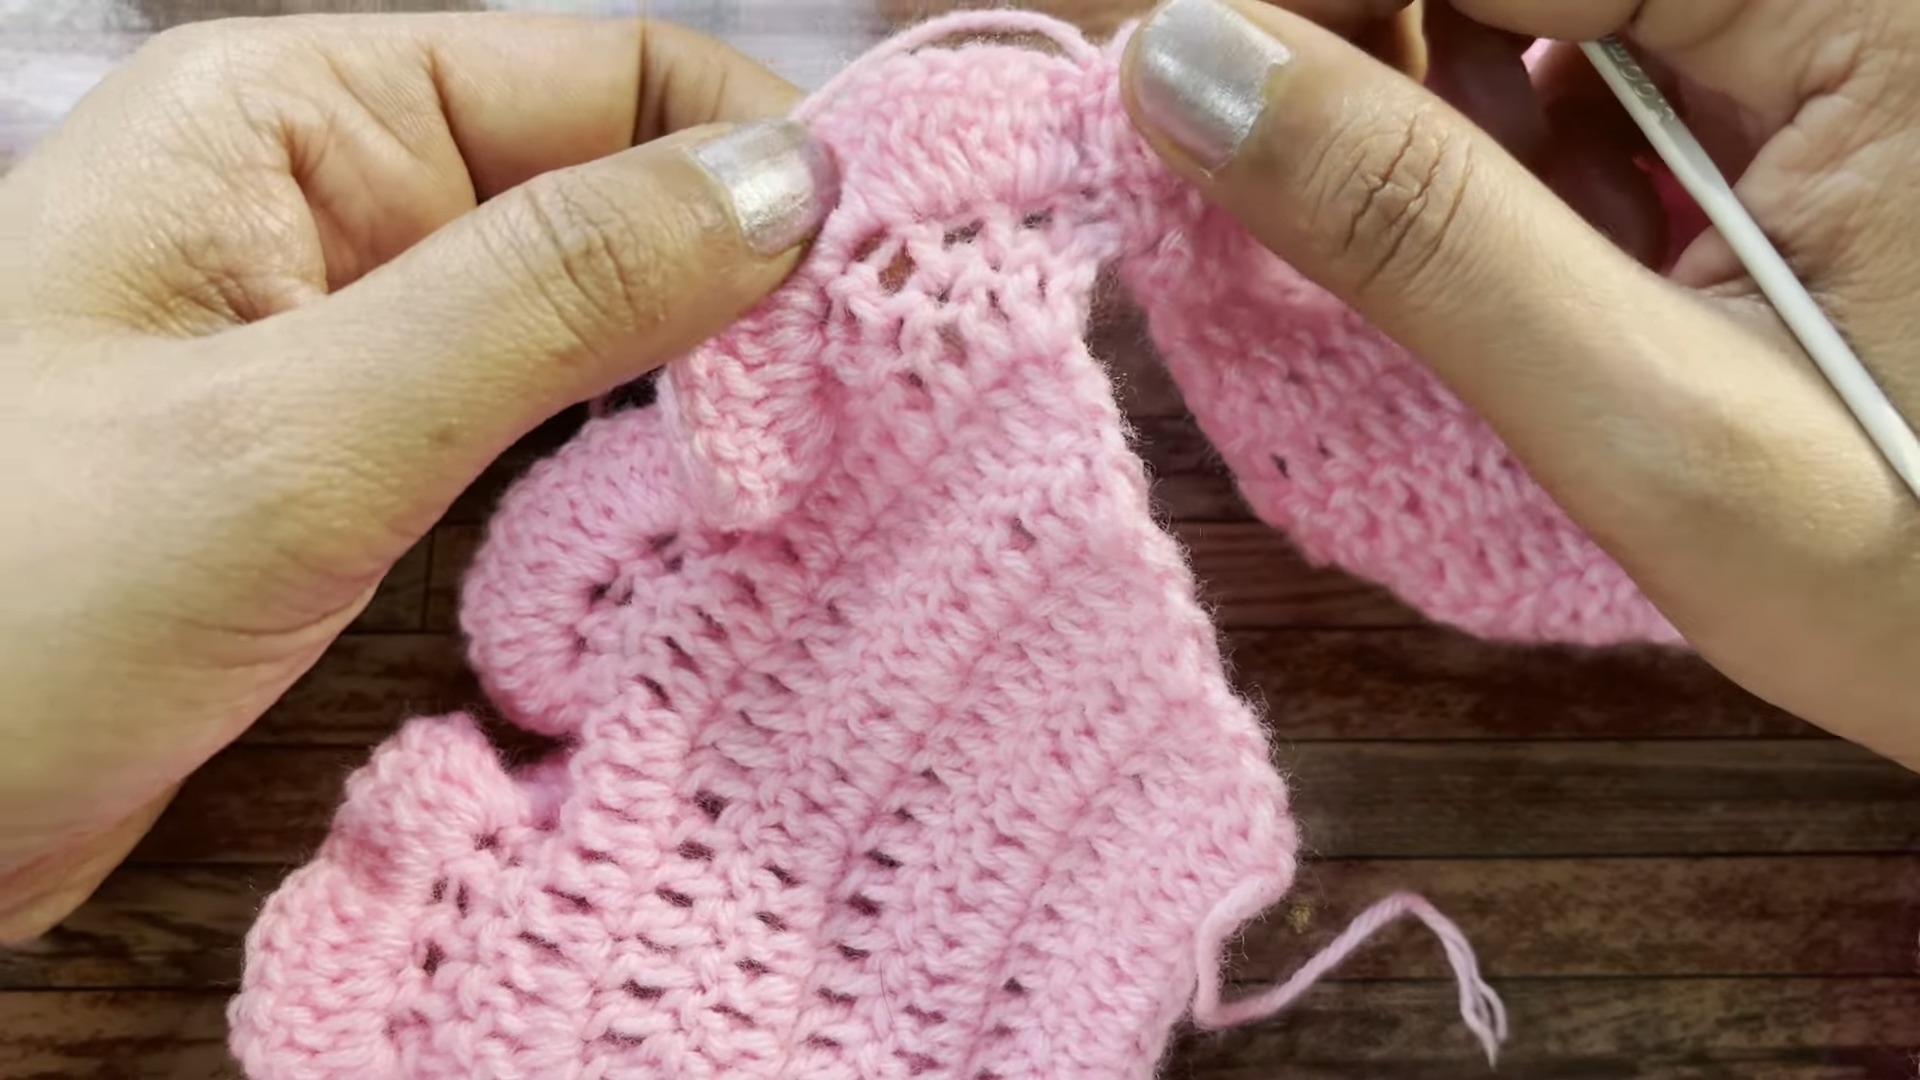
Repeat:
- Add yarn from the first stitch (wrong side) and repeat as described in the tutorial.
Armhole and Divisions
- Divide the back and front sections:
- Work into 27 stitches for the first sleeve.
- Skip 34 stitches to create the armhole opening.
- Work 54 stitches for the front.
- Skip 34 stitches for the second armhole opening.
- Work into the remaining 27 stitches.
- Continue Rows as written, making sc stitches for seamless shaping.
Sleeves
- Chain 1 and turn. Work 40 stitches on the sleeve section.
- Repeat sc rows for the sleeve until desired length.
- Follow optional decorative patterns (such as skipping stitches and working 5 hdc).
Final Touches
- Work 1 row of sc at the back button closure.
- Secure a button or additional details as needed.
- Fasten off and weave in all ends.
Customization Notes
- Additional Width: Add chains to the foundation row. Ensure stitch counts increase proportionately.
- Additional Length: Continue rows at the body section before joining the fringe.

Finishing Techniques:
- Color Changes: If adding stripes, change yarn colors at the start of a new row or round and carry unused yarn along the side.
- Blocking: If needed, lightly steam block or water block the sweater for a polished finish.