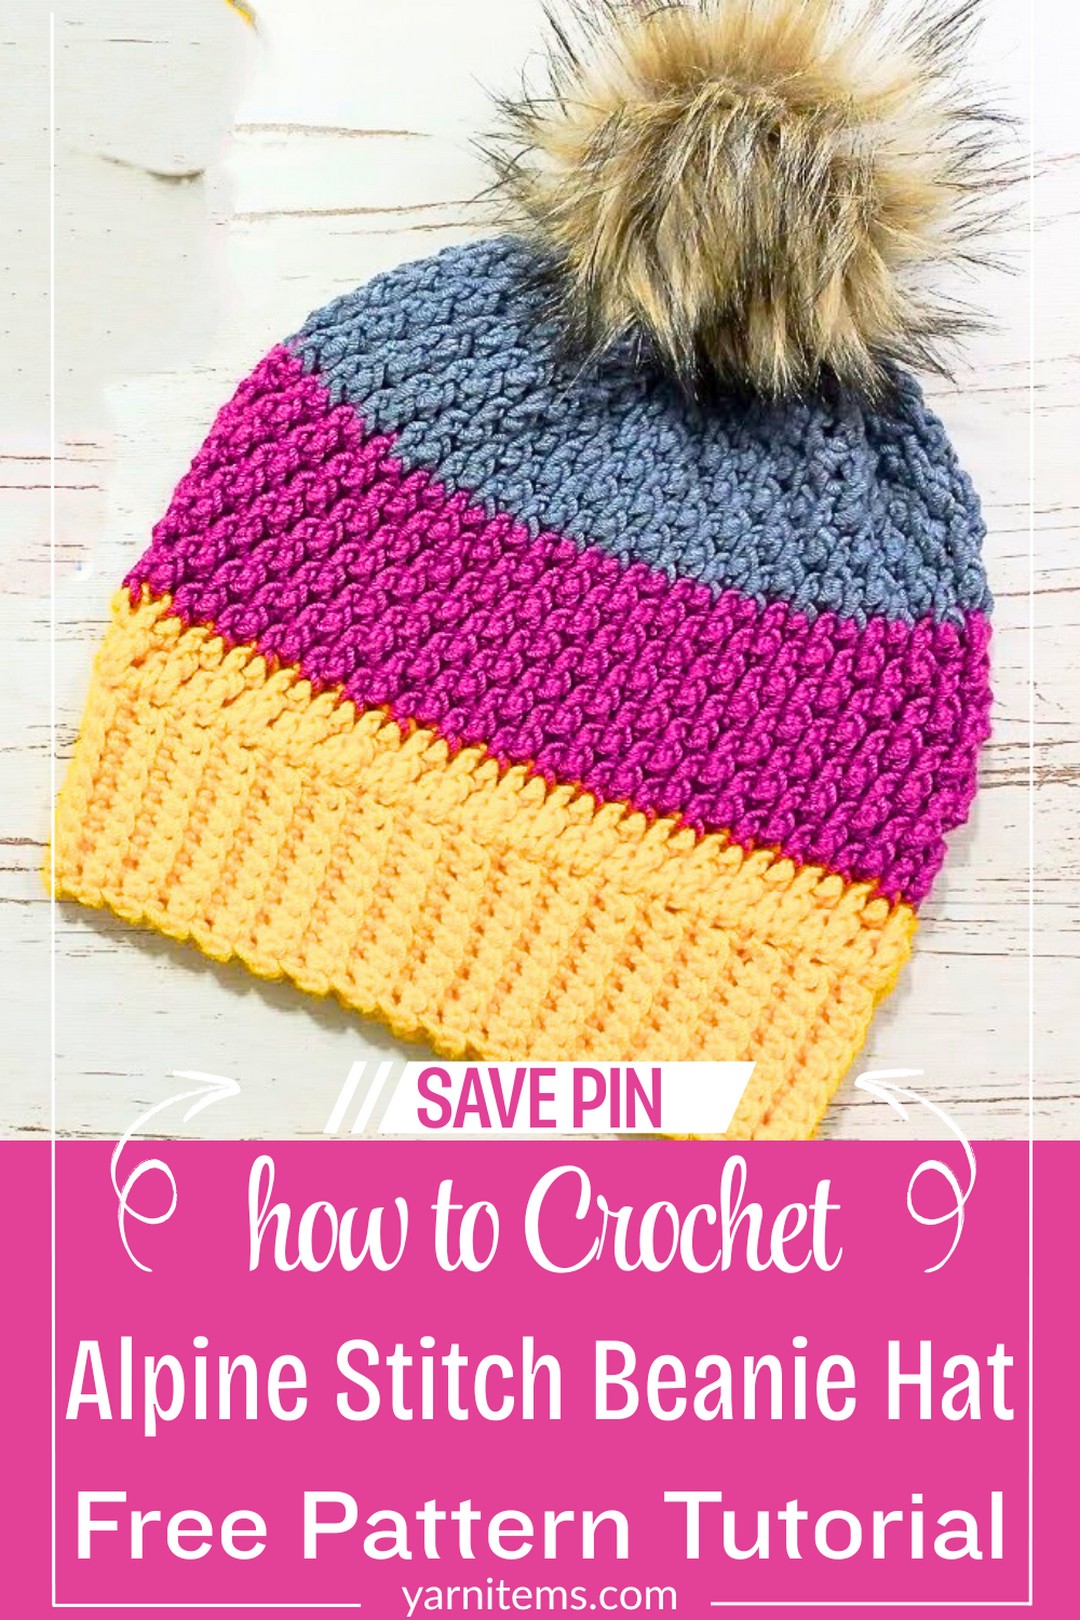
Multicolor Textured Crochet Alpine Stitch Beanie Hat Tutorial
A rich textured finish instantly transforms this crochet beanie into a standout winter piece that feels both modern and timeless. The Alpine stitch creates beautiful raised details that make every color combination look more vibrant and eye-catching.
Soft, warm, and comfortable to wear, this handmade crochet item is perfect for adding extra coziness to chilly days without sacrificing style.
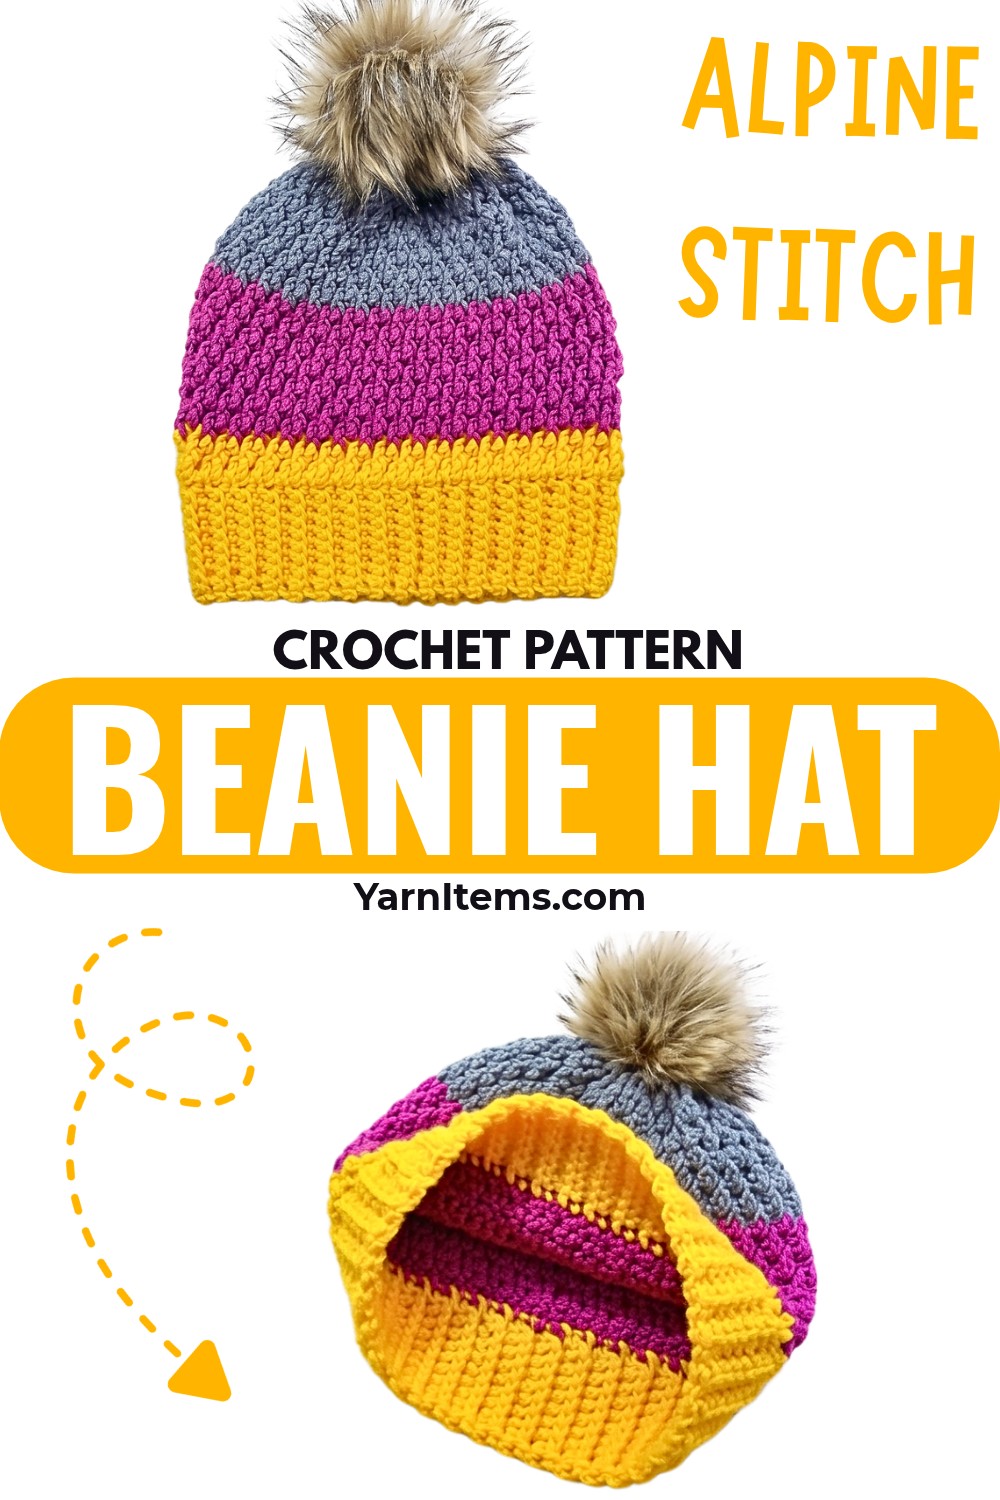
Bold texture paired with cheerful colors gives this crochet beanie a unique personality that suits all ages and everyday outfits. Using soft yarn and an easy stitch pattern, the piece offers a relaxing way to create something practical that you’ll enjoy wearing throughout the colder months. From casual walks to busy mornings outdoors, this cozy crochet beanie delivers warmth, comfort, and a handcrafted look that never goes unnoticed.
Credit zhavin crochet
Materials & Tools Needed
- Yarn: Worsted weight yarn in three different colors (or as desired; one color or multi-color).
- Crochet Hooks:
- 4.5 mm hook for the brim.
- 5 mm hook for the body of the hat.
- Tapestry needle: For weaving in ends and closing the top of the hat.
- Optional: Pom-pom for decoration.
Finished Size & Customization Ideas
- The tutorial creates an adult-sized beanie, but the pattern can be adjusted for other sizes by modifying the brim length (circumference).
- Customization Ideas:
- Use one solid color for a minimalist design.
- Use more than three colors for a highly textured, multicolor look.
- Add finishing touches, such as pompoms, buttons, or embroidery.
Pattern Notes
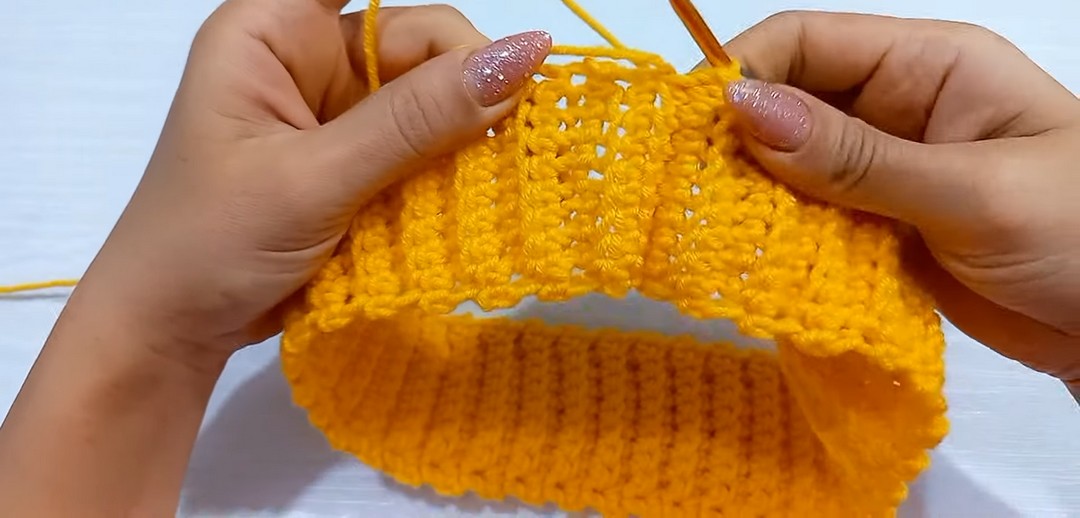
- The brim uses back loop only single crochets (BLO SC) to create its textured ribbing.
- The body alternates between double crochets (DC) and front post double crochets (FPDC) for the alpine textured look.
- Multiple color changes can be done by fastening off at specified points.
- The hat’s top is closed by decreasing and gathering stitches with a tapestry needle.
Pattern Abbreviations & Terminology
- CH – Chain
- SC – Single Crochet
- BLO SC– Back Loop Only Single Crochet
- DC – Double Crochet
- FPDC – Front Post Double Crochet
- SL ST – Slip Stitch
- Dec SC – Decrease Single Crochet
Terminology is based on US standards.
Tips Before You Start
- Ensure your gauge is consistent by working at an even tension for both the brim and body of the hat.
- Measure the brim wrapped around a head before moving on; it should stretch slightly but comfortably.
- Decide ahead of time how many color changes you’ll incorporate.
Step-by-Step Detailed Crochet Instructions
A. Brim
- Foundation chain:
- With the 4.5 mm hook, make a slip knot and chain 10 (or your desired brim height).
- Row 1:
- Skip the first chain, and make 1 SC in the second chain.
- Continue making 1 SC in each chain across.
- You should have 9 SC at the end.
- Row 2:
- CH 1, turn.
- Work 1 SC into the first stitch.
- Make 1 BLO SC across the next 7 stitches.
- Make 1 SC in the last stitch (under both loops).
- This creates the textured ribbing.
- Repeating Rows 2:
- Repeat Row 2 until the brim length equals your desired circumference (e.g., 68 rows for adult size).
- Ensure the rows are a multiple of 2 for the pattern.
- Joining the Brim:
- Fold the brim in half and align the edges.
- SL ST across each stitch, joining the first row to the last row.
- Turn work to the right side before continuing.
B. Body of the Hat
- Foundation of Body:
- Switch to the 5 mm hook. Join your first yarn color at the long edge of the brim.
- CH 3 (counts as the first DC), then make 1 DC into the top of each brim row.
- You should have 68 DC around. Join with SL ST into the 3rd CH of the beginning DC.
- Round 2:
- CH 3 (counts as the first DC).
- Make 1 FPDC around the next stitch. Make 1 DC in the next.
- Repeat the sequence (FPDC, DC) until the end of the round.
- Join with SL ST into the 3rd CH of the beginning DC.
- Round 3 (Color Change Optional):
- If changing colors, fasten off and join the new yarn.
- Make CH 2 (does not count as a stitch).
- Make 1 FPDC into the first stitch (same base as CH 2). Make 1 DC into the next.
- Repeat the sequence (FPDC, DC) around.
- Round 4:
- CH 3 (counts as first DC).
- Make 1 DC into the top of the next FPDC. Make 1 FPDC around the next DC.
- Repeat the alternating sequence (DC, FPDC) around.
- Join with SL ST into the 3rd CH of the beginning DC.
- Repeat Rounds 3 & 4:
- Alternate these two rows until the desired height of the hat is reached (e.g., 5 additional repeats including color changes).
- End with a repeat of Round 3 for a smoother transition before decreasing.
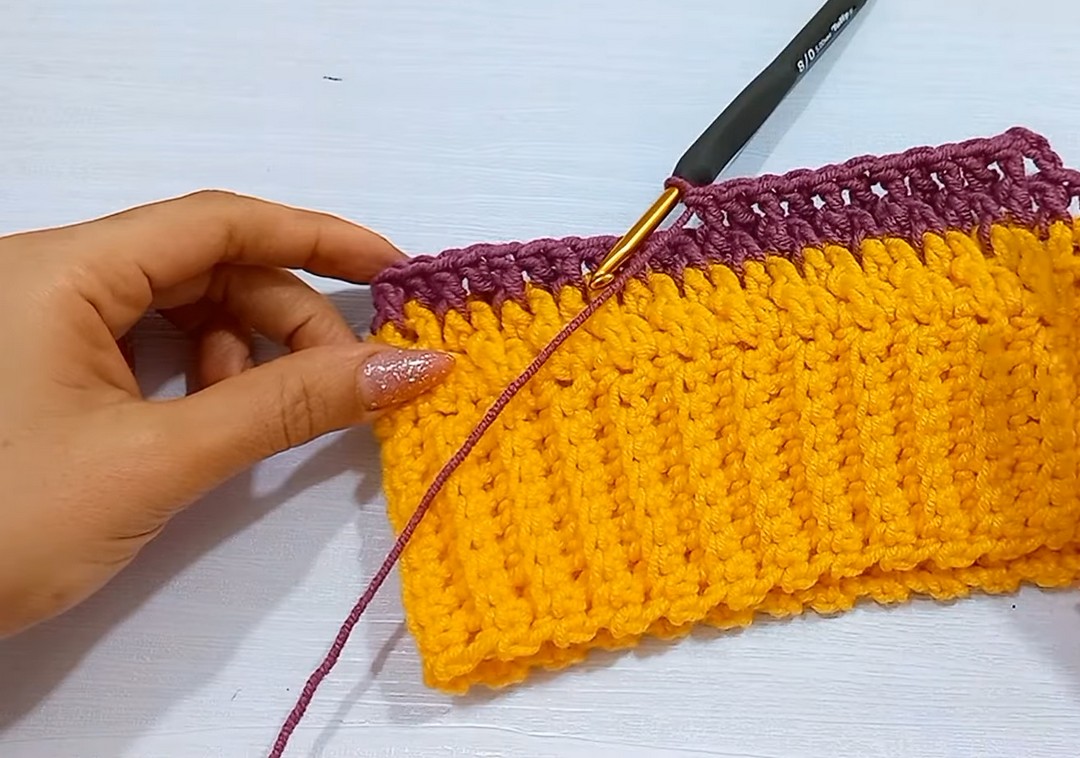
C. Top Decreasing
- Round 1 Decrease:
- CH 1.
- Make Dec SC over the first two stitches.
- Make Dec SC over the next two stitches.
- Continue this decrease across every 2 stitches.
- Join with SL ST into the first Dec SC.
- Round 2 Decrease:
- CH 1.
- Make Dec SC into the first two stitches. Make 1 SC into the next.
- Repeat the sequence (Dec SC, SC) to further tighten the top.
- Join with SL ST into the first stitch.
- Round 3 Decrease:
- CH 1.
- Make Dec SC, SC.
- Repeat the pattern (similar to Round 2) until the hole is only slightly open.
- Finishing the Top:
- Cut the yarn, leaving a long tail.
- Use a tapestry needle to weave the tail through the remaining stitches of the final round.
- Pull tightly to close the hole. Secure the tail with a few stitches.
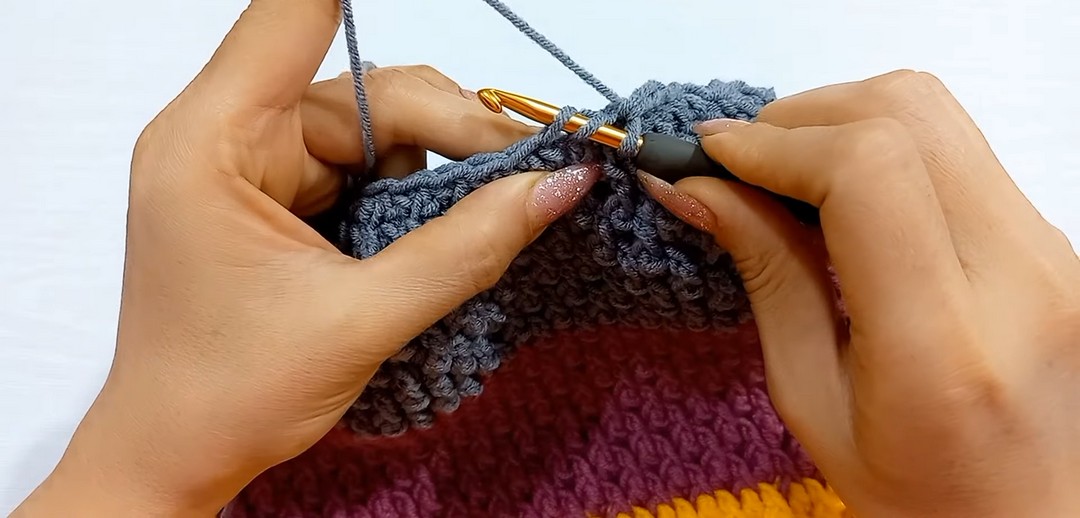
Final Assembly
- Attach a pompom to the secured top of the hat (optional).
- Weave in any remaining loose ends throughout the hat.
Conclusion
Congratulations! You’ve completed the Textured Crochet Alpine Stitch Beanie Hat.
- This hat’s customizable design can suit any yarn color preference or size.
- With its textured brim and alpine stitch body, it’s a versatile and stylish accessory for any wardrobe.