How to Crochet a Granny Square Vest – Button-Up Pattern
Looking for a colorful handmade layer? This granny square vest combines classic crochet squares, a two-color checkerboard design, and a button-up front.
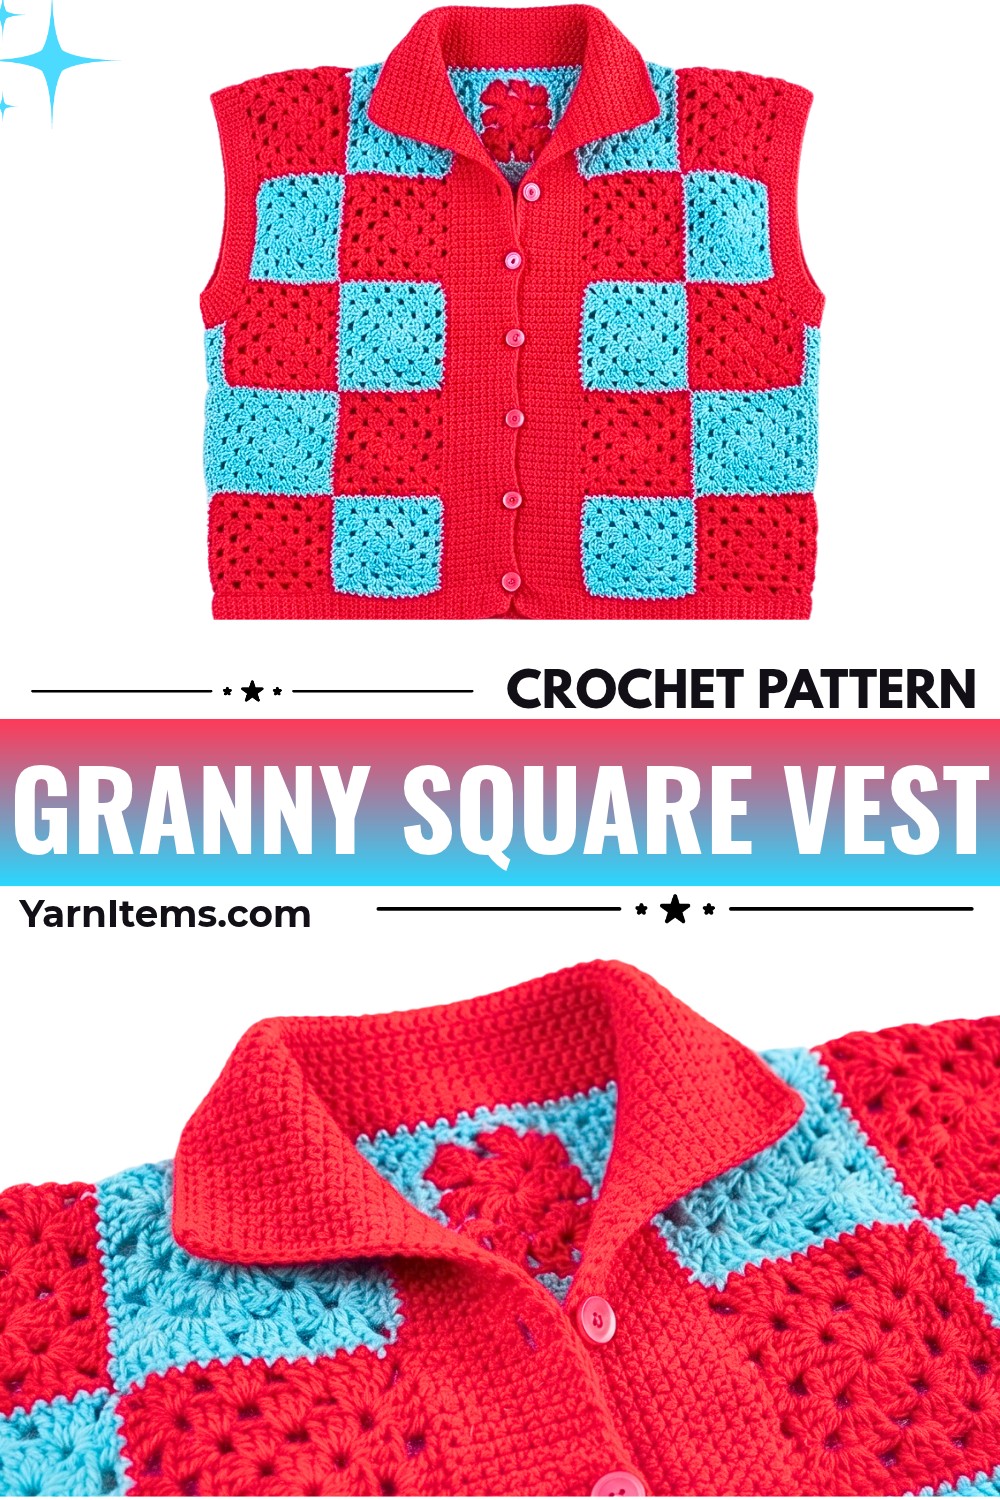
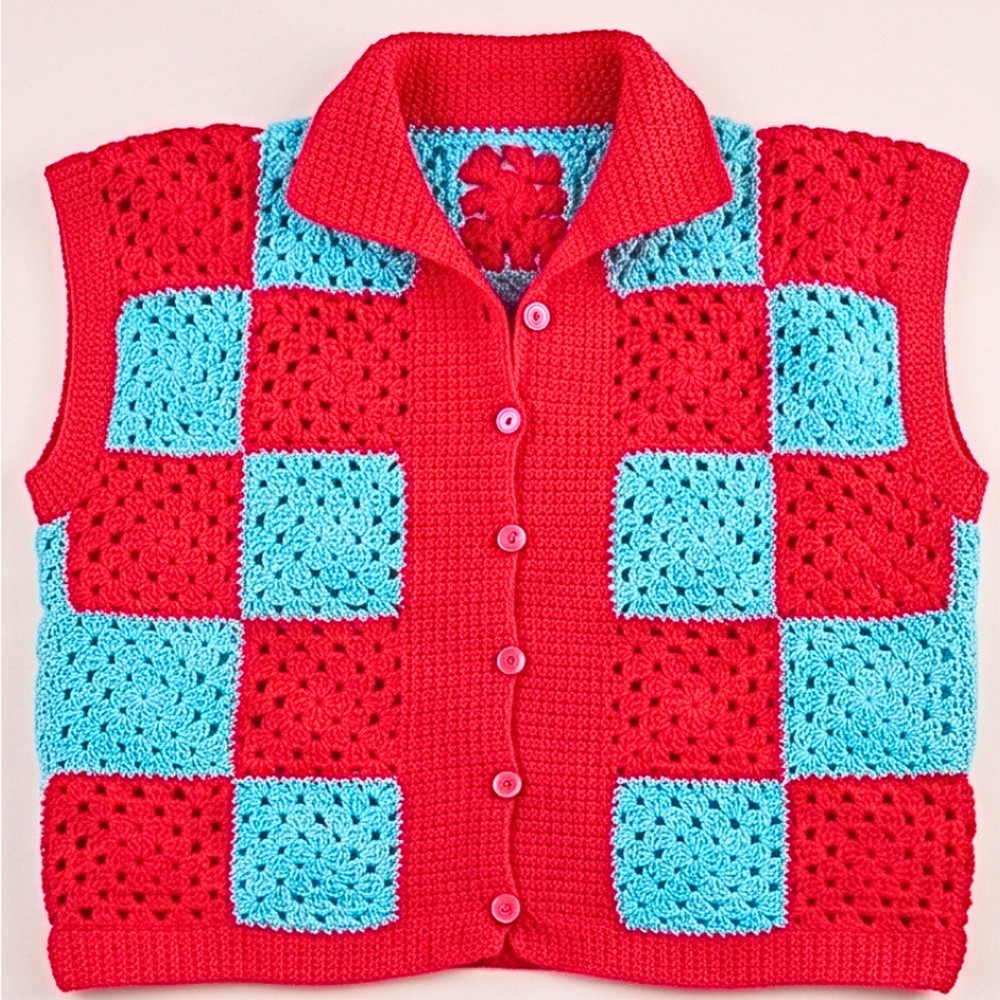
Classic crochet granny squares come together to create a charming vest with a relaxed fit and a colorful checkerboard appearance. Two contrasting yarn colors give each square its own place in the design, while the sleeveless shape makes this crochet piece easy to layer over everyday outfits.
Here, you’ll learn how to measure and plan the square layout, crochet each four-round granny square, and join the pieces into a wearable vest. The instructions also cover the shoulder seams, armhole openings, front border, and buttonholes, so you can follow the process from the first square to the finished crochet garment.
Credit Vima’s Crochet
Materials & Tools Needed
Prepare all your supplies before beginning. Since this vest is made from individual granny squares, you’ll need enough yarn in both colors to complete the full grid.
- Yarn: 100% acrylic medium-weight yarn (Worsted / Weight 4) in two contrasting colors, designated as Color A and Color B.
- Crochet Hook: 4.5 mm crochet hook.
- Measuring Tape: For checking your bust circumference, desired vest length, and granny square dimensions.
- Stitch Markers: To mark armhole openings, buttonhole positions, and key joining points.
- Tapestry / Yarn Needle: For joining the squares, sewing shoulder seams, attaching buttons, and weaving in yarn ends.
- Scissors: For cutting yarn.
- Buttons: Approximately five 0.5-inch buttons for the front closure.
Finished Size & Customization Ideas
The demonstrated vest is designed around a 44-inch bust circumference and a finished length of approximately 27 inches.
Each completed four-round granny square measures approximately 5 × 5 inches. The full design uses a 9-square-wide by 6-row-high grid.
Sample Layout:
- Width: 9 squares
- Height: 6 rows
- Color A: 27 squares
- Color B: 27 squares
- Total: 54 squares
Adjusting the Width: Measure your bust circumference and divide it by the width of one completed granny square. Round up as needed for a more relaxed fit. Add or remove squares to suit your measurements.
Adjusting the Length: Change the number of horizontal square rows to shorten or lengthen the vest. When you change the overall height, check the placement of the armholes and shoulder sections.
Color Combinations: The original design alternates Color A and Color B in a checkerboard arrangement. Choose two contrasting shades to make the pattern stand out.
Sleeve Variations: This tutorial creates a sleeveless vest. For a future variation, you can attach fitted crochet sleeves or additional granny square sections around the armhole openings.
Pattern Abbreviations & Terminology
- Ch: Chain stitch
- Sl St: Slip stitch
- Dc: Double crochet
- Sc: Single crochet
- St(s): Stitch(es)
- Rep: Repeat
- Approx: Approximately
- Color A: First yarn color
- Color B: Second yarn color
Step-by-Step Detailed Crochet Instructions
You make the vest by crocheting individual four-round granny squares and joining them into a large rectangular arrangement. Before you start, calculate how many squares you’ll need and prepare a color chart to keep the checkerboard design consistent.
Part A: Calculating Your Size & Grid Layout
Step 1 – Take Your Measurements: Use a measuring tape to measure your bust circumference and the desired finished length of your vest.
The demonstrated measurements are 44 inches around the bust and 27 inches in height.
Step 2 – Make a Test Granny Square: Crochet one complete granny square using all four rounds of the pattern below.

Measure the finished square. Each standard square in this tutorial should measure approximately 5 inches × 5 inches.
Step 3 – Calculate the Width: Divide your bust circumference by 5 inches.
For the demonstrated size: 44 ÷ 5 = 8.8
Round up to 9 squares for a comfortable, relaxed fit.
Step 4 – Calculate the Height: Divide your desired vest length by the 5-inch square measurement.
For the demonstrated length: 27 ÷ 5 = 5.4
Use 6 rows of squares to create the planned height.
Step 5 – Prepare the Color Chart: Plan a grid measuring 9 squares wide and 6 rows high.
Alternate Color A and Color B in a checkerboard pattern. You’ll need:
- 27 squares in Color A.
- 27 squares in Color B.
- 54 squares altogether.
Keep your chart nearby while crocheting so you can follow the correct color placement when joining the pieces.
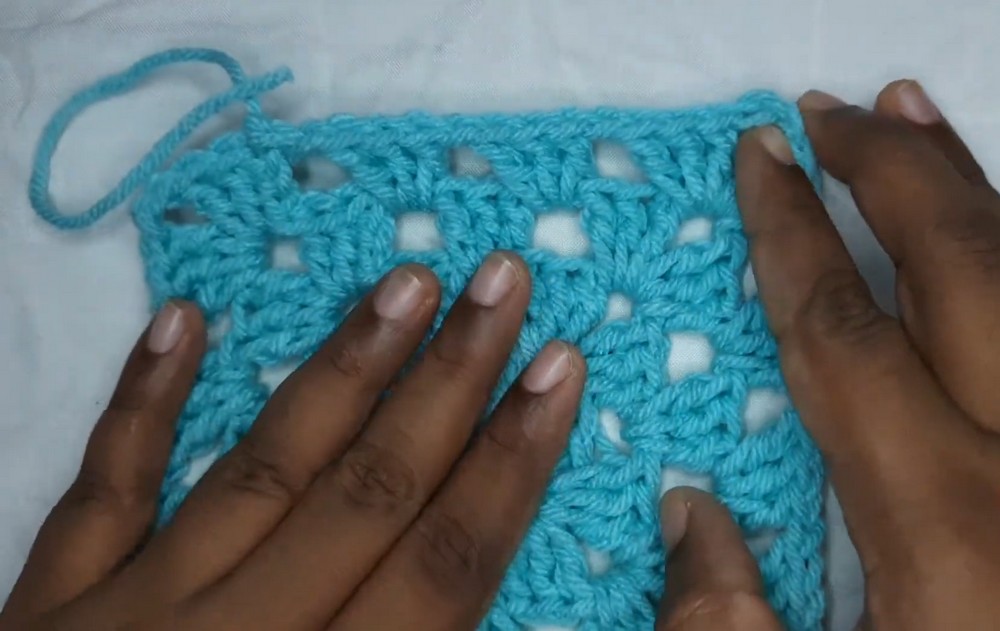
Part B: Crocheting the Individual Granny Squares (4 Rounds Each)
Work each granny square in four rounds using double crochet clusters and chain spaces. Form the corner spaces with chain-2 sections, and separate the clusters along the sides with chain-1 spaces.
Make 27 squares in Color A and another 27 in Color B.
Step 1 – Create the Magic / Cinch Circle: Take your yarn and form a cinch circle. Insert your crochet hook into the circle and pull up a loop to prepare for the first round.
Step 2 – Round 1: Create the Center Clusters
- Chain 3. These chains count as your first double crochet.
- Work 2 double crochets into the cinch circle to complete the first 3-dc cluster.
- Chain 1.
- Work 3 double crochets into the circle, then chain 1.
- Repeat the 3-dc cluster and chain-1 sequence 2 more times.
You should now have 4 clusters in total.
- Chain 1 and pull the yarn tail tight to close the center circle.
- Join with a slip stitch into the third chain of the starting chain-3.
- Work 3 slip stitches across the tops of the stitches to reach the center chain-1 corner space.
Step 3 – Round 2: Form the Four Corners
- Chain 3, then work 2 double crochets into the same corner space.
- Chain 2.
- Work another 3 double crochets into the same space.
This completes your first corner shell: 3 dc, ch 2, 3 dc.
- Chain 1.
- Move to the next chain-1 space and work another corner shell: 3 dc, ch 2, 3 dc.
- Chain 1.
- Repeat the same corner sequence in the remaining two chain-1 spaces.
You should now have four corner shells.
- Chain 1 and slip stitch into the third chain of the starting chain-3.
- Work 3 slip stitches to reach the center of the next corner space.
Step 4 – Round 3: Expand the Side Sections
- Work a corner shell (3 dc, ch 2, 3 dc) into the corner space.
- Chain 1.
- Work 3 double crochets into the next side chain-1 space.
- Chain 1.
- Work another corner shell into the following corner space.
Continue around the square, alternating corner shells in the corner spaces with 3-dc groups in the side spaces.
Chain 1 between the sections.
Once all four sides are complete, join with a slip stitch into the third chain of the starting chain-3.
Work 3 slip stitches to reach the next corner space.
Step 5 – Round 4: Complete the Square
- Work a corner shell (3 dc, ch 2, 3 dc) into the corner space.
- Chain 1.
- Work 3 double crochets into each side chain-1 space along the edge.
- Chain 1 between the side sections.
- Work the next corner shell into the following corner space.
You will have two side spaces along each side in this round.
Continue the same arrangement around all four sides.
Join with a slip stitch into the third chain of the starting chain-3. Cut the yarn, leaving a tail for weaving in, and fasten off.
Your completed square should measure approximately 5 × 5 inches.
Step 6 – Make the Remaining Squares: Repeat the same four-round instructions until you have 27 squares in Color A and 27 squares in Color B.
Arrange them according to your checkerboard chart before joining.

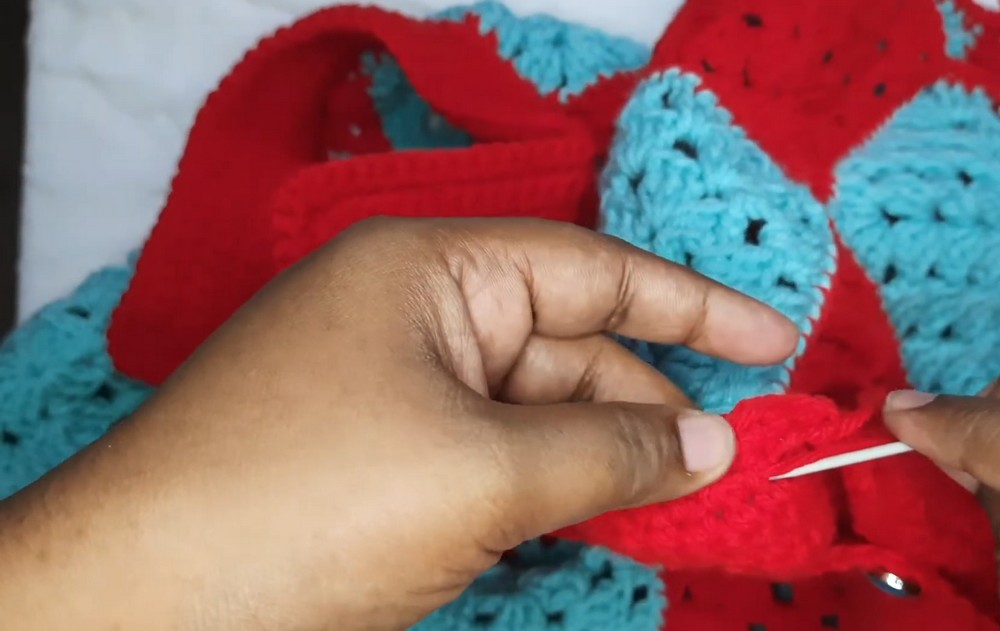
Part C: Assembly – Joining the Granny Squares
Once all 54 squares are ready, arrange them into the planned 9-by-6 grid. Check the color placement before sewing because changing the arrangement later can mean unjoining several seams.
Step 1 – Lay Out the Squares: Place all the granny squares on a flat surface according to your checkerboard color chart.
Arrange 9 squares across and 6 rows high.
Check that the colors alternate correctly throughout the design.
Step 2 – Position Two Squares Together: Take two neighboring squares and place them right sides together, like a sandwich.
Carefully align their edges and corner stitches.
Step 3 – Prepare the Joining Yarn: Make a slip knot with your joining yarn and thread the yarn through your tapestry needle.
Insert the needle through the back loops or the top two V-shaped loops of the matching corner stitches, closest to the double crochets.
Pull the yarn through, leaving a small tail to weave in later.
Step 4 – Join Using Whip Stitch: Work a consistent whip stitch along the adjoining edges.
Catch the top two loops of each matching stitch from both squares as you sew. Keep your stitches even so the joined edges remain aligned.
Step 5 – Join the Horizontal Rows: Continue sewing the squares together row by row until you complete all horizontal sections.
Step 6 – Join the Vertical Rows: Once you’ve joined the horizontal rows, sew the vertical edges together to complete the full grid.

Part D: Armhole & Shoulder Construction
Now shape the joined granny square arrangement into a vest by leaving openings for the arms and joining the shoulder sections.
Step 1 – Leave the Armhole Openings: On each side of the vest, leave 2 square spaces unsewn to create the armhole openings.
The demonstrated openings measure approximately 8 to 10 inches.
Use stitch markers to mark the beginning and end of each opening before sewing the remaining side sections.
Step 2 – Join the Shoulder Seams: Fold the front sections over the back shoulder areas.
Using your tapestry needle and whip stitch, sew the top shoulder seams together.
Leave the center 5 squares open to create the neckline.
Check that both shoulder seams are aligned before fastening off.
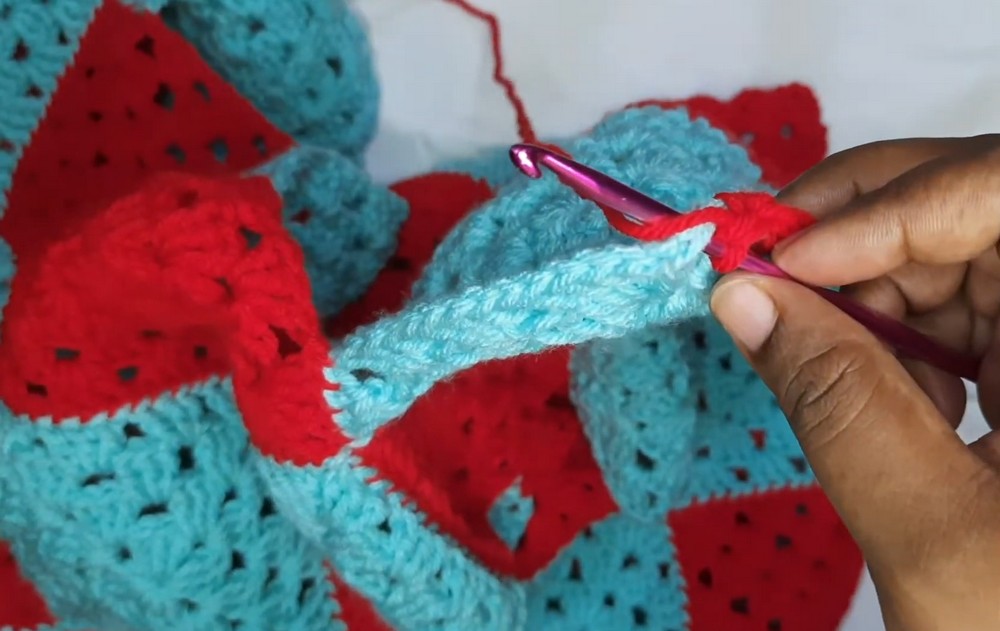
Part E: Front Border & Neckband (8 Rows)
Finish the front opening and neckline with eight rows of single crochet. This border frames the vest and provides the foundation for the buttonholes.
Row 1 – Work Around the Front Opening: With the right side facing you, attach your yarn at the bottom right front edge.
Chain 1 and work 1 single crochet into every stitch and chain-1 space as you move up the right front panel.
Continue around the collar and down the left front panel.
Shape the Neckline: When working across the curved neck section, use 2 single crochets together (sc2tog) where needed to keep the neckline neat and flat.
Turn the Corners: At sharp collar and corner transitions, work 3 single crochets into one stitch or space to help the border turn smoothly.
Rows 2-8 – Complete the Border: Chain 1 and turn your work.
Work 1 single crochet into each stitch across the entire band.
Remember to work 3 single crochets into the center corner stitch on each row around the collar to maintain the shape.
Continue until you have completed all 8 rows.
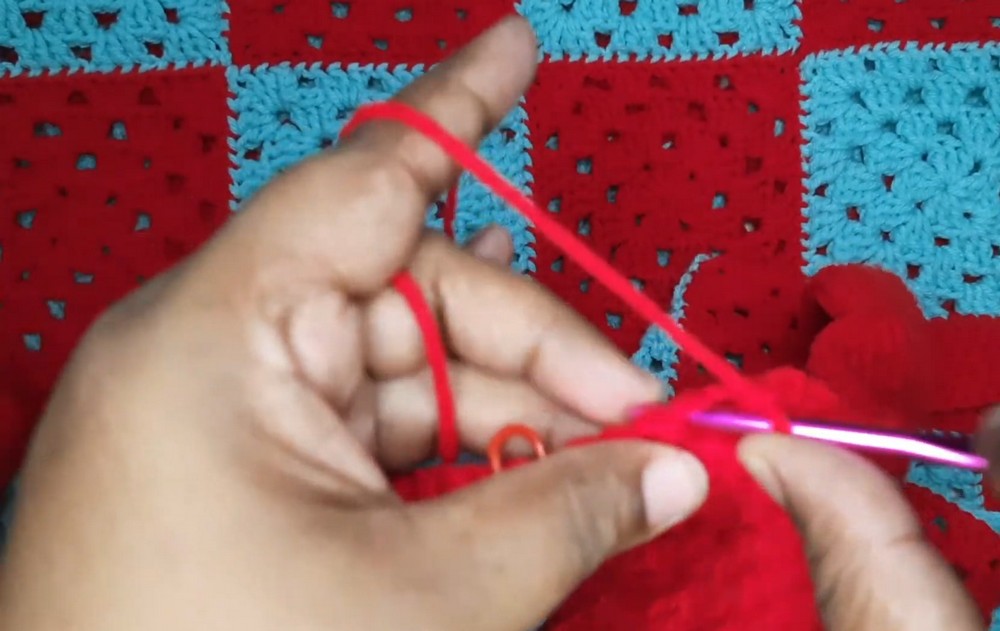
Part F: Creating Buttonholes
The front border includes five buttonholes. Mark their positions before crocheting to keep the spacing even.
Step 1 – Mark the Buttonhole Positions: Before completing your final border rows, position 5 stitch markers along one front band.
Space them evenly, starting approximately one square down from the shoulder.
Step 2 – Crochet the Buttonholes: On your designated buttonhole row, work single crochet stitches until you reach the first marker.
Chain 1, skip 1 single crochet, and work 1 single crochet into the next stitch.
Repeat this process at each marked position.
Step 3 – Complete the Buttonhole Loops: On the following row, work 1 single crochet directly into each chain-1 space from the previous row.
This completes the buttonhole openings while keeping the surrounding border stitches in place.
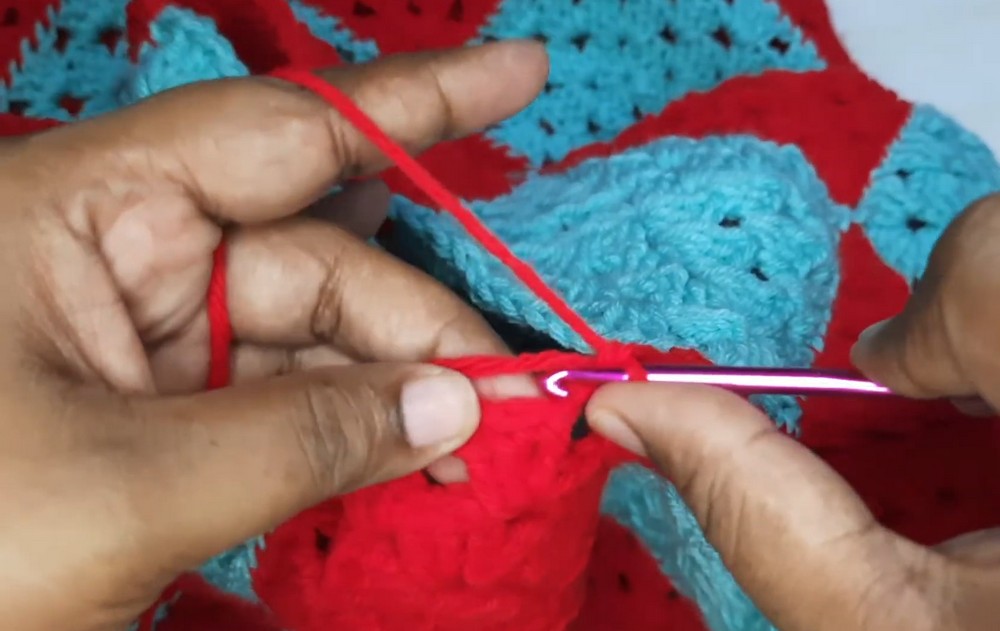
Part G: Sleeve Openings Border
The vest is sleeveless, so the armholes only need a simple single crochet esingle-crochetthem a cfor
Step 1 – Attach the Yarn: With the right side facing you, attach the yarn at the underarm seam using your crochet hook.
Step 2 – Work Around the Armhole: Chain 1 and work single, thenchet stitches evenly e entire armhole opening.
Step 3 – Finish the Border: Join the round with a slip stitch, fasten off, and cut the yarn.
Repeat the same process around the second armhole.
Part H: Attaching Buttons & Weaving in Ends
Step 1 – Position the Buttons: Place the buttons directly opposite the completed buttonholes.
Use stitch markers to check that each button lines up with its corresponding opening.
Step 2 – Sew the Buttons: Thread a sewing needle with secure sewing thread or yarn.
Sew each button firmly onto the opposite front band, using tight double knots to secure it.
Repeat for all five buttons.
Step 3 – Weave in the Remaining Ends: Thread all remaining yarn tails through your tapestry needle.
Weave each end back and forth through the back of the stitches and seams to secure it.
Trim any excess yarn after the ends are safely tucked away.
Your granny square vest is complete, with its alternating two-color design, finished front border, and button-up closure.