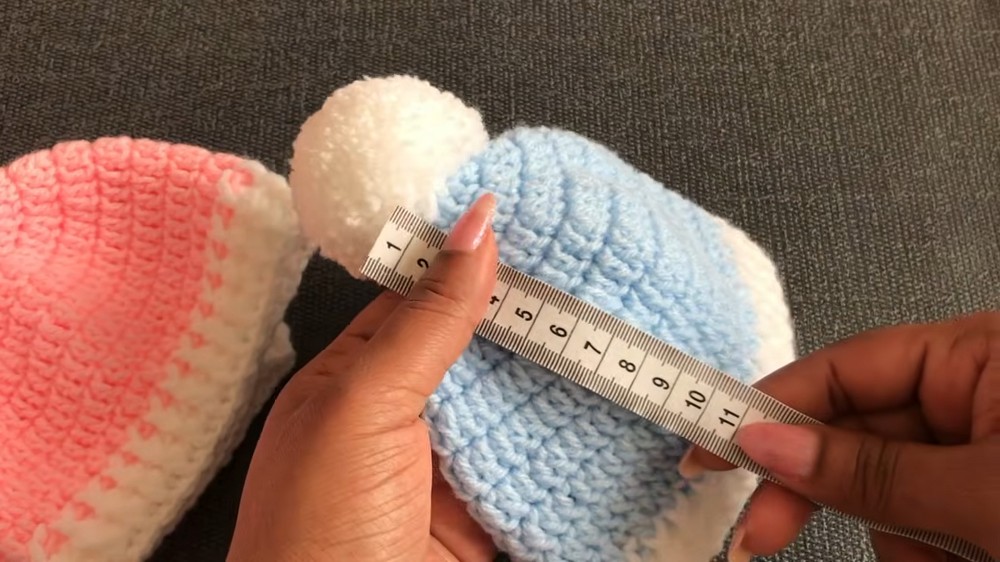
Crochet Baby Hat Pattern – Newborn to 12 Months
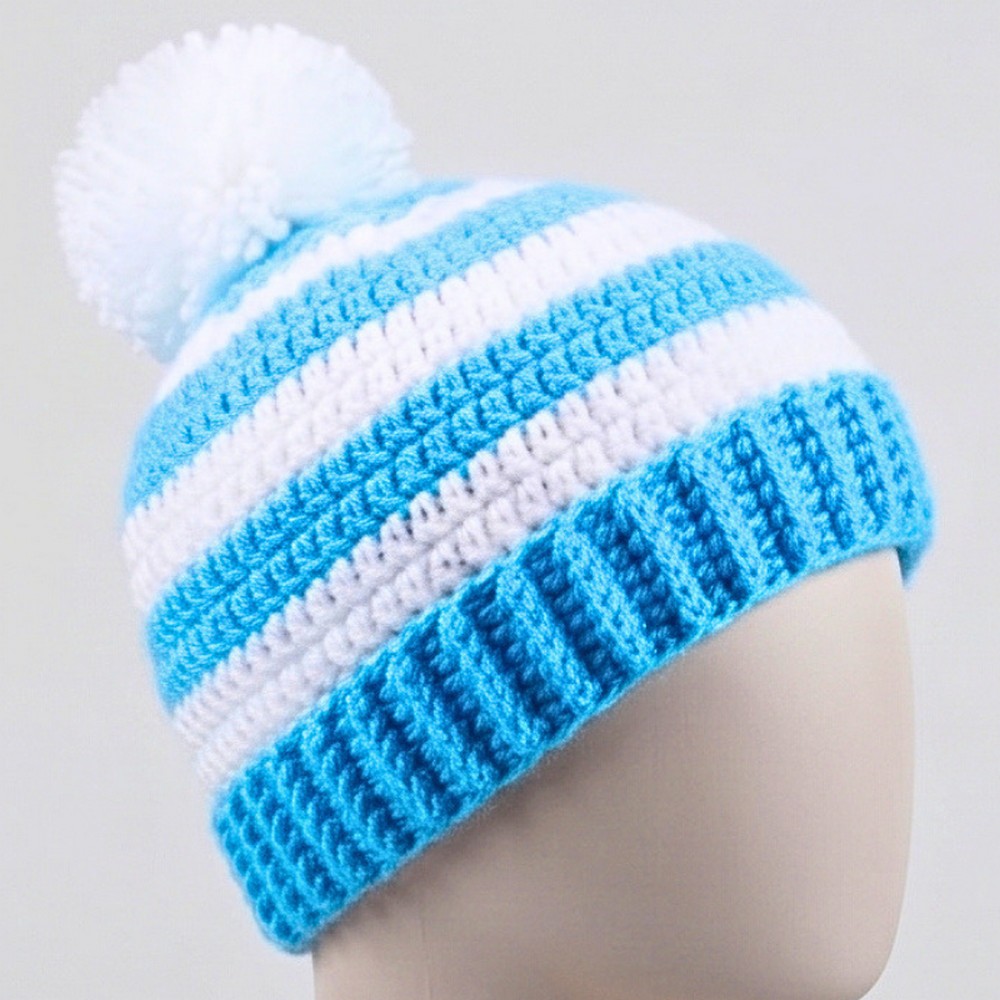
Create a sweet crochet baby hat with a rounded double crochet crown and a stretchy ribbed brim, using simple stitches and just two colors of DK yarn.
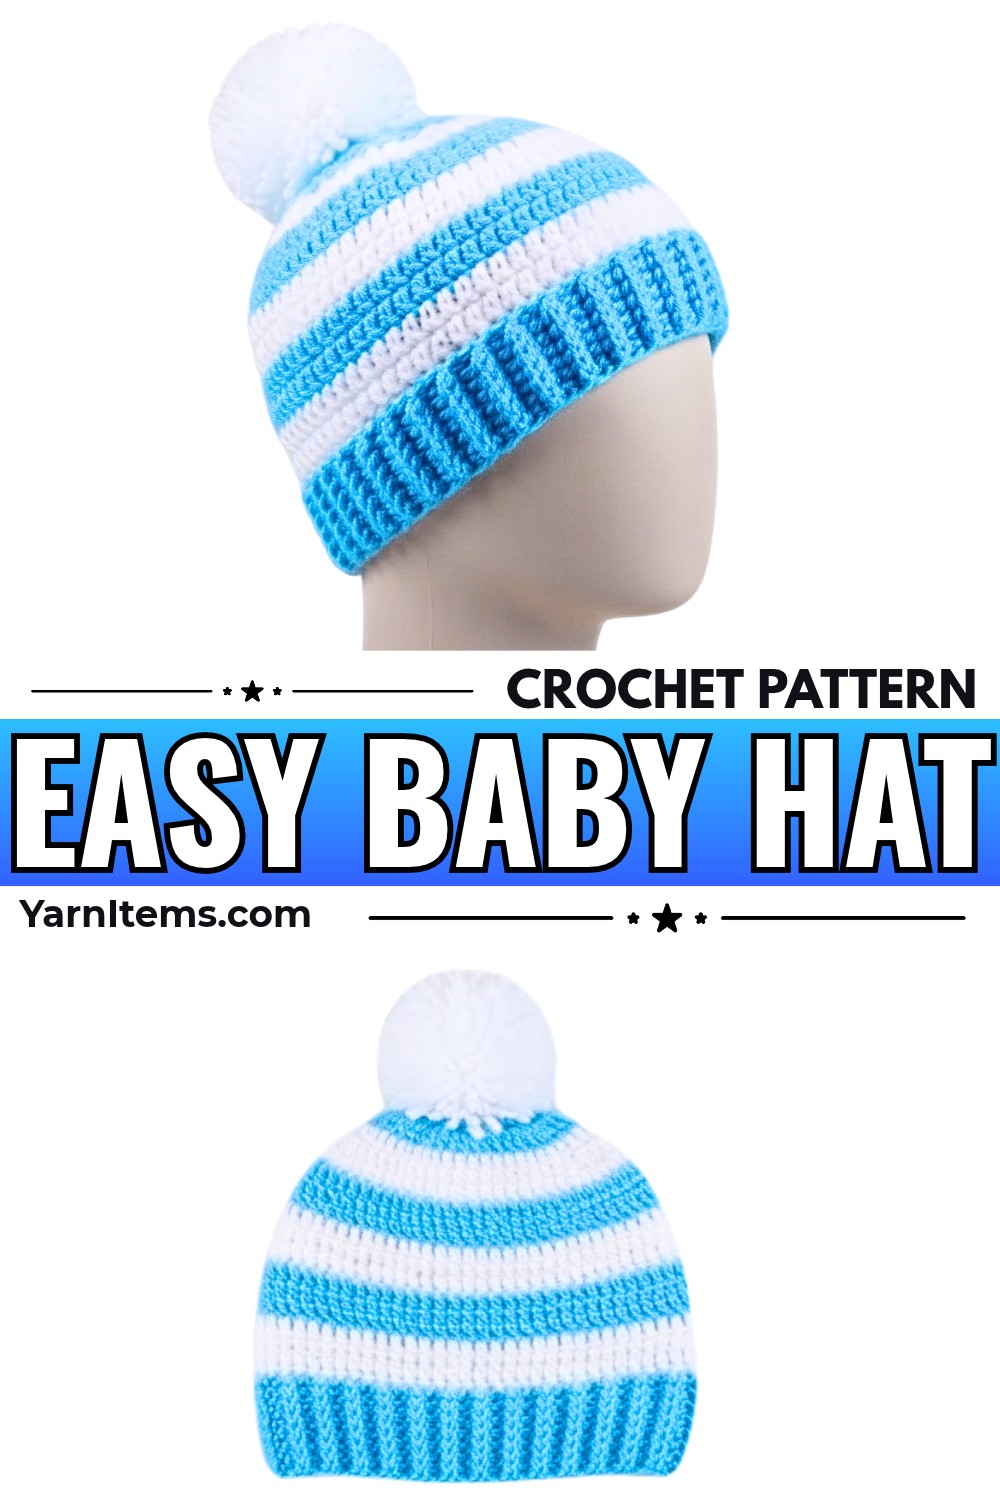
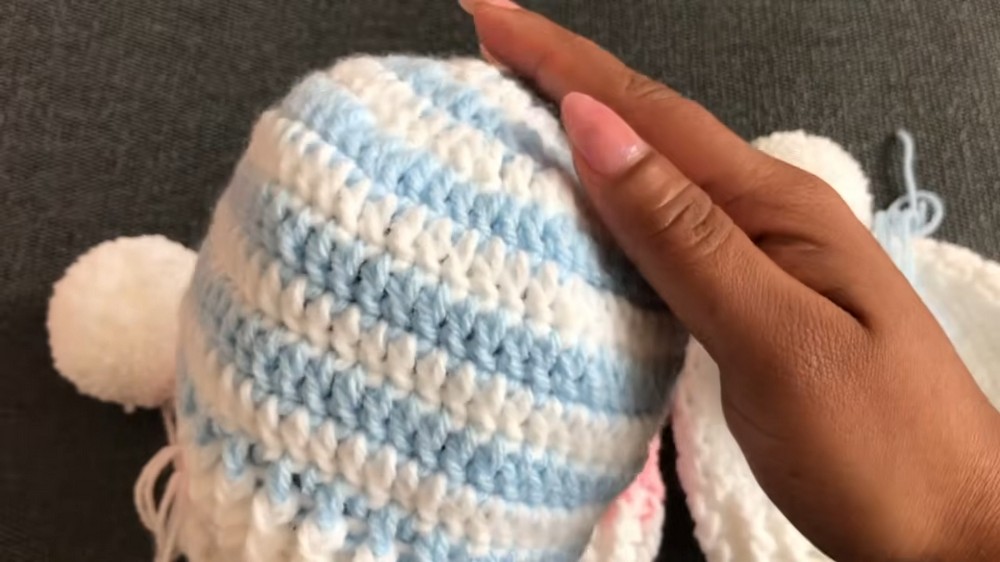
Soft DK yarn and a simple double crochet pattern make this baby hat a lovely handmade accessory for little ones. Its rounded crown gives it a classic shape, while the contrasting ribbed brim adds texture and a snug finish.
This crochet pattern includes sizing information from newborn to 12 months, with detailed instructions for the 0–3 month size. You will begin at the crown, increase gradually to reach the required stitch count, work the straight body rounds, and finish with a two-color ribbed crochet brim.
Credit Crochet For Life
Materials & Tools Needed
- Yarn: Double-knit (DK) yarn, approximately 20–40 grams in total.
- Main Color: Pink for the main hat body.
- Contrast Color: White for the ribbed brim.
- You can also make the entire hat in one solid color.
- Crochet Hook: 4.0 mm crochet hook.
- Notions: Yarn needle for weaving in yarn tails and scissors.
Finished Size & Customization Ideas
Baby Hat Sizing Guide
-
Early / Newborn: Approximate hat height: 12 cm; crown stitch count: 52 stitches; straight body rounds: 4.
-
0–3 Months: Approximate hat height: 13 cm; crown stitch count: 56 stitches; straight body rounds: 4.
-
3–6 Months: Approximate hat height: 14 cm; crown stitch count: 60 stitches; straight body rounds: 5.
-
6–12 Months: Approximate hat height: 15 cm; crown stitch count: 64 stitches; straight body rounds: 6.
The detailed instructions below follow the 0-3 month size, using pink as the main color and white as the contrast color.
Customization Ideas
- Add a Pom-Pom: Attach a handmade yarn pom-pom to the center of the crown for a playful finish.
- Decorate with a Flower: Sew a small crochet flower onto one side of the hat for a sweet baby girl variation.
- Choose One or Two Colors: Follow the demonstrated pink-and-white combination, or use a single solid shade throughout the hat.
- Try Different Color Combinations: Soft pastels, neutral shades, and seasonal colors can all give the same basic hat a different appearance.
Crochet Abbreviations & Terminology
- ch: Chain stitch
- dc: Double crochet
- sl st: Slip stitch
- FPdc: Front post double crochet
- BPdc: Back post double crochet
- st(s): Stitch(es)
Step-by-Step Crochet Instructions
Part 1: Crochet the Crown (Rounds 1–4)
Yarn Color: Pink
Begin at the top of the hat with a magic ring. The first four rounds gradually increase the number of double crochet stitches, forming a flat circular crown.
Round 1 – Magic Ring
- Wrap the yarn around two fingers to form a magic ring loop.
- Insert your hook through the loop and pull the working yarn through.
- Ch 1 to secure the ring.
- Ch 3. This counts as the first double crochet.
- Work 11 more dc into the magic ring, giving you 12 double crochet stitches in total.
- Pull the starting yarn tail tightly to close the ring.
- Join with a sl st into the 3rd chain of the beginning ch-3.
Total: 12 stitches
Round 2 – Increase Round
- Ch 3, counting as the first dc.
- Work 2 dc into the very same space.
- Work 2 dc into each stitch space around.
- Join with a sl st to the 3rd chain.
Total stated in the pattern: 24 dc
Round 3 – Increase Round
- Ch 3, counting as the first dc.
- Work 1 dc in the next space, then 2 dc in the following space.
- Repeat the sequence
(1 dc in next space, 2 dc in next space)all the way around. - Join with a sl st to the 3rd chain.
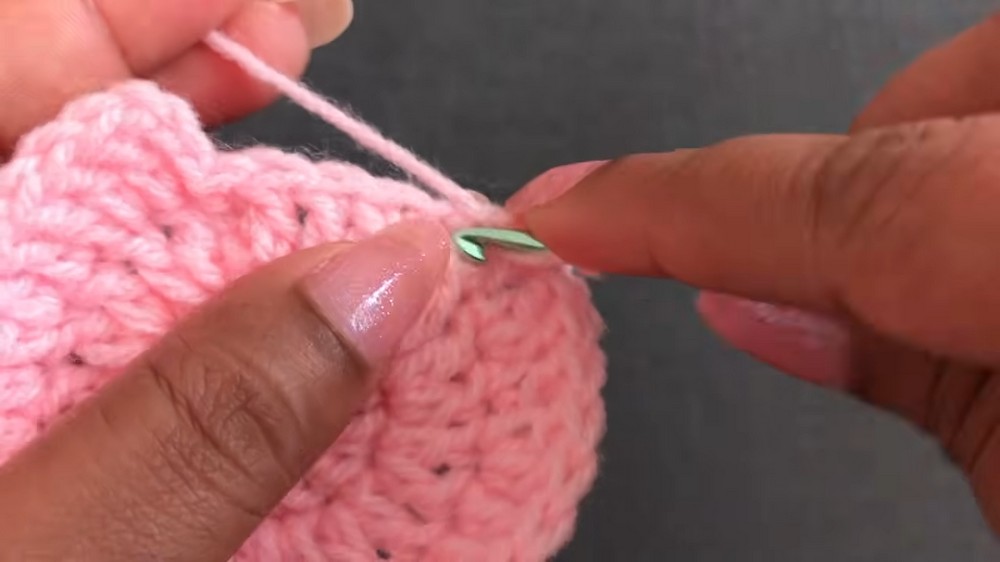
Total: 36 dc
Round 4 – Increase Round
- Ch 3, counting as the first dc.
- Work 1 dc in each of the next 2 spaces.
- Work 2 dc in the next space.
- Repeat the sequence
(1 dc in next 2 spaces, 2 dc in next space)all the way around. - Join with a sl st to the 3rd chain.
Total: 48 dc
Part 2: Size-Specific Increase and Hat Body (Rounds 5-9)
Continue using the pink main color. Round 5 increases the crown to the stitch count required for the 0–3 month size. The following four rounds build the straight sides of the hat without additional increases.
Round 5 – Size-Specific Increase Round
For the 0-3 month size:
- Ch 3, counting as the first dc.
- Work 1 dc in each of the next 4 spaces, making 5 dc in total for this section.
- Work 2 dc together in the 6th space.
- Repeat the increase sequence
(5 dc, 2 dc in next space)around. - Join with a sl st to the 3rd chain.
Total: 56 dc
Rounds 6-9 – Straight Body Rounds
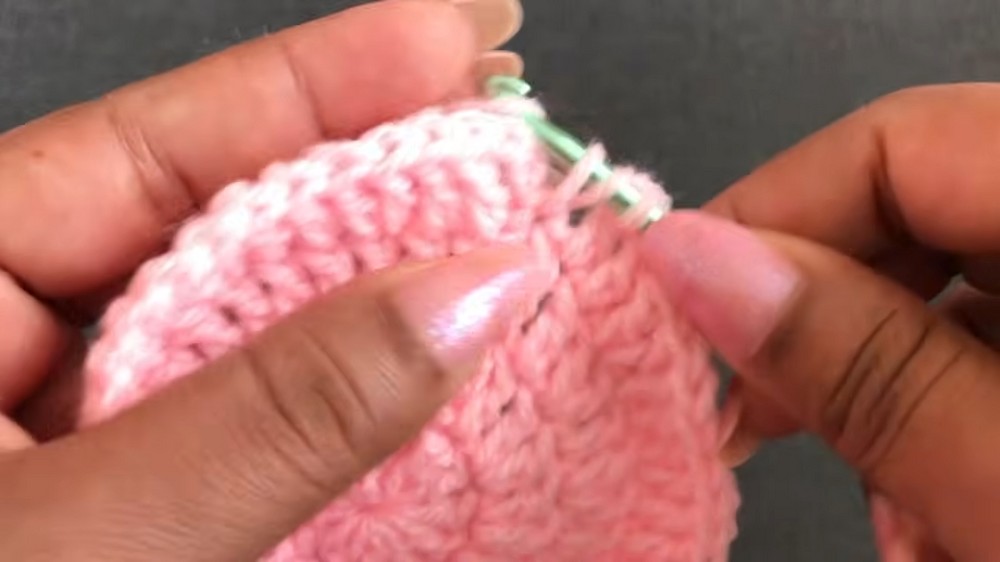
- Ch 3, counting as the first dc.
- Work 1 dc into every stitch around without making any further increases.
- Join each round with a sl st to the 3rd chain.
- Repeat for 4 straight body rounds in total: Rounds 6, 7, 8, and 9.
- Maintain 56 dc in each round.
- After completing Round 9, fasten off and cut the pink main color yarn.
Part 3: Crochet the Ribbed Brim (Rounds 10-12)
Yarn Color: White
The brim uses front post and back post double crochet stitches to create a raised, stretchy-looking ribbed texture. Attach the white contrast yarn at the joining point of Round 9.
Round 10 – Ribbing Base
- Attach the white yarn at the join point of Round 9.
- Ch 3, counting as the first dc.
- Work 1 FPdc around the post of the next stitch.
- Work 1 BPdc around the post of the following stitch.
- Continue alternating
(1 FPdc, 1 BPdc)all the way around the brim. - Join with a sl st to the 3rd chain.
Rounds 11-12 – Ribbed Texture
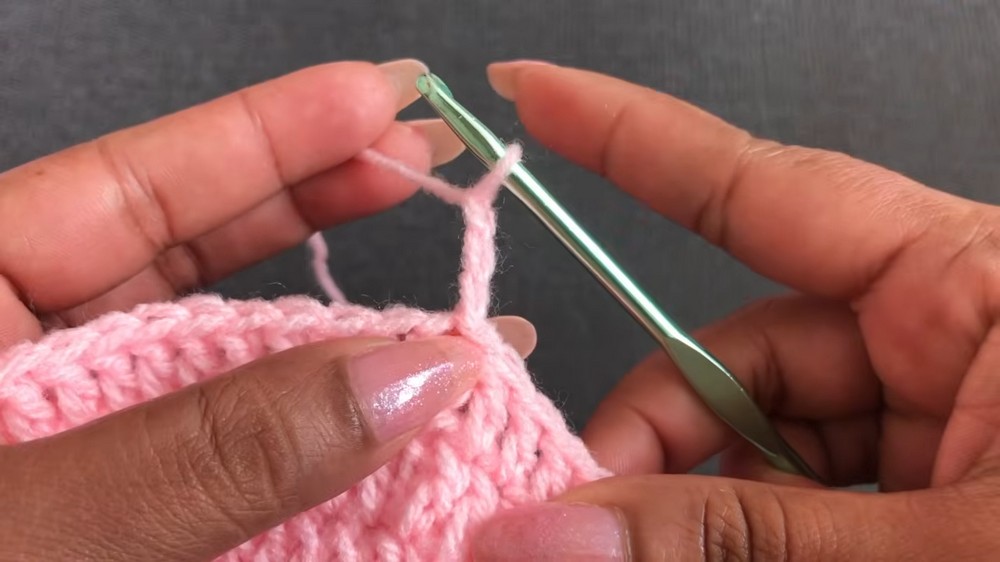
- Ch 3.
- Work FPdc into each FPdc from the previous round.
- Work BPdc into each BPdc from the previous round.
- Continue matching the post stitches around the entire brim.
- Join each round with a sl st to the 3rd chain.
- Repeat for Round 12.
- Fasten off the yarn after completing Round 12.
The alternating raised stitches create the textured ribbing around the bottom of the baby hat.
Assembly & Finishing
Weave in the Yarn Tails
- Thread the starting ring tail and all color-change tails onto your yarn needle.
- Weave each loose end neatly into the interior stitches of the hat.
- Secure the yarn so the ends do not loosen with handling.
- Trim any remaining excess yarn.
Attach an Optional Pom-Pom
If you want to decorate the crown with a pom-pom:
- Position the pom-pom at the top center of the hat.
- Thread its securing strings through the center magic ring at the crown.
- Tie the strings securely on the inside of the hat.
- Trim the excess yarn.