
Crochet Mini Strawberry Keychain – Cute and Easy Pattern
A tiny strawberry can turn an everyday accessory into something wonderfully cheerful and eye-catching. This Crochet Mini Strawberry Keychain brings a sweet fruity touch to keys, backpacks, zippers, and bags with its charming little shape.
Its compact size makes it lightweight and easy to carry, while the bright crochet design adds a playful handmade feel wherever you take it.
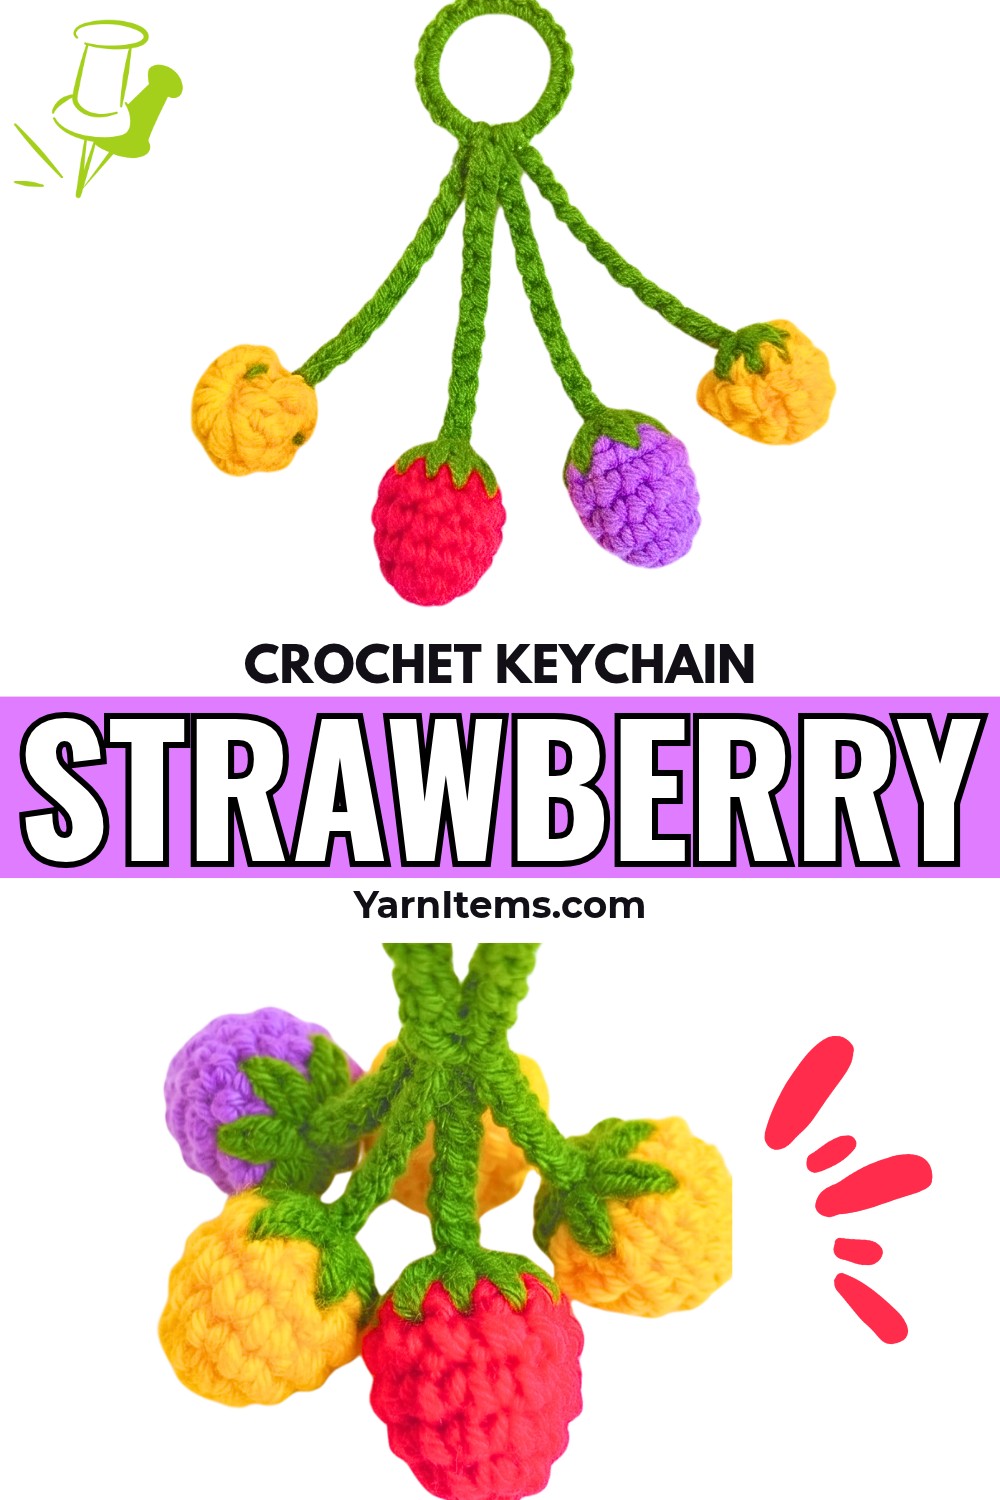
The cutest details often come in the smallest pieces, and this crochet mini strawberry is a lovely example. It can be made as a personal accessory or given as a thoughtful handmade gift to someone who enjoys colorful and cheerful items. With its simple shape and versatile use, this adorable keychain is a delightful piece to add to your collection.
Credit Silva Crochet
Skill Level:
Easy / Advanced Beginner
Requires:
- Basic magic ring setup
- Puff stitches
- Basic shaping
- Assembling small parts
Materials & Tools Needed
Yarn:
- Green: For the calyx top, leaf cap, and dangling stem hanging cords
- Main Color (Light Blue / Pink / Red / Yellow): For the strawberry outer puff shell
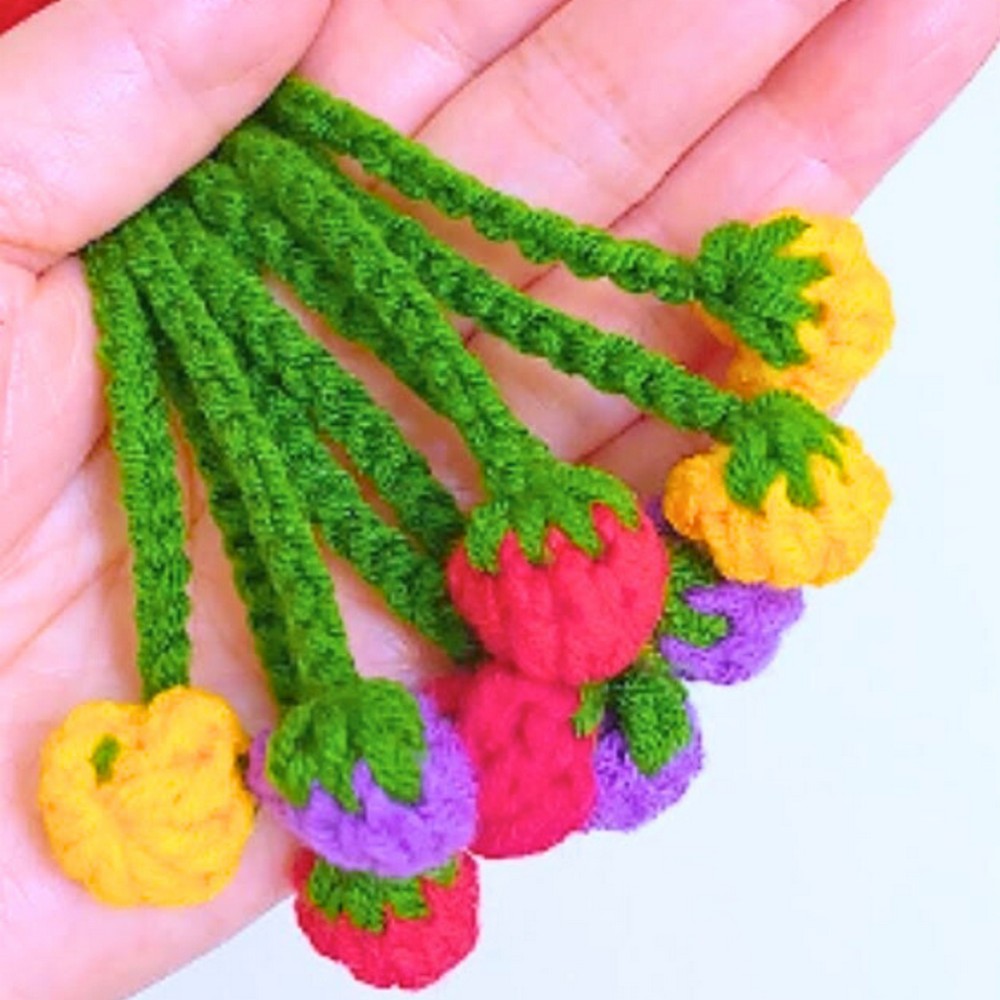
- Accent Colors (Yellow, Red, Purple, Pink): For the mini hanging fruit berries
Crochet Hook:
- 2.50mm (Tulip 4/0)
Keychain Hardware:
- Metal split key ring with connector chain & optional star/flower charm
Tools:
- Scissors
- Tapestry/Yarn Needle
- Tweezers (optional for pulling ends)
Finished Size & Customization Ideas
- Size:
- Main strawberry cap is approx. 1.5–2 inches wide.
- Hanging stem bundle measures approx. 3–4 inches in length.
- Customization Ideas:
- Color Variations: Classic red strawberry with green stem, pastel pink with white accents, vibrant yellow/purple berries.
- Alternate Use: Extend the stem chain length to convert it into a car mirror ornament or bag charm.
Pattern Notes
- Uses US Crochet Terms.
- Main strawberry body is worked as a hollow bell-shaped shell starting from the green calyx top.
- Mini berries are created separately on long chained stems and pulled through the center of the main berry cap.
Stitch Key & Abbreviations
-
MR: Magic Ring
-
ch: Chain
-
sc: Single Crochet
-
dc: Double Crochet
-
sl st: Slip Stitch
-
puff st: 5-Yarn-Over Puff Stitch (Yarn over, insert hook, pull up loop 5 times in same stitch, yarn over, pull through all loops, ch 1 to lock)
-
st(s): Stitch(es)
-
ch-sp: Chain Space
Tips Before You Start
- Maintain Consistent Tension:
For puff stitches, pull loops up to a uniform height (~1 cm) for a neat, even appearance. - Secure Magic Rings:
Ensure the magic ring is pulled tight and securely tied before switching colors to prevent stretching.
Step-by-Step Instructions
Component 1: Main Strawberry Cap & Calyx Top
Part A: Green Calyx Base
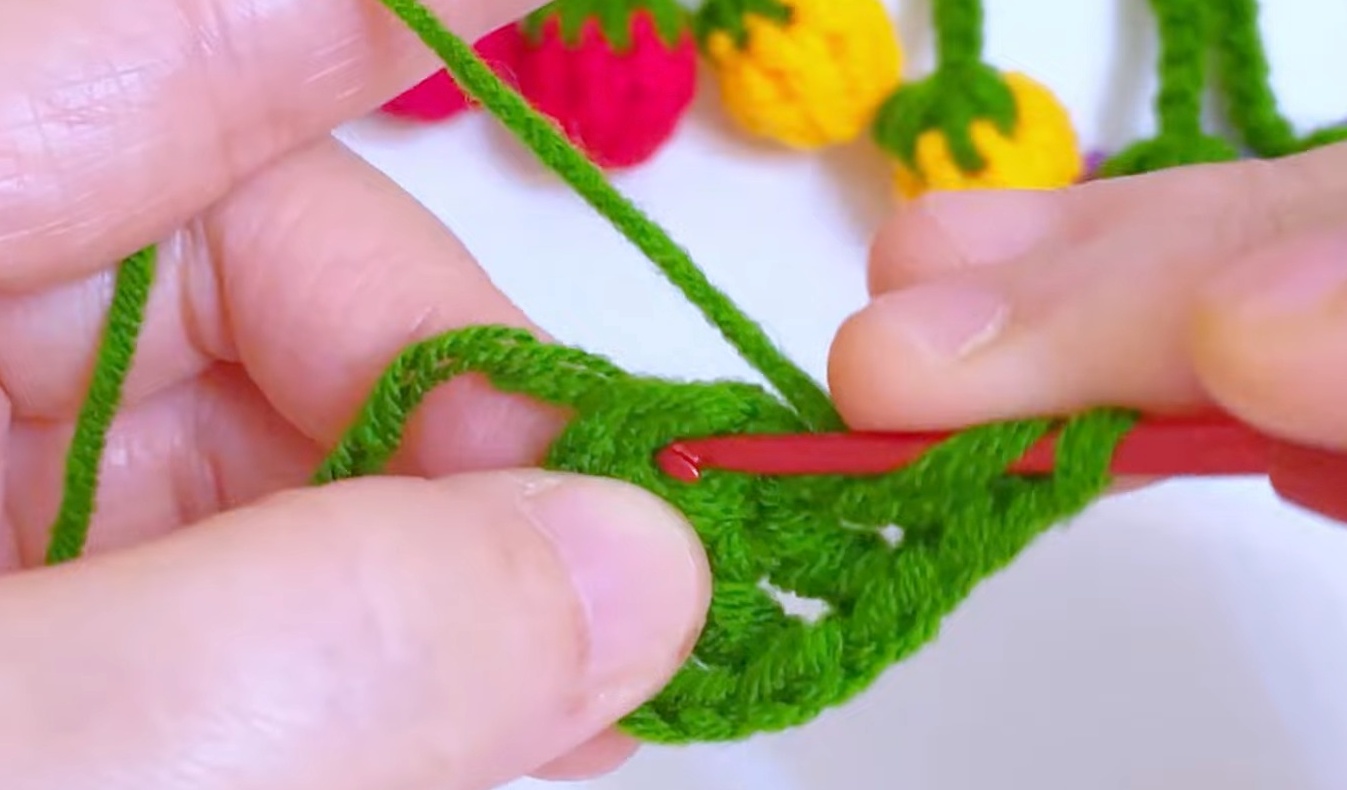
- Round 1 (Green Yarn):
- Create a Magic Ring.
- ch 1, work 6 sc into the ring.
- Pull the tail tightly to close the ring. (Total: 6 sc)
- Round 2 (Green Yarn):
- ch 4 (counts as 1 dc + 1 ch space).
- In the next st, work (1 dc, ch 1).
- Repeat (1 dc, ch 1) in each remaining st around.
- Join with a sl st to the 3rd chain of the initial ch-4. (Total: 6 dc, 6 ch-1 spaces)
- Fasten off the green yarn and weave/tie off the ends.
Part B: Main Strawberry Shell (Puff Shell)
- Round 3 (Switch to Main Shell Color):
- Attach the main color yarn into any ch-1 space from Round 2.
- ch 3.
- Work a 5-yarn-over puff st in the same ch-1 space: (Yarn over, insert hook, pull up loop 5 times, yarn over, pull through all loops, ch 1).
- Repeat 1 puff st + ch 1 into each of the remaining 5 ch-1 spaces.
- Join with a sl st to the top of the first puff stitch. (Total: 6 puff sts)
Part C: Outer Scalloped Petal Border
- Round 4 (Main Shell Color):
- sl st into the gap between puff stitches.
- ch 2, work 1 dc in the same space.
- ch 2, work 1 sc in the same space.
- In the next gap between puff stitches, work (1 dc, ch 2, 1 sc).
- Repeat the petal pattern in each gap around (6 total spaces).
- Join with a sl st to the base, fasten off, and weave in ends.

Component 2: Mini Hanging Berries
Mini Hanging Berries (Make 6)
- Round 1 (Fruit Color):
- Create a Magic Ring.
- ch 3.
- Work 6 dc into the Magic Ring.
- ch 3, sl st back into the Magic Ring.
- Pull the ring tight to cinch the double crochets into a curved bulb shape.
- Round 2 (Calyx Top & Stem – Green Yarn):
- Join Green Yarn at the top edge of the mini berry. ch 1.
- Use a Tunisian gather method: Insert the hook through the top stitches of all 6 dc and pull up loops across (6 loops on the hook).
- Yarn over with green and pull through all 6 loops to gather the top.
- ch 25 to create the hanging stem cord.
- Fasten off, leaving a 2-inch yarn tail.
- Repeat:
- Create 6 mini berries with 25-chain stems in your chosen accent colors.

Final Assembly
- Bundle Stems:
- Gather all 6 green stems, aligning the berries at staggered or even lengths.
- Tie the cords together securely at the top in an overhead knot.
- Trim the excess yarn neatly above the knot.
- Combine Shell and Stems:
- Thread a tapestry needle with green yarn.
- Pass the needle through the bottom center hole of the Strawberry Cap.
- Pull the knotted stem bundle through the center so that it partially sits inside the cap, with the berries dangling below.
- Attach Keychain Hardware:
- Loop the green yarn through the top center of the calyx base.
- Attach the key chain’s metal jump ring through the stitches.
- Secure with double knots and weave any remaining yarn tails inside the cap.
Conclusion
Your Crochet Mini Strawberry Keychain is complete! It features a puff-stitch strawberry cap with dangling mini berries on adorable stems—the perfect accessory for bags, keys, or even as a cute hanging car charm!




One Comment