Crochet Strawberry Headband Pattern with Puff Stitch Berries
Make this playful strawberry headband from scrap yarn using puff stitches, simple color changes, and hand-embroidered green leaves.
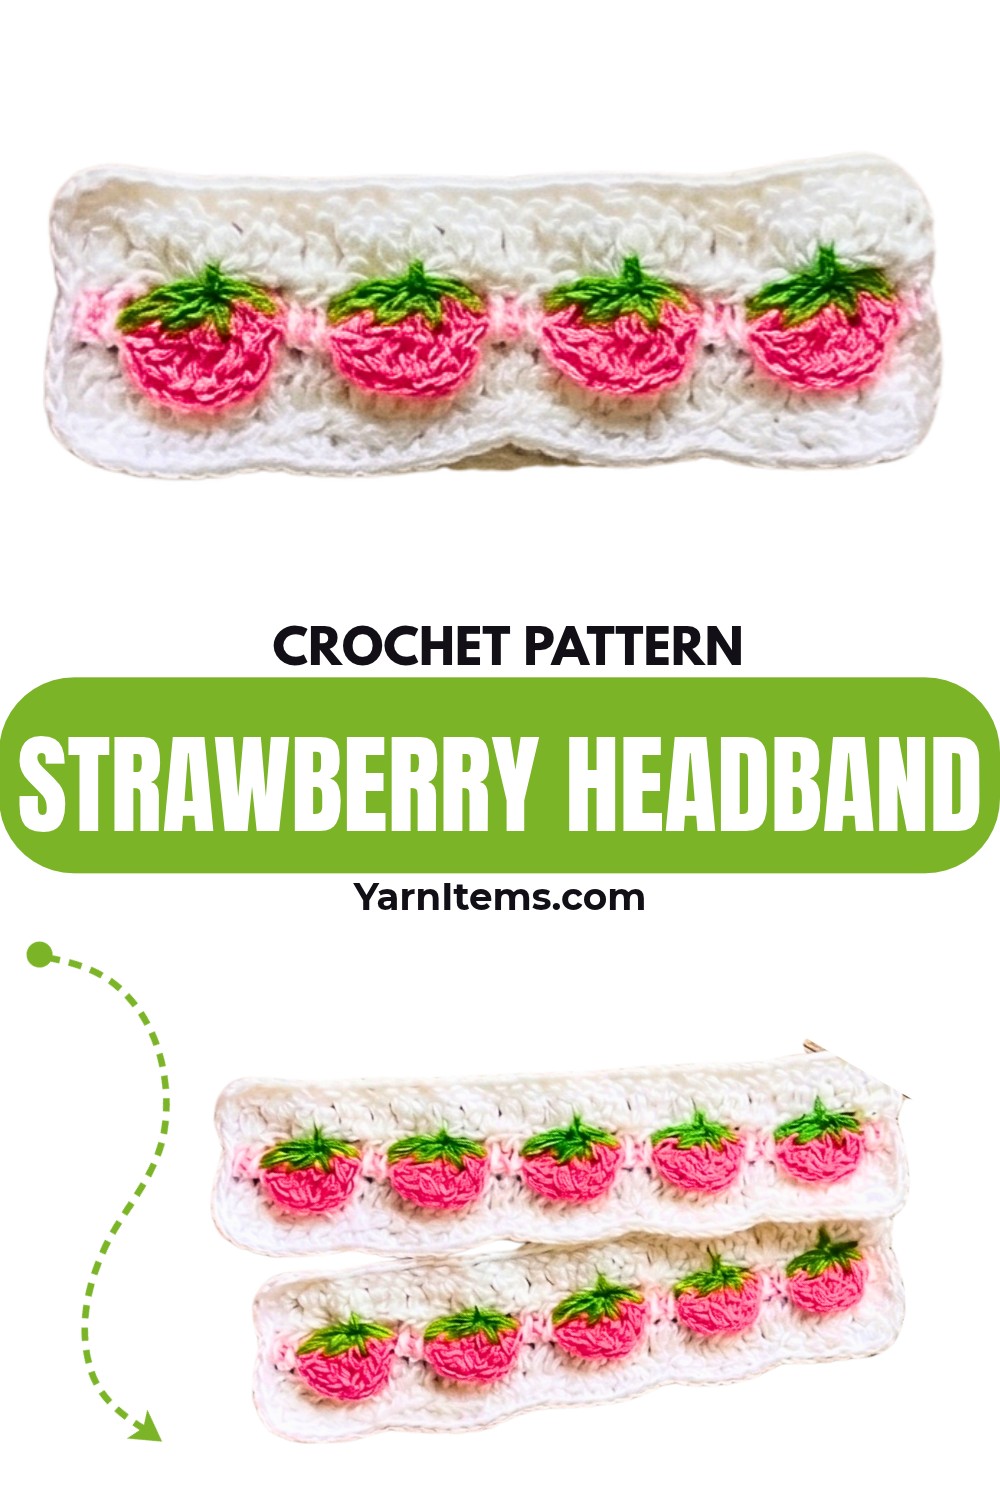
The strawberry crochet headband turns small amounts of White, Pink, and Green yarn into rows of dimensional berry motifs. Puff stitches give each crochet strawberry raised texture, while White borders frame the design and help keep its shape easy to wear.
Starting with 65 chains gives you the base sizing, but checking that chain around your head before continuing lets you adjust fit from the beginning. If the finished crochet band still needs more length, short extension rows can be added before joining the ends.
Credit The Purple Thread
Materials & Tools
- Scrap yarn: White for base and top borders, Pink for strawberries, Green for leaves
- Crochet hook: 5.0 mm
- Yarn needle: For leaf embroidery, sewing ends, and joining
- Scissors
Finished Size & Fit
Pattern begins with 65 chains. Before working Row 1, wrap the foundation chain around your head to check its length. If it feels snug and reaches comfortably around your head, continue with the pattern.
If more length is needed, adjust starting chain count before beginning. Another option is adding extension rows to short ends after the main band is complete.
For extension rows, work 5 sc back and forth along each needed short end for approximately 7 rows, or continue until desired fit is reached.
Abbreviations
ch: Chain
sc: Single crochet
dc: Double crochet
st(s): Stitch(es)
sk: Skip
Puff Stitch (3-dc cluster): Yarn over, insert hook into stitch, yarn over and pull up loop, yarn over and pull through 2 loops on hook. Repeat the same sequence 2 more times in the same stitch, leaving 4 loops on the hook. Yarn over and pull through all 4 loops.
Strawberry Cluster: 1 Puff st, ch 2, 1 Puff st, ch 2, 1 Puff st, all worked into same stitch.

Crochet Strawberry Headband
White Base
Row 1: Using White yarn, ch 65, or adjusted chain length; insert hook into 3rd ch from hook and make 1 dc; continue with 1 dc in each chain across entire row; on final step of last dc, do not yarn over with White; instead, pull Pink yarn through to complete stitch; ch 1 with Pink yarn and pull White tail tight to secure color change; turn.
Before moving on, check that foundation length still matches your intended head circumference. This is the easiest point to make sizing changes without affecting later rows.

Pink Strawberry Row
Row 2: Ch 3; make 1 Puff st in very first st; ch 3, sk next 6 sts along base; in 7th st make 1 Strawberry Cluster consisting of Puff st, ch 2, Puff st, ch 2, Puff st all in same st; ch 3, sk next 6 sts and make another Strawberry Cluster in next 7th st; repeat (ch 3, sk 6, Strawberry Cluster) across row; on final stitch, switch back to White yarn by pulling it through loop; ch 1 with White yarn to secure; turn.
The skipped stitches create open spaces beneath each berry, while each Strawberry Cluster builds its raised shape. Keep every cluster in its designated 7th stitch, so spacing remains even across the band.
White Connecting Row
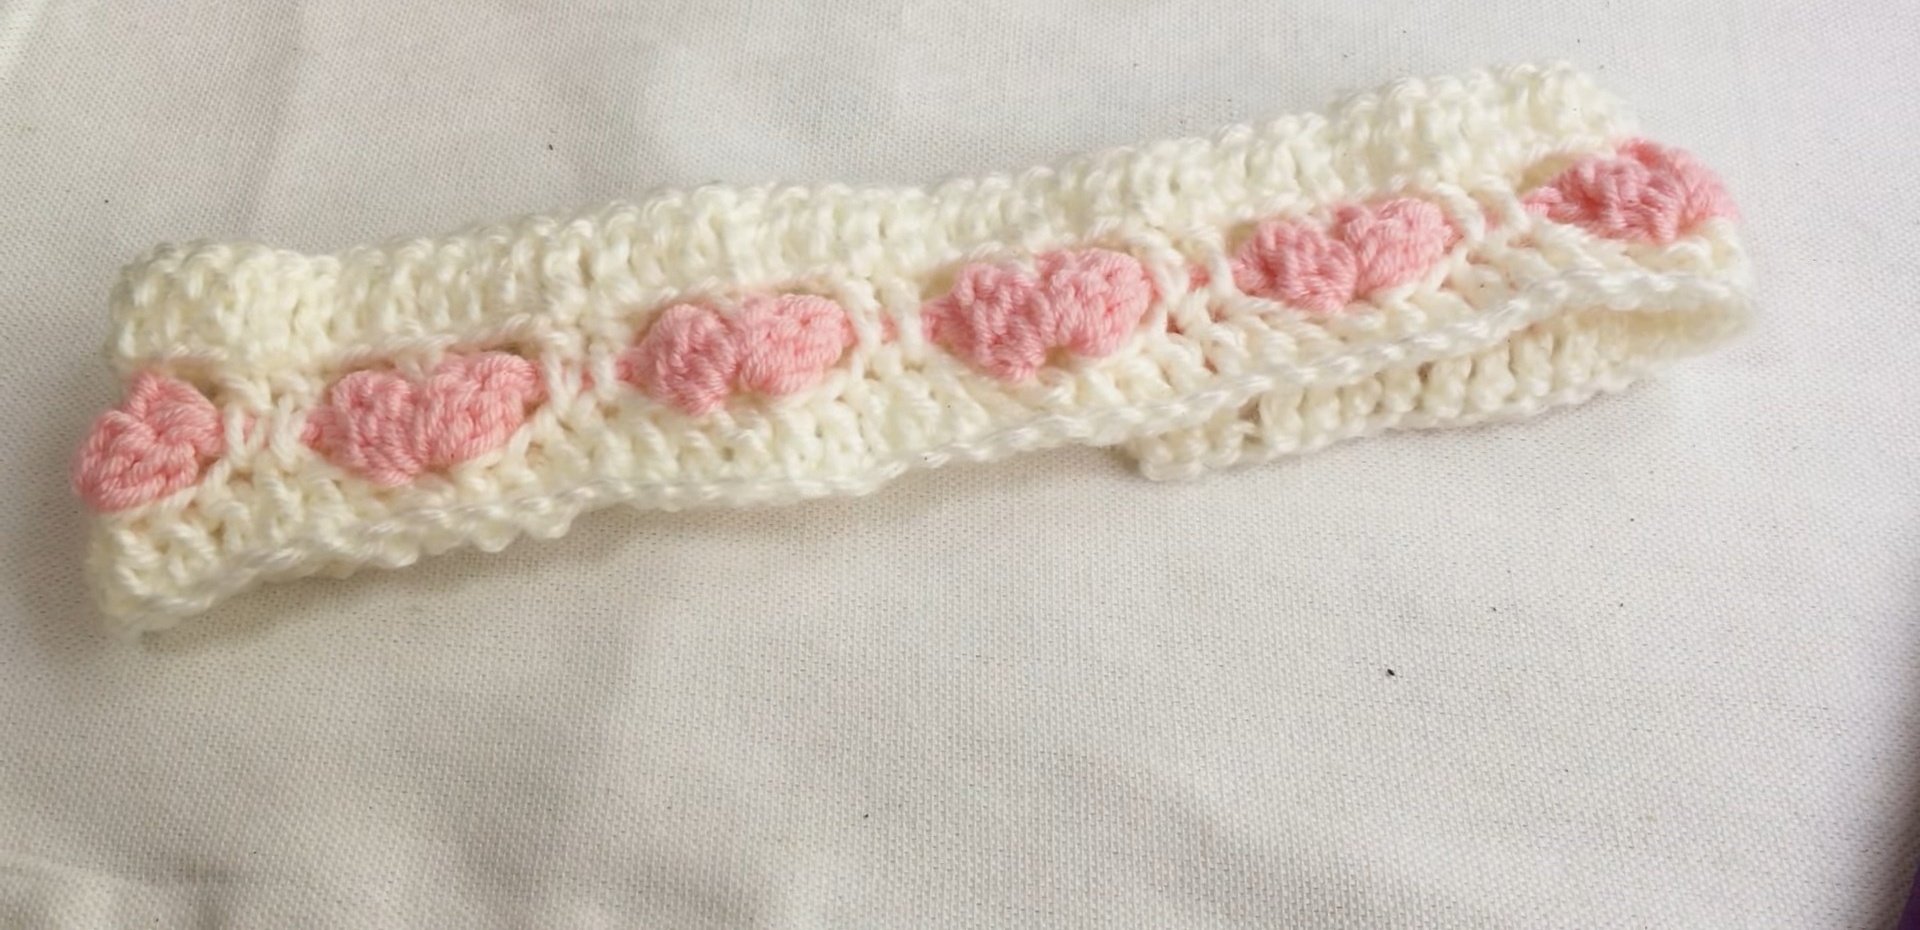
Row 3: Ch 2; make 1 sc into top hole, or center chain space, of first strawberry; ch 2; look down at 6 unworked stitches from Row 1 and make 1 dc into 3rd skipped stitch and 1 dc into 4th skipped stitch; ch 2; make 1 sc into center hole of next Strawberry Cluster; repeat sequence across row as (ch 2, 1 dc in 3rd skipped st of Row 1, 1 dc in 4th skipped st of Row 1, ch 2, 1 sc in center of next Strawberry Cluster); finish row and turn.
This row connects raised strawberry tops back into original White base. When working into skipped stitches, look directly beneath current section rather than relying only on stitch count; this helps keep connecting pairs aligned.
White Top Border
Row 4: Ch 3; make 1 dc in each stitch and chain-space across entire row to close piece and create straight top edge; fasten off unless extension rows are needed.
After this row, berry motifs should sit between White base and top border, leaving clear centers where Green leaf embroidery will be added.
Adjust Length With Extension Rows
If finished band does not reach comfortably around head, add extension rows before joining short ends.
Extension Row 1: Attach White yarn to one short raw end; evenly distribute 5 sc along side edge, such as 2 sc in lower White section, 1 sc in Pink section, and 2 sc in upper White section; ch 1 and turn.
Extension Rows 2-7: Ch 1; sc in each of 5 sts across; turn and repeat for approximately 7 rows, or continue until headband reaches desired length.
Extension placement does not need to interrupt strawberry motifs because these rows are added only at short ends. Check circumference before joining.
Join Headband Ends
Bring both short ends together after confirming fit.
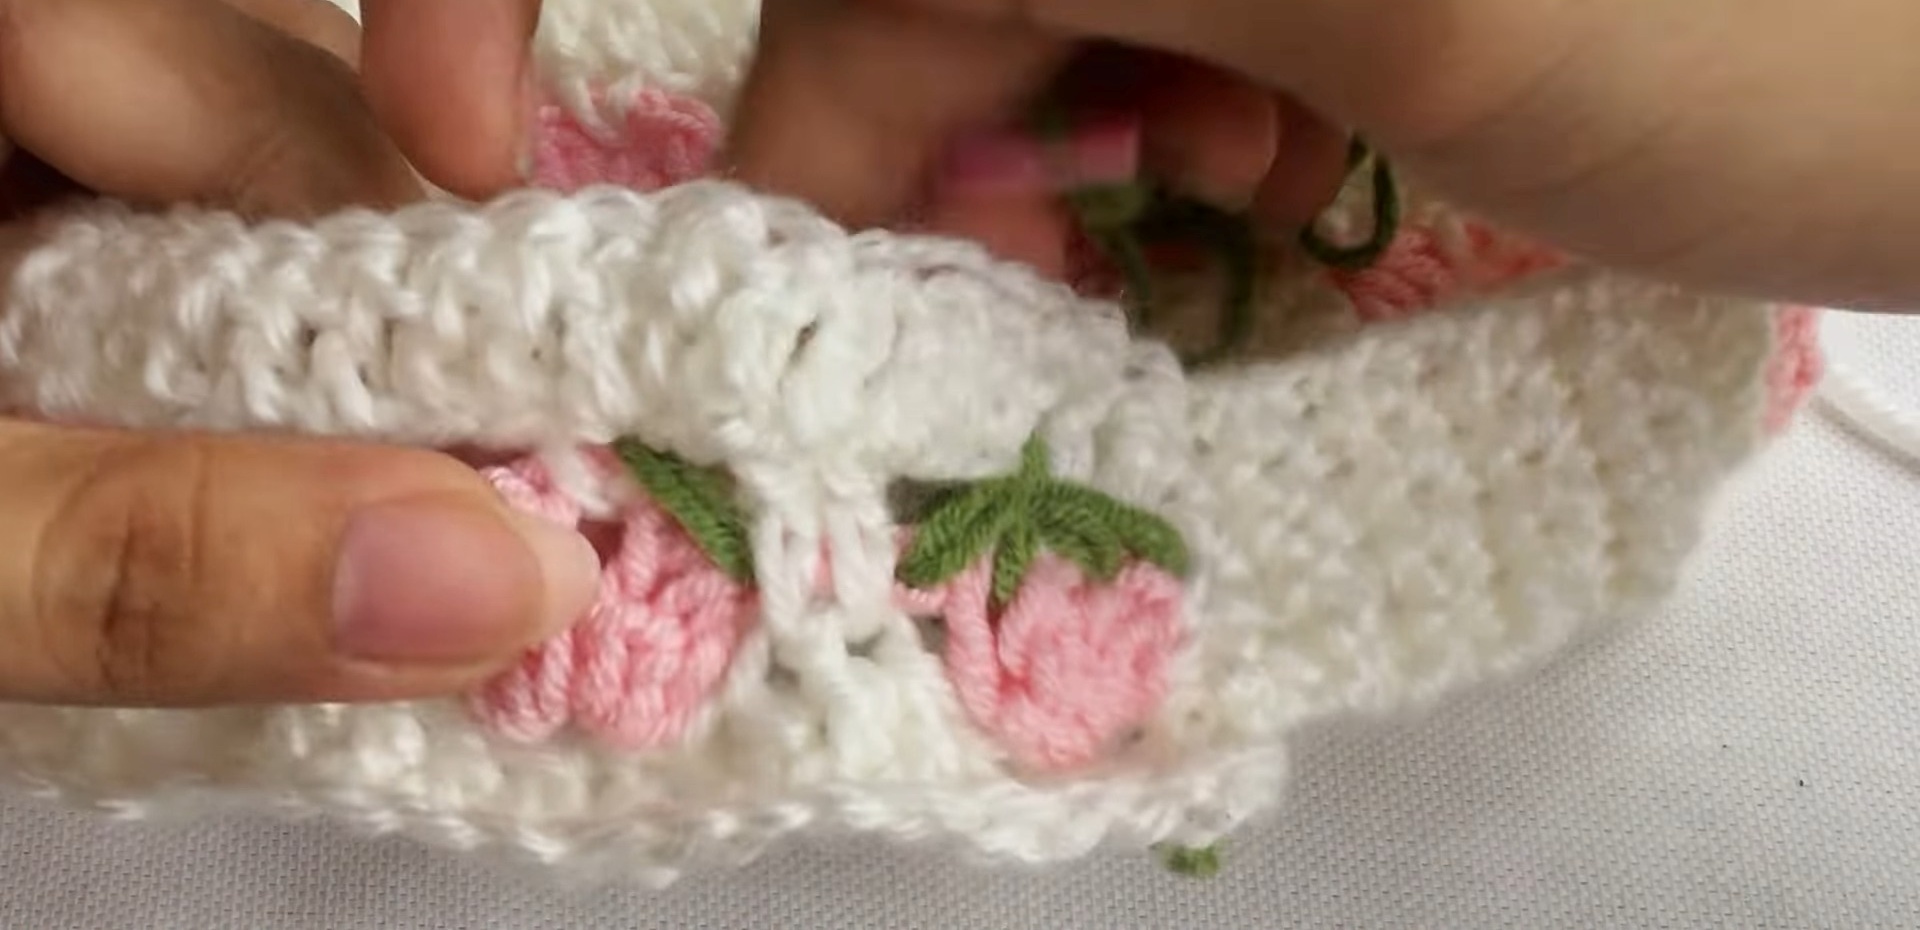
Because textured edges are not perfectly straight, align berry and border sections carefully rather than forcing edges into one flat line. Sew ends together with a yarn needle, or use slip stitches if preferred. Fasten off and weave in remaining base ends.
Embroider Green Strawberry Leaves
Green embroidery transforms each Pink cluster into recognizable strawberries. Work leaves directly through stitches instead of adding separate crocheted pieces.
Step 1: Cut approximately 60 cm (24 inches) of Green yarn and thread it onto a yarn needle. Tie a knot at the end.
Step 2: Use single crochet from Row 3, positioned in the center of the strawberry, as the central anchor point.
Step 3: Insert needle from back to front at outer edge of Pink strawberry section.
Step 4: Insert needle down into center sc. This creates the first leaf.
Step 5: Repeat same movement to create 4 leaves radiating around top of each strawberry.
Optional Stem: Insert needle under top border, around Row 4 dc, and bring it back down into center sc to create fresh stem detail.
Keep Embroidery Flexible
Green yarn travels between strawberries across the back of the headband. Weave it lightly under backs of dc stitches to reach next berry.
Do not pull Green yarn tight. Headband needs stretch, and tight carried embroidery can restrict fabric and make finished band uncomfortable.
As you embroider, gently stretch fabric to its natural width so Green yarn has enough slack to move with it. This small finishing detail is especially important because headband will stretch during wear.
After final strawberry, tie Green yarn securely and trim excess.

Final Fit & Finish Check
Before wearing, stretch band gently and inspect Green embroidery from back. Carried yarn should have enough slack to allow fabric to expand without pulling White or Pink sections inward.
Check each strawberry for four visible leaves, secure knots, and neatly woven ends. If band feels slightly short, extension rows at short ends can provide additional length without reworking strawberry motifs.