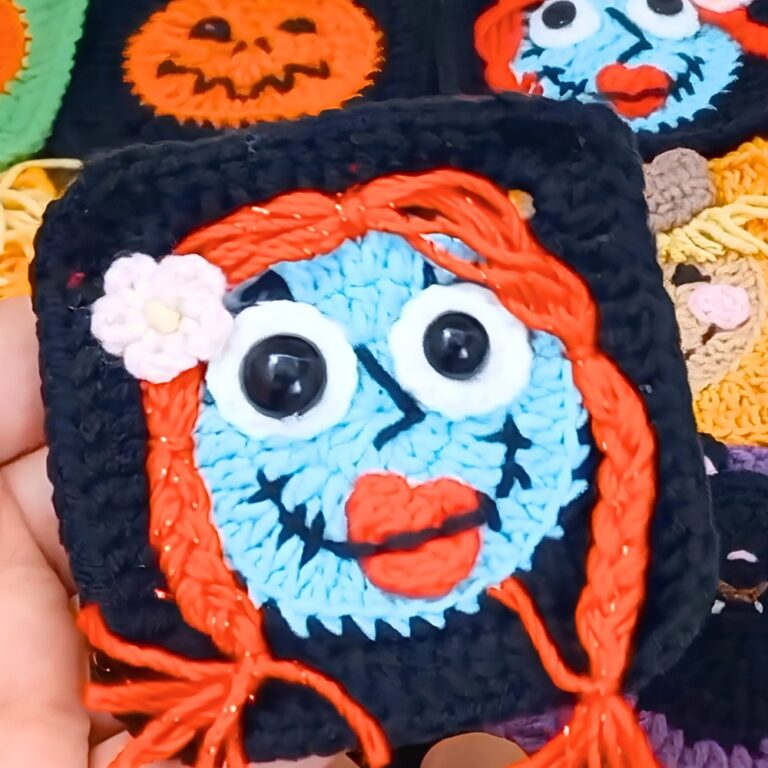
This charming crochet pumpkin basket is perfect for autumn décor, candy storage, or festive gatherings, blending functionality with a cozy seasonal flair you’ll love to display.

A crochet pumpkin basket is a delightful, handmade item that combines creativity and practicality. Shaped like a cheerful pumpkin, it adds a cozy autumn vibe to any space. Whether it’s used for Halloween candy, holding small trinkets, or even as fall-themed décor, it’s sure to bring smiles everywhere.
Crochet Pumpkin Candy Basket for Fall Décor
Crocheting this basket is simple and enjoyable, with a unique design that’s beginner-friendly. You’ll form the pumpkin’s rounded body and finish with a cute handle or stem on top. It’s perfect for getting into the spirit of fall or adding a festive touch to your home. Plus, it’s a great way to improve your crochet skills while creating something fun and functional.
Credit Crochet Anywhere
- Basket Base: Starts with a magic circle and simple rounds of single crochet (SC) to create a flat, round base.
- Sides Construction: Built by working single crochet stitches in the round, with no increases, to create sturdy walls.
- Pumpkin Shaping: Alternates rounds of single crochet (SC) and half double crochet (HDC), with some gentle decreases to give the basket its iconic pumpkin-like shape.
- Stem Addition: Crocheted brown yarn and worked directly onto the edge of the basket to mimic a pumpkin’s natural stem.
- Optional Embellishments: Green yarn is used for whimsical leaves and vines, adding a fun finishing touch.
- Finishing Steps: Includes blocking and weaving in ends for a polished, professional-looking basket.
How to Make:
To begin this adorable pumpkin basket, you’ll start with a magic circle using orange yarn, which forms the foundation for the basket base. By working in the round, you’ll use basic single crochet stitches (SC), increasing evenly in each row to create a flat, circular base. The base stops growing once it reaches 8 inches in diameter, providing a sturdy and roomy foundation for the basket.

After completing the base, the sides are built up by working rows of SC without any increases. This gradual, vertical construction ensures the basket walls are firm and capable of holding their shape. The suggested height of 6 inches provides ample room for storing candy, crochet tools, or small household items, but you can easily adjust the height to suit your needs.

To create the characteristic rounded pumpkin shape, the basket incorporates rounds of both single crochet (SC) and half double crochet (HDC). This subtle stitch variation gives the sides some texture and dimension, while a few rounds of strategic decreases (DEC every 5th stitch) help taper the top and mimic the gentle curves of a pumpkin. This stitchwork adds depth and charm to the basket without complicating the process.

For the stem, the pattern transitions to brown yarn, which is attached to the edge of the basket. The stem is crocheted in continuous rounds, starting with a simple round of SC and tapering slightly at the top with decreases for a realistic pumpkin look. This clever detail completes the seasonal design.

Green yarn is used for optional embellishments, such as curling vines and small leaves. These are quick and easy to create using chains and slip stitches (for vines) or small rows of single and double crochet for leaves. These playful accents can be secured to the basket’s edges with a tapestry needle, adding a touch of whimsy to the pattern.

Video Tutorial
Materials Needed:
- Yarn Type: Medium-weight (#4) acrylic yarn
- Colors: Orange (pumpkin body), Brown (stem), and Green (optional for leaf detail)
- Hook Size: Size H/5.0 mm crochet hook
- Additional Tools:
- Scissors
- Tapestry needle (for weaving ends or attaching details)
- Stitch markers (optional but helpful for counting stitches)
Step-by-Step Pattern
Step 1: Base of the Basket
- Begin with Orange yarn. Start with a magic circle.
- Round 1: Crochet 6 SC into the magic circle. Pull tightly to close. SL ST to join. (6 stitches)
- Round 2: INC in each SC around. (12 stitches)
- Round 3: (SC 1, INC) repeat around. (18 stitches)
- Round 4: (SC 2, INC) repeat around. Continue increasing until your base measures 8 inches across.
Step 2: Building the Basket Sides
- Once your base width is reached, begin crocheting the sides of the basket:
- Round 7: SC in each stitch around.
- Continue SC rounds without increases until the basket reaches your desired height (about 6 inches).
Step 3: Pumpkin Detail – Shape the Basket
- To create the rounded pumpkin effect:
- Crochet alternating rounds of HDC and SC to subtly vary the height of stitches.
- Add decreases (DEC) in every 5th stitch during 2-3 rounds to taper the top edge slightly.
Step 4: Creating the Stem
- Switch to Brown yarn.
- Attach yarn at any stitch on the basket edge.
- Round 1: SC evenly around the top edge for 1 round.
- Round 2: Start working in continuous rounds for the stem:
- SC in each stitch for 2 more rounds.
- Taper the stem by working DEC in every 4th stitch during the final round.
- Fasten off and weave the yarn tail securely.
Step 5: Optional Details – Leaves and Vines
- Use Green yarn to create decorative leaves or vines:
- Chain 10 to 12 stitches. Work slip stitches down the chain for a coiling vine effect.
- Alternatively, crochet small leaf shapes using simple SC and DC combinations.
- Attach vines or leaves carefully to the basket edges using a tapestry needle.
Step 6: Finishing Touches
- Weave in all loose ends securely.
- Shape the basket by blocking lightly if needed.
- Fill your pumpkin basket with candy, treats, or decorative items!
Troubleshooting and Suggestions
Common Issues:
- Keeping the Base Flat: Make sure to consistently count your stitches during the base rounds. Missing increases or adding extra stitches can cause the base to warp or ripple.
- Shaping the Pumpkin: Decreases can sometimes create gaps if not worked cleanly. Ensure your stitches are tight and consistent to maintain a smooth finish.
- Stem Connection: When switching to brown yarn for the stem, pull snugly as you begin to avoid loose stitches at the transition point.
Creative Modifications:
- Use different color combinations for a whimsical look—think white yarn for a ghostly pumpkin or vibrant green for a gourd-inspired design.
- Add a handle using a sturdy chain and single crochet stitches for a functional trick-or-treat basket.
- Incorporate surface slip stitching with green yarn along the sides to emphasize the pumpkin’s ridges.
- Experiment with yarn weights and hook sizes to create smaller or larger baskets.