Crochet Halloween Bat Granny Square Pattern Free
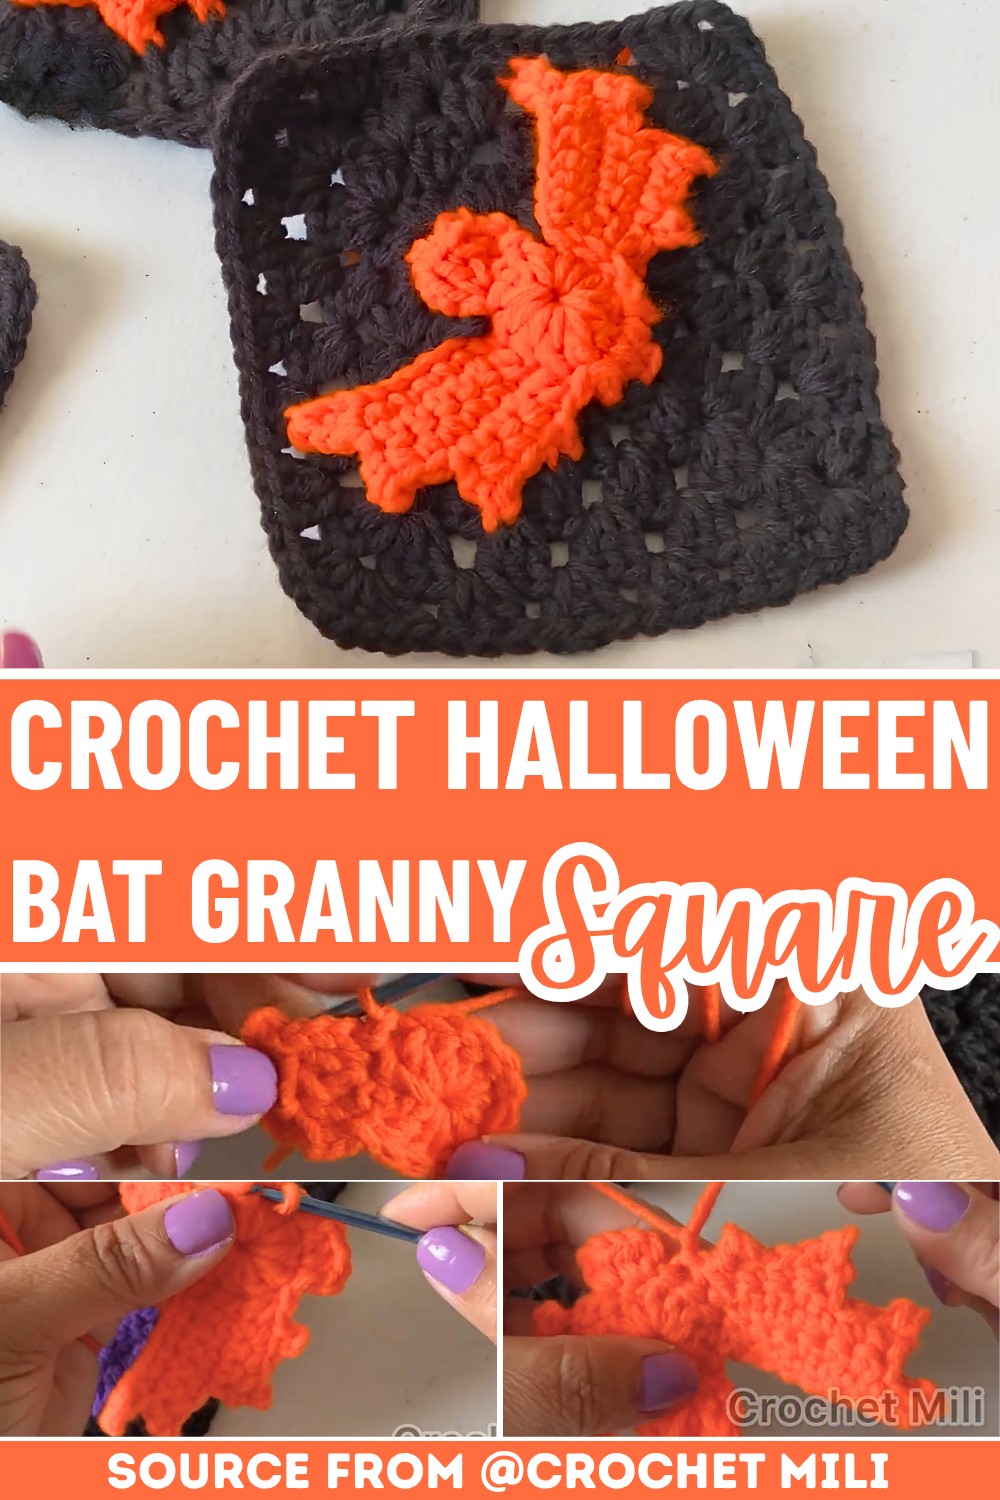
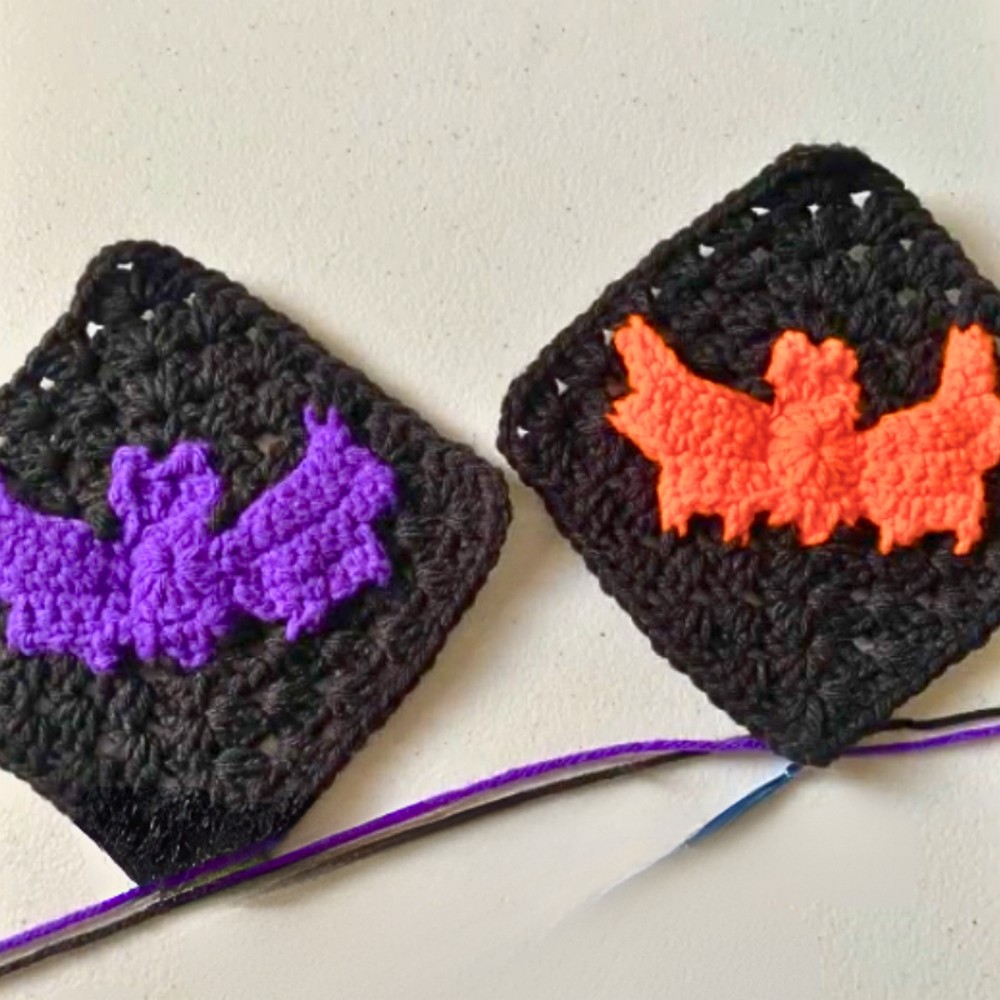
A tiny bat resting inside a classic granny square gives this Halloween design a fun twist. The playful wings and bold shape make it eye-catching without being difficult to crochet. Whether you’re decorating for the season or collecting themed granny squares. This crochet pattern brings a little spooky charm to every stitch. Keep reading to see how this clever design comes together.
Crochet Bat Granny Square Pattern
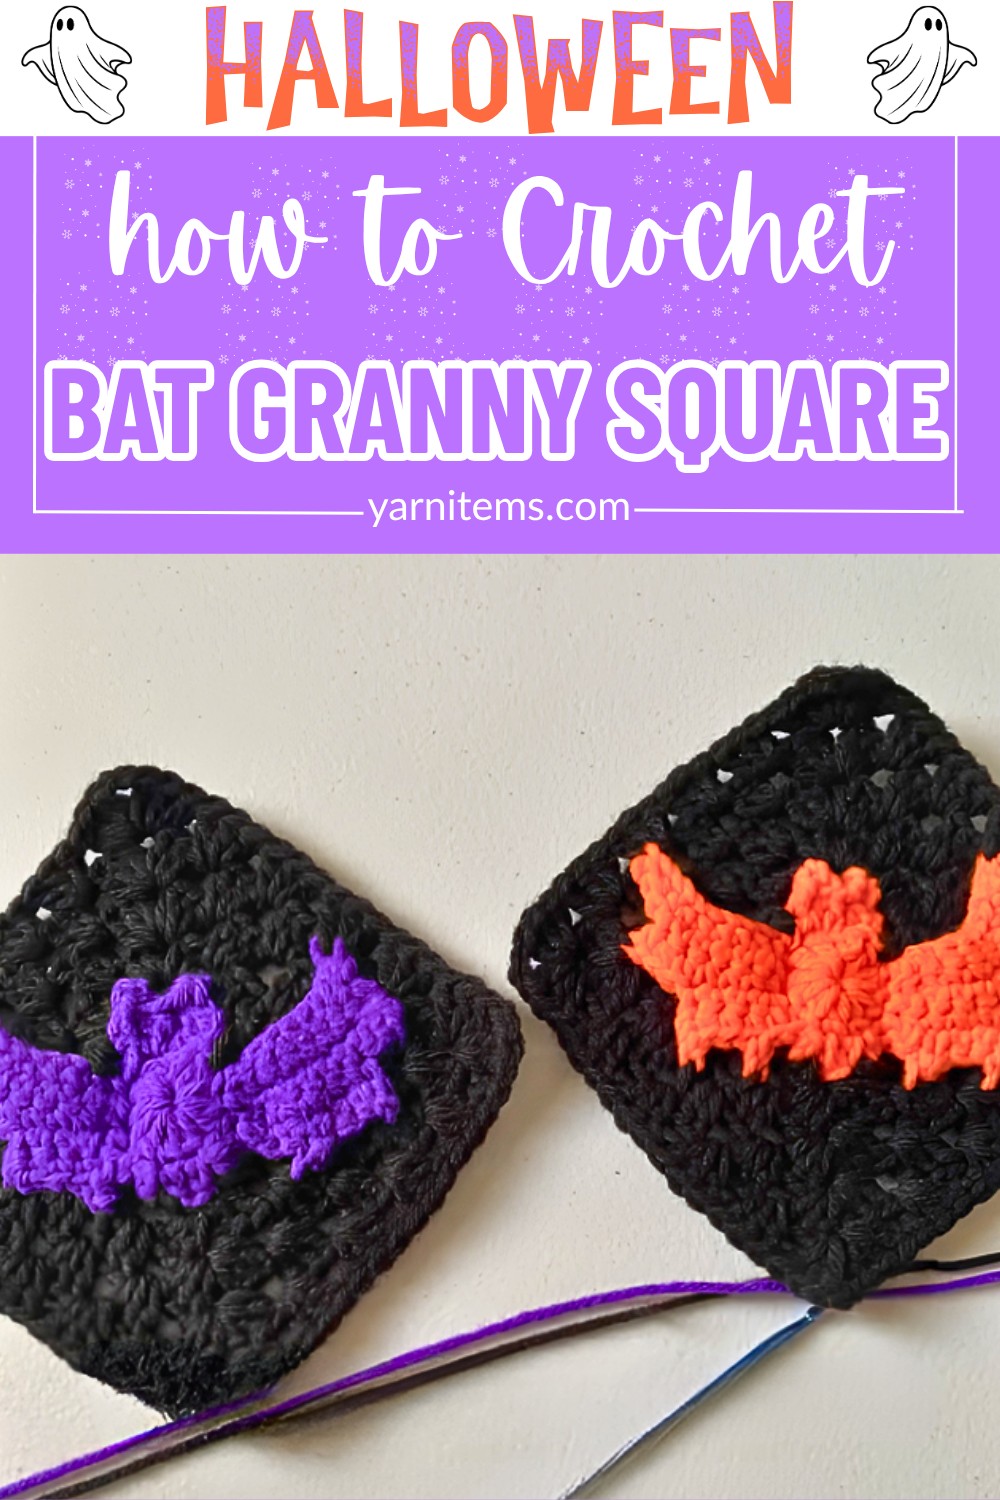
The pattern uses simple stitches and clear steps, making it enjoyable for confident beginners as well as experienced crocheters. Choose classic black and orange or experiment with your favorite Halloween shades to create a look that’s uniquely yours. Once finished, the square is ready to become part of blankets, pillows, wall hangings, table runners, or any festive crochet piece you have in mind.
Materials & Tools Needed
- Yarn:
- Main color for the bat (e.g., Orange or Purple)
- Contrast color for the background (e.g., Black)
- Crochet Hook: 3.75 mm
- Tools: Scissors, Yarn needle
Finished Size & Customization Ideas
- Approximate Size: 4.5″ to 5″ (depending on tension and yarn weight).
- Customization Ideas:
- Use lime green, vibrant purple, or bright orange for the bats.
- Pair with a solid black or dark-colored background for high contrast.
- Perfect for projects such as blankets, buntings, tote bags, or table runners.
Pattern Abbreviations
- MR: Magic Ring
- ch: Chain
- st: Stitch
- sl st: Slip stitch
- sc: Single crochet
- hdc: Half double crochet
- dc: Double crochet
Step-by-Step Crochet Instructions
Part 1: The Bat (Center Motif)
Row 1: Bat Body & Head
- Make a magic ring (MR).
- Inside the ring:
- ch 3
- 11 dc into the ring
- Sl st to the 3rd ch to join.
- Chain and work the bat head:
- ch 3, 1 dc in the same stitch.
- ch 3, 1 dc in the same stitch.
- ch 3, sl st into the dc just made.
- Shape bat details:
- 2 dc in the next stitch.
- ch 3, sl st into the base of the last dc.
- ch 3, sl st into that same stitch.
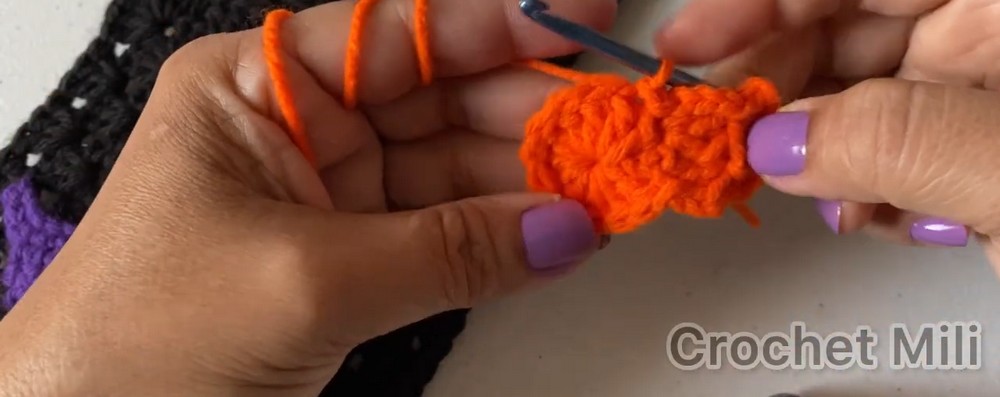
Row 2: First Wing Base
- Sl st into the next stitch, ch 10.
- Sl st into the 2nd ch from the hook.
- Work 1 sc into each of the next 8 chains.
- Sl st into the next st of the body circle.
Row 3: Wing Row 2 (Upper Wing Shaping)
- Turn your work, ch 1.
- Work 1 sc into each of the next 6 stitches.
- ch 2, sl st into the 2nd ch from the hook.
- Work 1 sc into each of the next 6 stitches.
- Sl st into the next st on the body circle.
Row 4: Wing Tip Detailing
- Turn your work, ch 1.
- Work:
- 1 sc into each of the next 5 stitches
- ch 2, sl st into the 2nd ch from the hook.
- Continue:
- 1 sc into each of the next 3 stitches
- ch 2, sl st into the top of the sc just made.
- 1 sc into the next stitch.
- Sl st into the next stitch.
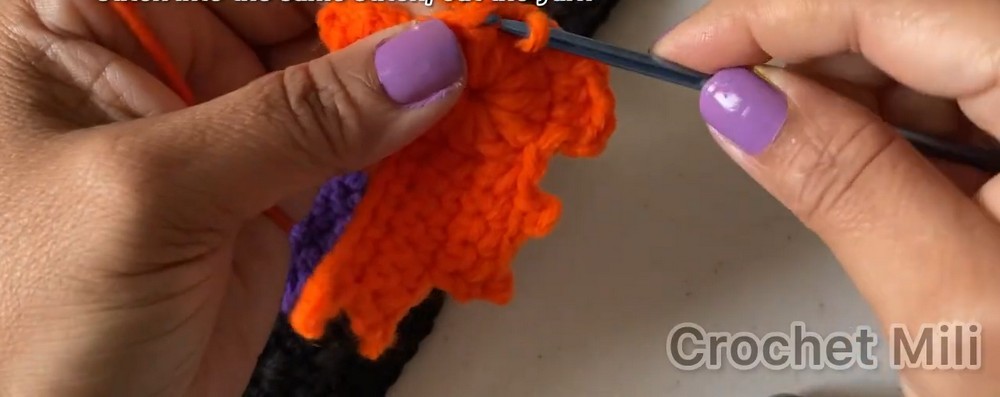
Row 5: Second Wing Base
- Mirror the first wing.
- Sl st into the next st, ch 2, 1 hdc into the same stitch.
- Work 1 hdc in the next st, ch 2, and sl st in the same st.
- Continue:
- Sl st into the next 4 stitches.
- Ch 10 and repeat Wing Rows (2–4) for the second wing.
- Sl st into the same stitch on the body circle, fasten off the yarn.
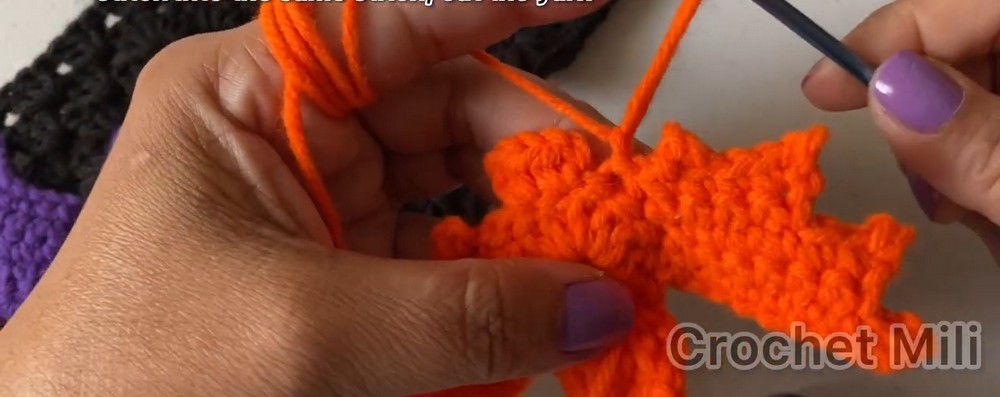
Part 2: Squaring the Background
Round 1: Background Base
- Join your 2nd color where indicated in the tutorial.
- Work as follows:
- 2 sc, ch 8, 1 dc involving the wings and head.
- ch 3, sl st into the ch-3 space to form a picot.
- ch 3, sl st into the next picot.
- ch 3, 1 dc into the head and wings, ch 8.
- 2 dc in the indicated locations, 1 hdc.
- Sl st into the 1st sc to close the round.
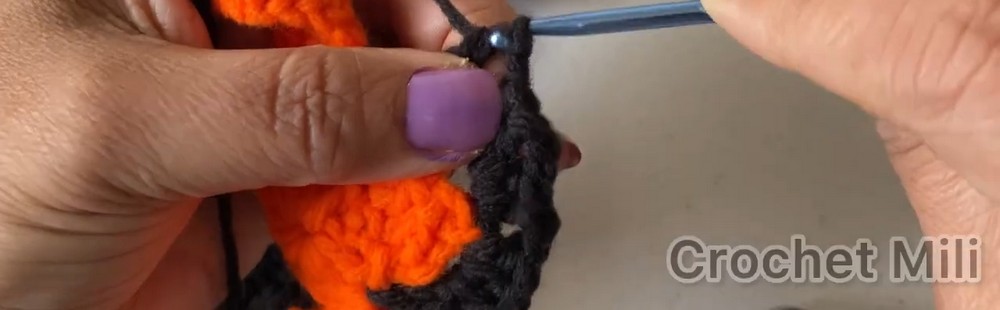
Round 2: Create Corners
- Work the following in the same space:
- 1 sc, ch 1, 2 dc.
- ch 1, 3 dc, ch 1, 3 dc.
- ch 2 into the next chain space. Start creating corners:
- [2 hdc, ch 2, 2 hdc].
- Continue 3 hdc into each remaining ch-space.
- Repeat the sequence on all 4 sides to form a square.
Rounds 3–5: Expand the Square
Continue to build up the square using granny cluster stitches:
- Round 3: Work 3 dc clusters across spaces and form corners with [3 dc, ch 2, 3 dc]. Attach dc stitches to the wings where needed for stability.
- Round 4: Increase size by adding additional clusters and work stitches symmetrically for balance.
- Round 5: Add a final border with clean edges and a defined corner structure.
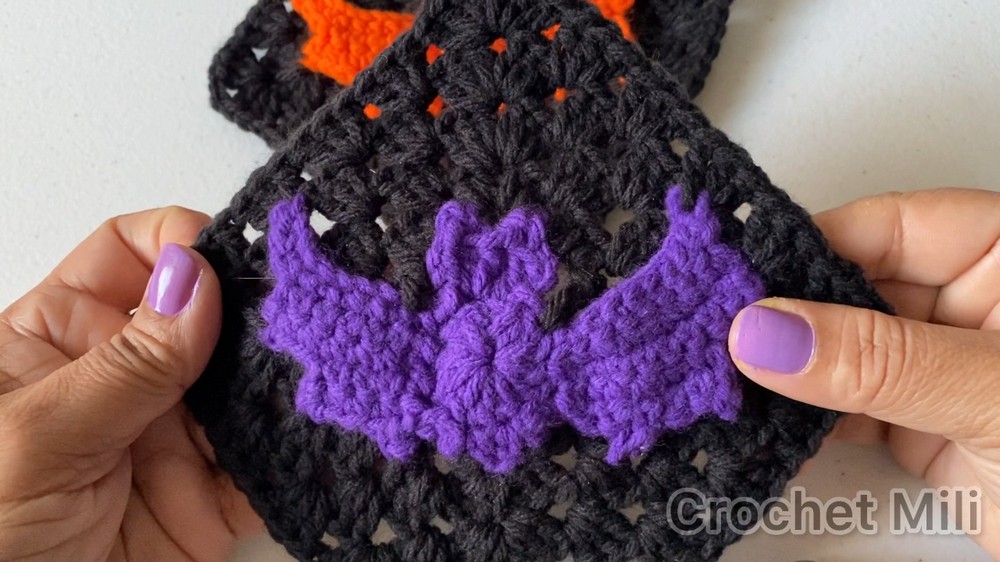
Final Steps
- Fasten off your yarn, cut any loose ends, and weave them in neatly using a yarn needle.
- Block the square gently for a polished finish before assembling it into your desired design.