This hexagon crochet cardigan is a versatile, cozy layer perfect for any season, combining a timeless design with endless color possibilities.

The Hexagon Crochet Cardigan is a wearable masterpiece that’s as cozy as it is stylish. Made using clever hexagon panels, it stands out for its unique design and customizable fit. Whether it’s for chilly evenings or layering over your favorite outfit, this crochet cardigan offers both comfort and charm. Its vibrant colors and elegant texture make it perfect for adding a splash of fun to your wardrobe.
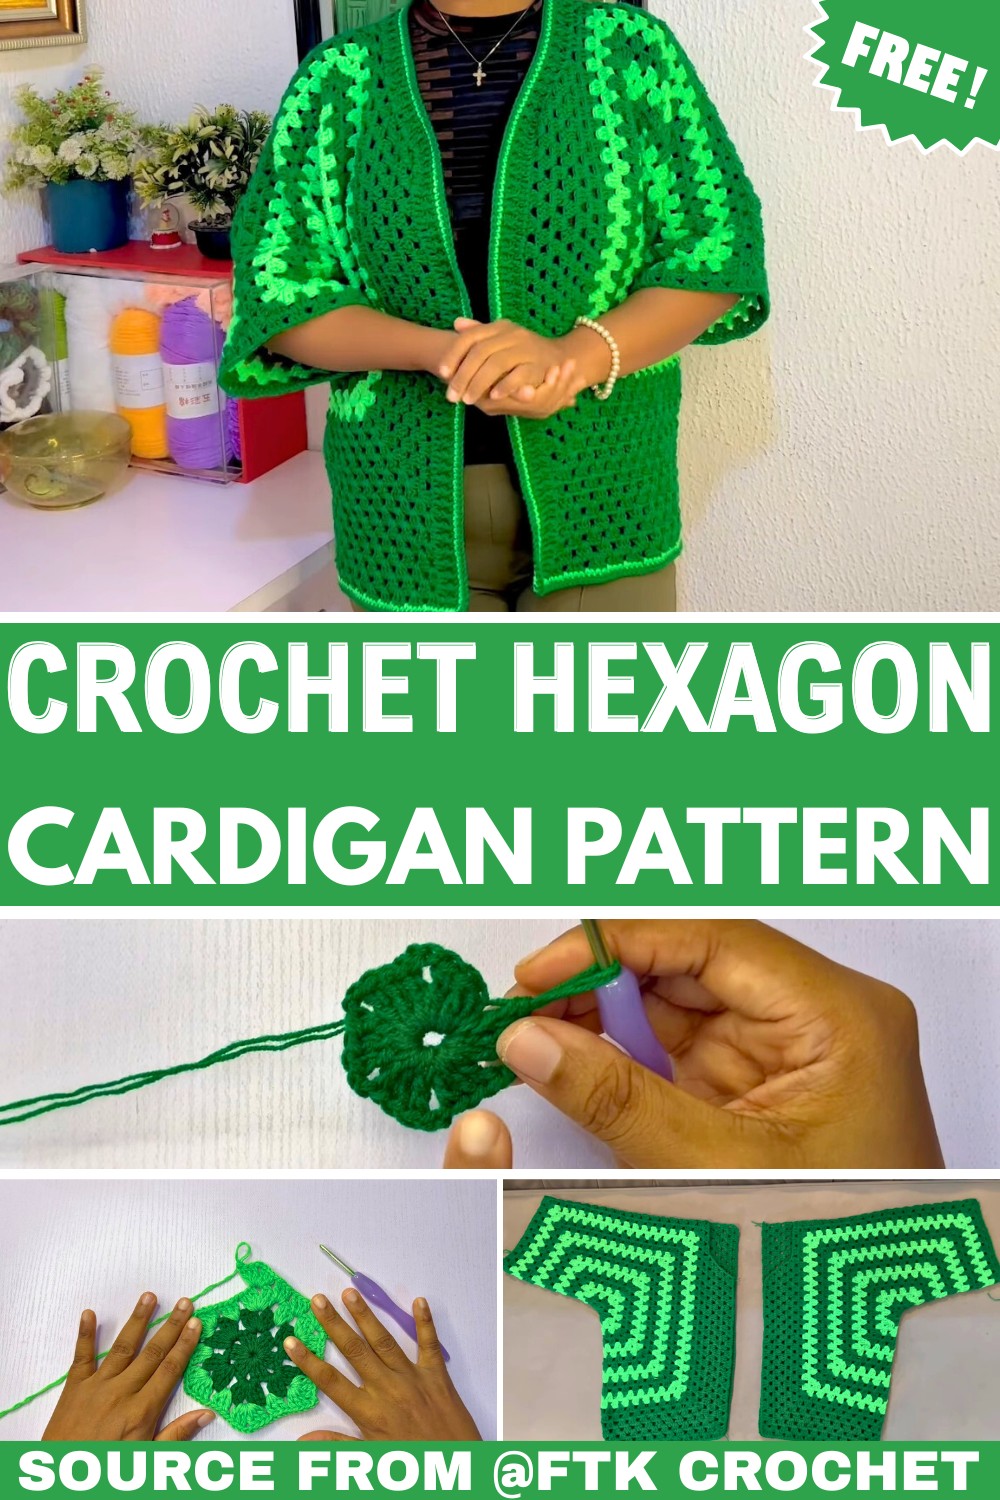
Crochet a Hexagon Cardigan
The process to create this crocheted cardigan is straightforward, making it ideal for beginners. You crochet two identical hexagons, fold them to form the cardigan’s shape, and join them seamlessly. Adding rows helps adjust the fit and length to suit your measurements, giving you a piece that’s completely made for you. No complicated techniques, just simple stitches arranged beautifully.
Credit FTK Crochet
Key Features and Construction Overview:
- Hexagonal Foundation: This cardigan begins by creating two hexagon panels, worked from the center outward, which form both the front and back of the cardigan.
- Seamless Assembly: The panels are folded and joined at the shoulders and back using a clever stitching technique.
- Custom Fit: The pattern allows for adjustments to fit your bust size, arm circumference, and desired cardigan length.
- Textured Open Stitch Detail: A beautiful alpine stitch border completes the design, adding flair to the edges.
- Beginner-Friendly Techniques: Includes simple double crochet clusters, chain stitches, and slip stitching.
Construction Process:
This cardigan begins with two hexagon panels, which are crocheted individually in the round. Starting with a magic ring, each row builds on the previous using double crochet clusters interspersed with chain stitches, forming the six corners of the hexagonal shape. The chain-two spaces at the corners create natural increases, allowing the panels to grow symmetrically. The vibrant color changes add a striking aesthetic, although they can be skipped if you prefer a solid-colored design.

Once the hexagons reach the measurement that matches your arm circumference (divided by two), each panel is carefully folded to form the basic cardigan shape. The open edges of the folded panels are joined at the shoulders and back using a slip stitch join. This unique joining technique not only secures the cardigan but also adds the final row of crocheting to one of the panels, ensuring a uniform finish.

For a polished neckline, the pattern incorporates a minimal V-neck shaping by working with decreases around the neck opening. The cardigan’s length can also be extended by adding rows of clusters to the bottom of the garment, giving you control over how long or cropped it turns out.

Finally, the border brings everything together. A row of single crochet stitches is followed by a striking row of alpine stitch, creating a textured edge. Optional rows of contrasting single crochet can be added to emphasize a color theme or to match other design elements.

Video Tutorial
Step-by-Step Pattern
Materials
To create your hexagon cardigan, gather the following materials:
- Yarn: Acrylic yarn (2-ply), but you’ll hold two strands together to create 4-ply thickness. Alternatively, use a 4-ply yarn if preferred.
- Crochet Hook: 4mm hook.
- Tapestry Needle: For weaving in ends.
- Stitch Markers: To mark important sections (corners, decreases, or joins).
- Scissors: To cut yarn cleanly.
- Measuring Tape: For measuring gauge and dimensions.
Pattern Instructions
1. Create the Hexagon Base
- Begin with a Magic Ring: Loop your yarn into a circle, and secure it to form the starting point.
- Row 1:
- Chain 3 (counts as a double crochet).
- Add 2 more double crochets into the ring (forms 1st cluster).
- Chain 2 (corner space), and work another cluster in the magic ring.
- Repeat the sequence until you have six clusters each separated by a chain 2.
- Slip stitch into the top of the starting chain 3 to close the round.
- Row 2:
- Slip stitch into the next space.
- Chain 3 and create a cluster into the same space.
- Chain 2 (corner), and add another cluster into the same corner.
- Chain 1, and continue creating clusters separated by 1 chain (except in corners, where you chain 2).
- Repeat the pattern for subsequent rows, ensuring to add 1 chain between clusters for sides and 2 chains for corners.
- Stop when your hexagon measures your desired “around arm” dimension when folded (e.g., 18 inches requires 9-inch sides for each panel).
2. Shape the Cardigan Panels
Once the hexagon is large enough for your arm measurement, fold it into a cardigan panel shape. The two hexagons will form the left and right sides of the cardigan.
- Join Shoulders:
- Fold the hexagon to match the corners at the top. Use stitch markers to secure the areas for joining.
- Work slip stitches to join the top shoulder seams.
- Create Equal Rows on Both Sides:
- Build outwards from the armhole edges, ensuring both panels are individually symmetrical.
3. Work the Body of the Cardigan
- Add Rows for Length:
- After joining the two hexagon panels at the back, add rows across the bottom of the cardigan to create length.
- Each row consists of clusters separated by chain 1, with no increases at the corners.
- Determine Length: Stretch the cardigan for your desired measurement (e.g., 22-23 inches). Add more rows or stop as needed.
4. Design the Neckline and Front Edging
- Work Along the Front Edge:
- Start on one side of the neck edge, working rows of double crochet along the front opening and neckline area.
- You can add decorative stitches like the Alpine stitch or rows of contrasting colors to customize the look.
- Alpine Stitch (Last Row): Alternate front post double crochets and regular double crochets in the final row to create texture and definition.
5. Final Touches
- Weave in Ends: Use your tapestry needle to secure all yarn tails to the back of your work for a clean finish.
- Optional Aesthetic Rows: To tie the design together, add rows of contrasting colors along the bottom edging of the cardigan or sleeves.
- Add Buttons or Ties (Optional): Sew buttons along one side of the opening or crochet ties to secure the front.
Troubleshooting and Suggestions:
- Handling Color Changes: If changing colors, secure your ends tightly and weave them in as you go to avoid tedious finishing work. For clean transitions, attach new colors at the beginning of a row.
- Maintaining a Hexagonal Shape: Ensure you consistently chain two at each corner to maintain six distinct corners. Missing a corner increase will cause the shape to warp.
- Creating a Perfect Fit: The tutorial suggests stopping when each folded hexagon measures your arm circumference. Don’t skip this step—double-check that the fit accommodates your arms and shoulders comfortably.
- Uniform Stitches: Keep constant tension to ensure that clusters and corners look neat and symmetrical.
Creative Modifications:
- Add stripes or alternate between multiple colors for a bold, playful design.
- Experiment with different borders, such as a scalloped or crab stitch edging, for a personalized touch.
- Transform this pattern into a sleeveless vest by skipping sleeve rows and tapering the edges.
- Use lightweight yarn for a summer cardigan or bulky yarn for a snug winter piece.