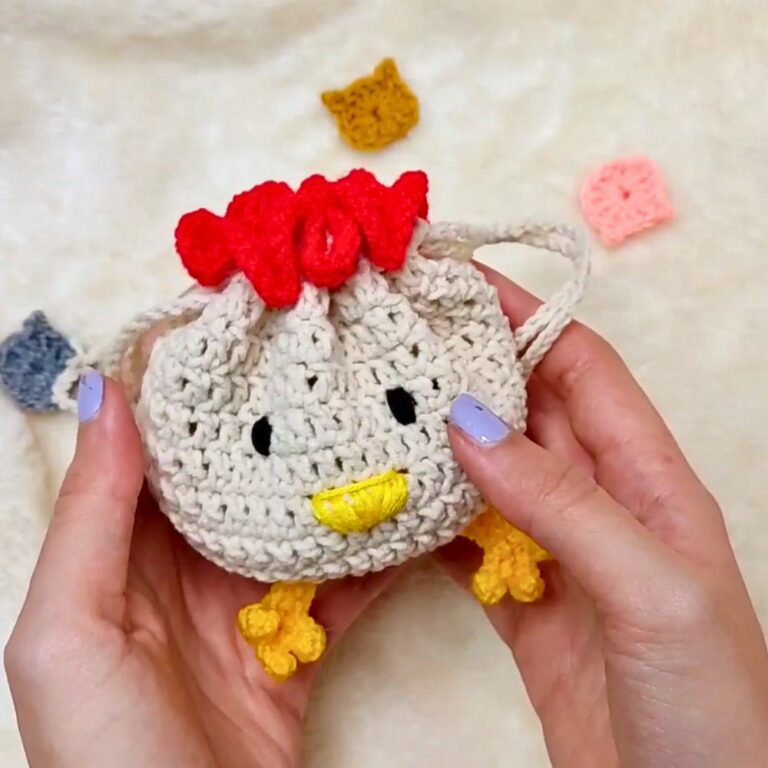
These fall-inspired crochet granny squares feature easy-to-advanced designs, including a pumpkin, a mushroom, and a classic pattern, perfect for seasonal decorations or cozy patterns.

Granny squares are not only fun to create but can also be transformed into colorful and unique autumn decorations. This tutorial features three beautiful fall-inspired designs: the classic granny square, a charming pumpkin square, and an adorable mushroom square. These patterns are special because they bring a cozy fall touch to your home, whether used in blankets, pillows, or even framed as cute wall art.
Crochet Fall Granny Squares
What makes these fall granny square designs stand out? They are simple enough for beginners yet allow for some creativity. The step-by-step guide progresses from the easiest to the most intricate: starting with the basic granny square, moving to the pumpkin square, and finishing with the playful mushroom square. The use of warm autumn colors, like orange, white, and brown, gives each square a seasonal charm. Plus, all squares can be adjusted to the same size, making it easy to pair them together in your creations.
Credit VivCrochets
Key Features and Construction:
- Versatile Design: Includes three fall-themed granny squares, progressing in complexity from basic to detailed.
- Materials: Uses medium-weight (#4) yarn in autumn tones: cream, orange, burgundy, and brown.
- Techniques: Covers fundamental crochet skills like working in the round, magic rings, color changes, and creating textured shapes.
- Pumpkin and Mushroom Motifs: Both squares incorporate creative shaping and colorwork for quirky, seasonal embellishments.
- Size Matching: All squares feature consistent stitch counts, and blocking ensures uniform dimensions.
Start your fall granny square journey with the basic granny square, ideal for beginners. This pattern introduces the foundational granny square method: working in rounds of double crochet clusters separated by chain spaces, with corner increases to create a square shape. You’ll use two or three colors to give it a warm autumn feel, switching seamlessly between hues using simple color-change techniques.

Next up is the charming pumpkin granny square, which embodies the harvest season. The pumpkin begins with a magic ring and rounds of double crochets, using color changes to build the orange base and a brown stem. The pumpkin is framed by turning its shape into a square using strategic corner stitches and back-loop-only work to highlight its texture. The result? A raised, vibrant pumpkin motif perfect for a cozy vibe.

Finally, the mushroom granny square challenges advanced crocheters with its detailed design. Starting with a magic ring, you use multiple colors (red, brown, and white) to crochet the mushroom cap, stem, and the square’s structure. The tutorial includes techniques for adding subtle texture, such as working in back-loop-only sections to elevate the mushroom’s shape. Adding optional embellishments, like embroidered spots, completes this adorable fungi centerpiece.

All squares are designed to have consistent edge stitch counts, making them perfect for combining in blankets, cushions, or banners. Blocking ensures each square is even and polished, no matter the design.
Video Tutorial
Step-by-Step Pattern
Materials
To bring these fall granny squares to life, you’ll need:
- Yarn: Red Heart Super Saver yarn in the following colors:
- Aran (white)
- Carrot (orange)
- Burgundy (red)
- Cafe Latte (brown)
- Yarn Weight: Medium (number 4)
- Crochet Hook: 5 mm hook
- Other Tools:
- Scissors
- Yarn needle (for weaving in ends)
- Optional: Blocking tools to ensure all squares are the same size.

Pattern Instructions
1. Basic Granny Square
This beginner-friendly pattern is a classic crochet square design, made in two colors.
Step-by-Step Instructions:
- Foundation Magic Ring:
- Create a magic ring with your white yarn. Leave a long tail for weaving in.
- Round 1:
- Chain 2 (counts as your first double crochet) and work 3 double crochets into the ring.
- Chain 2 (forms the corner), work 3 more double crochets. Repeat twice.
- Close the round by chaining 2 and slip stitching into the top of the first double crochet. Tighten the ring.
- Round 2:
- Switch to orange yarn. Attach by looping the yarn through the hook.
- Chain 2, work 3 double crochets into the first chain-2 space (corner).
- Chain 1, skip over clusters, and work 3 double crochets, chain 2, 3 double crochets into the next corner. Repeat this process until all corners are complete.
- Slip stitch to finish the round.
- Round 3:
- Switch back to white yarn. Work clusters (3 double crochets) in each space along the side.
- In corner spaces, work cluster, chain 2, cluster.
- Repeat the process for all sides and corners. Finish with a slip stitch, fasten off, and weave in ends.
2. Pumpkin Granny Square
Add a festive touch with this adorable pumpkin design.
Step-by-Step Instructions:
- Foundation Magic Ring:
- Using orange yarn, make a magic ring.
- Round 1:
- Chain 2 and work 12 double crochets into the ring. Tighten the ring.
- Slip stitch into the first stitch to close the round.
- Round 2:
- Chain 2, work 1 double crochet in the first stitch, and 4 double crochets into the next stitch. Continue the pattern: 2 double crochets, 2 double crochets, 1 single crochet, 1 slip stitch (forming half the pumpkin). Repeat the process for the remaining stitches on the other half.
- Switch to brown yarn to create the stem: Work a double crochet into the chain-2 space from the previous round.
- Round 3 – Squaring the Pumpkin:
- Using white yarn, create a square around the pumpkin. Work corners (2 double crochets, chain 2, 2 double crochets) in the chain spaces, and half-double crochets and single crochets along the sides.
- Round 4:
- Work one double crochet in every stitch along the sides.
- For corner spaces, work 2 double crochets, chain 2, 2 double crochets.
- Slip stitch, fasten off, and weave in ends.
3. Mushroom Granny Square
This whimsical design brings a touch of the forest to your crochet.
Step-by-Step Instructions:
- Foundation Magic Ring:
- Start with red yarn and create a magic ring. Tighten to close.
- Round 1:
- Chain 2 and work 5 double crochets. Switch to brown yarn on the sixth double crochet (changing colors happens during the final step of the stitch).
- Work 2 double crochets in brown, then switch to white. Work 2 double crochets, switch back to brown, and finish with 2 double crochets. Switch back to red and complete the round.
- Slip stitch to close the circle.
- Round 2:
- Work two double crochets into each stitch, switching colors to brown, white, and back to brown as needed. Adjust the yarn carried across stitches carefully to avoid tangles.
- Slip stitch to finish the round.
- Round 3 – Squaring the Mushroom:
- Switch to white yarn and work back loops only for added texture. Use a combination of slip stitches, single crochets, half-double crochets, and double crochets for the sides.
- In each corner space, work 1 double crochet, chain 2, 1 double crochet.
- Round 4:
- Work double crochets into every stitch, including corners (2 double crochets, chain 2, 2 double crochets).
- Slip stitch, fasten off, and weave in ends.
- Optional Decorative Spots:
- Using white yarn, embroider spots on the mushroom cap by threading yarn through with a needle.
Pattern Question
Q: Can I use different yarn weights to crochet these granny squares?
A: Yes! While the tutorial uses medium-weight yarn, you can use different yarn weights to customize the size and texture. Adjust your hook size accordingly for the best results.
Troubleshooting and Suggestions:
Common Issues:
- Color Changes: Avoid loose or visible yarn strands by pulling each new color snug but not overly tight when switching.
- Magic Ring Troubles: If the ring loosens up during work, secure it by weaving in the tail and double-knotting for extra stability.
- Uneven Edges: Maintain consistent tension and block finished squares for smooth, even edges.
Creative Modifications:
- Experiment with different yarn colors to fit your personal aesthetic. Try earthy greens and yellows for a warm fall palette or brighter tones for a whimsical twist!
- Add embellishments: Embroider vines, leaves, or polka dots onto the pumpkin or mushroom squares for added detail.
- Adapt the squares for other uses, such as creating coasters, banners, or embellishments for larger patterns like tote bags or sweaters.