Durable Crochet Pan Protectors With Simple Pattern
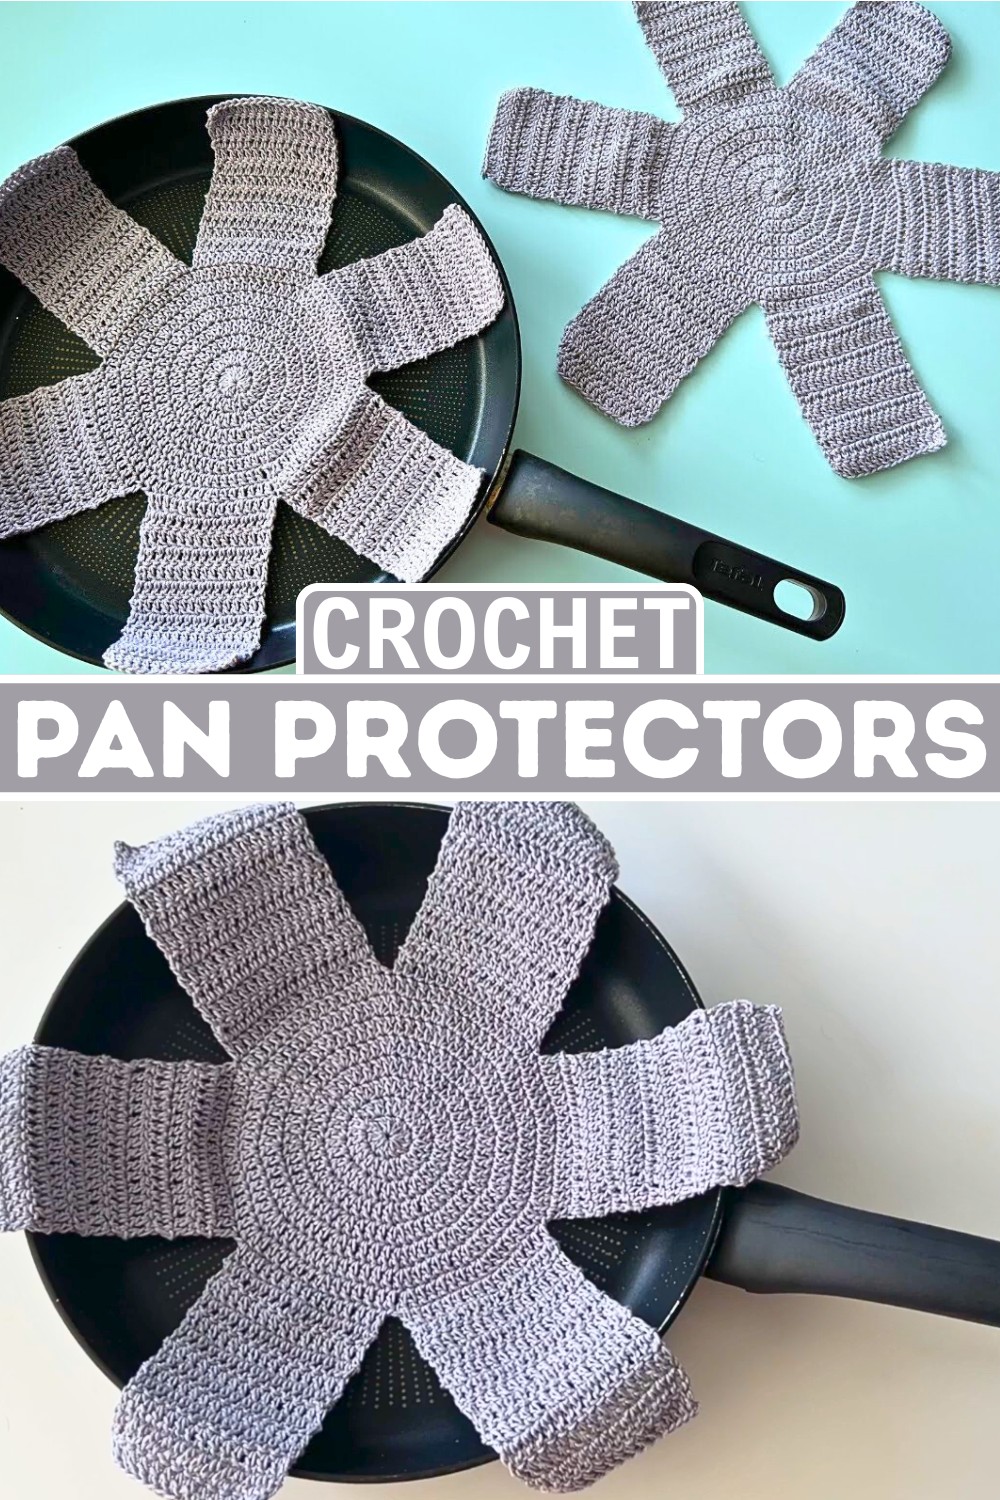
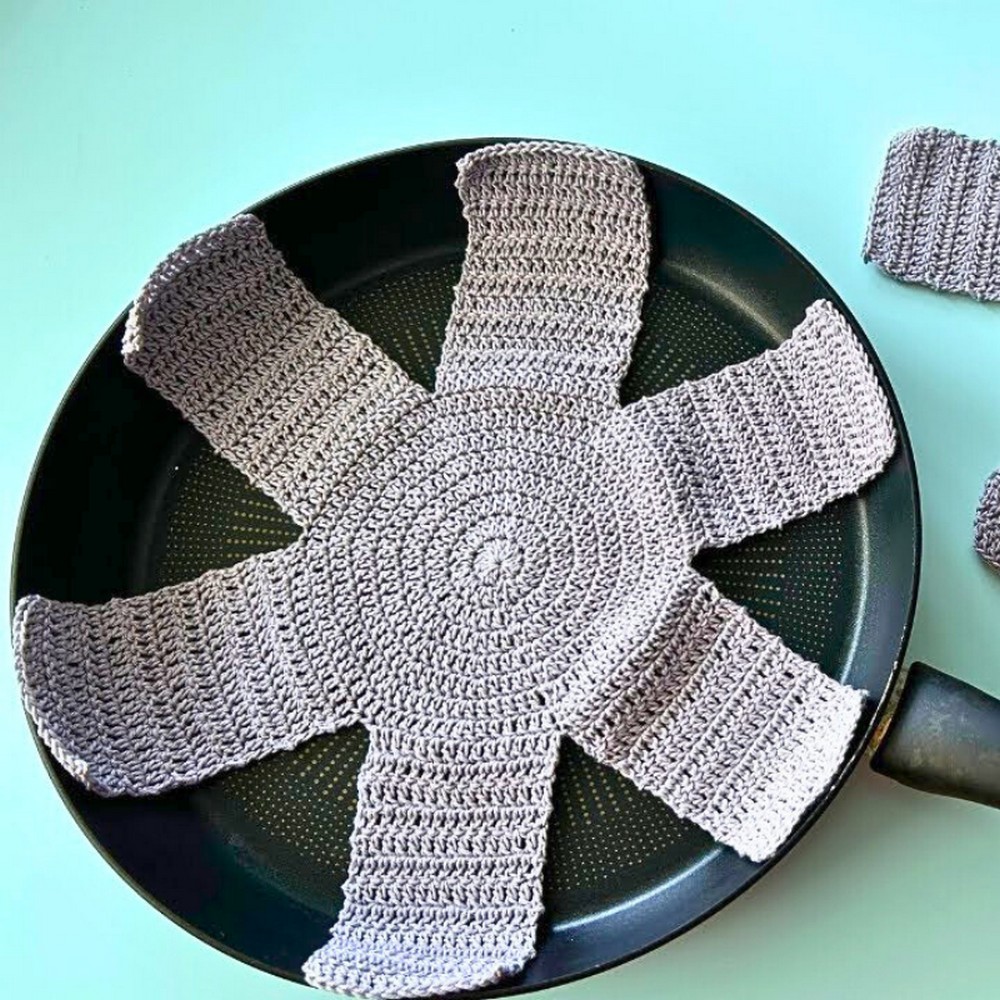
Crochet pan protectors create a soft barrier between stacked pots and pans. They help prevent scratches while keeping cookware organized. The design begins with a simple base that builds the protective shape step by step.
As the stitches grow, the flexible structure adapts to different pan edges with ease. Basic crochet stitches and careful shaping techniques turn this pattern into a practical kitchen accessory.
Crochet Pan Protectors Pattern
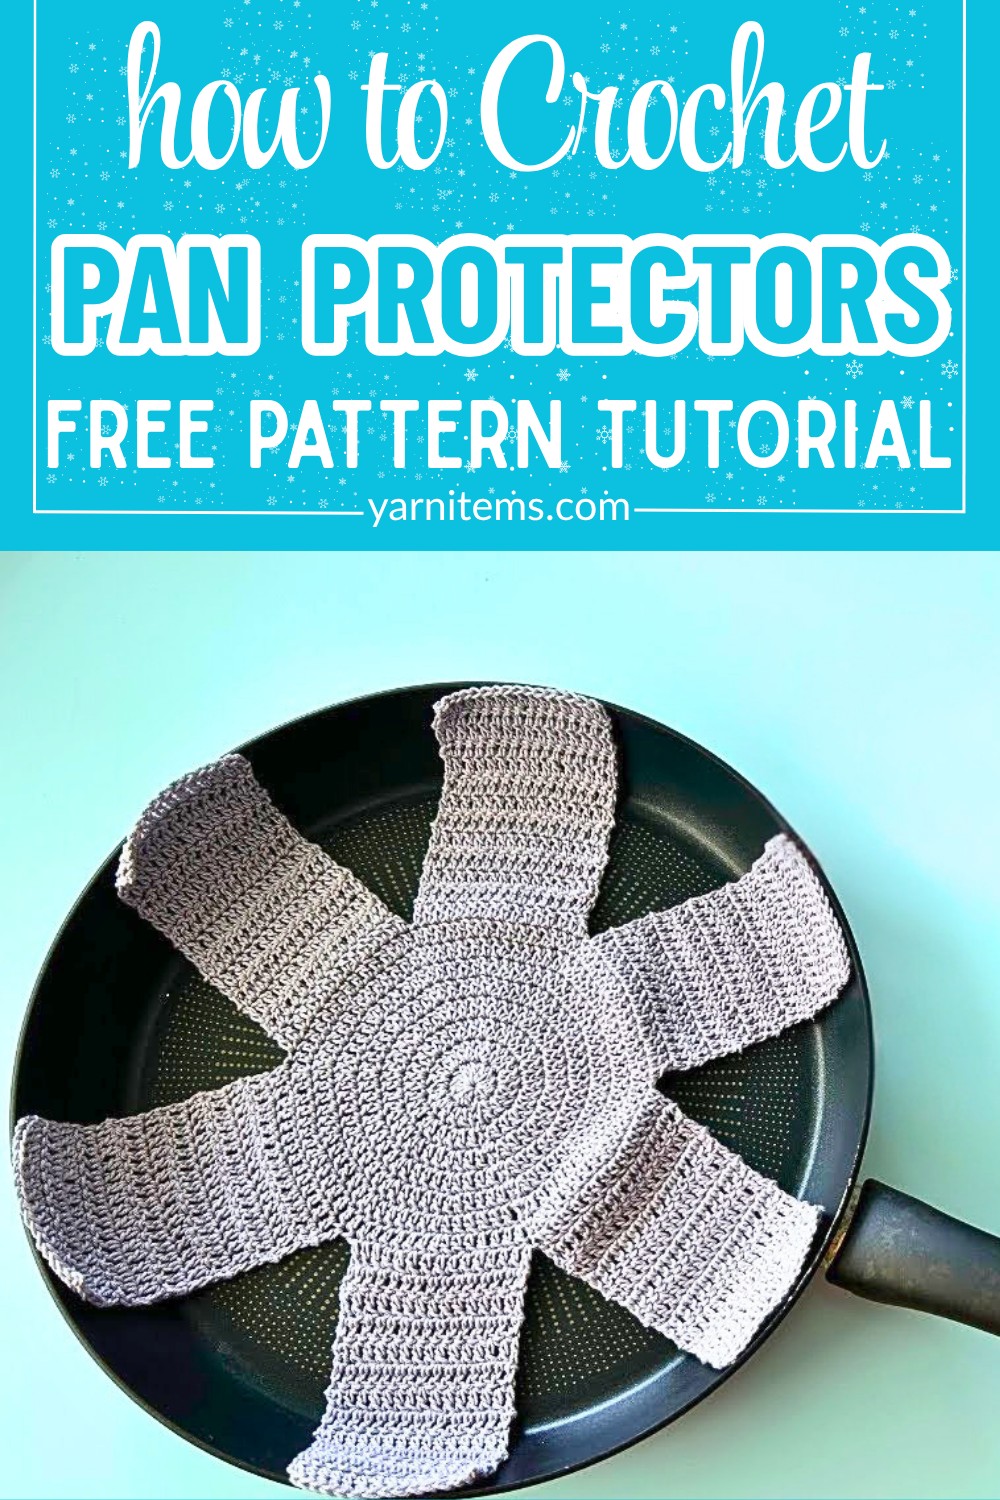
Made with durable cotton yarn, these protectors offer a reusable way to arrange cookware safely. Their lightweight texture makes them easy to handle, wash, and reuse. You can customize colors to create a coordinated kitchen set. This beginner-friendly design also makes a thoughtful handmade gift for crochet lovers. Keep reading to discover how the clever stitch arrangement and winged structure come together to create a space-saving accessory that protects your pans with simple crochet techniques.
Credit Hook & Loop Crochet Tutorials
Materials & Tools Needed
- 100% cotton yarn in your preferred color (gray was used in the tutorial)
- 3mm crochet hook (adjust based on your yarn weight)
- 4 stitch markers
- Scissors
- Tapestry needle for weaving in ends
Finished Size & Customization Ideas
- Finished Size: Each “wing” is approximately uniform, and the full protector is divided into 6 segments based on the total stitch count.
- Customization Ideas:
- Change yarn colors for a unique design.
- Choose a larger hook size and thicker yarn for bigger or thicker pan protectors.
- Add extra rounds before creating the “wings” for a wider central portion.
Pattern Abbreviations & Terminology
(This pattern uses US Crochet Terms)
- ch: Chain
- dc: Double Crochet
- sl st: Slip Stitch
- st: Stitch
- magic circle: Adjustable loop to start crochet projects in the round
- fake dc: A substitute stitch (to mimic the height of a double crochet)
Step-By-Step Detailed Crochet Instructions
Base Round Instructions
- Round 1:
- Start with a magic circle, then chain 3 (does not count as stitches).
- Work 12 dc into the magic circle.
- Pull the circle tight and join with a sl st on top of the first dc (not the starting ch 3).
(12 stitches)
- Round 2:
- Begin with a fake dc (substitute for the first stitch).
- Place 1 dc into the same stitch.
- Work 2 dc into each stitch all the way around.
- Join with a sl st.
(24 stitches total)
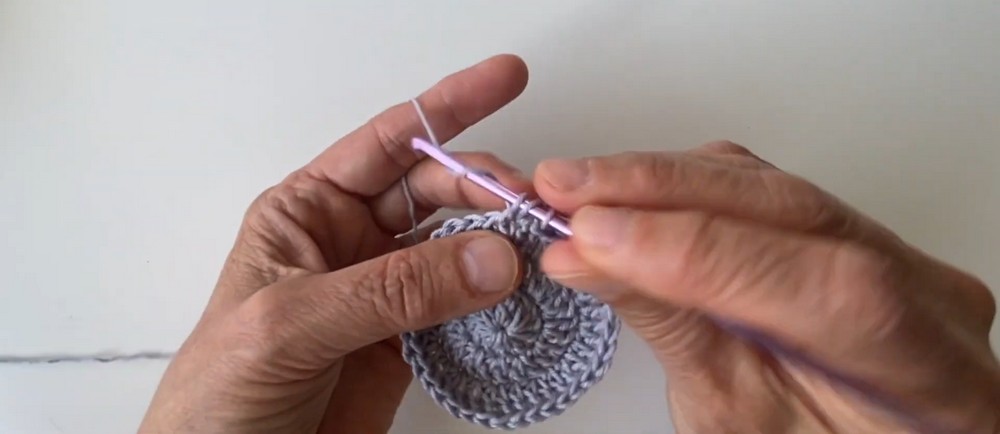
- Round 3:
- Start with a fake dc.
- Work 1 dc into the same stitch.
- Follow the pattern: 1 dc, 2 dc in the next stitch, repeated all around.
- Join with a sl st.
(36 stitches total)
- Round 4:
- Start with a fake dc + 1 dc in the same stitch.
- Work 1 dc in the next 2 stitches, then 2 dc in the next stitch.
- Repeat this pattern all the way around.
- Join with a sl st.
(48 stitches total)
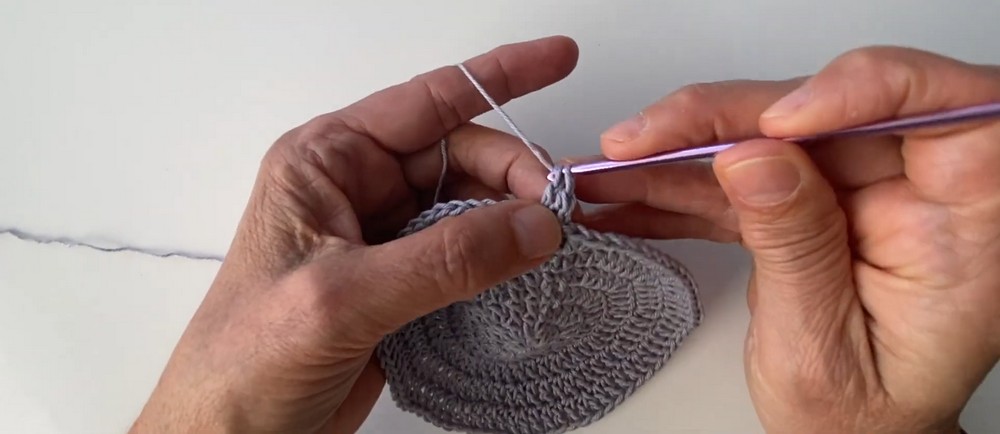
- Round 5:
- Start with a fake dc + 1 dc in the same stitch.
- Follow the pattern: 1 dc in the next 3 stitches, then 2 dc in the next stitch.
- Repeat all the way around.
- Join with a sl st.
(60 stitches total)
- Round 6:
- Start with a fake dc + 1 dc in the same stitch.
- Work the pattern: 1 dc in the next 4 stitches, then 2 dc in the next stitch.
- Repeat all the way around.
- Join with a sl st.
(72 stitches total)
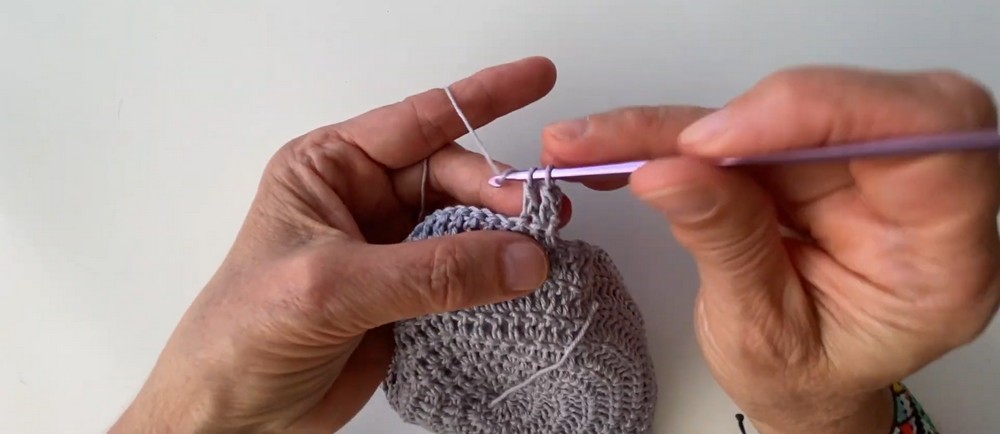
- Round 7:
- Begin with a fake dc + 1 dc in the same stitch.
- Follow the sequence: 1 dc in the next 5 stitches, then 2 dc in the next stitch.
- Repeat around and join with a sl st.
(84 stitches total)
- Round 8:
- Start with a fake dc + 1 dc in the same stitch.
- Work 1 dc in the next 6 stitches, then 2 dc into the next stitch.
- Repeat this pattern all around.
- Join with a sl st.
(96 stitches total)
Creating the “Wings”
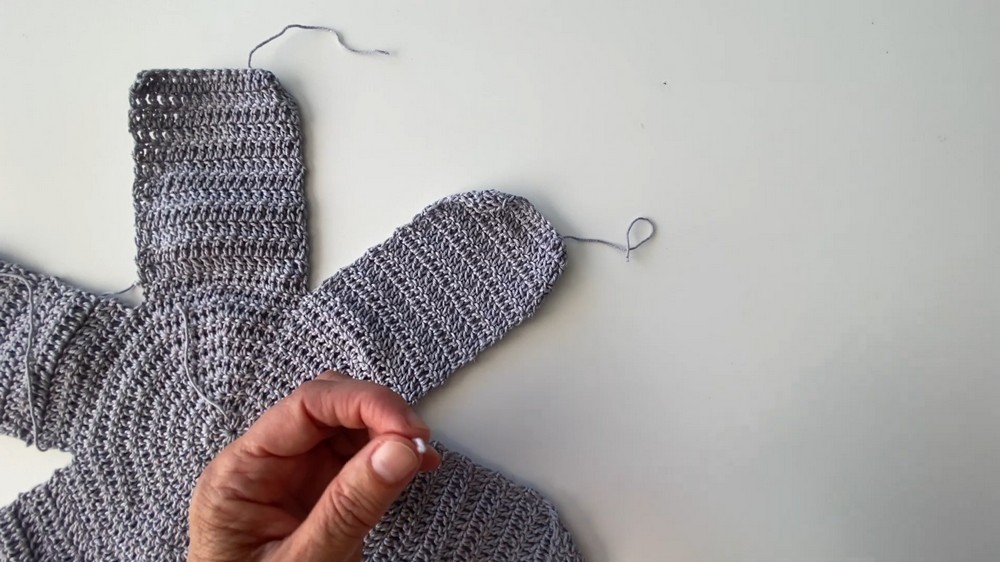
- Divide: The total number of stitches is 96. To create 6 “wings,” divide 96 by 6. This gives 16 stitches per wing.
- Wing 1:
- Start with 1 fake dc, then work 15 dc (so 16 stitches in total).
- Turn and work a total of 13 rows (1 dc into each stitch per row).
- After completing 13 rows, chain 1, fasten off, and cut the yarn.
- Repeat for the remaining 5 wings:
- Count 16 stitches for each wing (place stitch markers if necessary for precision).
- Repeat the process above: create 13 rows per wing and fasten off after each section.
Finishing
- Weave in all yarn tails using a tapestry needle.
- Block the finished project, if needed, to ensure crisp and even “wings.”
Tips for Success
- Mark the starting stitch of each wing with a stitch marker to avoid miscounting.
- Keep your tension consistent for even stitching.
- Use contrasting yarns for a playful and colorful design.