Crochet Bubu Little Ghost – Easy Pattern with Halloween Charm
Bubu the Little Ghost is a simple and adorable crochet pattern designed to get you into the Halloween spirit with a little spooky charm.
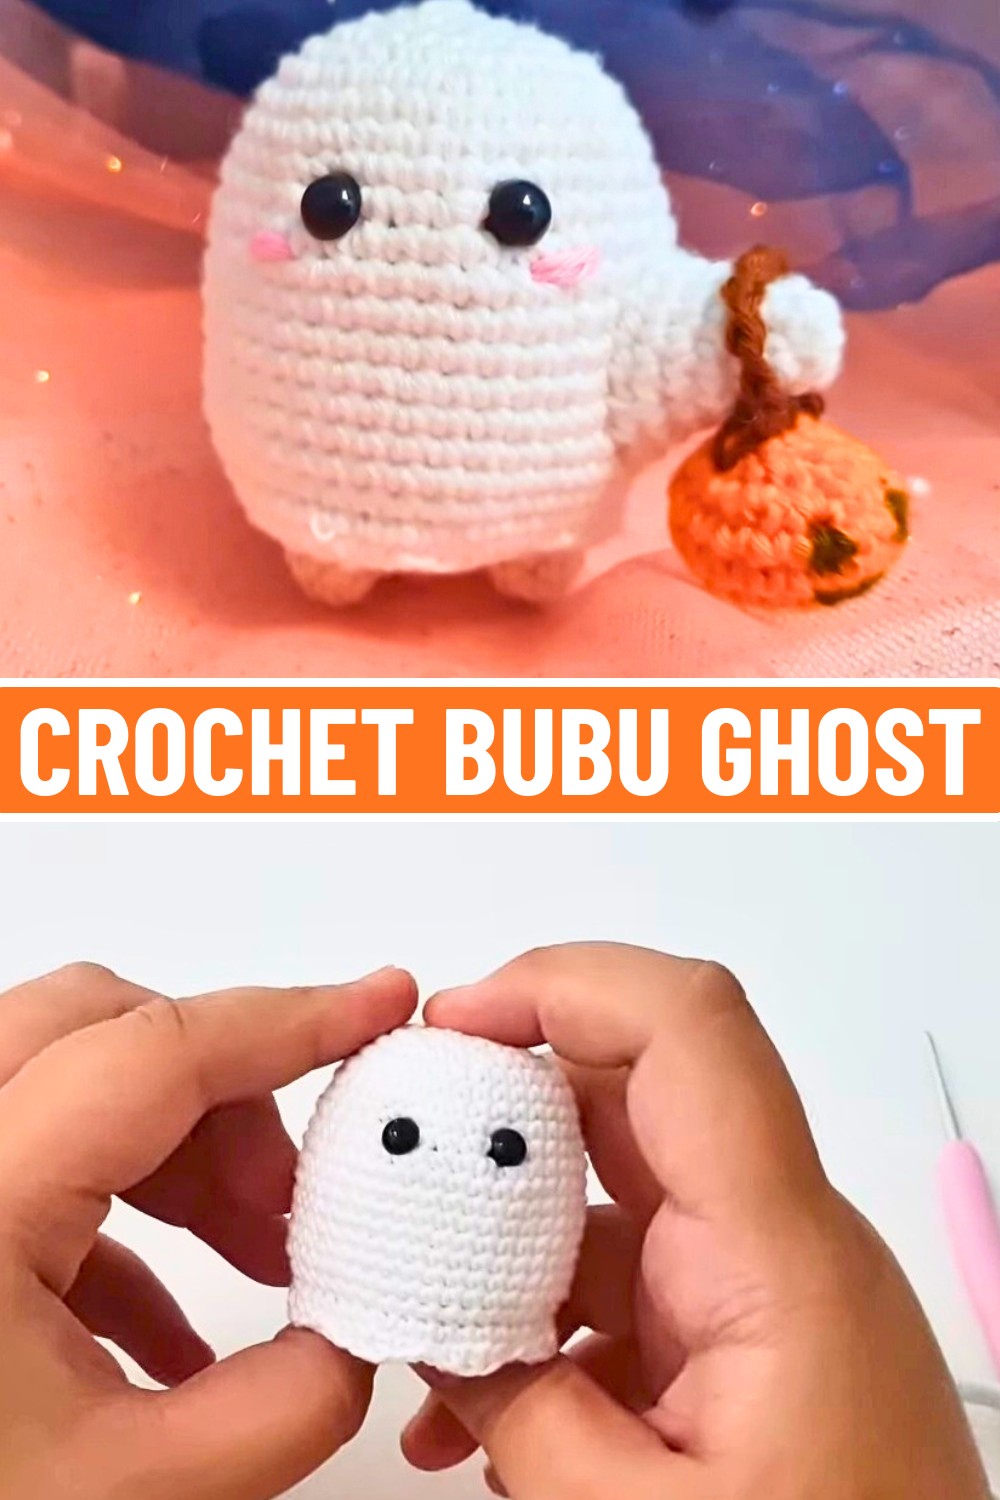
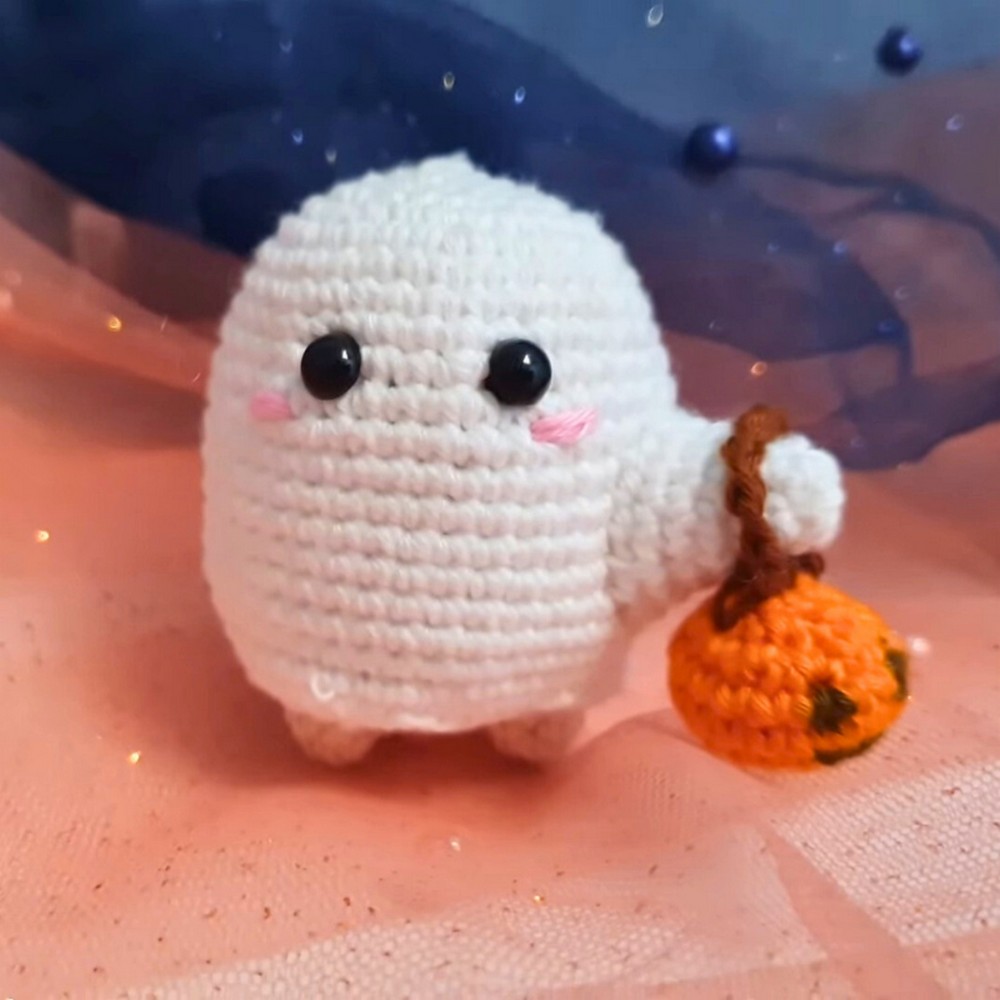
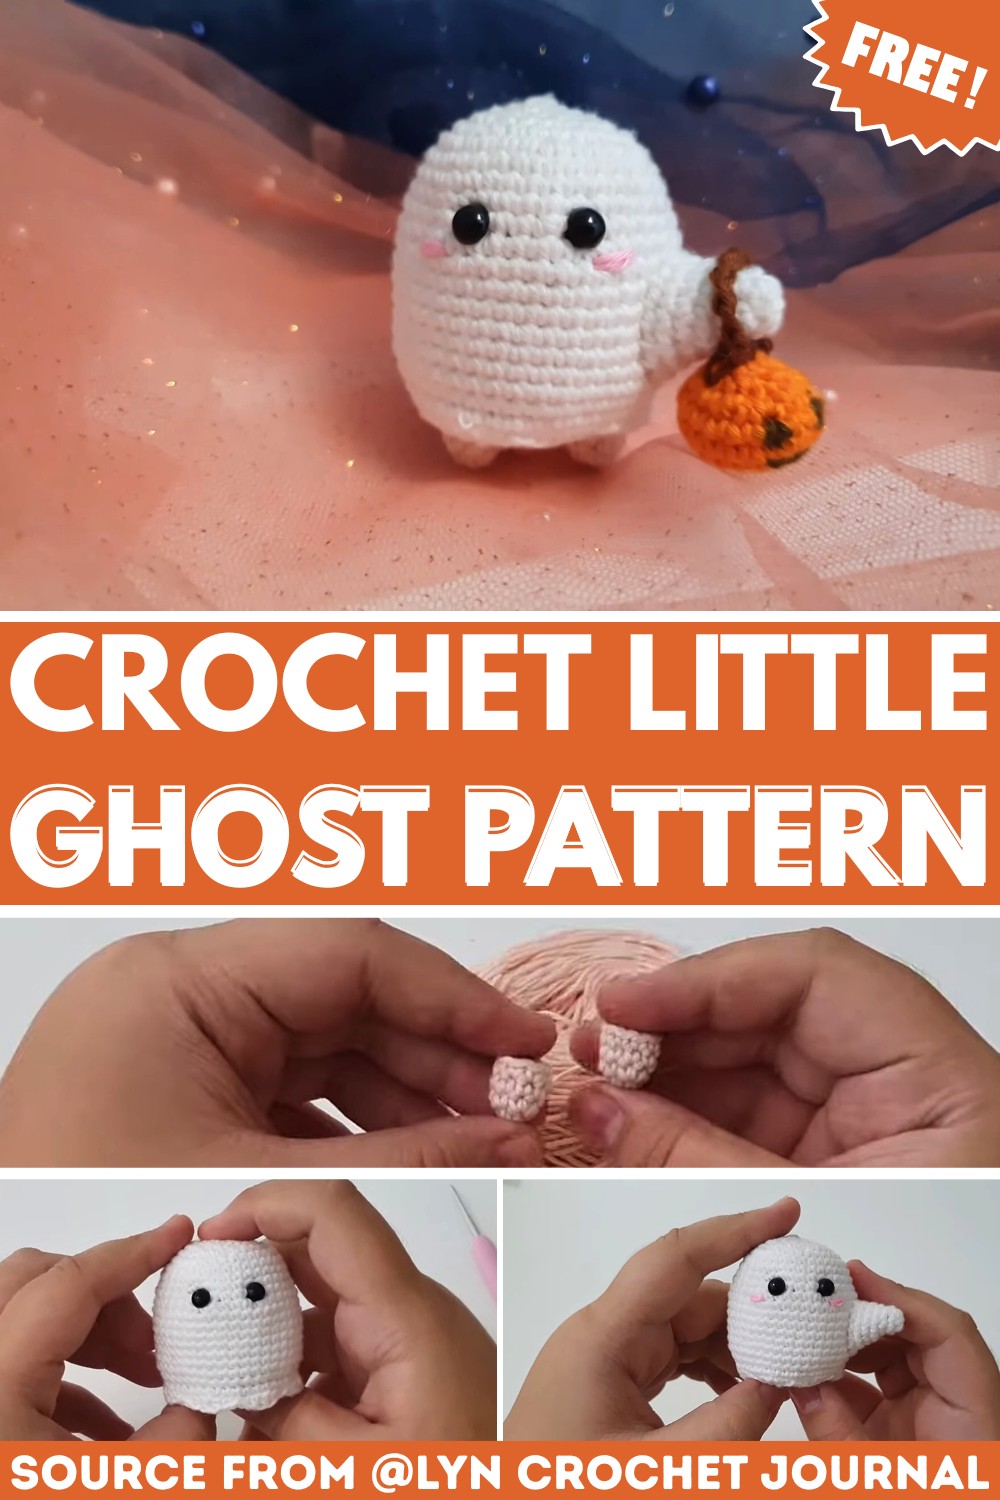
Meet Bubu, the cutest little ghost who’s excited to join the Halloween fun. This crochet pattern is perfect for beginners and makes a sweet decoration, a thoughtful handmade gift, or a delightful toy for kids. With his cheerful face, little pumpkin bag, and playful details, Bubu is a charming companion that adds a spooky yet adorable vibe to your holiday celebrations.
Crochet Bubu Little Ghost
The best part? This Crochet Pattern is simple and uses common materials like yarn, safety eyes, and some polyester filling. You don’t need to be an expert to make him. Just follow along to create a friendly little ghost with legs, tiny hands, and a pumpkin bag. Plus, there’s an option to add a pumpkin hat for an extra festive look. Crochet Bubu at your own pace, and enjoy watching him come to life stitch by stitch.
Credit Lyn Crochet Journal
Key Construction Details:
- Yarns Used: White for the ghost, cream for the legs, orange for the pumpkin bag, and brown for accents.
- Main Techniques: Magic ring, single crochet, working in the round, invisible decreases, and basic assembly.
- Extra Pieces: Arms and legs are crocheted separately and sewn to the body.
- Embellishments: Safety eyes, polyester filling for shaping, a cute “blouse,” and an optional pumpkin bag with a hand-drawn Jack-o’-lantern face.
- Construction Style: Beginner-friendly and worked in parts for easy assembly.
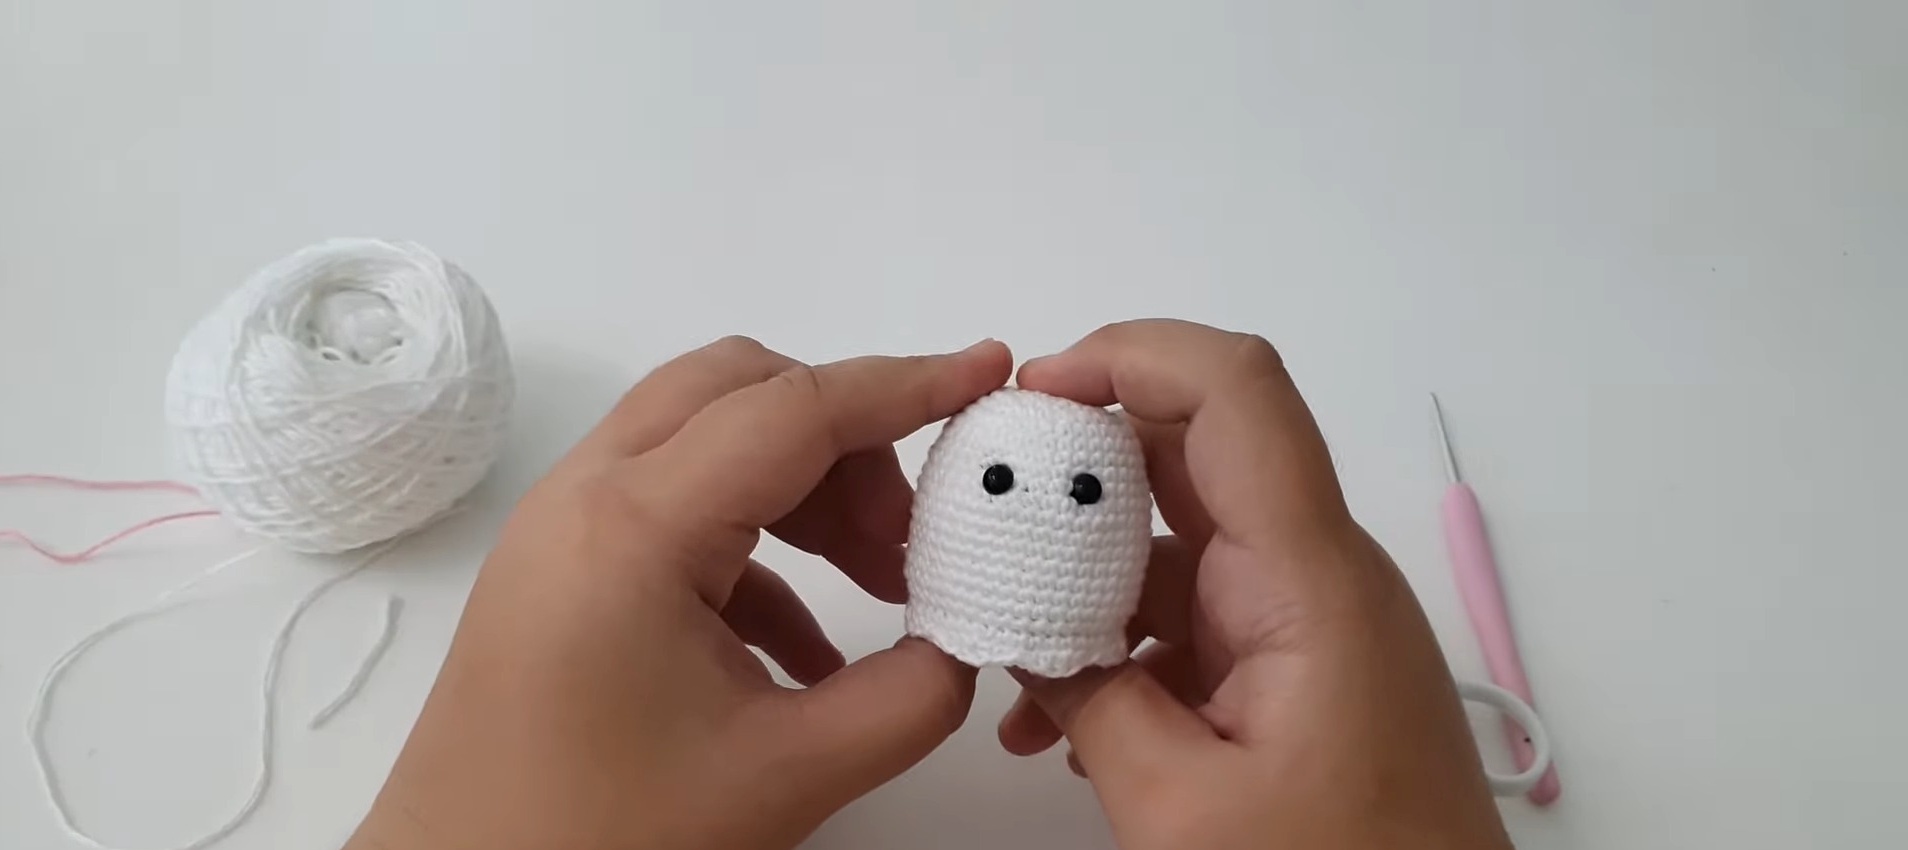
This pattern begins by crocheting Bubu’s rounded ghostly body with white yarn. Working in the round from a magic ring, you’ll start with six single crochets and build up in spiral rounds, using a stitch marker or scrap yarn to keep track of your progress. Invisible decreases help shape the top for a clean, polished look. Once you’ve added a bit of polyester filling for softness, the body will start taking on its signature ghostly form.
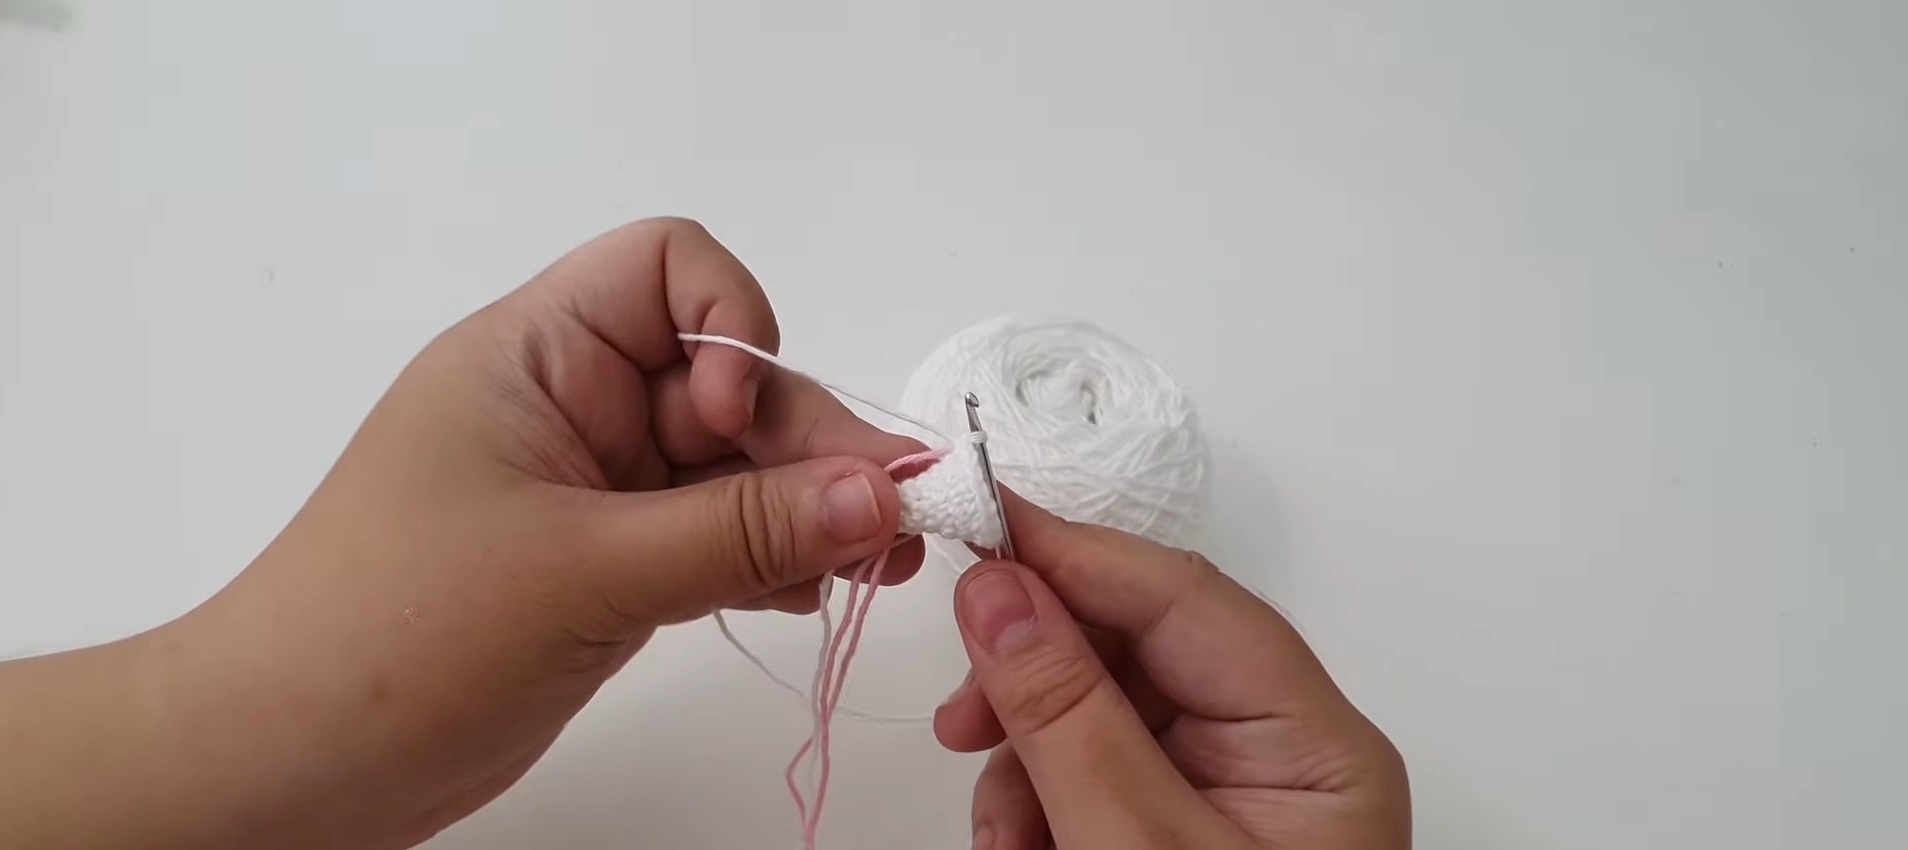
Next, it’s time to bring expression to Bubu’s little face. Mark the positions for the safety eyes using straight pins and carefully widen the holes. A handy trick mentioned in the tutorial is to stretch the stitch holes slightly with a hook or scissors to make placing the eyes easier—just be gentle! Once the eyes are in place and secured with washers, you’ll see Bubu’s adorable personality start to shine.
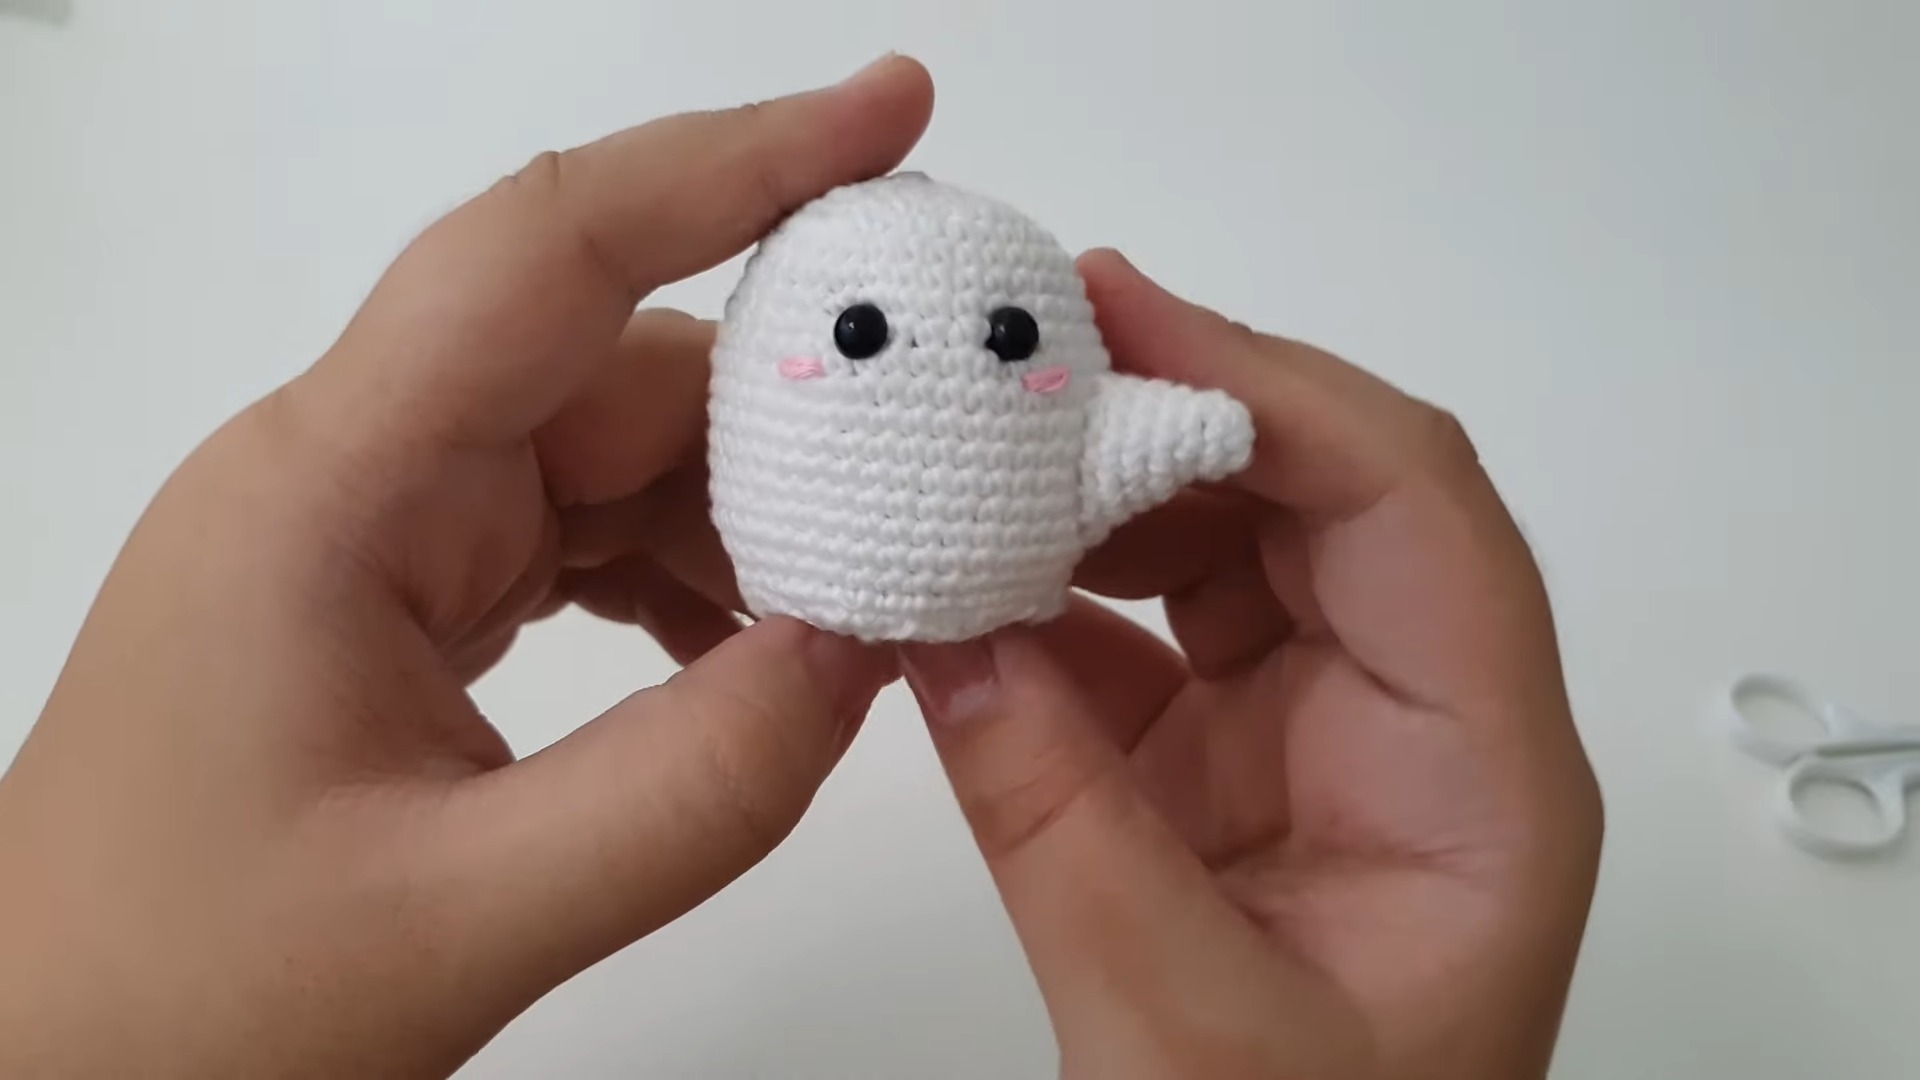
The legs and arms are crocheted as separate pieces using the cream and white yarns, respectively. These components are later sewn onto the body. Adding just a small amount of filling to these smaller pieces makes them firm but squeezable, giving Bubu a playful and huggable finish. When sewing the limbs, using straight pins to secure their position first is a helpful hack to ensure proper placement.
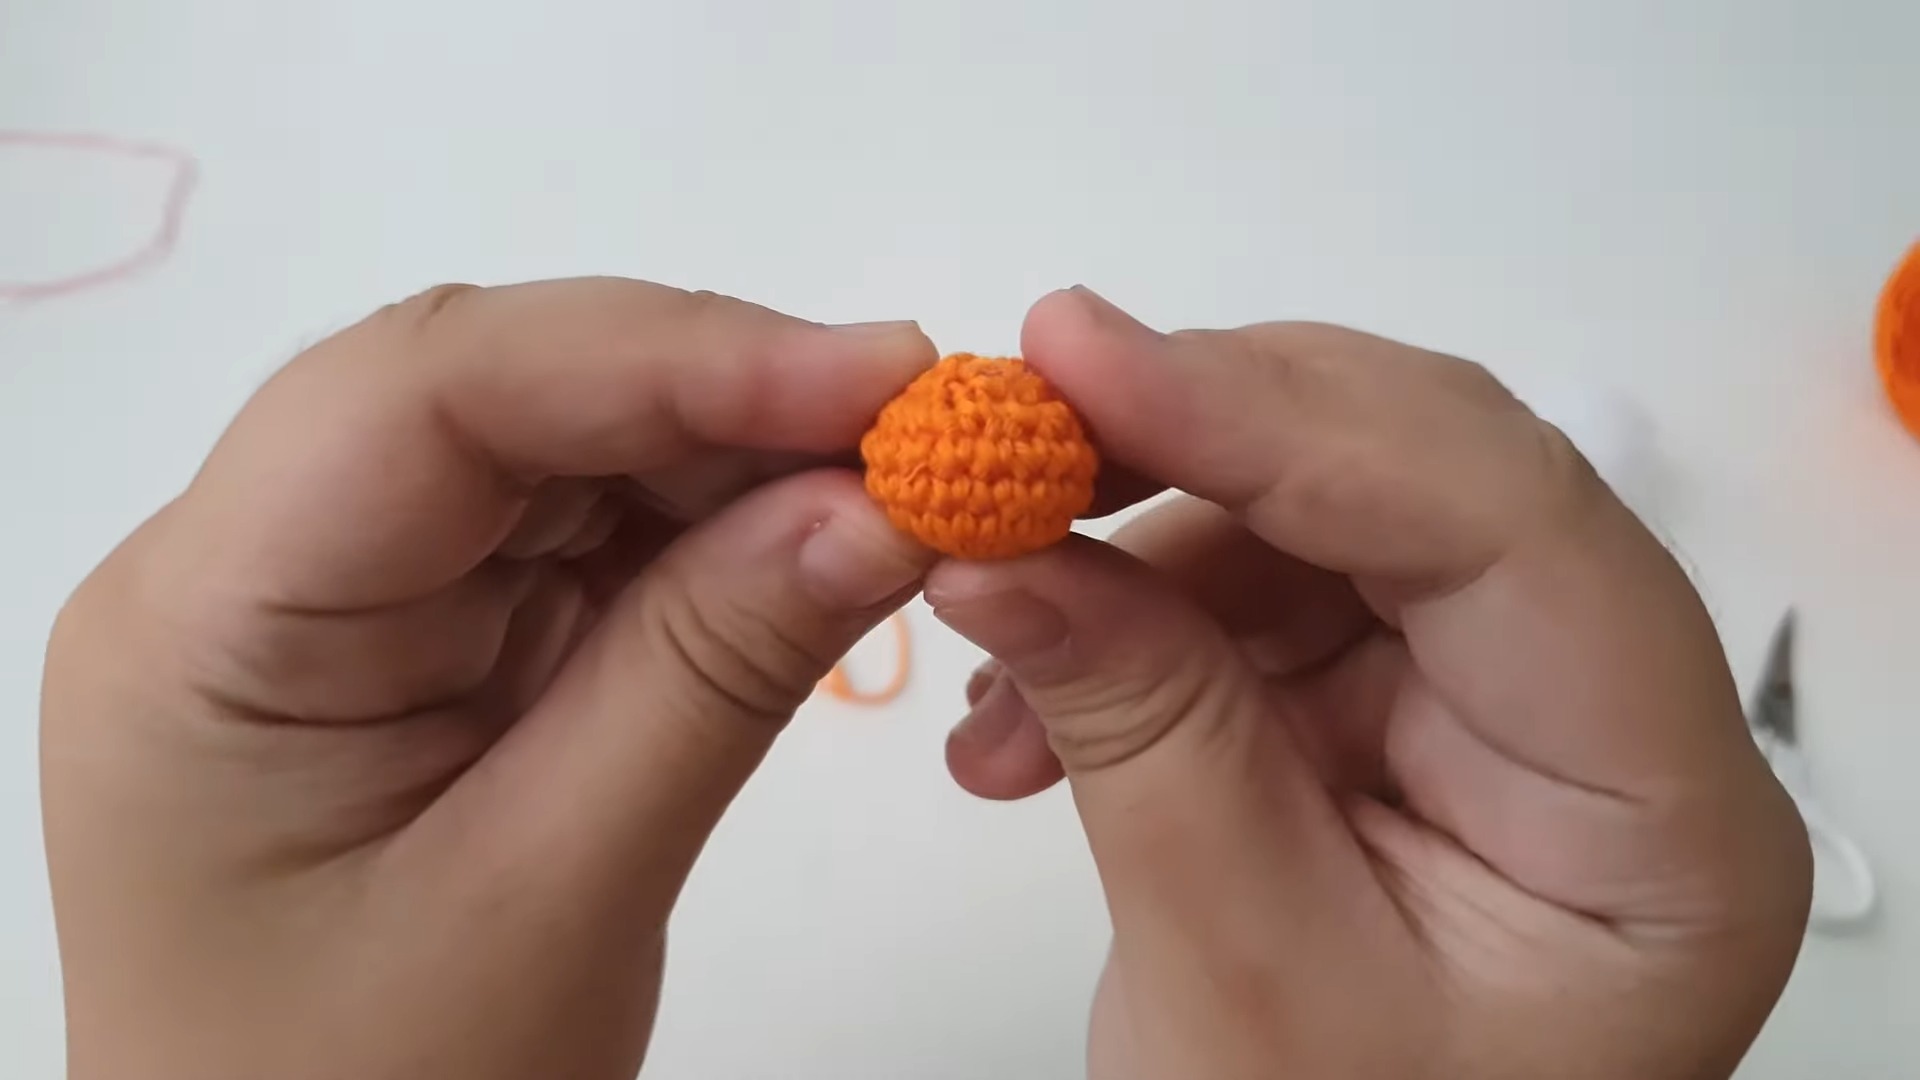
Now for the extra charm—Bubu’s pumpkin bag! Using orange and brown yarn, the pumpkin is worked up quickly, incorporating some simple shaping techniques. Afterward, a chain strap is added, and the face is drawn on with a permanent marker for a Halloween-ready look. Bubu’s “blouse” is created using cream yarn, adding a layer of whimsy and personality to this ghostly figure. If you feel inspired, you can even add a bonus pumpkin hat (available as a separate addition) for more festive flair!
Video Tutorial
Materials & Tools Needed
- Yarn:
- White yarn (for body, hands, and part of the head)
- Orange yarn (for the pumpkin accessory)
- Brown yarn (for pumpkin stem)
- Cream yarn (for the legs)
- Hook: Size 3 mm (for sport yarn)
- Additional Tools:
- Scissors
- Needle
- Black marker
- Polyester filling (for stuffing)
- Straight pins (to mark and position pieces while sewing)
- Two safety eyes (6 mm) with washers
- Cardboard (cut into a circular shape for stability of the base)
Finished Size
The finished size will depend on your yarn weight, hook size, and tension. Using sport-weight yarn and a 3 mm hook, expect a size suitable for a small handheld decoration (around 4–6 inches).
Customization Ideas
- Change Yarn Colors: Use different colors for a playful ghost or holiday themes.
- Add Accessories: Use the tutorial’s pumpkin bag design and consider adding custom hats or other seasonal elements.
- Facial Expression: Draw a unique face using a black marker or embroider details.
Pattern Abbreviations & Terminology
Pattern uses US crochet terminology.
- MR: Magic Ring
- sc: Single Crochet
- sl st: Slip Stitch
- ch: Chain
- inc: Increase (2 sc in the same stitch)
- dec: Decrease (2 stitches crocheted together, use invisible decrease if preferred)
- FO: Fasten Off
Step-by-Step Detailed Instructions
This will walk you through creating Bubu Little Ghost step by step.
Body
- Begin with white yarn and make a Magic Ring (MR).
- Round 1: Work 6 sc into the MR. (6 sts)
- Use a piece of scrap yarn to mark the start of each round for easy tracking.
- Round 2: inc in every stitch around. (12 sts)
- Round 3: (sc, inc) repeat around. (18 sts)
- Round 4: (2 sc, inc) repeat around. (24 sts)
- Round 5: (3 sc, inc) repeat around. (30 sts)
- Round 6: (4 sc, inc) repeat around. (36 sts)
- Rounds 7–12: Work 1 sc in each stitch around. (36 sts per round for 6 rounds)
Adding the Eyes
- Insert two 6 mm safety eyes between rounds 10 and 11, spaced 5 stitches apart.
- Use straight pins to mark the position before inserting the eyes.
- If holes for the safety eyes are small, use your hook to carefully stretch the stitch or scissors to widen the hole slightly. Attach washers to secure.
Stuffing the Body
- Add polyester filling to the body as you go. Make sure the bottom is firm but not overfilled.
- Cut a circle of cardboard and place it at the base of the body for stability.
Finishing the Body
- Round 13: (4 sc, dec) repeat around. (30 sts)
- Round 14: (3 sc, dec) repeat around. (24 sts)
- Round 15: (2 sc, dec) repeat around. (18 sts)
- Round 16: (1 sc, dec) repeat around. (12 sts)
- Round 17: Work decreases until the hole is closed. FO and weave in the remaining yarn tail.
Legs (Make 2)
- With cream yarn, start with a MR.
- Round 1: Work 6 sc into the MR. (6 sts)
- Round 2: (sc, inc) repeat around. (9 sts)
- Rounds 3–6: Work 1 sc in each stitch around. (9 sts per round for 4 rounds)
- FO, leaving a tail for sewing.
- Using straight pins, position the legs at the base of the body. Sew them securely in place using the yarn tail.
Hands (Make 2)
- With white yarn, start with a MR.
- Round 1: Work 6 sc into the MR. (6 sts)
- Round 2: (sc, inc) repeat around. (9 sts)
- Rounds 3–5: Work 1 sc in each stitch around. (9 sts per round for 3 rounds)
- Add a small amount of stuffing to make the hands firm.
- FO, leaving a tail for sewing.
- Use straight pins to position the hands on either side of the body (just below the “neck” area) and sew them in place with the yarn tail.
Blouse Detail (Optional)
- Using cream yarn, crochet a simple chain around the body at the level just below the eyes.
- Secure and tack in place to create a “blouse-like” accessory.
Pumpkin Bag
- With orange yarn, start with a MR.
- Round 1: Work 6 sc into the MR. (6 sts)
- Round 2: inc in every stitch around. (12 sts)
- Round 3: (sc, inc) repeat around. (18 sts)
- Round 4: (2 sc, inc) repeat around. (24 sts)
- Rounds 5–7: Work 1 sc in each stitch around. (24 sts per round for 3 rounds)
- Round 8: (2 sc, dec) repeat around. (18 sts)
- Round 9: (sc, dec) repeat around. (12 sts)
- FO, leaving enough yarn to sew the top closed slightly.
- Cut brown yarn and attach to the center of the top as the pumpkin stem.
Bag Handle
- Chain 10, then attach to either side of the pumpkin to form a bag handle.
Pumpkin Details
- Use the black marker to draw a simple pumpkin face.
Final Assembly
- Position accessories (e.g., attach the pumpkin to one of the hands or position it nearby), and make adjustments as desired.
- We’re done!
Troubleshooting and Suggestions
Common Challenges:
- Tracking Rounds: To avoid confusion when working in the round, always mark the beginning of each round with a scrap piece of yarn or marker. This can save you from accidentally miscounting stitches.
- Attaching Arms and Legs: If sewing isn’t your favorite part, ensure proper alignment by pinning the pieces in place before attaching them—they’ll look much more symmetrical this way!
Creative Modifications:
- Try making Bubu in different ghostly colors, like pastel shades or glow-in-the-dark yarn for a unique twist.
- Personalize the pumpkin bag by experimenting with different Jack-o’-lantern faces or even incorporate embroidery for details.
- Add a bow tie, scarf, or other embellishments to give Bubu even more character.