How to Crochet a Spiral Ruffle Hat with Layered Textures
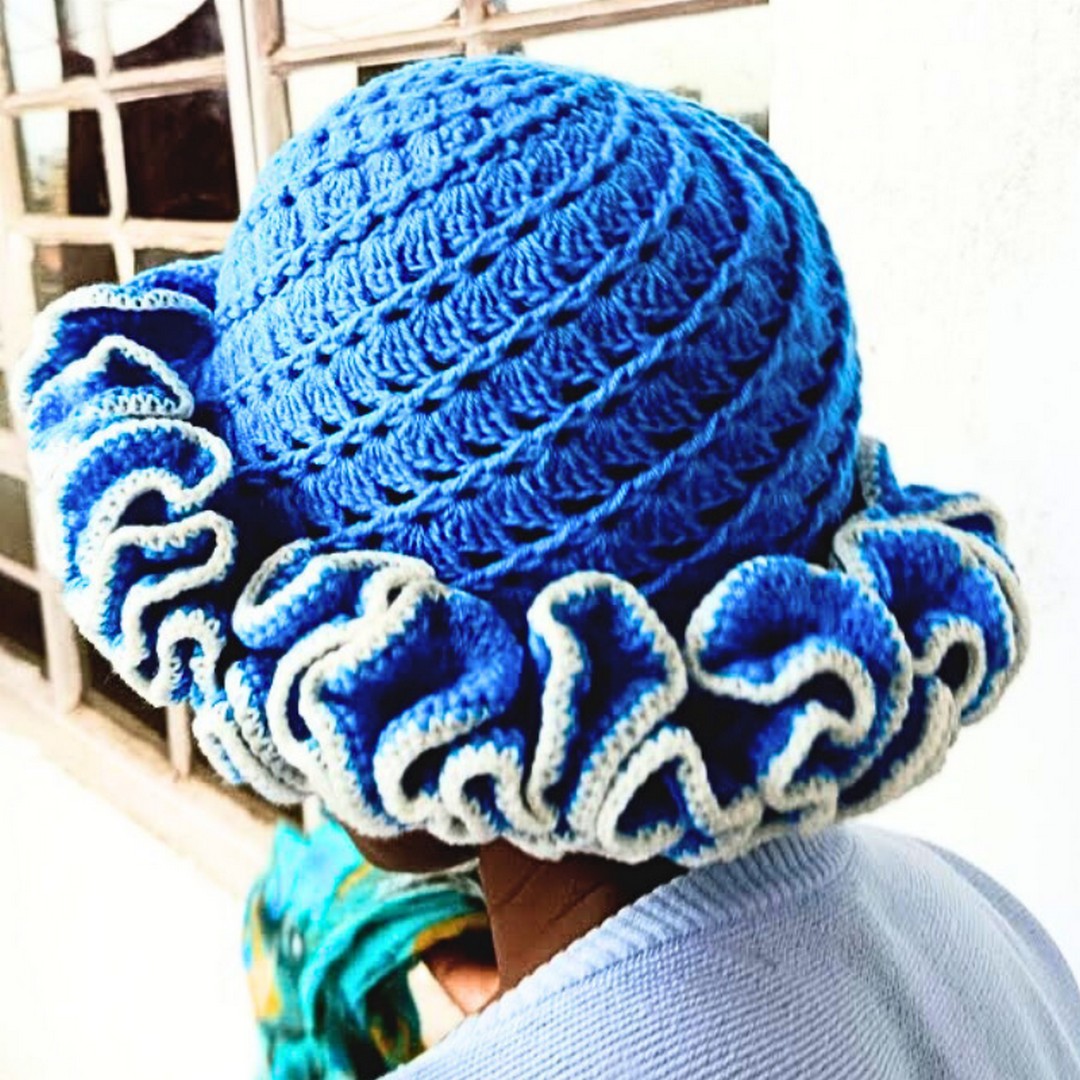
A graceful swirl of crochet ruffles instantly transforms an ordinary hat into a standout handmade piece. The spiral ruffle hat blends soft texture with flowing layers that create beautiful movement from every angle.
Its playful design feels elegant enough for seasonal outings while remaining comfortable for everyday wear. With the right yarn colors, this eye-catching crochet item can easily match different styles and personal preferences.
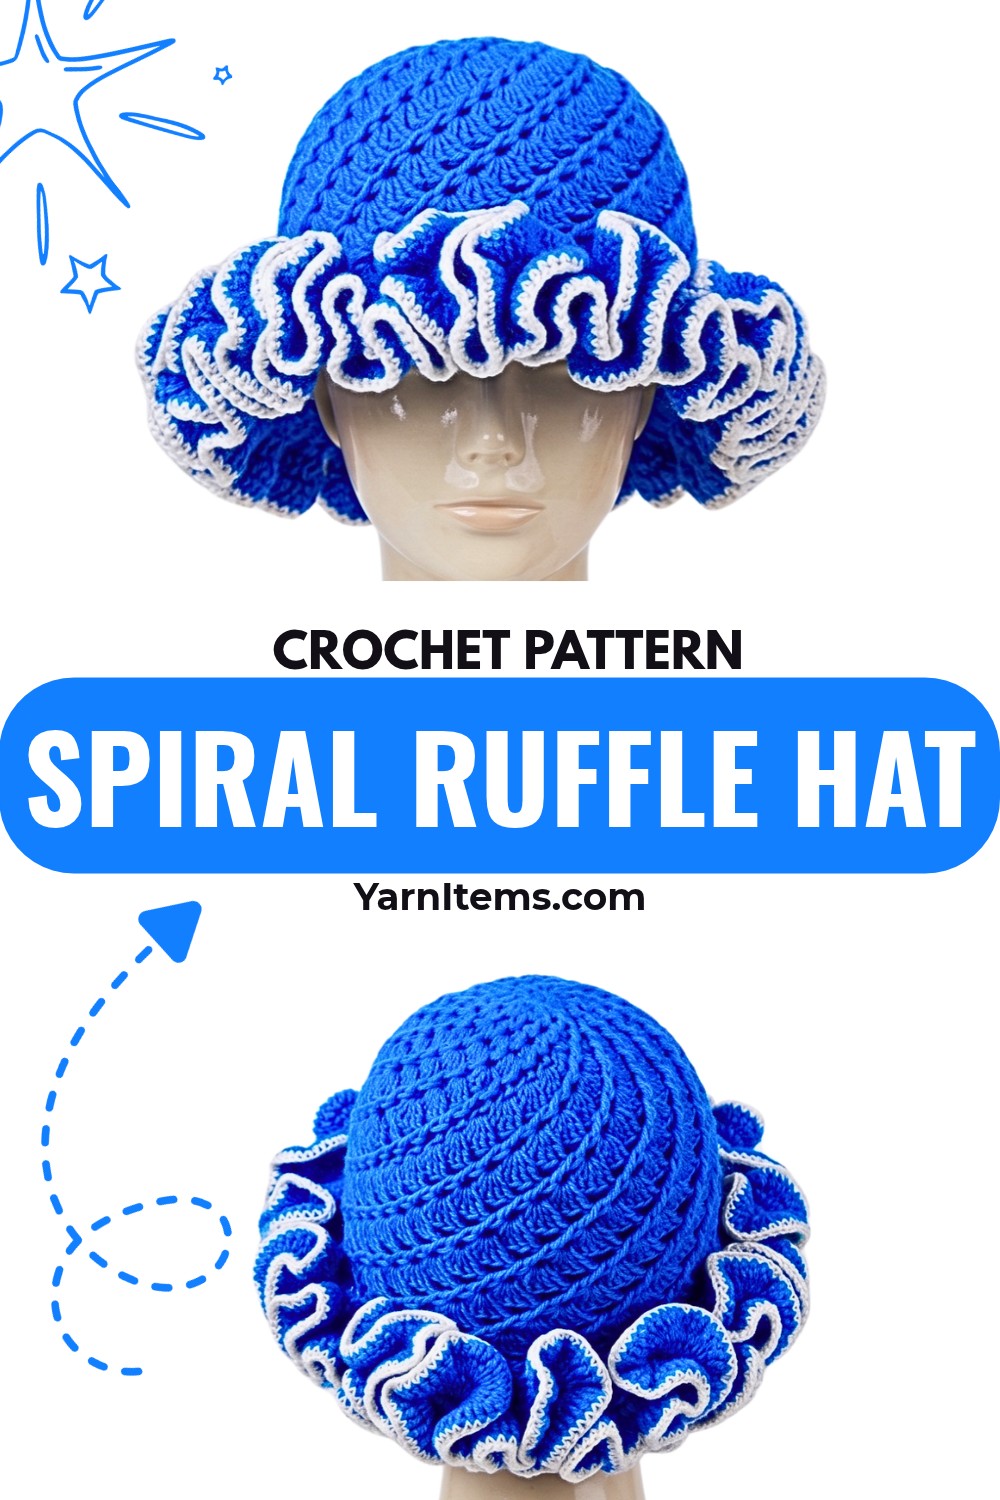
Every carefully placed ruffle adds personality and charm to this delightful crochet piece. Beyond its stylish appearance, the hat offers cozy warmth during cooler weather for both children and adults. It also highlights creative stitch work, making it a wonderful addition to any handmade collection. Whether kept for yourself or prepared as a thoughtful gift, this beautiful crochet item is designed to leave a lasting impression.
Credit Mv Crochets
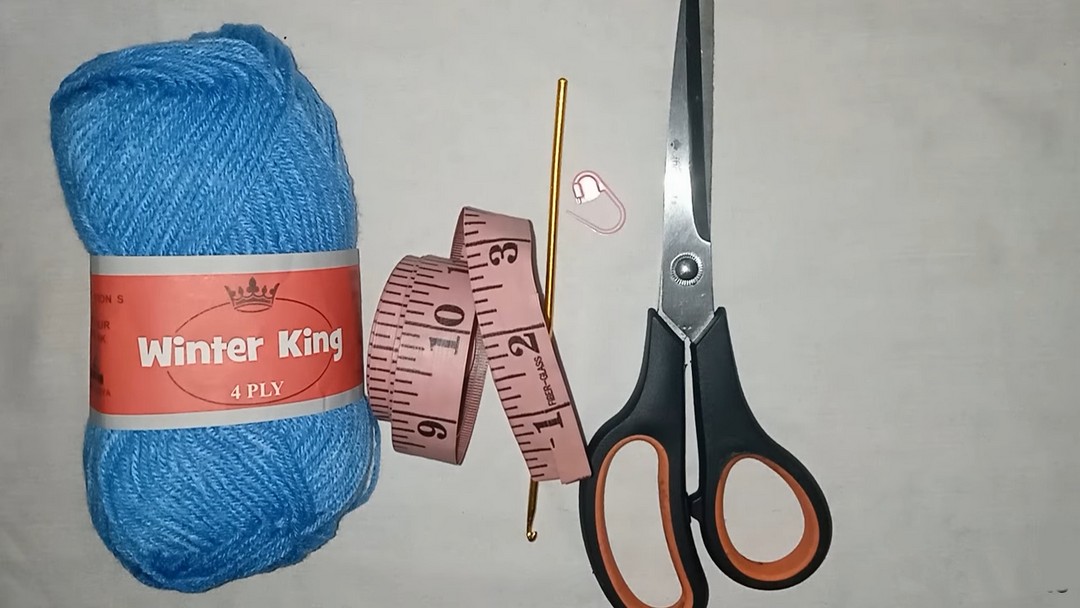
Materials & Tools Needed
- Yarn: Acrylic yarn (medium weight)
- Hook: 3.0 mm crochet hook
- Other Tools:
- Tape measure
- Stitch marker
- Scissors
Finished Size & Customization Ideas
- Finished Size: 6 inches deep before adding ruffles.
- Customization Ideas:
- Use different yarn weights to create varied textures.
- Experiment with contrasting ruffle colors (e.g., white edging for a refined finish).
Pattern Notes
- Skill level: Intermediate
- Techniques involved:
- Magic ring
- Front post double crochet (FPDC)
- Single crochet (SC)
- Double crochet (DC)
- Joining rounds: Always join with a slip stitch in the first stitch of the round.
- Ruffles: Ensure you maintain accurate tension for a smooth finish. Adjust FPDC stitches to loosen if needed for rows beyond 10.
Pattern Abbreviations & Terminology
- CH: Chain
- DC: Double Crochet
- SC: Single Crochet
- FPDC: Front Post Double Crochet
- ST: Stitch
- SL ST: Slip Stitch
Step-by-Step Detailed Crochet Instructions
Base (Crown)
- Magic Ring:
- Wrap yarn around two fingers.
- Insert hook under the yarn, pull the working strand through, and twist to form a loop.
- CH 1 to secure the loop.
- Round 1:
- CH 2 (do not count as a stitch).
- Work 16 DC into the ring.
- Tighten the ring by pulling the short tail.
- SL ST into the first DC to close the round.
- Round 2:
- CH 2.
- In each stitch:
- Make 1 DC between the CH 2 and first DC.
- FPDC in the same stitch.
- Repeat across the round.
- SL ST in the first DC to close.
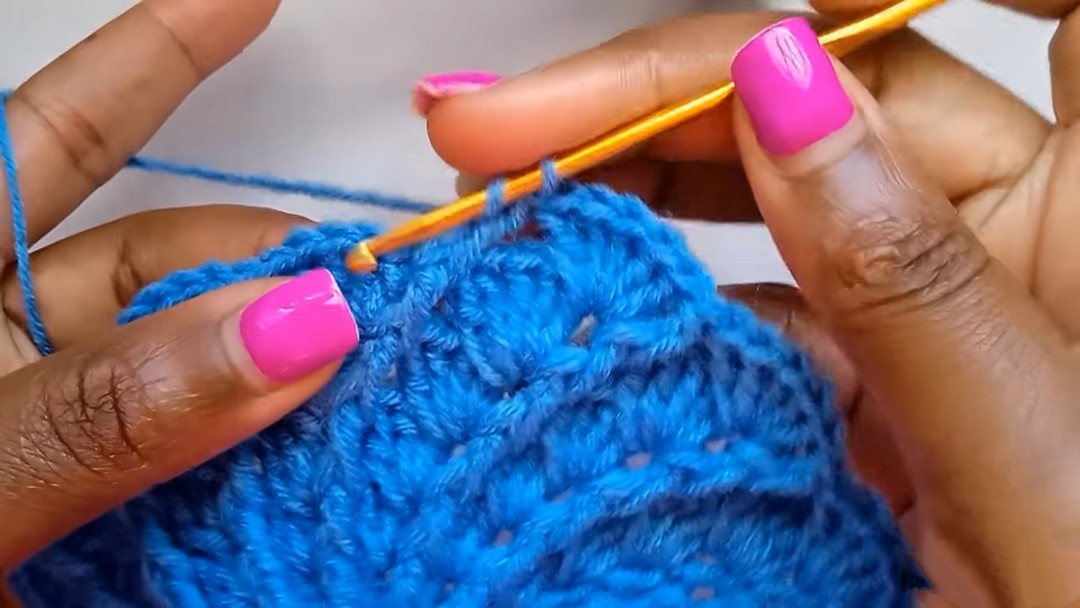
- Round 3:
- CH 2.
- Make 2 DC between the CH 2 and first DC, then FPDC.
- Work 2 DC into the space following each FPDC. Repeat around.
- SL ST in the first DC.
- Round 4–8:
- Gradually increase DC count per space (e.g., 3, 4, 5) while maintaining FPDC for structure.
- SL ST at the end of each round.
Final Base Rounding
- Rounds 9–18:
- CH 2 per row.
- Work consistent DC counts (e.g., 5 DC between FPDC stitches) with no further increases.
- Tighten tension for FPDC stitches after Row 10 to ensure a smooth shape.
Single-Crochet Row
- Row 19:
- CH 1, work 1 SC into every stitch around.
- SL ST into the first SC to close, using a stitch marker for precision.
Creating the Ruffles
Ruffle Rows
- Row 1:
- CH 2.
- Work 3 DC into each stitch around.
- SL ST into the start of the row to close.
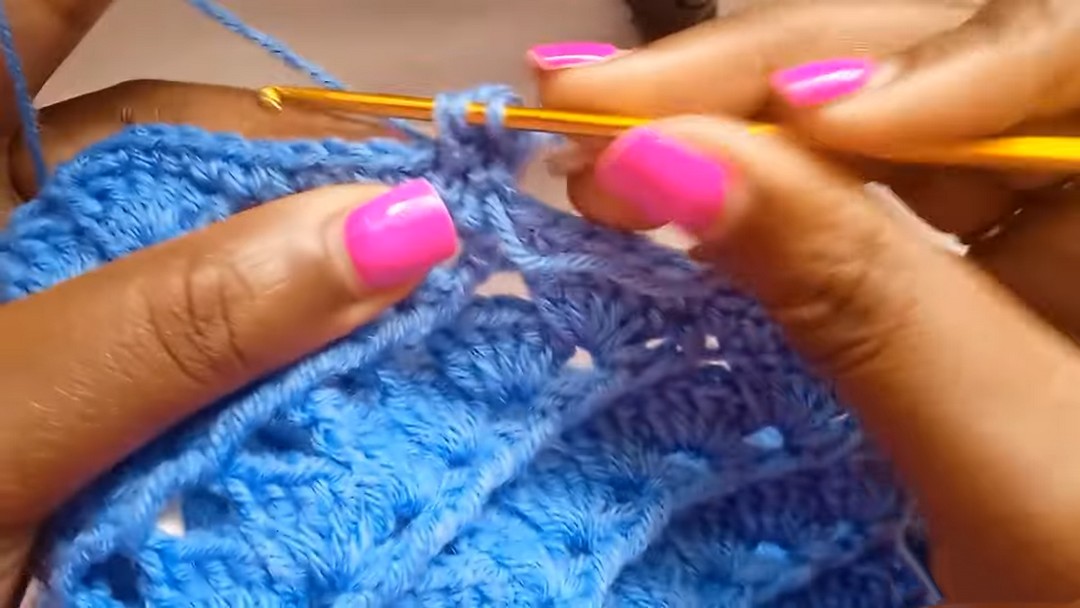
- Row 2–3:
- Repeat Row 1 (3 DC per stitch across each row).
- For finishing, cut and secure yarn with a knot.
Optional White Edging
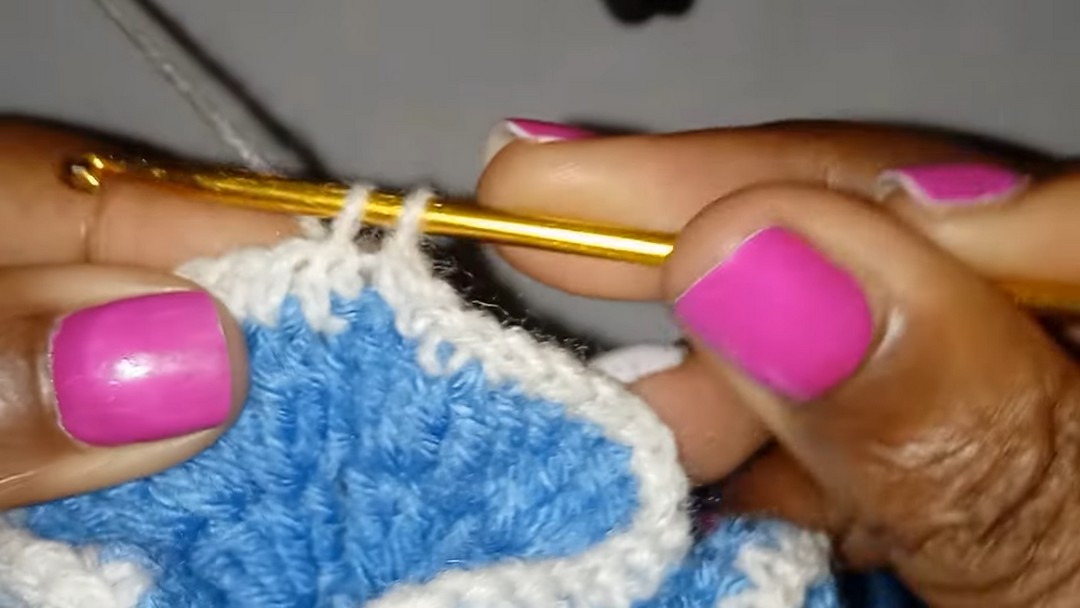
- If adding color:
- Join lightweight yarn to the first stitch using a slip knot.
- Work 1 SC into every stitch around with the new color.
- Finish with a SL ST.
Final Assembly
- Fasten Off:
- Cut the final strand and pull tight through the last stitch.
- Weave in yarn ends using a tapestry needle.
- Shaping:
- Check and shape the ruffles for consistent flow.
- Block the hat if needed for a polished look.
Smart Storage Tips
Here are some smart storage tips to help you preserve your items:
- Roll the Hat Loosely
- Gently roll the hat without compressing it to help preserve any delicate ruffles or details.
- Avoid tight folds to prevent deforming the shape.
- Store in a Dry, Cool Place
- Make sure the storage area is dry and cool to prevent moisture, which can cause yarn damage, mold, or mildew.
- Avoid exposing your items to direct sunlight or extreme temperatures.
- Use Breathable Storage Containers
- Use breathable fabric bags or containers instead of plastic ones to allow airflow and prevent moisture buildup.
- Protect Against Pests
- Consider adding lavender sachets or cedar blocks to the storage area to deter moths and protect the yarn.
Share Your Finished Pattern Like a Crochet Influencer
Photos:
- Capture Beautiful Photos
- Style or model your crochet hat to showcase its details.
- If you’re not modeling, display the hat on a neutral background or use props to enhance visual appeal (e.g., a mannequin head or draped over textured fabric).
- Highlight the hat’s ruffles, patterns, and texture through creative angles.
- Use Indirect Lighting
- Natural light near a window or soft artificial lighting avoids shadows and creates professional-quality images.
- Avoid harsh direct lighting or dark settings.
- Enhance with Editing Tools (optional)
- Use editing tools to adjust brightness, contrast, and colors (but keep everything as true to life as possible).
Platform Suggestions:
- Instagram
- Post your creation with hashtags like #CrochetSpiralHat, #HandmadeCrochet, and #YarnArt to reach a larger creative community.
- Use Instagram Stories or Reels for behind-the-scenes videos of your crafting process.
- Pinterest
- Pin your finished hat with a detailed caption describing techniques and yarn used.
- Pinterest thrives on DIY and crafts!
- Blogging Platforms
- Share your project and process in a blog post (e.g., on WordPress or Medium).
- Include tips, tricks, and the inspiration behind designing or choosing the pattern.
Bonus Tips
- Share Timely or Seasonal Posts: Relate your hat to current events, trends, or seasons (e.g., “Perfect for Winter Fashion!”).
- Engage Your Audience: Ask a fun question like, “What’s your favorite winter accessory?” or “What colors would you crochet this hat in?”
Conclusion
You’ve learned how to expertly craft a crochet spiral ruffle hat using FPDC and ruffle techniques. Experiment with colors and yarn weights to create your own unique variations. Happy crocheting!