Crochet Flower Bag for Stylish Handmade Accessory
Crocheting a flower bag is a creative way to combine elegance and practicality into a unique accessory. This tutorial introduces an eye-catching design ideal for anyone wanting to elevate their crafting skills or make a handmade statement piece for everyday use. With a focus on creating detailed floral patterns, this project offers both aesthetic appeal and functionality, making it suitable for casual outings, special events, or even gifting. Its versatility and charm make it an exciting challenge for crafters of all levels.
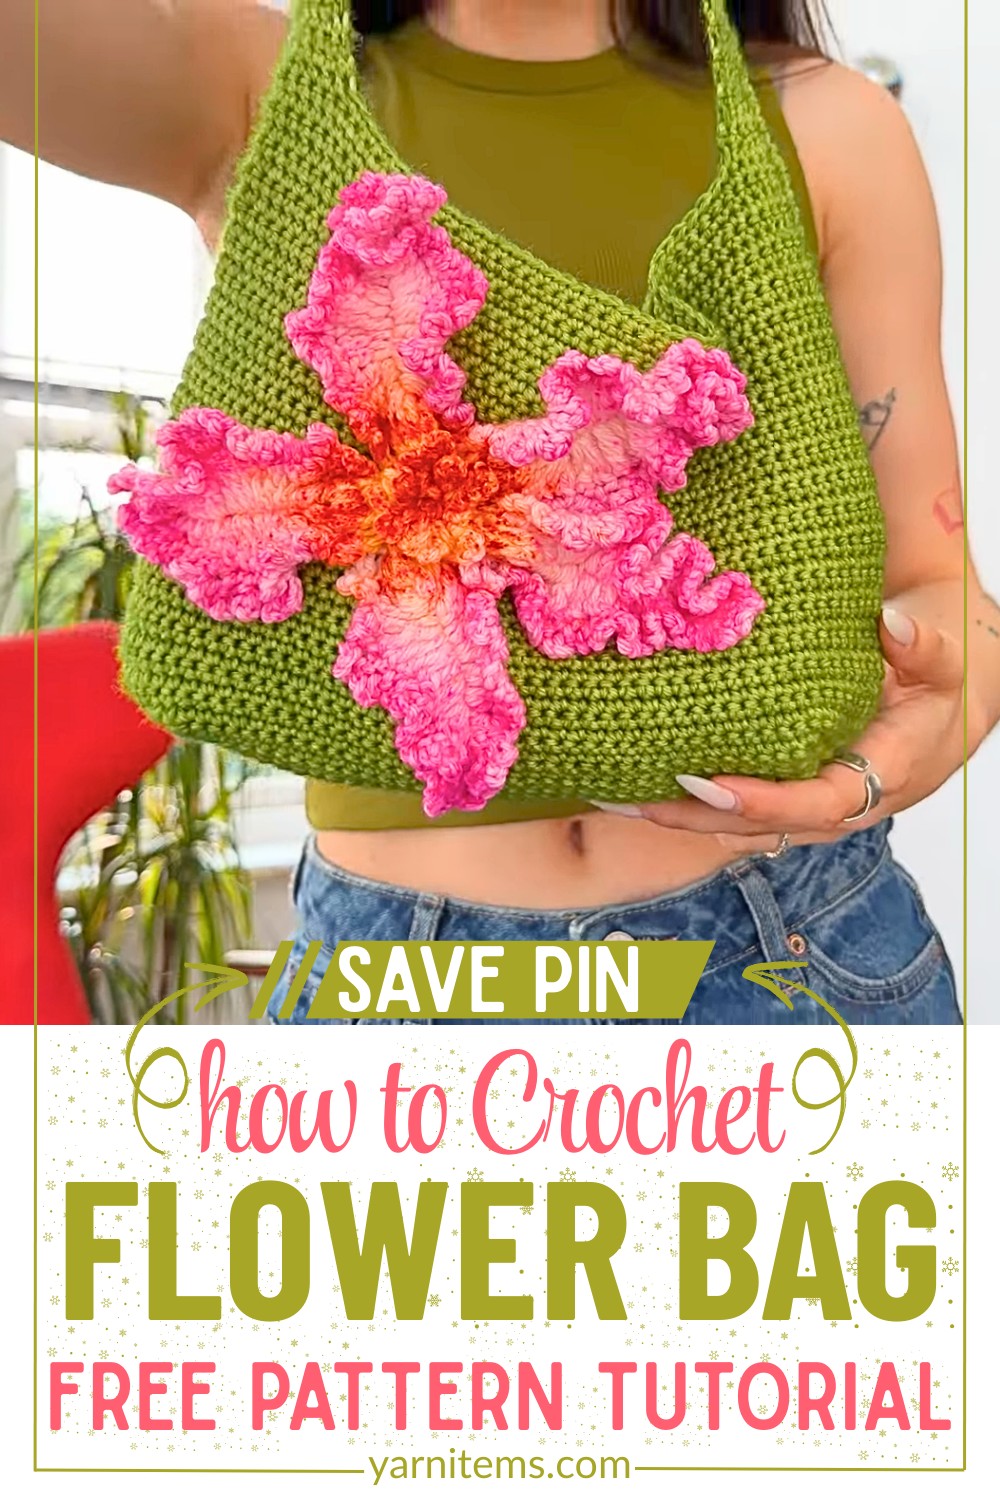
Crochet Flower Bag
A highlight of this tutorial is the innovative construction method that seamlessly integrates floral motifs into the bag’s structure. The tutorial demonstrates how to alternate bold and delicate flower shapes to create a textured, three-dimensional effect. The selection of durable yarn ensures the bag’s longevity while offering softness and vibrant colors to match any personal style. The strategic placement of decorative elements, combined with a sturdy base design, results in a fashionable yet practical accessory that stands out in both form and functionality.
Credit Kenikse Crochet
Tutorial Highlights
- 3D Floral Integration: Learn to craft vividly layered flowers that bring dimension and texture to the bag’s surface.
- Durable Versatile Design: Blends aesthetics with long-lasting yarn materials for daily use.
Step-by-Step Pattern
Materials
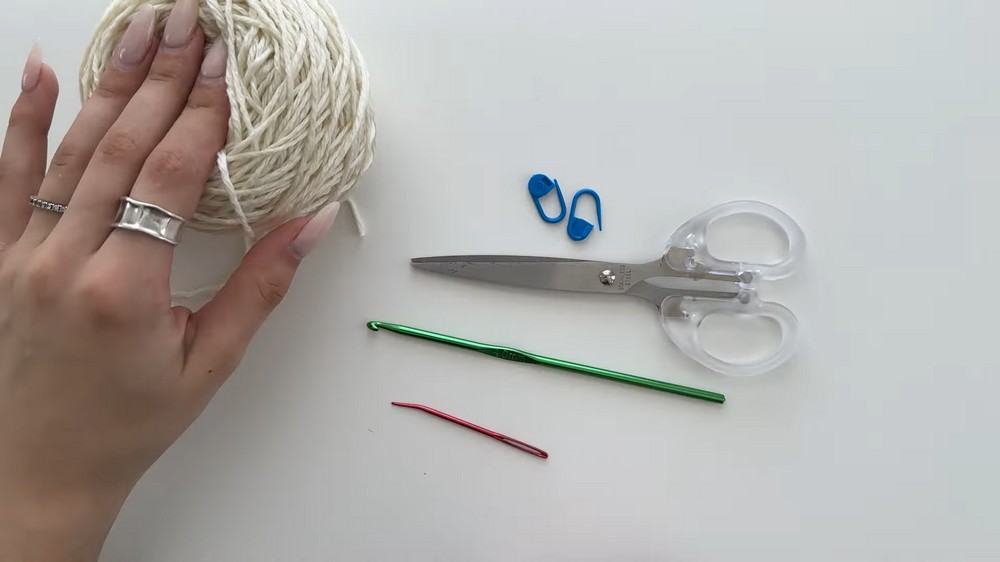
To create this crochet flower bag, you will need:
- Yarn:
- Double Knit Yarn (200 g): Superwash merino wool is recommended for durability and softness.
- Hook:
- 4 mm crochet hook: Best suited for the yarn to achieve clean stitches.
- Additional Tools:
- 2 stitch markers for precise measurements.
- Scissors to trim yarn.
- Tapestry needle for sewing and weaving ends.
- Tape measure or ruler for accurate measuring.
- (Optional) Fabric lining for added durability.
Notes
- Gauge: Adjust your tension to keep your bag structured. A tighter stitch will provide a sturdier shape.
- Customization Ideas:
- Use multi-colored yarn for a vibrant look.
- Add beads or buttons to embellish the flower petals or handles.
- Customize the bag’s size by increasing or decreasing the number of rows.
- Bag Assembly: Ensure neat joins and finishes by carefully aligning seams and weaving in ends securely. Adding a fabric lining will strengthen the bag and enhance its structure.
Pattern Instructions
Crochet the Base of the Bag
- Foundation Chain:
- Begin with a slip knot and chain 55 stitches. To chain, yarn over and pull through the loop on the hook.
- First Row:
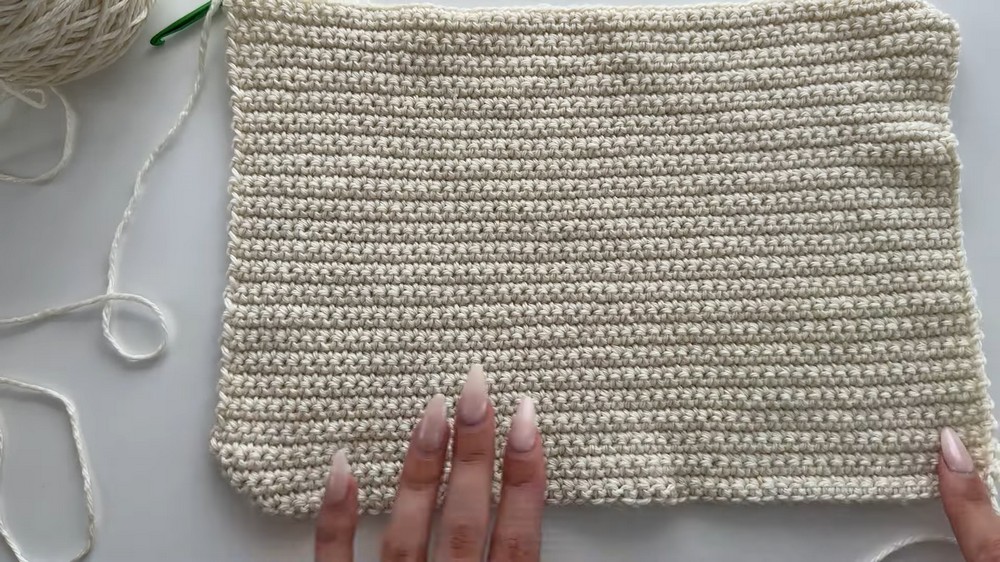
- Skip the first chain and single crochet (sc) into the second chain. Continue single crochets across all chains for a total of 54 stitches.
- At the end of the row, chain 1 and turn your work.
- Repeat Rows:
- For rows 2–46, work single crochet in every stitch. At each row’s end, chain 1 and turn your work.
- Your work should measure approximately 46 rows high when complete.
Crochet Around the Edges
- Single Crochet Around Three Sides:
- With the right side of your work facing up, single crochet around the two short sides and the bottom edge, leaving the top of the bag open.
- Work 46 single crochets on each short side and 54 single crochets along the bottom edge.
- This ensures clean, smooth edges.
- Slip Stitch to Join:
- Complete the edges by slip stitching into the first stitch of your round. Chain 1 and fasten off for the first panel.
Make a Second Panel
Repeat the instructions for crocheting the base and edges to create a second identical panel for the bag.
Join the Panels
- Align the Panels:
- Place the panels right sides in (wrong sides out), ensuring edges and corners are aligned.
- Slip Stitch to Join:
- Using yarn, slip-stitch the three edges (two short sides and the bottom edge), leaving the top open.
- Work through the inner loops of the stitches to create a seamless appearance on the outside.
- Secure and Turn:
- Chain 1 to secure the join and trim the yarn. Turn the bag right-side out.
Shape the Bag Base
- Box Corners:
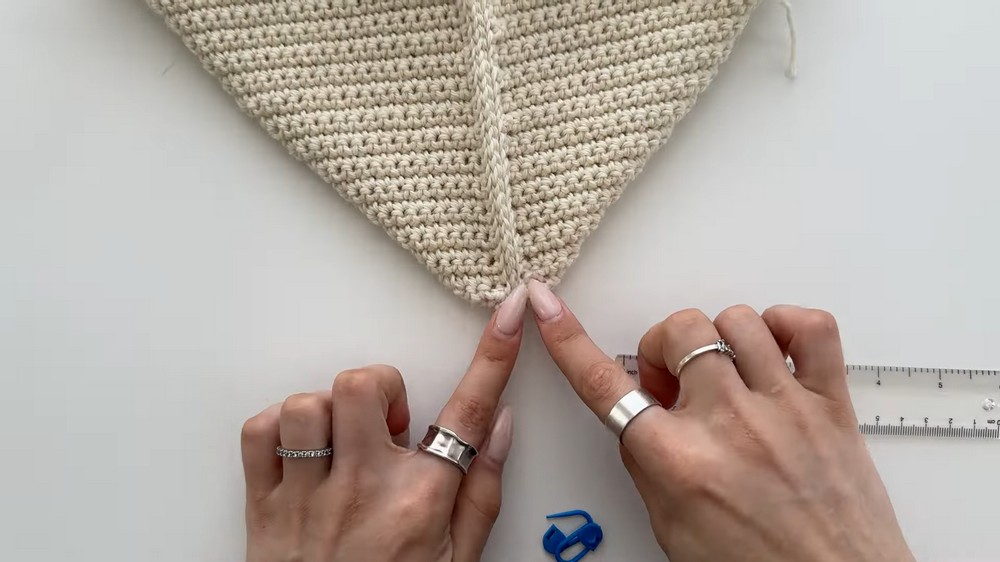
- Flatten the bag so the seams align. Tuck in each bottom corner, creating a box-like base.
- Use a ruler to measure 2 inches from the corner seam. Mark this point with a stitch marker.
- Sew the Corners:
- Use the tapestry needle and yarn to sew straight across each marked corner.
- Reinforce the seam by sewing multiple passes and weave in ends carefully.
Crochet and Attach the Handles
- Start the Handle:
- Count 6 stitches inward from the bag seam. Attach yarn to the 6th stitch, chain 1, and single crochet in the next 6 stitches.
- Handle Shaping:
- Row 1: Work a single crochet in the first stitch, decrease in the next two, single crochet across, decrease in the last two stitches, and finish with a single crochet in the final stitch.
- Row 2: Work single crochet across all stitches.
- Repeat Rows:
- Alternate between decreasing rows and single crochet rows until only 6 stitches remain.
- Work even single crochet rows (no decreases) for the desired handle length, approximately 35 rows.
- Join Handles:
- Repeat the handle instructions for the other side of the bag.
- Use slip stitches through the inner loops of each handle to join them at the top for a professional finish.

Create the Flower Decoration
- Flower Petal Formation:
- Chain 13 stitches.
- Work single, half double, double, and treble crochets into subsequent stitches, increasing the number of stitches per chain to form the petal shape. Refer to the guide in the video for exact stitch placement.
- Repeat for More Petals:
- Repeat the petal instructions to make 5 identical petals.
- Flower Assembly:
- Push the center of each petal inward for dimension.
- Sew the petals together at their bases to form a cohesive flower shape.

Attach the Flower to the Bag
- Secure the Center:
- Position the flower on the desired area of the bag. Use stitch markers to help align it correctly.
- Sew the center of the flower securely to the bag using the long tail left over from the flower assembly.
- Petal Attachment:
- For each petal, sew a few stitches near the base to secure it but keep it movable.