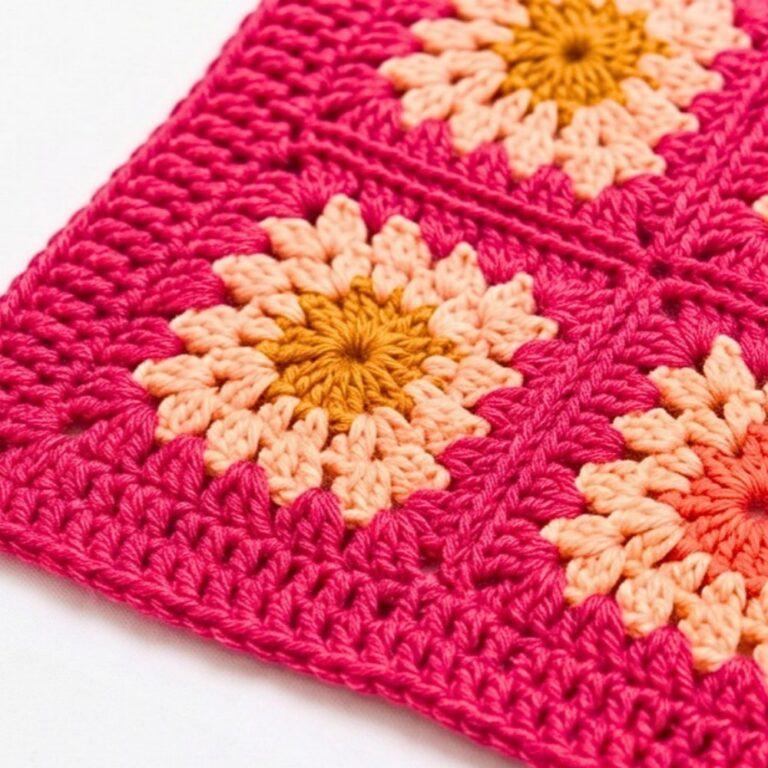
Crochet Granny Square Bucket Hat Pattern Free
A colorful crochet granny square can become something completely different when you turn it into a wearable piece. In this tutorial, we’re using five floral granny squares to create a fun bucket hat with a simple crocheted crown and brim. It’s a great pattern if you enjoy playing with colors and want to turn small crochet motifs into something you can actually wear.
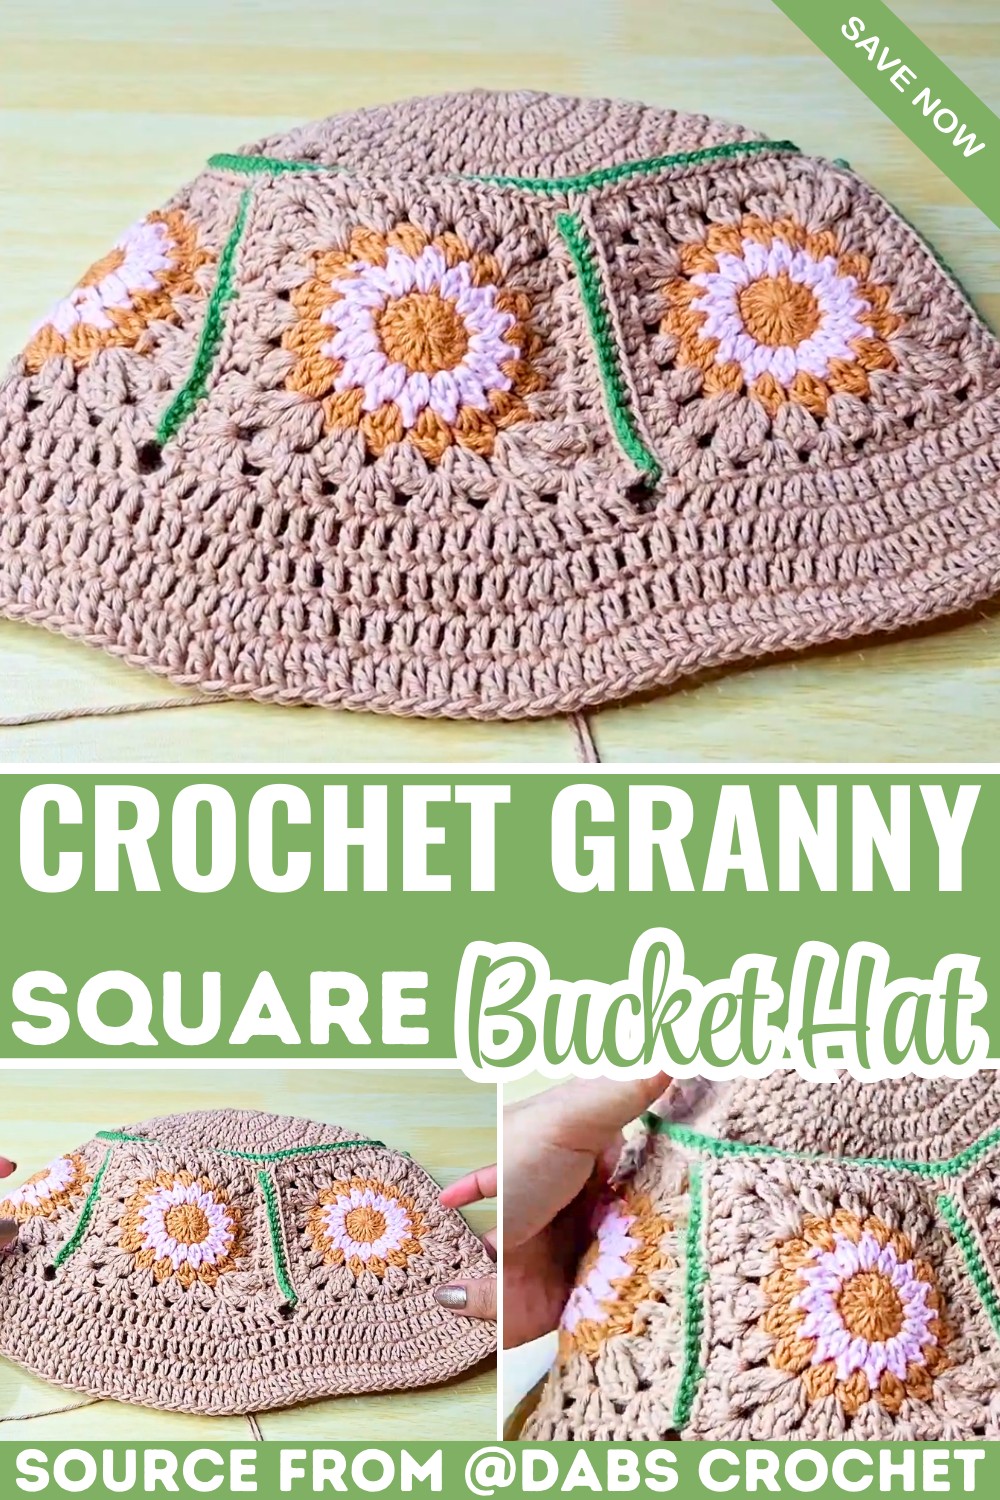
The hat is made in a few easy sections, so you don’t have to crochet the whole thing at once. First, you’ll make the granny squares, then join them into a hat band before adding the crown and brim. You can follow the color combination shown here or choose your own shades to make the finished hat feel yours completely.
Credit Dabs Crochet
At a Glance
Skill level: Beginner-friendly with basic crochet knowledge
Finished circumference: Approximately 21–22.5 inches
Hook: 3 mm
Main construction: 5 granny squares + crown + brim
The hat uses US crochet terminology.
What You’ll Need
Yarn
Approximately 100 g DK/light-worsted cotton yarn in several colors:
- Main color: Tan/light brown
- Accent 1: Terracotta/orange
- Accent 2: Soft pink
- Accent 3: Green for joining
Other supplies
- 3 mm crochet hook
- Tapestry/yarn needle
- Scissors
- Stitch markers, optional
Because the hat uses several color changes, you may want to keep a separate small yarn tail for each color rather than carrying unused yarn through the entire square.
Pattern Overview & Construction
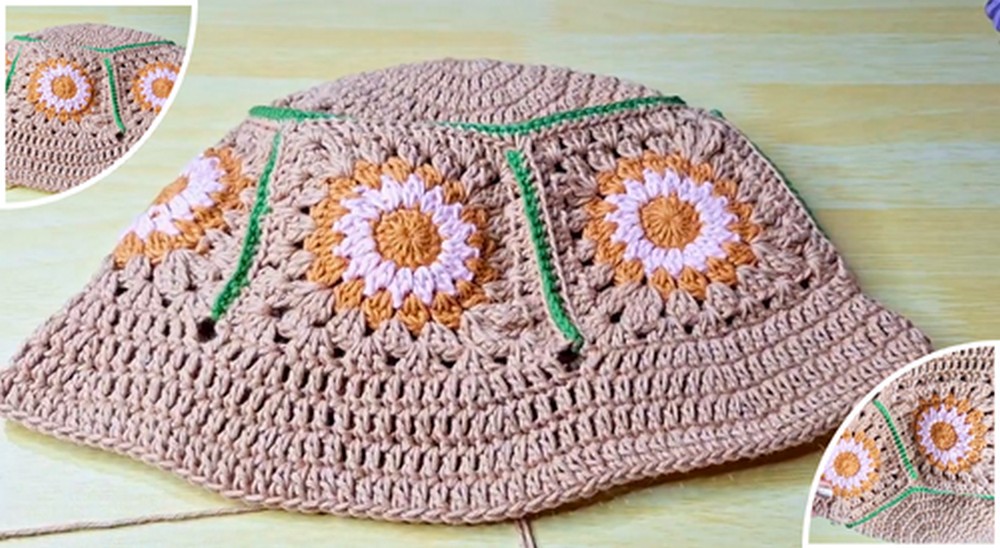
This bucket hat is worked in three modular components:
-
Side Band: 5 floral granny squares joined into a continuous ring.
-
Crown: A flat circular motif worked in increasing rounds from the top down.
-
Brim: Worked directly in joined rounds along the bottom edge of the granny square band.
Pattern Notes & Key Preparation
-
Gauge & Consistency: Maintain consistent hook size, yarn weight, and tension across all 5 squares. Each square must have 18 stitches along its top edge ($5 \times 18 = 90\text{ stitches}$) to seamlessly align with the 90-stitch crown.
-
Finishing As You Go: Weave in color-change ends on each square while still flat.
-
Seaming Style: Joins are worked through the back loops only (BLO) with contrast yarn to produce a decorative raised ridge.
-
Terms & Abbreviations:
-
MR: Magic Ring
-
ch: Chain
-
sl st: Slip stitch
-
sc: Single crochet
-
dc: Double crochet
-
tc: Treble crochet
-
inc: Increase (work 2 specified stitches into the same stitch/space)
-
BLO: Back loop only
-
2dc-tog / 3dc-tog: 2 or 3 double crochet worked together into the same space/stitch (cluster)
-
Materials & Colorways
-
Main Yarn: Main Tan
-
Flower Colors: Terracotta/Orange, Pink
-
Contrast Joining Yarn: Green
-
Notions: Crochet hook, tapestry needle, scissors
Step-by-Step Instructions
Part 1: Floral Granny Squares (Make 5)
-
Round 1 (Terracotta/Orange): Begin with a MR. Ch 3 (counts as 1 dc), work 15 dc into the ring. Pull ring tight; join with a sl st to the top of the beginning ch-3. Fasten off. (16 dc)
-
Round 2 (Pink): Join in any stitch space. Ch 3, 1 dc in same stitch (first cluster formed), ch 1. Work
[2dc-tog, ch 1]in each remaining stitch around. Join with a sl st to the top of the first cluster. Fasten off. -
Round 3 (Terracotta/Orange): Join in any ch-1 space. Work
[3dc-tog, ch 1]in each ch-1 space around. Join with a sl st to the first cluster. Fasten off. -
Round 4 (Main Tan): Join in any ch-1 space. Work groups of dc along the sides and corner groups of
[3 tc, ch 2, 3 tc]at each of the 4 corner spaces. Join with a sl st. -
Round 5 (Main Tan): Sl st to the nearest space. Work
[3 dc]in each space along the sides, and[3 dc, ch 2, 3 dc]in each corner ch-2 space around all 4 sides. Join with a sl st. Fasten off and weave in all ends.
Check: Repeat to make 5 identical squares. Ensure all edges lie flat, corners align, and each top edge equals 18 stitches.
Part 2: Hat Band Assembly
-
Arrange the 5 squares in a horizontal line, right sides facing up.
-
Place two adjacent squares with right sides facing outward.
-
Attach Green yarn at the corner.
-
Work sc through the BLO of both squares simultaneously down the entire side seam.
-
Repeat across all squares to form a strip.
-
Join the two ends of the strip using the same method (sc through BLO) to form a complete circular band.
Part 3: Crown
Using Main Tan yarn:
-
Round 1: Work 10 sc into a MR. Join with a sl st. (10 sts)
-
Round 2: Ch 3, work 1 dc inc in each stitch around. Join with a sl st. (20 dc)
-
Round 3: Ch 3,
[inc, 1 dc]around. Join with a sl st. (30 dc) -
Round 4:
[inc, 2 dc]around. Join with a sl st. (40 dc) -
Round 5:
[inc, 3 dc]around. Join with a sl st. (50 dc) -
Round 6:
[inc, 4 dc]around. Join with a sl st. (60 dc) -
Round 7:
[inc, 5 dc]around. Join with a sl st. (70 dc) -
Round 8:
[inc, 6 dc]around. Join with a sl st. (80 dc) -
Round 9:
[inc, 7 dc]around. Join with a sl st. Fasten off. (90 dc)
Part 4: Joining Crown to Band
-
Align the 90-stitch crown with the 90-stitch upper opening of the granny-square band.
-
Attach Green yarn.
-
Work 1 sc through the BLO of both pieces around the entire perimeter.
-
Join with a sl st to the first sc and fasten off. Maintain even tension to prevent puckering.
Part 5: Flared Brim
Work directly around the bottom opening of the granny-square band using Main Tan yarn.
-
Round 1: Ch 3,
[9 dc, inc]9 times around. Join with a sl st. (99 dc) -
Round 2: Ch 3,
[10 dc, inc]9 times around. Join with a sl st. (108 dc) -
Round 3: Ch 3, 1 dc in every stitch around. Join with a sl st. (108 dc)
-
Round 4: Ch 3, 1 dc in every stitch around. Join with a sl st. Fasten off. (108 dc)
Finishing
-
Use a tapestry needle to securely weave all remaining ends to the inside of the hat.
-
Set the hat on a flat surface and hand-shape the brim flare.
-
Lightly steam-block if required, avoiding direct high heat on synthetic or blended fibers.