Step-by-Step Pattern For Crochet an Oversized Canvas Vest
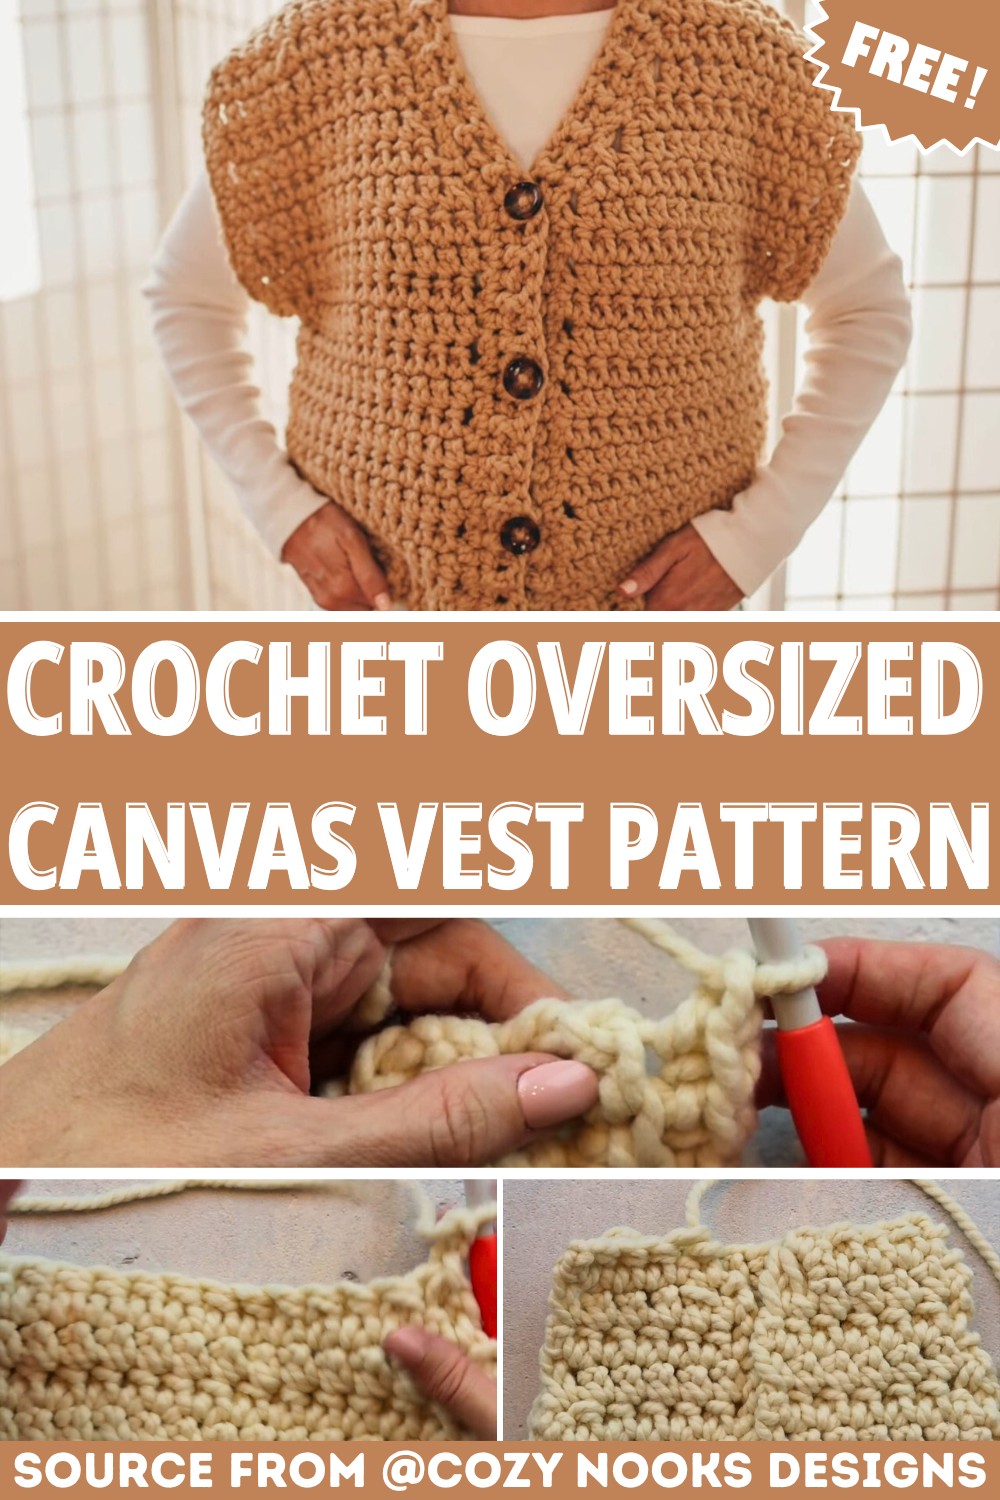
Looking for a cozy oversized vest that is simple to customize? This crochet canvas vest combines easy shaping, textured stitches, and practical finishing details for a comfortable handmade layer.
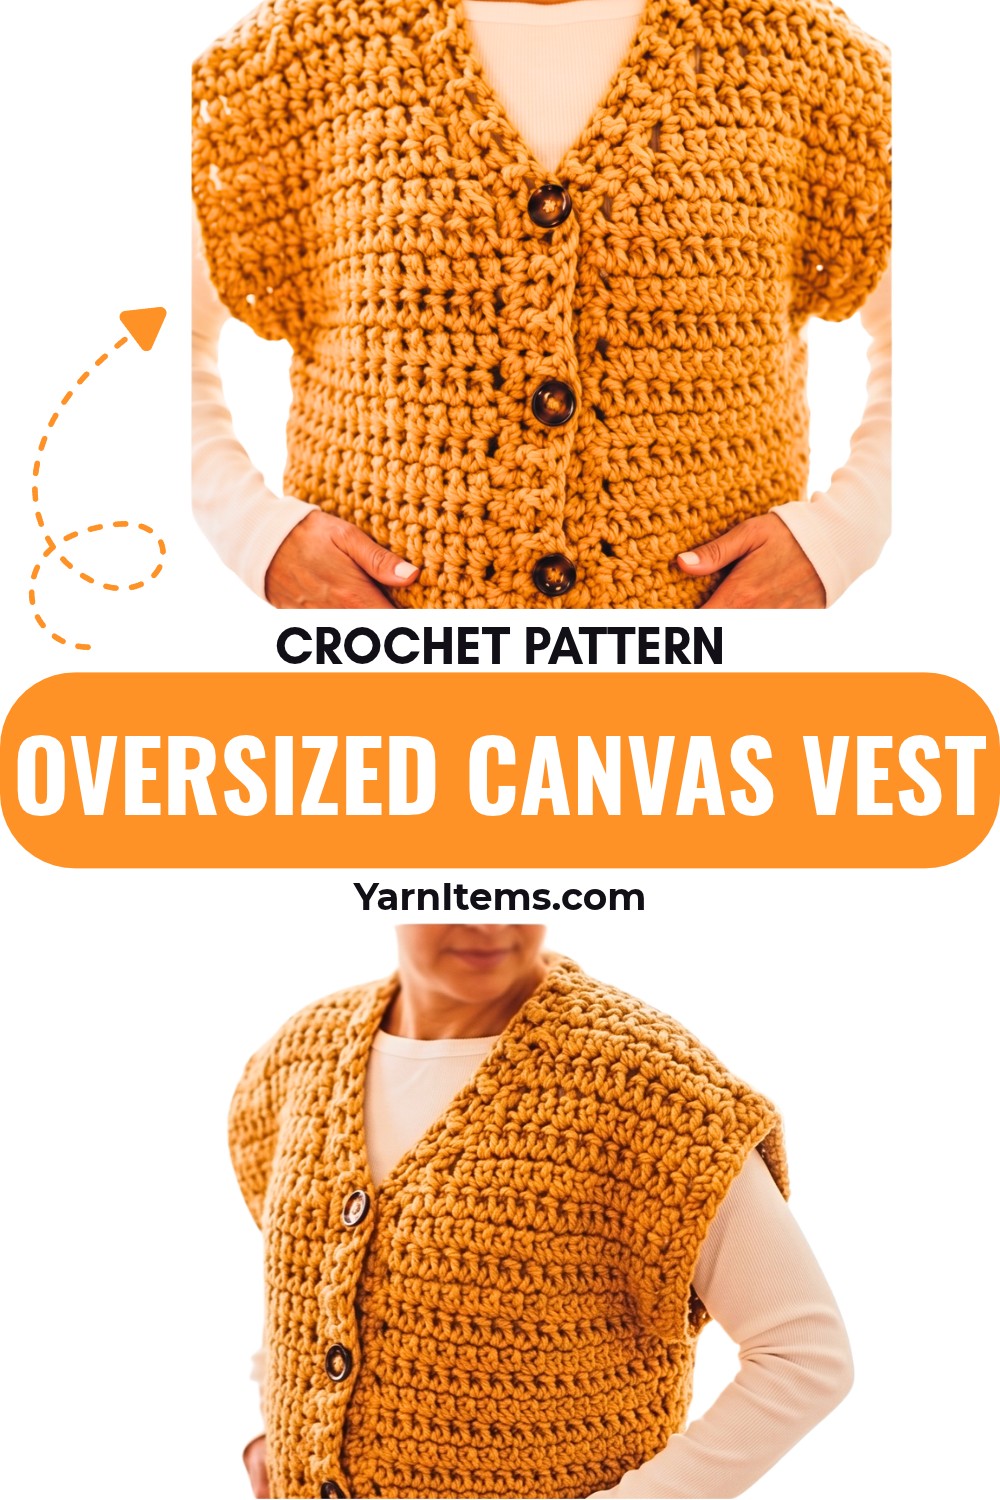
The oversized shape gives this crochet vest an easygoing fit without making the construction unnecessarily complicated.
Instead of crocheting the whole garment as one piece, the pattern builds the back and front panels separately, then brings them together with carefully placed seams. That construction makes it easier to understand where the armholes, shoulders, and V-neck should sit.
One detail worth paying attention to is the transition from the narrow bottom hem into the main body. The hem is worked in short rows using single crochet through the back loop, then the body is crocheted along the row ends.
If those stitches are spaced too loosely or too tightly, the lower edge can become wider or narrower than intended. Taking a moment to distribute those stitches evenly makes a noticeable difference in the finished shape.
Materials & Tools Needed
- Yarn: Lion Brand Wool-Ease Thick & Quick, Super Bulky #6. Approximately 320–640 yards, depending on size.
- Crochet Hook: 9.0 mm (M/N).
- Buttons: Three 1¼-inch buttons.
- Tapestry Needle: For seams and weaving in ends.
- Scissors
Finished Size & Customization
The pattern is available in nine sizes, with yarn requirements varying according to the selected size.
Because the vest has an oversized silhouette, measurements are especially useful when choosing your size. Rather than relying only on the label, compare the finished garment measurements with a vest or sweater that already fits the way you like.
For a longer or shorter vest, the body length can be adjusted before the shoulder and neckline shaping begins. However, keep the armhole and V-neck proportions in mind when changing the length.
Pattern Abbreviations
- Ch: Chain
- St(s): Stitch(es)
- Sl st: Slip stitch
- Sc: Single crochet
- ESC: Extended single crochet
- ESC2tog: Extended single crochet two together
- BLO: Back loop only
- FPdc: Front post double crochet
- BPdc: Back post double crochet
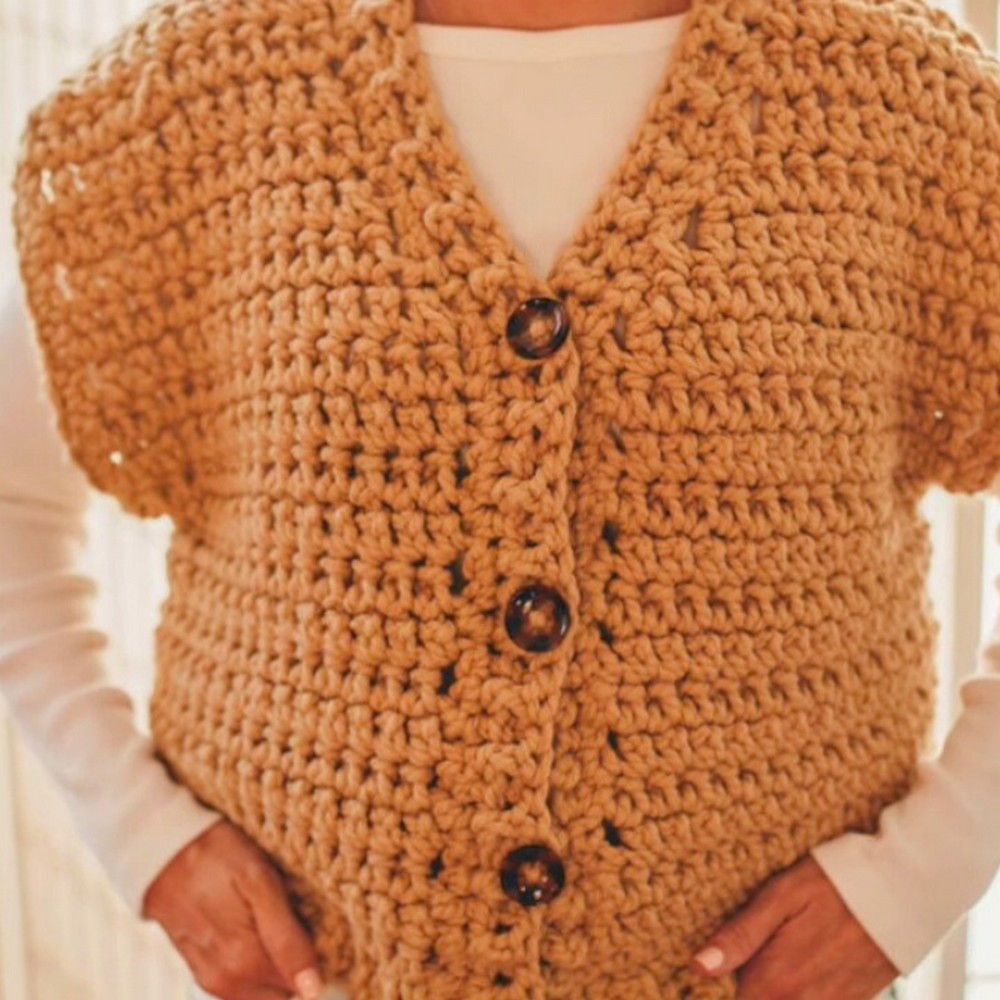
Step-by-Step Crochet Instructions
Where the Vest Can Become Tricky
The most important areas to watch are underarm shaping, V-neck decreases, and panel assembly. These sections determine whether the vest sits naturally on the shoulders and leaves enough room around the arms.
The front panels also need to be mirrored correctly. It is easy to accidentally place the neckline decreases on the wrong edge when making the second front panel. Keeping the completed first panel beside you as a visual reference can help you identify which edge belongs to the neckline and which one forms the armhole.
With oversized garments, I find that measuring the pieces as you go is much more reliable than waiting until every panel is finished. A small difference in width can become much more noticeable once the shoulder and side seams are joined.
Back Panel
Creating the Bottom Hem
Chain 4.
Row 1: Starting in the second chain from the hook, work 1 sc into each chain across. You should have 3 sc.
Chain 1 and turn.
Row 2: Work 1 sc in the back loop only of each stitch across. Chain 1 and turn.
Continue repeating Row 2 for the number of rows required for your size. For example, the medium size uses approximately 34 hem rows.
At the end of the final hem row, do not turn.
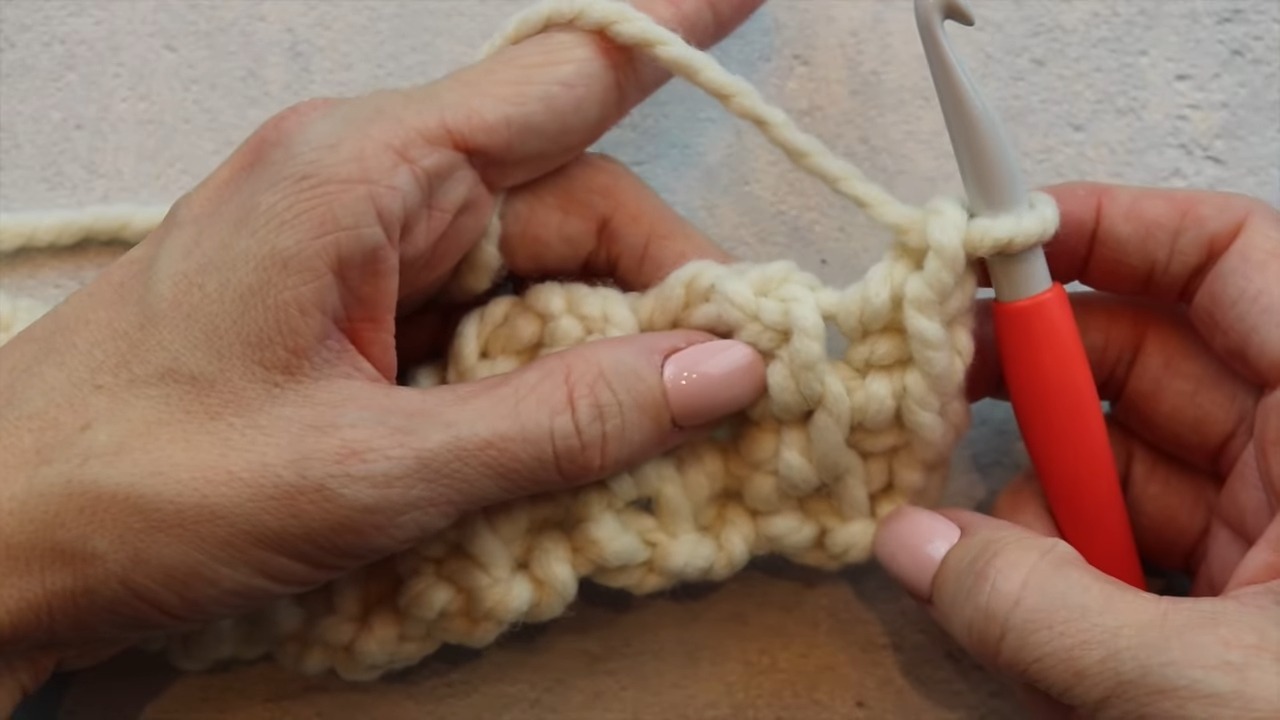
Keeping the Hem Even
The BLO rows create the flexible ribbed appearance at the bottom of the vest. Try to keep your tension consistent here. If the chains or rows become noticeably tighter as you work, the hem may pull inward when attached to the body.
Beginning the Main Body
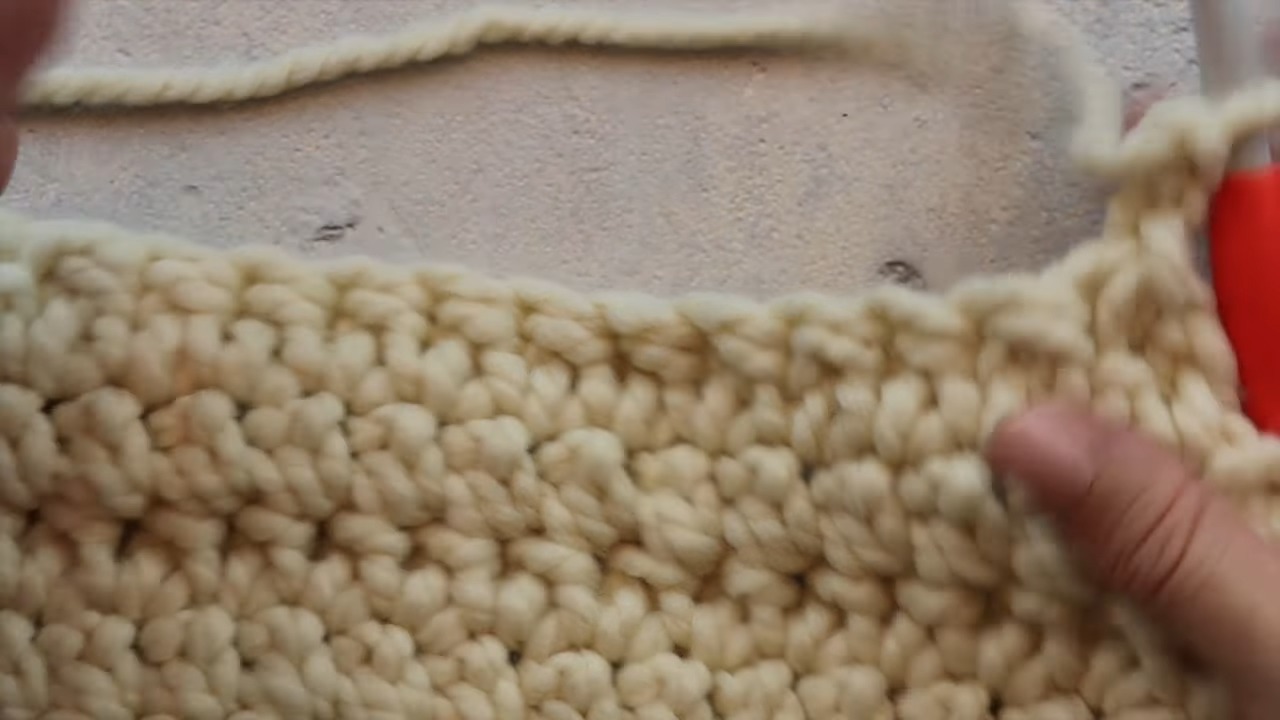
Rotate the work 90 degrees so that you can crochet along the row ends of the hem.
Row 1: Chain 1 and work 1 sc evenly into each row end across the top of the hem.
The goal is an even foundation rather than forcing a particular number of stitches into every tiny space.
Row 2: Chain 2. The chain does not count as a stitch. Work 1 ESC into the first stitch at the base of the chain, then work 1 ESC into each stitch across. Chain 2 and turn.
Rows 3–7: Continue working 1 ESC in each stitch across. Chain 2 and turn at the end of each row.
Underarm Shaping
When you reach the underarm-shaping row specified for your size, shape both edges as instructed.
At the beginning:
Chain 2, then work ESC2tog over the first 2 stitches.
Continue with 1 ESC across until 2 stitches remain.
Work ESC2tog over the final 2 stitches and turn.
Continue with the required straight rows for your size.
Shoulder Shaping
Follow the size-specific instructions for the final shoulder shaping.
Once the back panel is complete, fasten off and leave a long yarn tail if you plan to use it for seaming.
Left Front Panel
Building the Hem
Chain 4.
Row 1: Starting in the second chain from the hook, work 1 sc into each chain across for 3 sc.
Chain 1 and turn.
Row 2: Work 1 sc in BLO across. Chain 1 and turn.
Repeat Row 2 for the required number of hem rows.
Do not rush this section—the front hem should match the back hem in width and overall appearance.
Working the Main Body
Rotate the piece 90 degrees.
Row 1: Chain 1 and work 1 sc evenly across the row ends.
Row 2: Chain 2 and work 1 ESC in each stitch across.
Continue the ESC rows according to the size instructions.
Underarm Decrease
At the designated armhole row, work the underarm decrease using ESC2tog, just as you did on the back panel.
Keep the decrease on the correct edge; this becomes particularly important when you begin shaping the V-neck.
V-Neck Shaping
The neckline is formed by decreasing at the neckline edge over the specified rows.
Work ESC2tog at the neckline edge according to the pattern’s size instructions.
Continue until the shoulder reaches the required dimensions, then fasten off.
Right Front Panel
Work the right front panel in the same general manner as the left panel.
The important difference is placement: the underarm shaping and V-neck decreases must be mirrored.
Check Before You Continue
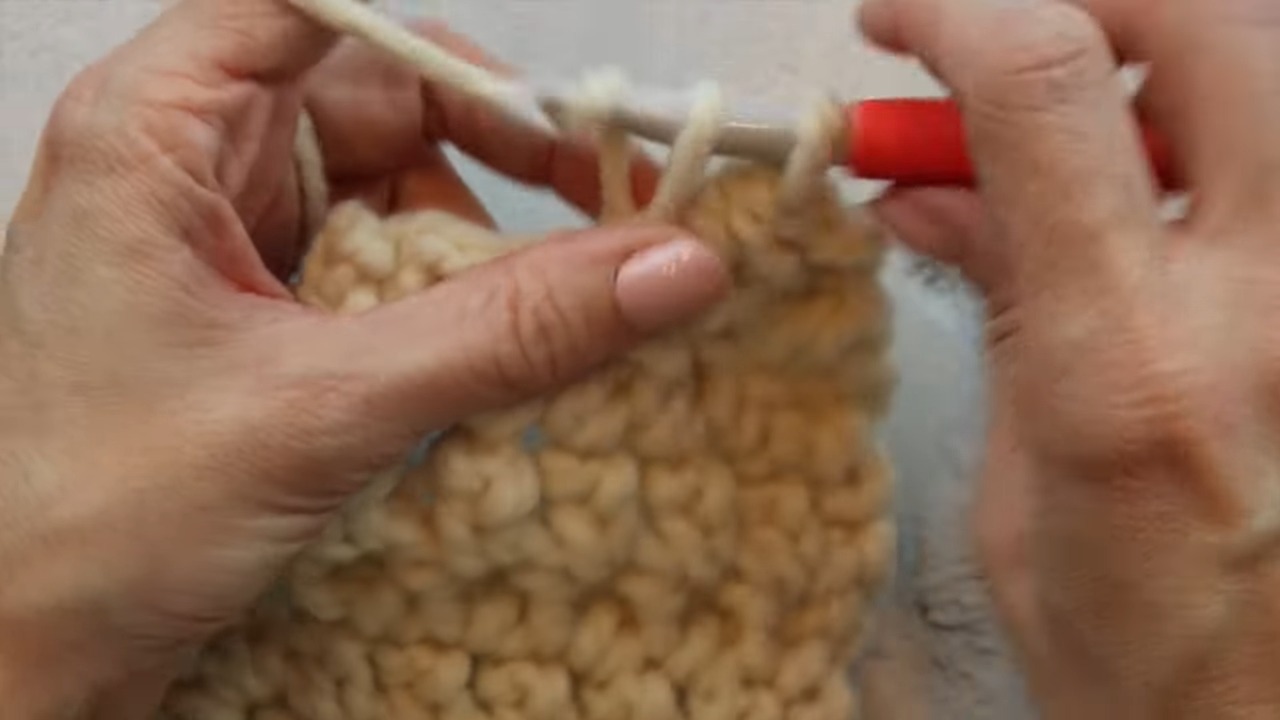
Before crocheting several more rows, place the left and right panels beside each other.
The V-neck edges should face inward toward the center opening, while the armhole edges should face outward.
This simple check can prevent having to undo a large section later.
Joining the Shoulders
Place the front panels over the back panel with the wrong sides facing upward.
Use the long yarn tails, or a separate length of yarn, to join the shoulder seams.
An invisible mattress stitch works well here. Insert the needle through the corresponding loops along each edge, alternating from one side to the other. Pull the yarn gently after several stitches rather than tightening after every single stitch.
Teaching Note
The goal is a seam that holds the panels together without creating a thick ridge. Pulling too aggressively can cause the shoulder seam to pucker, especially with bulky yarn.
Joining the Side Seams
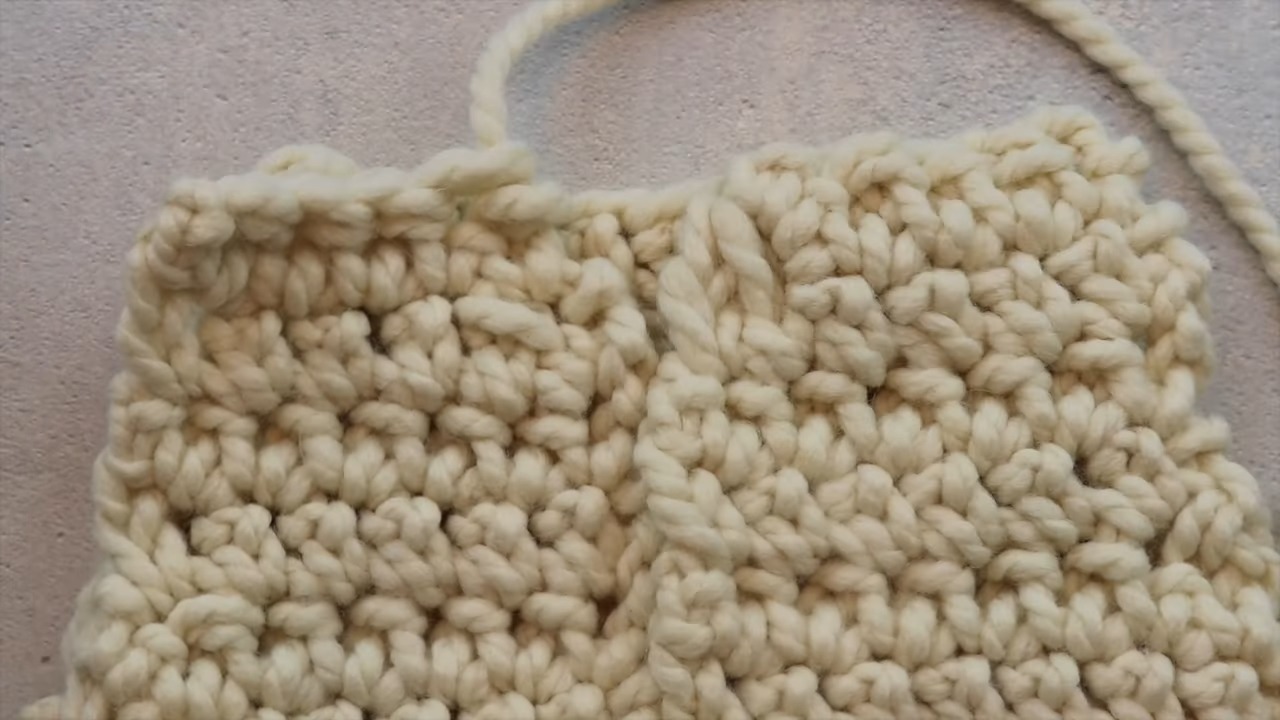
Fold the vest so the wrong sides face outward.
Starting at the bottom hem, seam upward using the invisible mattress stitch.
Stop when you reach the underarm shaping point.
Do not continue stitching into the armhole opening.
Once both sides are joined, turn the vest right side out and check the overall shape.
Armhole Trim
Turn the vest right side out.
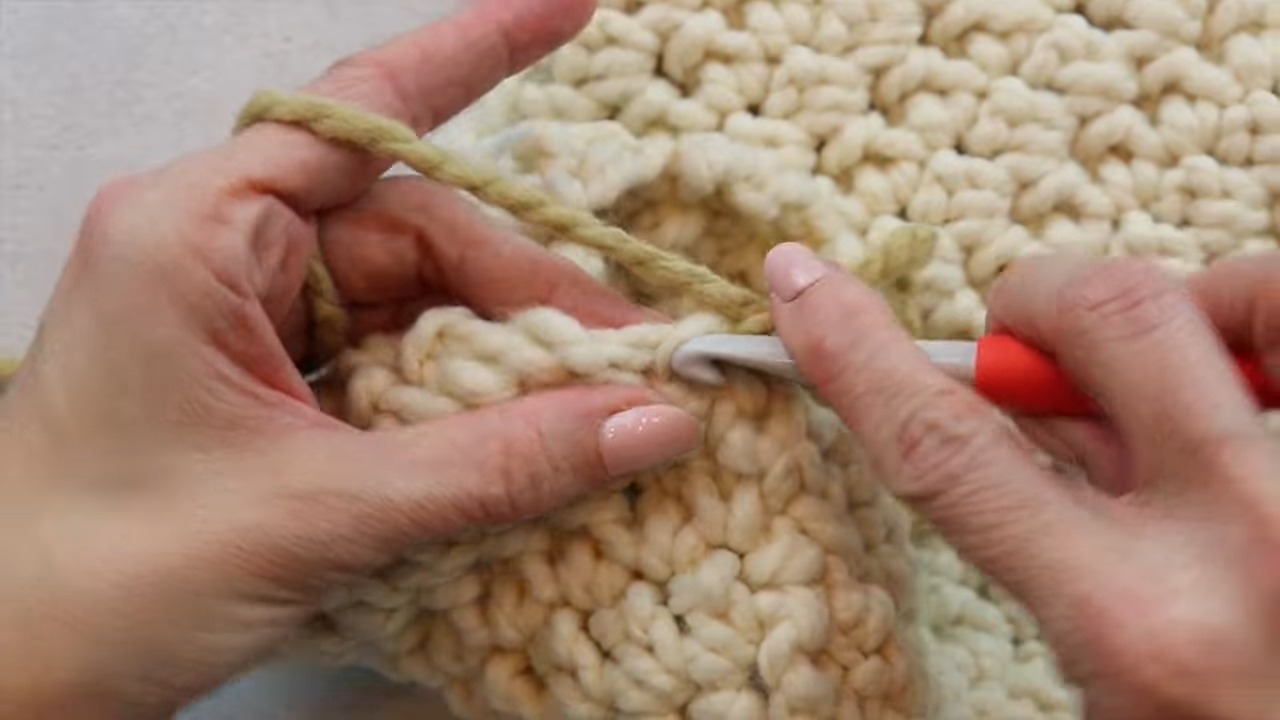
Insert your hook at the underarm joint and join the yarn.
Chain 1.
Work 1 evenly spaced sc around the complete armhole opening.
Join to the first sc with a slip stitch.
Fasten off and weave in the yarn end.
Avoiding a Wavy Armhole
The armhole trim should lie smoothly against the opening. If too many sc stitches are added, the edge can begin to ripple. If too few are added, it may pull inward.
Spacing matters more than simply trying to squeeze a stitch into every available gap.
Neck Band & Button Band
The neckline and front opening benefit from a firm border because this area receives repeated movement when the buttons are opened and closed.
Round 1: Join yarn at the bottom corner of the front opening.
Chain 1 and work evenly spaced sc:
- Up the first front edge
- Around the V-neck
- Across the back neckline
- Down the opposite front edge
Join with a slip stitch.
Round 2: Chain 2 and turn.
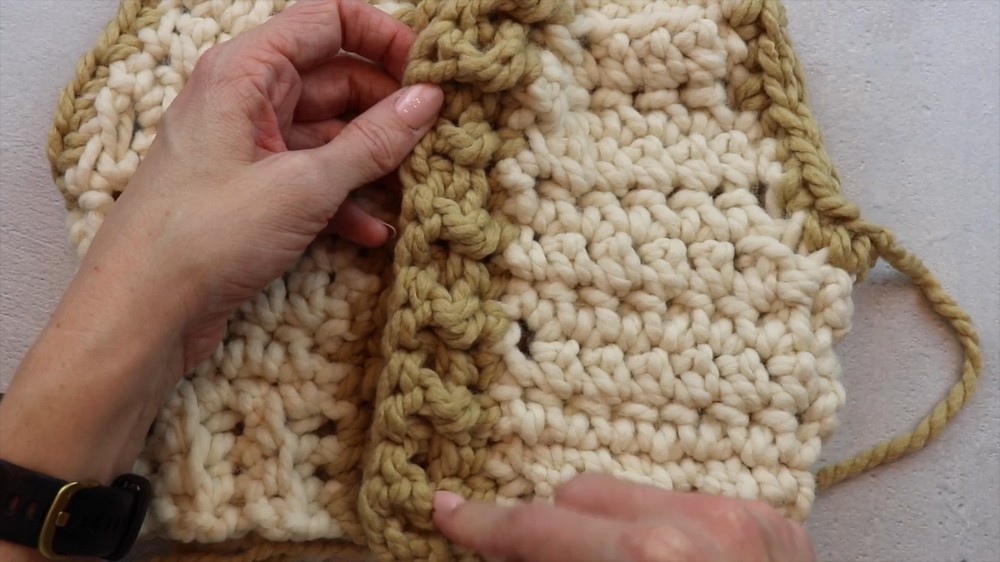
Work the ribbed texture by alternating FPdc and BPdc around the sc posts.
Continue around the neckline and front opening to create a textured band that visually connects with the bottom hem.
Fasten off and weave in the end.
Button Placement
Sew the three 1¼-inch buttons onto the left front panel band.
The naturally formed spaces between the stitches on the opposite front band can function as buttonholes.
Before permanently securing each button, close the vest and check that the buttons line up with those spaces.
Because this is an oversized vest, button placement affects how the front panels sit. It is better to pin all three buttons first, test the closure, and only then sew them securely.
Final Finishing
Weave all remaining yarn tails securely into the wrong side of the vest.
Check:
- Both shoulder seams are even.
- Both armholes have similar dimensions.
- The V-neck sits centrally.
- The side seams stop at the correct underarm points.
- The button spacing is even.
- The bottom hem is lying flat.
A light blocking can also help the panels settle into a more consistent shape, especially if your tension changed slightly during construction.
Final Fit Check
Before considering the vest finished, try it on over the type of clothing you expect to wear underneath it.
An oversized garment should have comfortable room through the body and armholes without the shoulder seams sitting excessively far down the arms. If the fit is noticeably different from what you intended, check the panel measurements and seam placement before making additional decorative changes.
Why This Construction Works
The vest gets much of its character from the combination of a flexible BLO hem, simple ESC body fabric, shaped front panels, and clean ribbed edging. None of these techniques needs to be overly complicated individually, but their placement determines how professional the finished garment looks.
The most useful approach is to treat the vest as a series of connected measurements rather than simply a long sequence of rows. Once the hem, body width, armhole depth, shoulder, and neckline are kept consistent, the oversized silhouette becomes much easier to control.