Crochet Halloween Ghosts With Step-by-Step Tutorial
These cute and squishy crochet ghosts, complete with charming faces and whimsical accessories like witch hats and pumpkins, are perfect for adding a touch of Halloween fun to your home.

These little crochet Halloween ghosts are the perfect decoration to add a playful yet spooky touch to your home this season. Whether you place them on a shelf, use them as part of a table setup, or gift them to friends and family, their charming faces and accessories make them special and truly stand out. From witch hats to pumpkins, each ghost can have its own personality, making them fun and unique.
Crochet Halloween Ghosts
You don’t need to be an expert to create these adorable Crochet Halloween Ghosts. Simple crochet techniques, a soft white yarn, and a few extras like mini hats or facial details will bring these ghosts to life. The process is straightforward and fun, with endless ways to customize the colors, expressions, and accessories. These cheerful ghosts will make a great addition to Halloween festivities, keeping the spooky vibe fun and friendly.
Credit Chubby Cheeks
Pattern Summary
- Main Technique: Worked in the round, starting with a magic ring and single crochets to form the ghost body.
- Key Stitch Variations: Back loop-only stitches for shaping, triple crochet clusters for wavy accents, and invisible decreases for shaping the top.
- Stuffing and Closing: The body is stuffed before being closed and shaped for a neat, finished look.
- Accessories: Includes optional add-ons like a witch hat, leaf, and pumpkin made with minimal rounds, slip stitches, and simple shaping.
- Embellishments: Plastic safety eyes and embroidered details like a smiling or surprised mouth complete the face, with optional blush made from pink yarn.
To begin, these little ghosts are worked from the bottom up, using a magic ring to form the base. The body grows through rounds of increases, followed by even rounds of single crochet. The texture is enhanced in specific rounds with shaping techniques like back loop-only stitches, which create a subtle ridge used later for decorative scalloped trims. For dimension, the top is gently stuffed with fiberfill before being closed with well-placed decreases, ensuring the characteristic rounded ghostly shape.

The wavy “ghost tail” is created by revisiting the back-loop ridge made earlier, where a combination of single crochets, half-double crochets, and double crochets form a playful scalloped pattern. This embellishment gives the ghost its flowy, floating appearance.
The face is undoubtedly the highlight of the design! Plastic safety eyes are attached around the sixth row from the top, spaced four stitches apart, creating a cute expression. The mouth is embroidered with black yarn in either a spooky “o” shape or a laughing grin, while optional pink blush provides a soft, cheerful finish.

Optional accessories like the witch hat, maple leaf, and pumpkin add character. The witch hat is crocheted with a magical mix of single crochet rounds, color changes, and front loop-only work for the brim. The maple leaf’s playful points are constructed with picot stitches around a simple circular base, while the pumpkin employs clever shaping techniques and a textured stem for that classic autumn look.

Video Tutorial
Materials & Tools Needed
- Yarn:
- White yarn (ghost body)
- Black yarn (witch hat)
- Purple yarn (witch hat)
- Brown yarn (pumpkin stem)
- Green yarn (maple leaf)
- Pink yarn (blush)
- Black yarn or thread (mouth embroidery)
- Hook: 2.5mm crochet hook
- Stitch Marker
- Stuffing: Polyester stuffing for shaping the ghost
- Eyes: 4mm black plastic safety eyes
- Glue: Crochet glue (hot glue or similar)
- Needle: Yarn needle for sewing pieces and embroidery
Finished Size & Customization Ideas
- Size: Approximately 2.5-3 inches tall, depending on yarn and tension.
- Customization:
- Add different facial expressions using embroidery.
- Accessorize your ghosts with pumpkins, witch hats, or maple leaves as featured in the pattern.
- Use blush to give rosy cheeks for a cute effect!
Pattern Abbreviations & Terminology
The pattern follows US crochet terminology.
- sc: Single Crochet
- inc: Increase (2 single crochets in the same stitch)
- dec: Decrease (crochet 2 stitches together)
- hdc: Half Double Crochet
- dc: Double Crochet
- ch: Chain
- sl st: Slip Stitch
- st: Stitch
- BLO: Back Loop Only
- Magic Ring: Adjustable circle to begin patterns worked in rounds.

Step-by-Step Instructions
Part 1: Ghost Body
- Round 1: Start with a magic ring. Make 8 sc into the ring. Pull the tail to close the ring. (8 sts)
- Round 2: Inc in each stitch. (16 sts)
- Round 3: Sc in the next stitch, inc in the next. Repeat 8 times. (24 sts)
- Round 4: Sc in each stitch around. (24 sts)
- Round 5: Sc in the next 2 stitches, inc in the next. Repeat 8 times. (32 sts)
- Round 6: Sc in each stitch. (32 sts)
- Round 7: Work as follows:
- Sc in the next 7 sts.
- Create the four-triple crochet cluster to form an arm:
a. Yarn over twice, insert the hook into the next st, pull through.
b. Yarn over, pull through 2 loops (3 loops remain), yarn over, pull through 2 loops (2 loops remain).
c. Repeat four times in the same st, then pull through all loops on the hook to complete the cluster. - Sc in the next 15 sts, repeat the cluster for the second arm in the next st, then finish with 8 sc. (32 sts)
- Round 8: Sc in each stitch. (32 sts)
- Round 9: Sc in the next 3 stitches, inc in the next. Repeat 8 times. (40 sts)
- Rounds 10-11: Sc in each stitch. (40 sts)
- Round 12 (BLO): Sc in the next 3 stitches, dec over the next 2 sts. Repeat 8 times. (32 sts)
- Round 13: Sc in the next 2 stitches, dec over the next 2 sts. Repeat 8 times. (24 sts)
- Round 14: Sc in the next st, dec over the next 2 sts. Repeat 8 times. (16 sts)
- Stuff the ghost with polyester stuffing.
- Round 15: Dec in every stitch until the circle closes. (8 sts)
- Fasten off, leaving a tail. Using a needle, close the remaining hole with stitches worked through the front loops only. Weave in the yarn tail to hide it.
Part 2: Ghost Base (Ruffle Skirt)
- In Round 12 BLO, attach yarn to the first unused stitch.
- Round 1 (base): Work 4 sc, inc in the next st. Repeat 8 times. (48 sts)
- Round 2: In the same starting space:
- [1 sc, 1 hdc, 1 dc, 1 hdc, 1 sc]. Sl st to the next st.
- Repeat the sequence for 8 scaloped sections.
- Fasten off and weave in tails.
Part 3: Witch Hat
- Round 1: Start with a magic ring. Make 6 sc into the ring. (6 sts)
- Round 2: Sc, inc in the next st. Repeat 3 times. (9 sts)
- Round 3: Sc in each stitch. (9 sts)
- Round 4: Sc in the next 2 stitches, inc in the next. Repeat 3 times. (12 sts)
- Round 5: Sc in each stitch. (12 sts)
- Round 6: Sc in the next 3 stitches, inc in the next. Repeat 3 times. (15 sts)
- Round 7 – Brim: Attach black yarn. Work 2 dc in the BLO of each st. (30 sts)
- Fasten off, hide tails, and glue the hat to the ghost head.
Part 4: Maple Leaf
- Round 1: Start with a magic ring. Make 10 sc into it. (10 sts)
- Round 2 (petals): hdc, picot, sl st into the next st.
- Continue to shape the leaf as instructed for each stitch. Fasten off and attach to the ghost’s body.
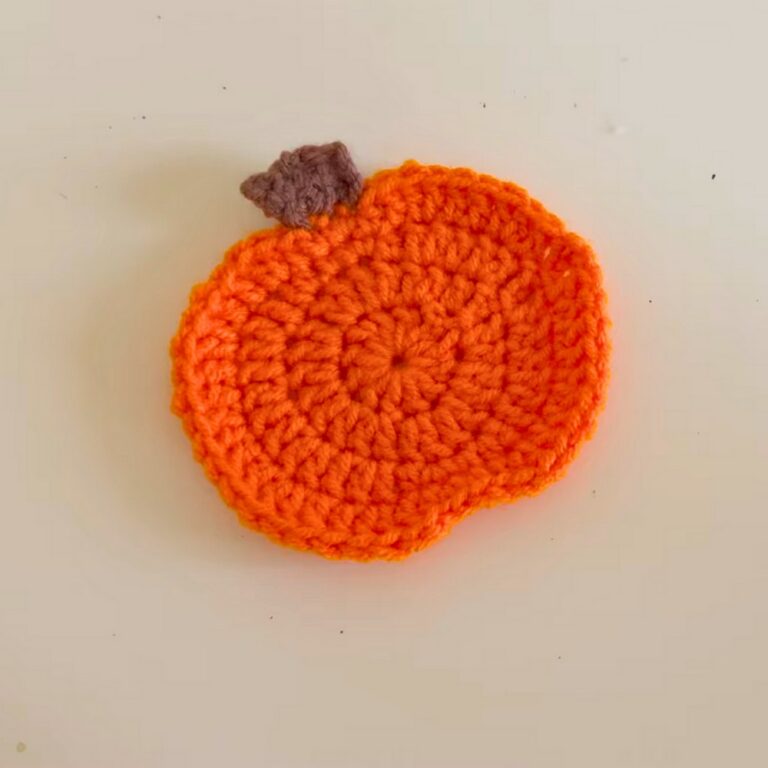
Part 5: Pumpkin
- Rounds 1-2: Create a magic ring, sc 8, then work an inc in every stitch. (16 sts)
- Rounds 3-6: Sc in each stitch.
- Round 7: Dec around. Begin stuffing the pumpkin.
- Shape the pumpkin by threading a yarn needle and pulling yarn through it to create “sections.”
- Create a small brown stem with a 3 ch slip stitch sequence, and attach it to the pumpkin.
Final Touches
- Eyes: Attach 4mm safety eyes on the 6th row from the top, 4 stitches apart. Use crochet glue to secure them.
- Mouth: Embroider with black yarn/thread, creating different expressions (“o” shape for a surprised ghost or a wide-laughing mouth).
- Blush: Sew pink yarn below each eye to create a cute blushing effect.
Customization Ideas
- Add accessories like the witch hat, pumpkin, or maple leaves for themed ghost designs.
- Embroider unique facial expressions for variety.
- Mix and match yarn colors for different styles!
Troubleshooting and Suggestions
Common Issues:
- Magic Ring Troubles: If the magic ring comes undone, ensure you’re securing it tightly after pulling the loop closed. A few extra knots for reinforcement can help.
- Stitch Consistency: Maintaining the same tension throughout is key for a smooth ghost body. Check your tension regularly!
- Stuffing Overload: Overstuffing can cause the decreases at the top to stretch too much, leaving larger gaps. Use just enough stuffing for the ghost to hold its shape.
Suggestions for Creative Customization:
- Custom Colors: Experiment with different colors for unique ghosts! Try black or orange yarn for a spookier twist, or pastel shades for a cute, whimsical vibe.
- Glittery Thread: Use metallic or glittery thread for the accessories, like gold sparkles for the witch hat trim or a shimmering purple ghost body.
- Expressions: Use embroidery or fabric paint to give your ghosts different facial expressions. Think wacky, smiling, or even a mischievous little smirk!
- Holiday Adaptations: Turn your ghost into a year-round figure! With a pop of green and a shamrock accessory, it could become a St. Patrick’s Day spirit. Or, try red and white with a Santa hat for a Christmas ghost!