Crochet Makeup Pouch In Simple & Stylish Design
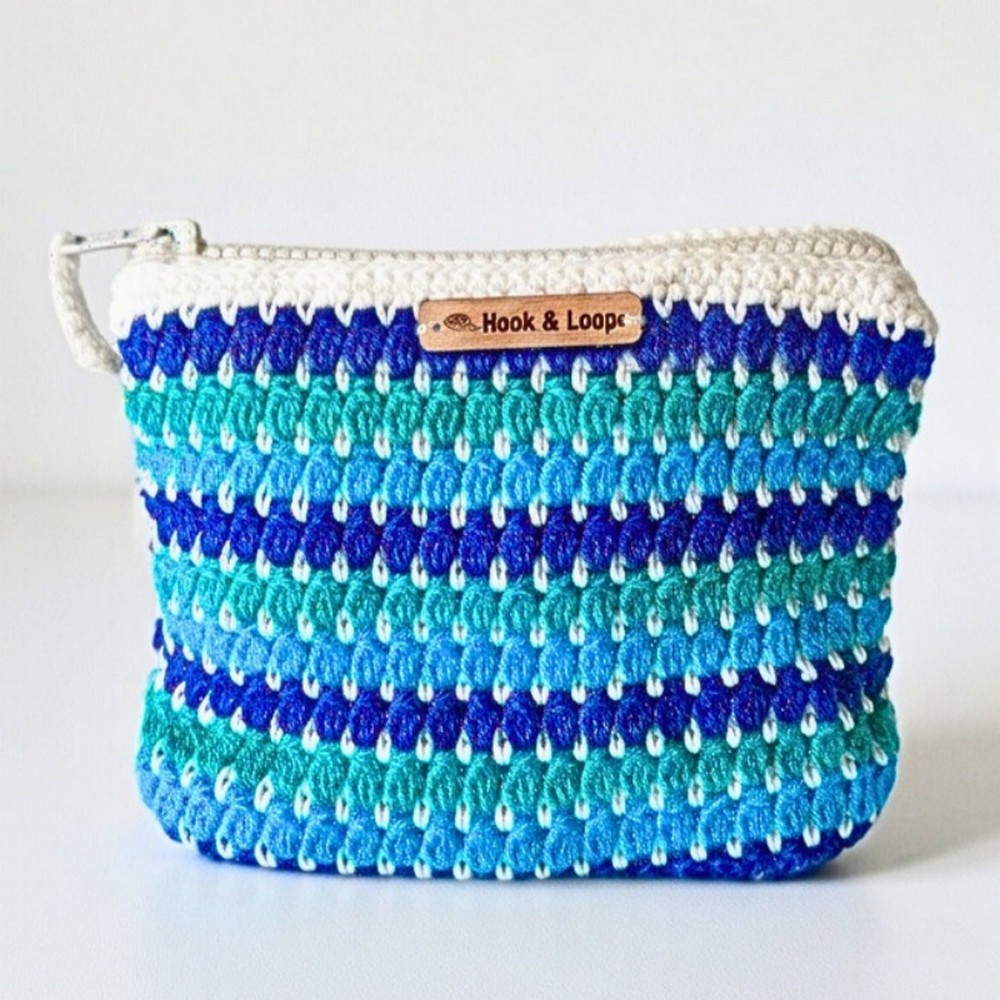
A crochet makeup pouch is more than a simple storage accessory. Every stitch creates a pouch that feels personal while keeping everyday essentials neatly in one place.
Whether you carry makeup, small accessories, or stationery, this crochet piece turns basic yarn into something you’ll reach for every day. One thoughtful detail changes the whole look and becomes the first thing everyone notices.
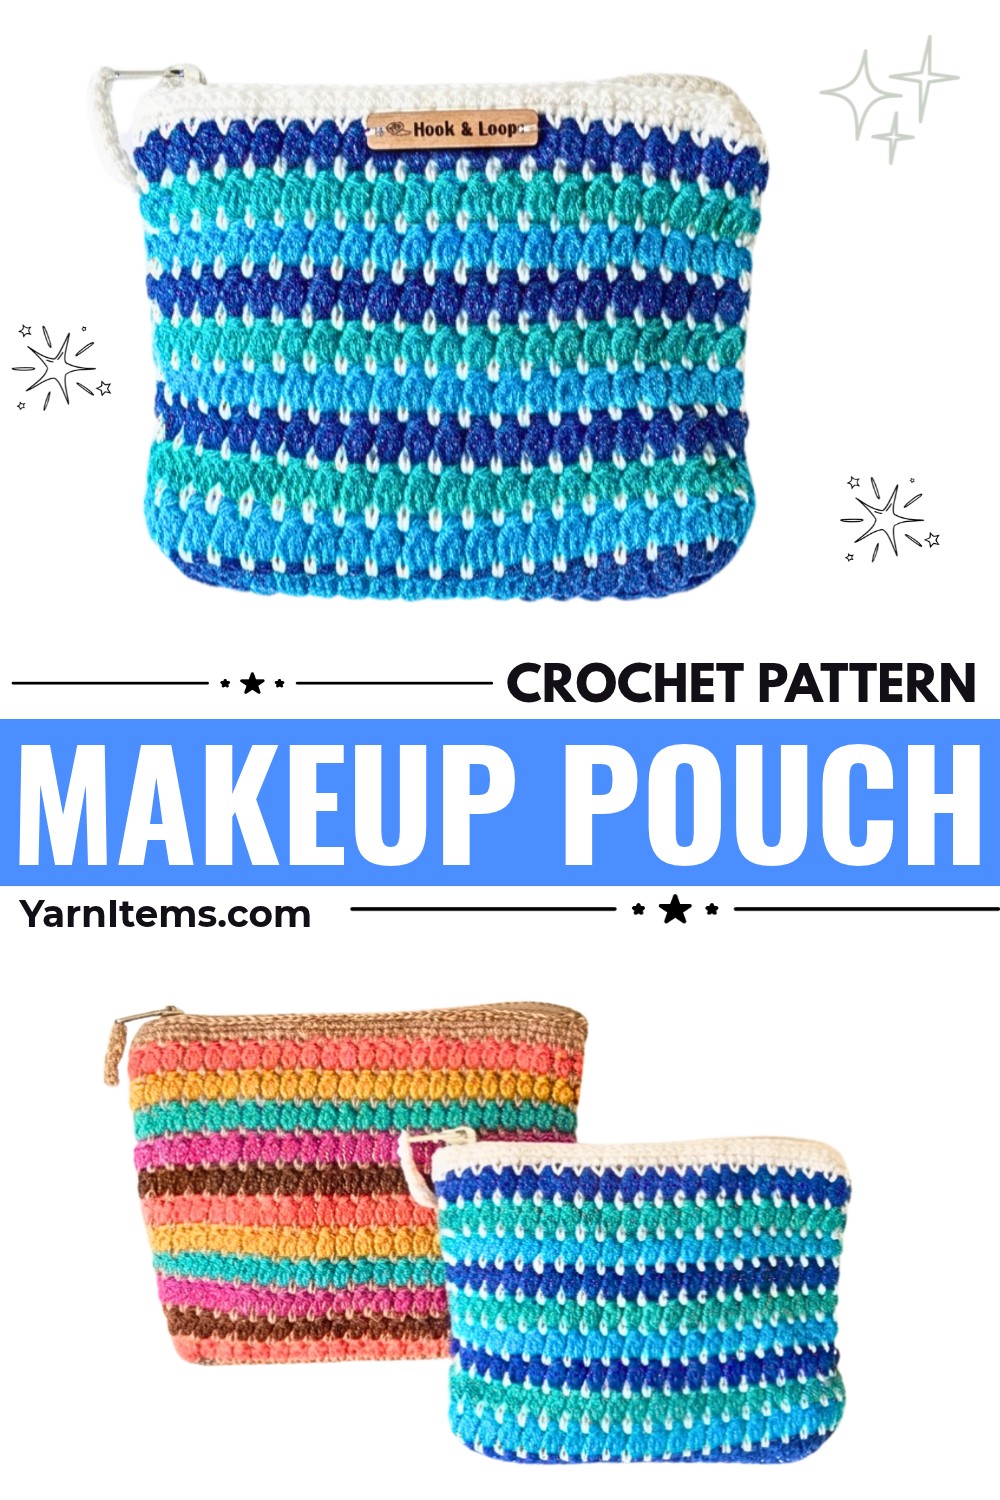
A firm base helps the pouch stay upright, while the fabric lining and smooth zipper add strength for everyday use. The simple stitch pattern makes it enjoyable for beginners.
Yet the finished result looks polished enough to impress experienced crocheters. Add a zipper charm, a handmade label, or your favorite color combination. The crochet pouch develops a signature finish that reflects your creativity long after you finish the final stitch.
Credit Hook & Loop Crochet Tutorials
Materials & Tools Needed
- Yarn: 100% cotton in 3 colors for the body and 1 color for the base.
- Crochet Hook: 2 mm.
- Scissors.
- Tapestry Needle.
- Zipper: Size matching the width of your pouch (customizable).
- Fabric for Lining: A piece large enough to line the pouch (cut to match the dimensions).
- Thread & Needle: In a color matching the fabric for lining.
- Pins: For securing the zipper and fabric during sewing.
Finished Size & Customization Ideas
- Default Size: A foundation chain of 48 stitches is used in the tutorial, resulting in a medium-sized pouch. Adjust the foundation chain length to match your desired pouch width and zipper size.
- Customization Ideas:
- Use different color combinations for a unique look.
- Add tassels, charms, or crocheted embellishments on the zipper pull.
- Alter the length of the pouch by adding or subtracting rows in the body.
Pattern Abbreviations & Terminology
(All terms follow US crochet terminology):
- ch: Chain.
- sc: Single Crochet.
- dc: Double Crochet.
- sl st: Slip Stitch.
- cluster: A group of 3 unfinished double crochet stitches closed together (explained in detail below).
- st: Stitch.
- ch space: Chain space.
- fake dc: A stitch created to mimic the look of a double crochet, used for a tighter edge.
Step-by-Step Detailed Crochet Instructions
1. Foundation Chain
- Begin with 48 chains (or adjust as needed to match the length of your zipper). Ensure the chain length matches the width of your pouch.
- This foundation chain determines the width of the pouch.
2. Row 1: Block Stitch Base
- Starting in the second chain from the hook, work:
- 1 sc in each of the next 3 chains.
- ch 1, skip the next chain, and 1 sc into the following chain.
- Repeat the (1 sc, ch 1, skip 1) pattern across until you reach the last 4 chains.
- End the row with 1 sc in the last 3 chains for symmetry.
- Fasten off and switch to a new color.
3. Row 2: Adding Clusters
- Turn your work. Start with a fake dc for a tight edge (details on how to make this are in the tutorial).
- Work 1 dc, followed by ch 1.
- In each chain space from the row below, make:
- 1 cluster: (Yarn over, insert hook into the space, yarn over and pull up a loop, yarn over, and pull through 2 loops) x 3 times. This gives you 4 loops on your hook. Yarn over and pull through all 4 loops to close the cluster.
- Repeat: ch 1, cluster, ch 1 across the row.
- Work 1 dc in each of the final 2 stitches to match the beginning.
- Fasten off and switch back to the base color.
4. Row 3: Base Color Row
- Turn. Using the base color, work:
- 1 sc in the first st.
- 1 sc in the next st.
- 1 sc into the chain space from the previous row, followed by ch 1.
- Repeat: 1 sc into the next chain space, ch 1 across the row.
- End with 1 sc into the final chain space and 1 sc in the last 2 stitches.
- Continue switching between the accent colors and base color in the same pattern.
5. Continue Repeating Rows
- Repeat Row 2 and Row 3, alternating colors, until the pouch reaches your desired height.
- You can make it taller or shorter depending on your needs.
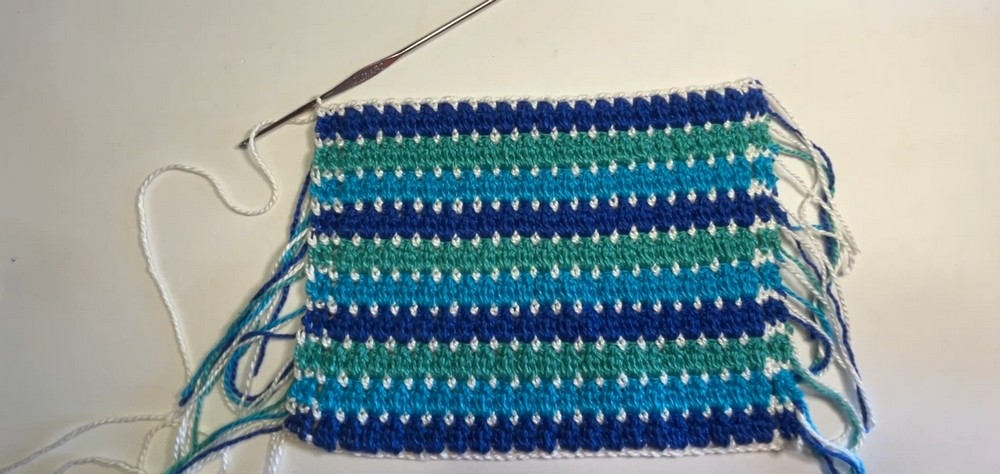
6. The Border
- Once your main body is complete, turn your work and create a border:
- Work 1 sc into each stitch across, including chain spaces.
- Add a second row of single crochet for strength.
- Finish with a row of slip stitches across the top.
- Fasten off by chaining 1, pulling the yarn through, and cutting the tail.
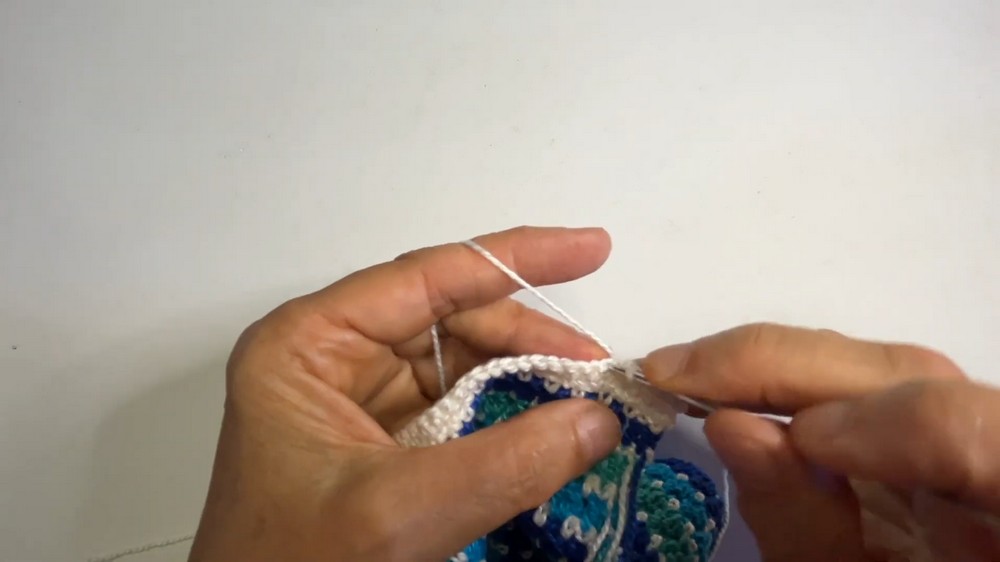
7. Creating the Bottom
- Rotate your work to begin the bottom section:
- Attach the base color to the chain space on top of the 3rd cluster from the edge.
- Work 1 sc into each stitch across, including chain spaces.
- Turn and add 4 additional rows of single crochet, creating a total of 5 rows for the bottom.
- Fasten off, then weave in any loose tails.
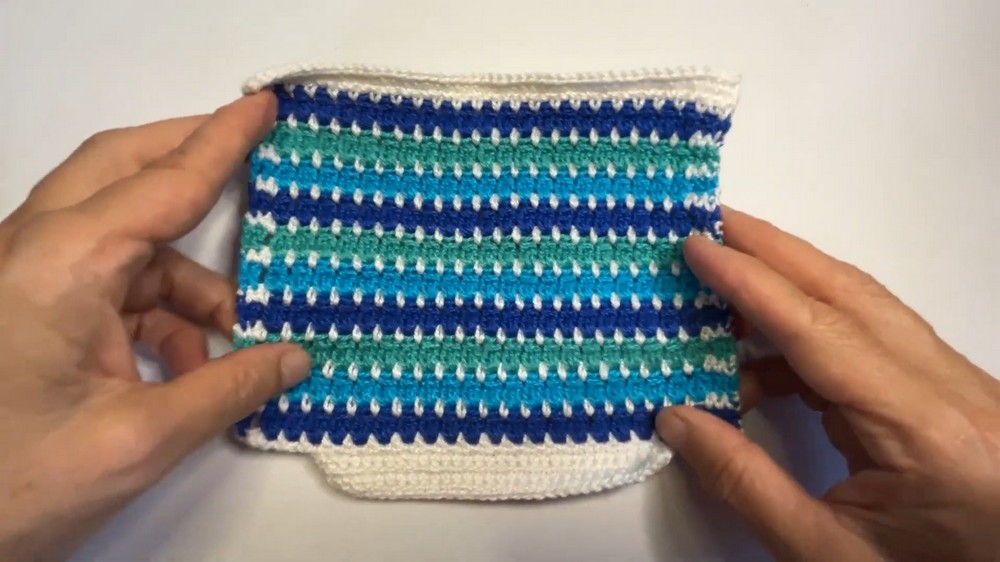
8. Assembly
Lining
- Measure the finished pouch (excluding the bottom section).
- Cut 2 fabric pieces to the size of the pouch, leaving a 1 cm margin on all sides for folding.
- Fold and sew around the edges of the fabric to create a clean lining. Attach it to the pouch either by hand-sewing or using a sewing machine.
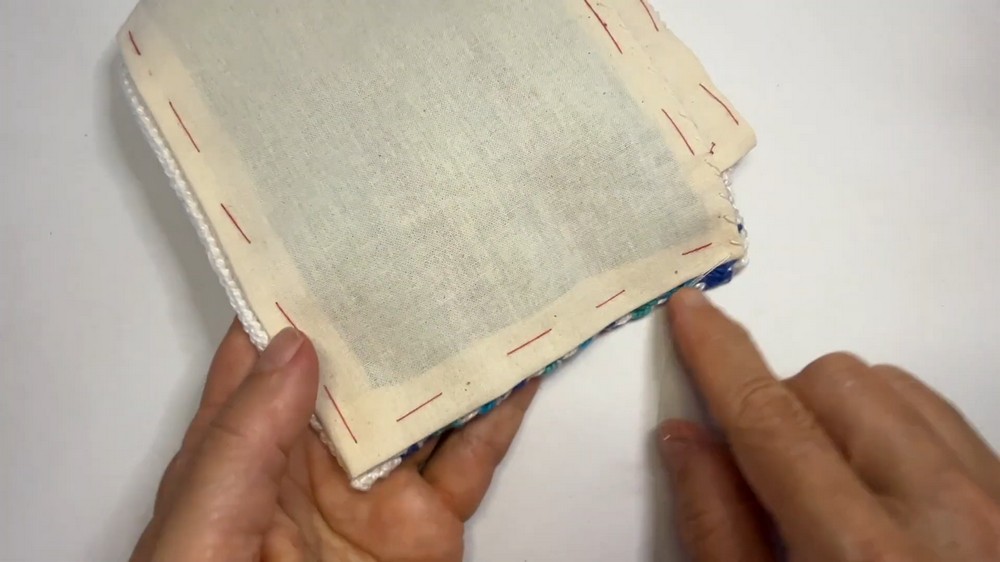
Zipper
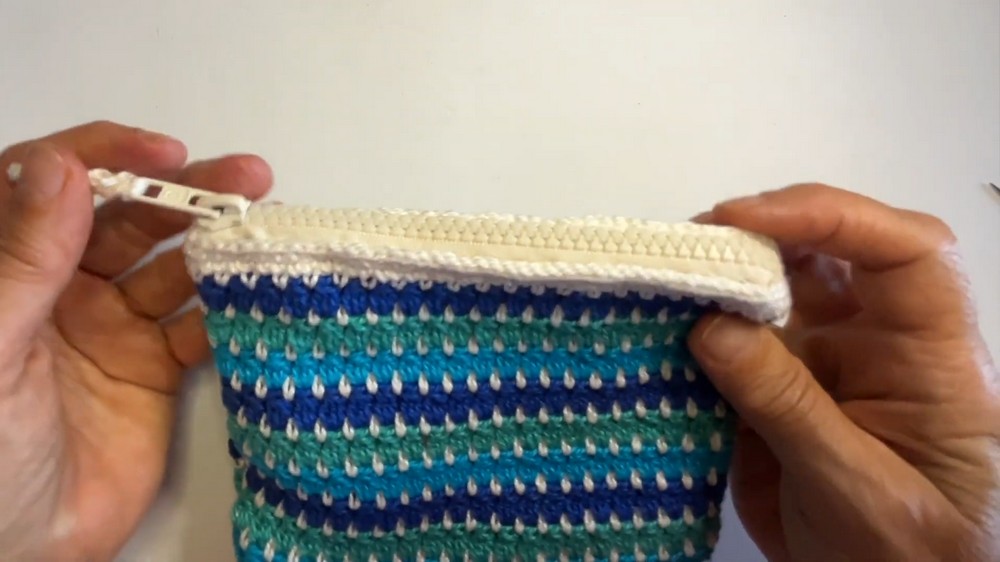
- Pin the zipper into place at the top of the pouch, ensuring it aligns evenly.
- Sew it securely into the crochet pouch and through the fabric liner.
- Leave the zipper partially open to invert the pouch.
9. Zipper End (Optional)
- Attach yarn to the zipper stopper and create a small tab:
- ch 1, work 2 sc.
- Turn, ch 1, and work 1 sc per row.
- Repeat to create the desired length.
- Add tassels, charms, or other embellishments if desired.
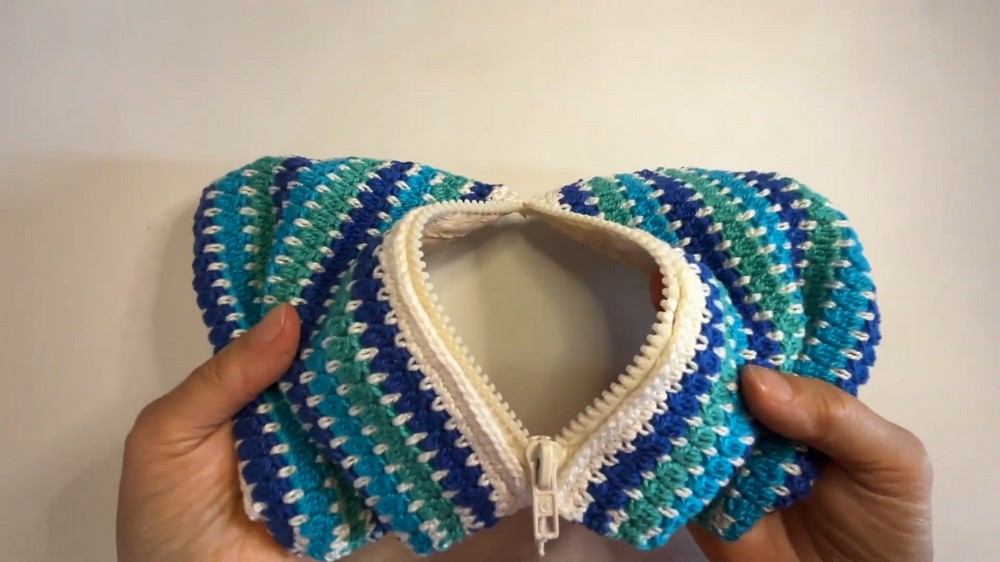
10. Finishing Touches
- Ensure all loose ends are woven in and the zipper is functioning properly.
- Turn the pouch inside out, leaving the fabric lining neatly inside.
- Add labels if you’re gifting or selling your pouch.
Customization Notes
- To make a larger pouch, increase the foundation chain count and repeat the cluster pattern for additional rows.
- Experiment with different color combinations for stripes or gradients.
- Add decorative stitches or surface embroidery to enhance the final look.