Crochet Mini Christmas Bell Earrings with Leaf Design
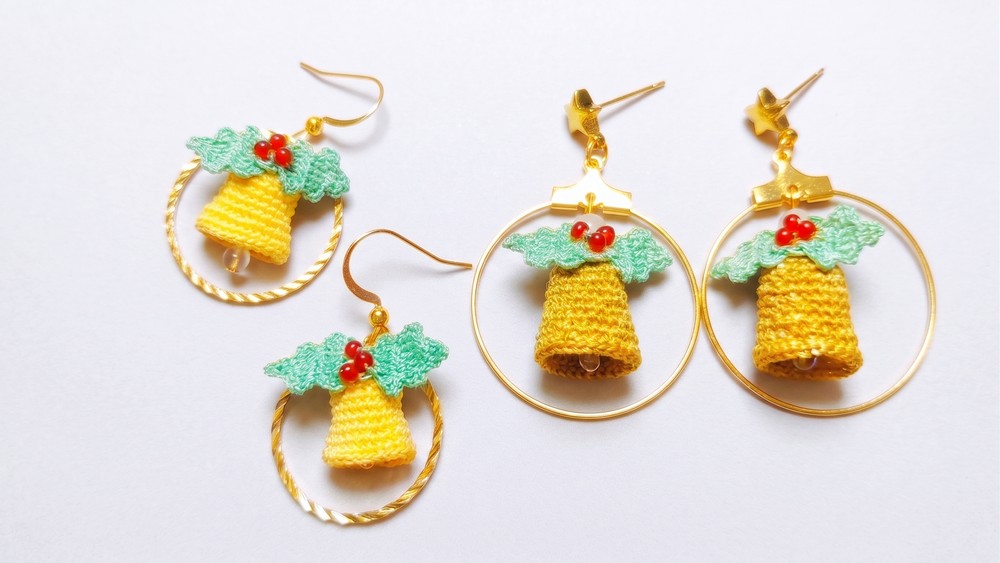
These mini crochet Christmas bells may be small, but they instantly bring a festive feel to handmade accessories and holiday decorations. Each bell is topped with a tiny green leaf and finished with a bead or tiny jingle bell that adds a delicate touch.
The pattern is perfect if you want to create lightweight earrings, bracelet charms, necklace pendants, or miniature Christmas tree ornaments. Keep reading to see how these charming little crochet bells come together step by step.
Crochet Mini Christmas Bell Earrings Pattern
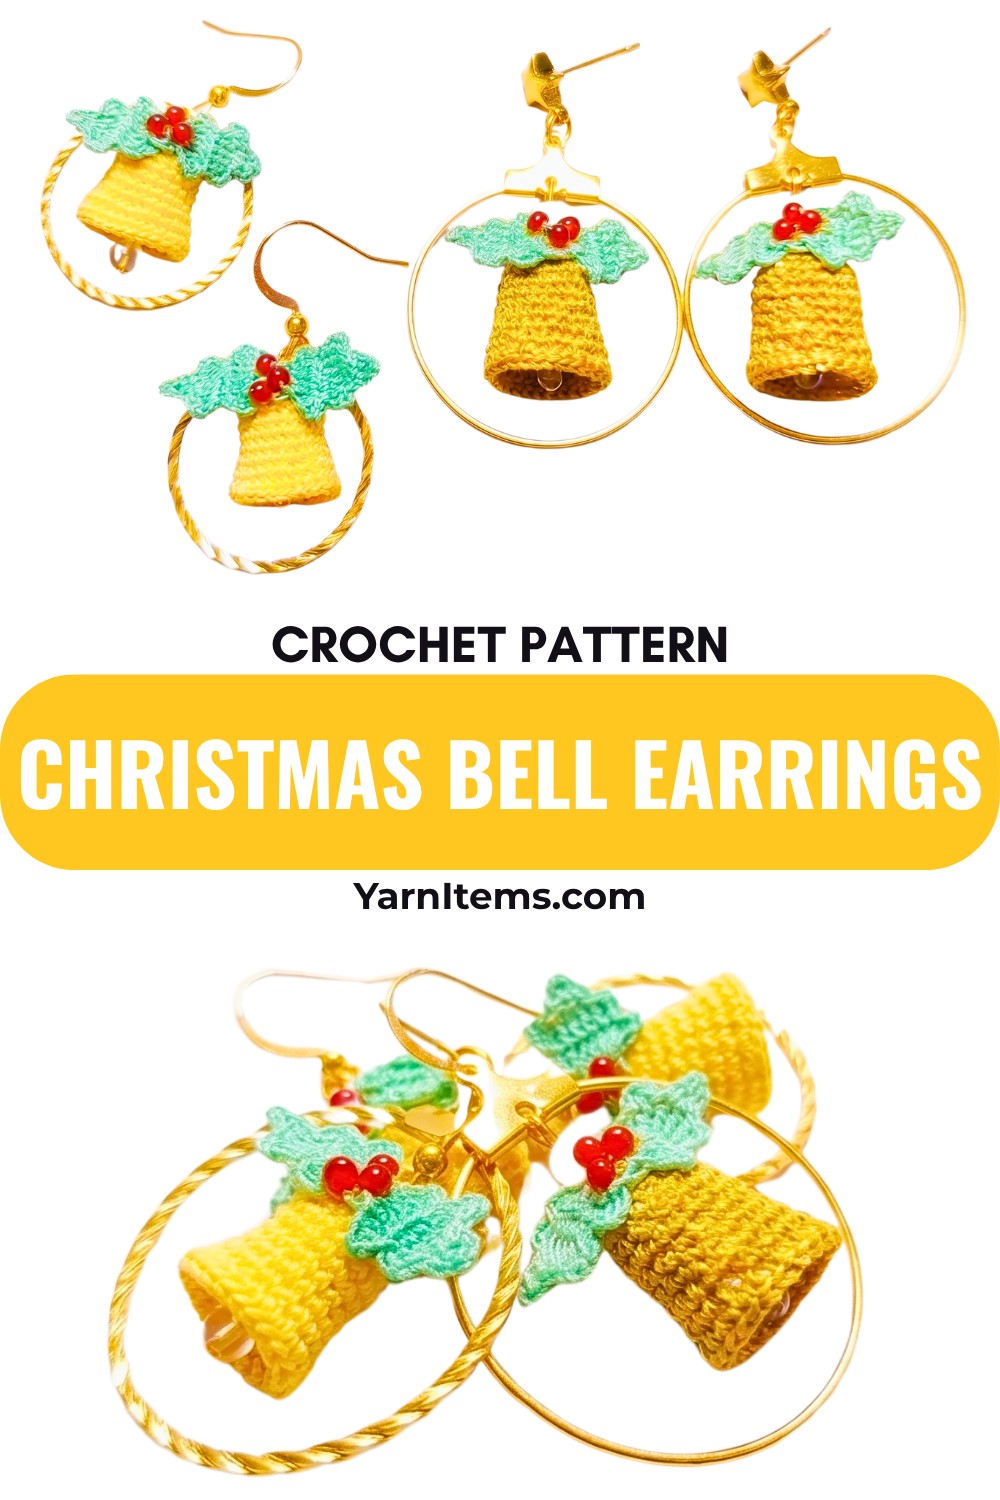
The tutorial begins with easy single crochet rounds that gradually shape the bell before flaring at the bottom. A separate leaf is stitched on top, and small red beads can be added to create a simple holly detail. The final step is attaching basic jewelry findings, making it easy to turn the finished piece into a variety of holiday accessories. With only a few materials and quick finishing touches. This crochet pattern is a fun way to make thoughtful handmade Christmas keepsakes.
Credit MIMO The Craft Room
Materials & Tools Needed
- Yarn:
- Bell: Yellow (or gold metallic thread for a festive shimmer).
- Leaf: Green lace-weight yarn (DMC size 80 lace thread in the original).
- Optional: Red thread for edging or decoration.
- Beads (optional):
- 2 mm Red beads for decoration (e.g., red agate or seed beads).
- A small white bead (optional, for the earring center).
- Findings:
- 2 cm or 25 mm jump ring.
- Pair of ear hooks.
- Headpins or eyepins (for attaching the bell).
- Tools:
- 0.3 mm crochet hook (for lace thread).
- Flat-nose pliers, wire cutters, and round-nose pliers (for assembling earrings).
- Scissors.
- Tapestry needle.
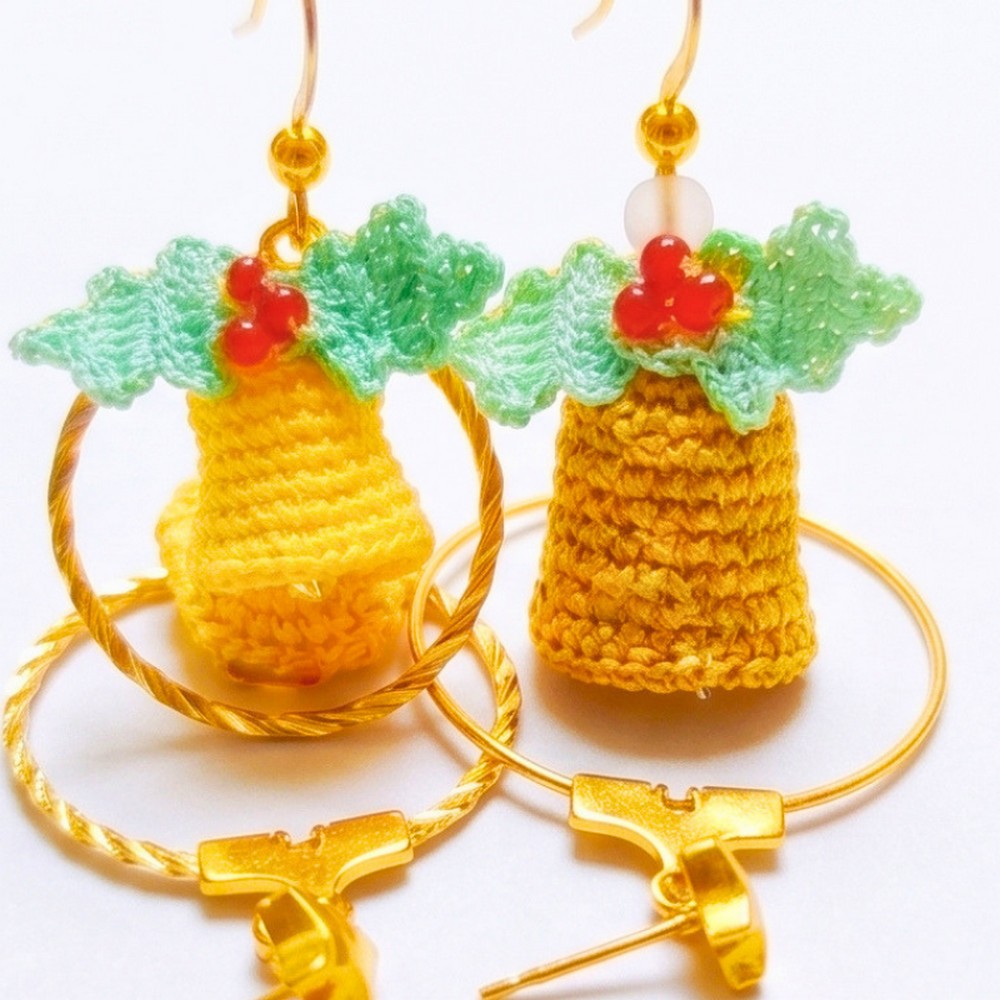
Finished Size & Customization Ideas
- Size: Approximately 2–3 cm for the bell, depending on yarn thickness and hook size.
- Customization:
- Use metallic yarn for a luxurious look.
- Add beads or a decorative edge to enhance the design.
- Stiffen the leaf with fabric stiffener for firmer earrings.
- Skip the bell’s decorative bead for a simpler style.
Pattern Abbreviations & Terminology
- ch: Chain
- sc: Single Crochet
- sl st: Slip Stitch
- dc: Double Crochet
- inc: Increase (work 2 stitches into the same stitch)
- dec: Decrease
- YO: Yarn Over
- FO: Fasten Off
Note: Pattern is written in US terms.
Step-by-Step Detailed Crochet Instructions
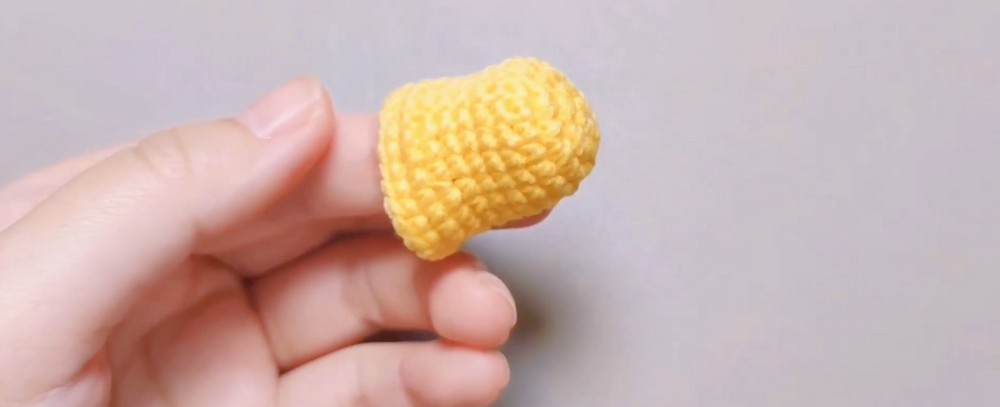
Part 1: Crochet the Bell
- Start with a magic ring.
- Wrap the yarn around your finger and form a small loop.
- Insert your hook into the loop, pull the yarn through, and chain 1 to secure the ring.
- Round 1:
- Work 6 sc into the magic ring.
- Pull the starting yarn tail tightly to close the ring.
- Find the first sc, place the yarn tail across your hook to crochet over it.
- And sl st into the first stitch to close the round.
- Stitch count: 6 sts.
- Round 2:
- Chain 1 (turning chain).
- Work an inc (2 sc) in each stitch around.
- Stitch count: 12 sts.
- Sl st into the first stitch to close the round.
- Round 3:
- Chain 1.
- Pattern: 1 sc, then 1 inc; repeat around.
- Stitch count: 18 sts.
- Sl st into the first stitch to close the round.
- Rounds 4–8:
- Chain 1.
- Work 1 sc into each stitch around with no increases or decreases.
- Stitch count: 18 sts for each round.
- At the end of Round 8, sl st to close the round.
- Round 9:
- Chain 1.
- Pattern: 2 sc, then 1 inc; repeat around.
- Stitch count: 24 sts.
- Sl st to close the round.
- Rounds 10–11:
- Chain 1.
- Work 1 sc into each stitch around with no increases or decreases.
- Stitch count: 24 sts for each round.
- At the end of Round 11, sl st to close the round.
- Pull up a long loop and FO, leaving a tail for sewing.
- Finishing Touches:
- Weave in the yarn tail.
- Add a decorative bead at the center of the bell, securing it using a headpin or eyepin.
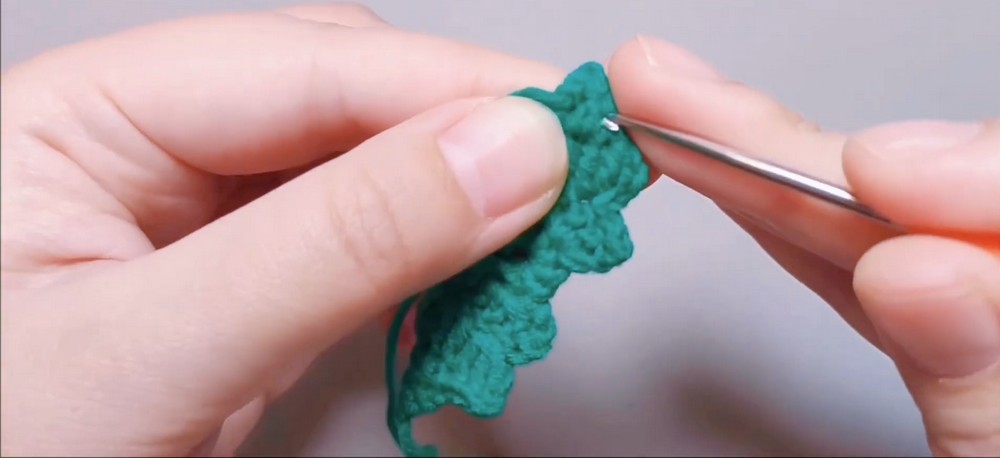
Part 2: Crochet the Leaf
- Start with a magic ring.
- Wrap the yarn around your finger, form a small loop, and insert the hook into the loop.
- Pull the yarn through, and chain 1 to secure the ring.
- Round 1:
- Work 9 sc into the magic ring.
- Pull the starting yarn tail tightly to close the loop.
- Place the yarn tail across your hook to crochet over it, and sl st into the first stitch to close the round.
- Stitch count: 9 sts.
- Round 2 (First half of the leaf):
- Chain 3.
- In the same stitch as the sl st, work a dc inc (2 dc in the same stitch).
- In the next stitch, work 1 dc.
- In the following stitch, work a 3 dc inc (3 dc in the same stitch).
- Turn the piece.
- Work 3 sl st along the previous row to move to the next section.
- Pull each slip stitch slightly tighter after the second and third.
- Chain 2.
- Make a dc dec over the next 2 stitches:
- YO, insert the hook into the first stitch, pull up a loop, YO, and pull through 2 loops.
- YO again, insert the hook into the next stitch, pull up a loop.
- YO, pull through 2 loops, then YO and pull through all 3 loops on the hook.
- Chain 1 to secure the stitch. Pull up the loop and FO, leaving a short tail.
- Round 3 (Second half of the leaf):
- Skip the next 2 stitches and insert your hook into the third stitch to begin the second half of your leaf.
- Pull up the yarn and chain 3.
- In the same stitch, work a dc inc.
- In the next stitch, make 1 dc.
- In the following stitch, work a 3 dc inc (3 dc in the same stitch).
Note: If desired, leave a longer yarn tail on this side for sewing the leaf to the bell. This tail will also be used to sew on decorations or secure the leaf to the bell.
- Repeat the same sequence as Round 2:
- After turning, work 3 sl st along the previous row (tighten the second and third).
- Chain 2.
- Work a dc dec over the next 2 stitches, as described in Round 2.
- Chain 1 to secure the stitch. Pull up the loop and FO, leaving a long tail for sewing.
- Decoration (Optional):
- Use the yarn tail to sew on small red beads or decorative items to the center of the leaf.
Assembly
- Use the remaining yarn tails to sew the leaf onto the middle of the bell.
- Position it between Round 2 and Round 3 of the bell for best placement.
- Sew securely using a few back-and-forth stitches. Knot on the inside of the bell and trim any excess yarn.
- Attach a jump ring to the top of the bell with jewelry tools. Ensure that the bell hangs correctly when attached.
- Use round-nose pliers to shape the headpin or eyepin, thread it through the center of the bell, and add a bead (optional) on top of the bell.
- Bend the wire into a loop, trim excess wire, and attach it to the earring hook.
- Straighten, adjust, and make any small refinements to the pieces.
- (Optional) Apply fabric stiffener to the leaf if desired for extra durability.