Crochet Christmas Gnome Amigurumi Pattern For Festive Decor
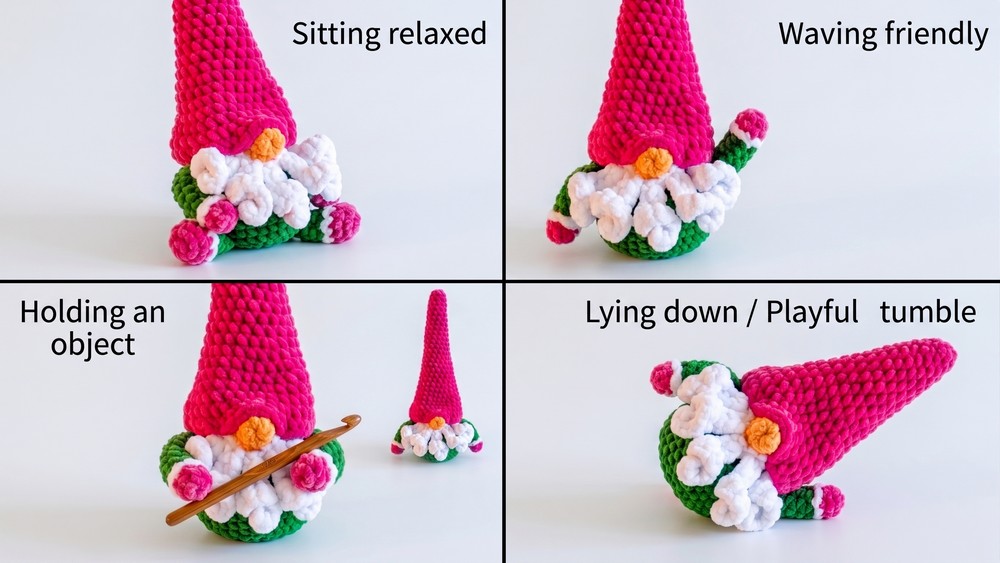
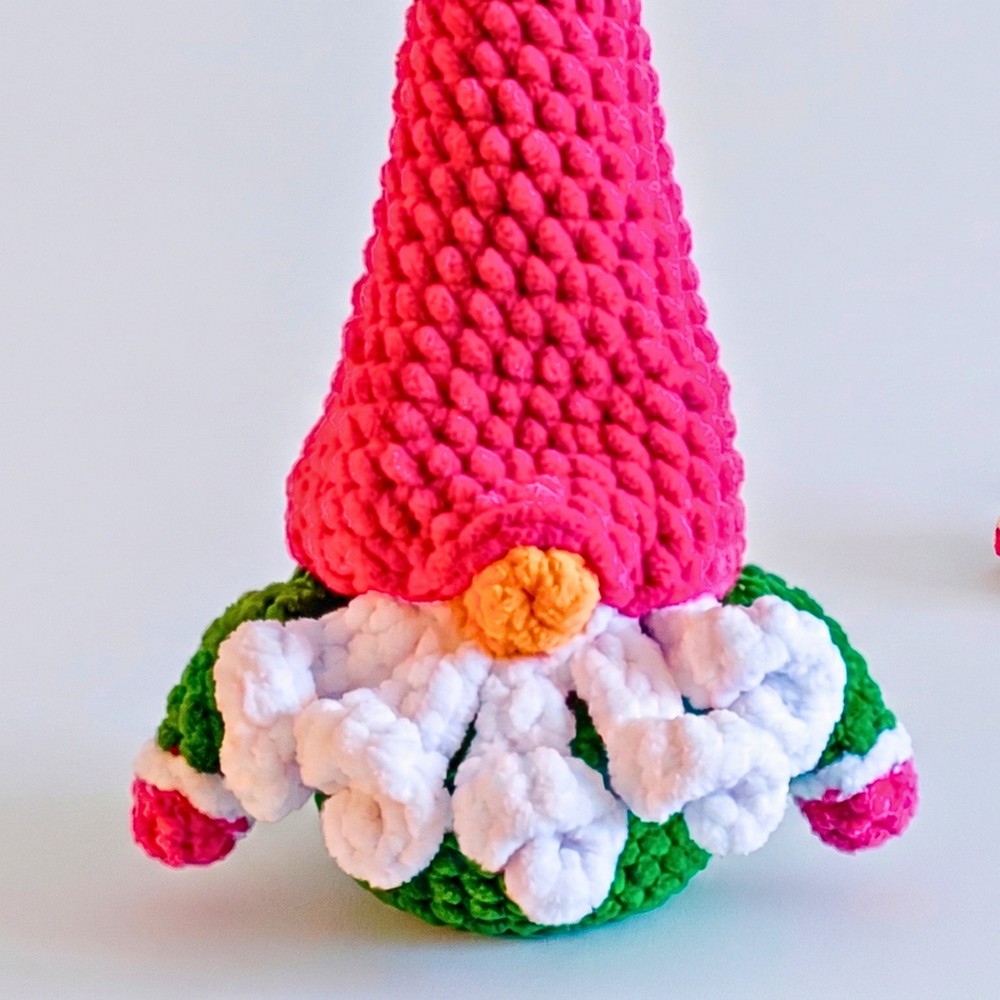
A crochet Christmas gnome brings a playful holiday spirit wherever it sits. From its tall pointed hat to its soft beard and tiny nose, every detail gives it a warm, storybook look that fits beautifully on shelves, mantels, or festive displays.
If you’ve been looking for a handmade decoration with plenty of personality. This charming little crochet gnome is a delightful piece to add to your Christmas collection.
Crochet Christmas Gnome Pattern
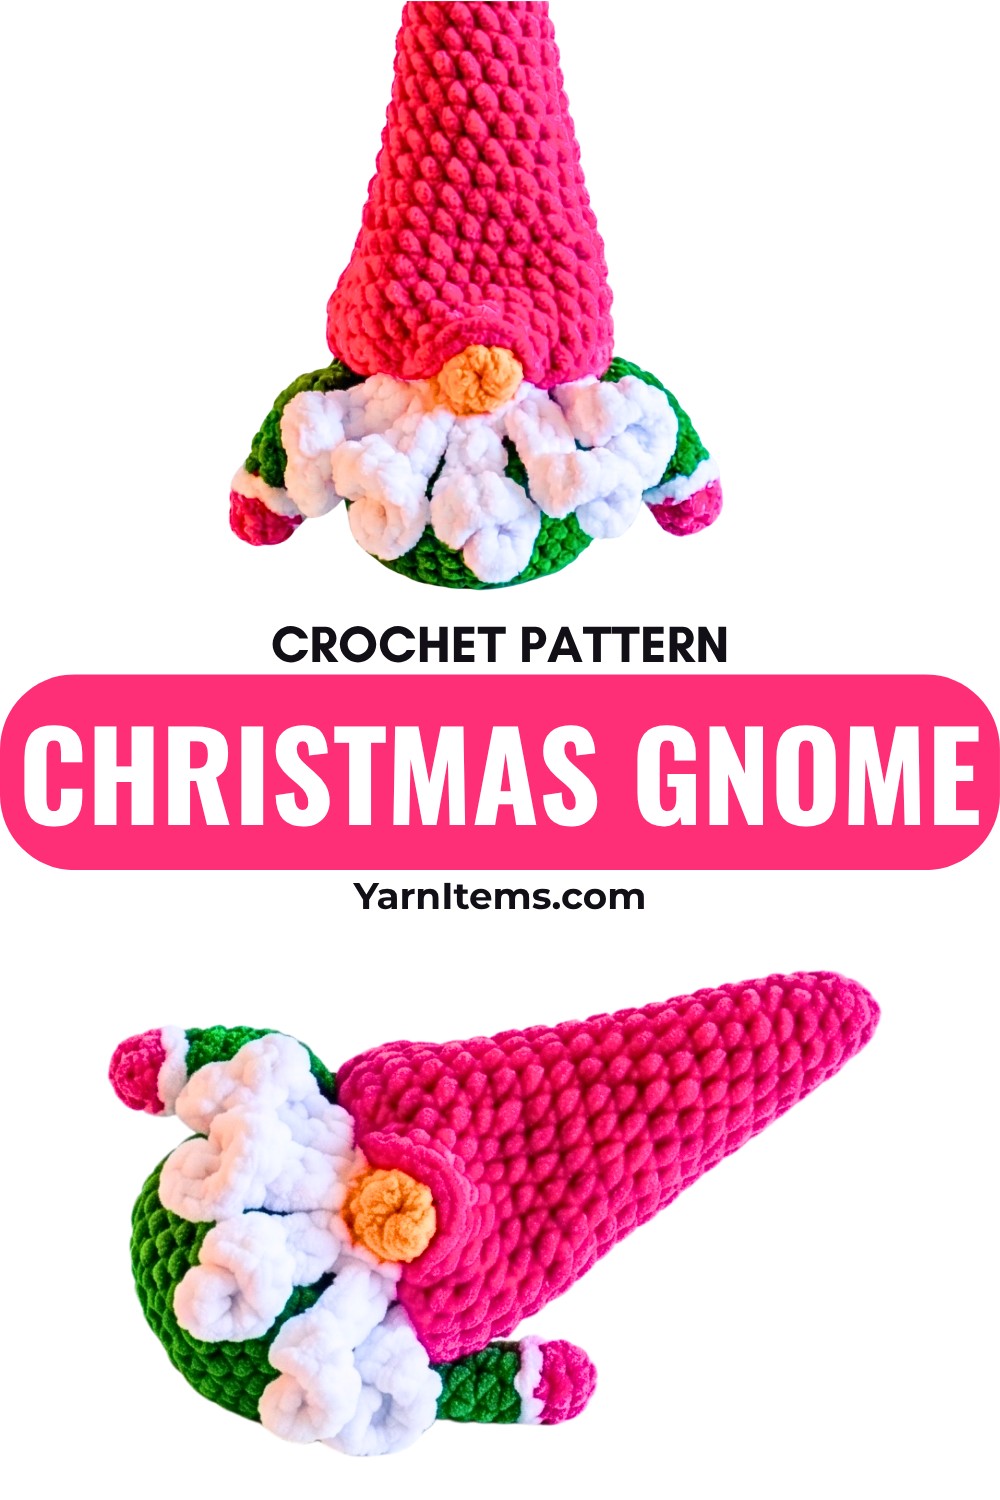
This pattern builds the gnome one simple section at a time, making the process enjoyable from start to finish. As each crochet piece comes together, its cheerful character gradually appears. Turning yarn into a festive keepsake you’ll be proud to display or gift. Keep reading to see how this adorable crochet Christmas companion comes to life, one stitch at a time.
Credit Hello Amigurumi
Materials & Tools Needed
- Yarn: Worsted weight (Weight 4) in:
- Red (Hat/Body)
- Grey/Green (Trousers/Body Base)
- White (Beard)
- Beige/Nude (Nose)
- Crochet Hook: 3.5 mm (Size E-4)
- Stuffing: Polyester fiberfill
- Notions: Yarn needle, stitch markers, scissors
(Optional: Small cardboard or plastic canvas for base stability)
Finished Size & Customizations
- Size: ~6–7 inches tall (depends on gauge/tension)
- Variations:
- Add hat stripes (alternate Red/White).
- Use faux-fur yarn for the beard.
- Attach a bell or pom-pom to the hat tip.
Pattern Abbreviations (US Terms)
-
MR: Magic Ring (or Magic Circle)
-
ch: Chain stitch
-
sc: Single crochet
-
inc: Increase (2 single crochets into the same stitch)
-
dec: Invisible decrease (single crochet 2 stitches together using the front loops only)
-
BLO: Back loops only
-
st(s): Stitch(es)
Step-by-Step Instructions
1. Main Body & Base
Start with Grey/Green yarn. (Worked in continuous rounds.)
Flat Base (Rounds 1–4):
- Round 1: 6 sc into MR [6 sts]
- Round 2: 1 inc in each st [12 sts]
- Round 3: (1 sc, 1 inc) x 6 [18 sts]
- Round 4: (2 sc, 1 inc) x 6 [24 sts]
Expand Base (Rounds 5–7):
- Round 5: (3 sc, 1 inc) x 6 [30 sts]
- Round 6: (4 sc, 1 inc) x 6 [36 sts]
- Round 7: (5 sc, 1 inc) x 6 [42 sts]
(Optional: Trace and cut out cardboard to insert for stability.)
Body Walls (Rounds 8–15):
- Round 8: Work in BLO, sc in each st [42 sts]
- Rounds 9–12: sc around [42 sts]
- Round 13 (Color Change): Switch to Red yarn, sc in each st [42 sts]
- Rounds 14–15: sc around [42 sts]
Shaping the Body (Rounds 16–25):
- Round 16: (5 sc, 1 dec) x 6 [36 sts]
- Rounds 17–18: sc around [36 sts]
- Round 19: (4 sc, 1 dec) x 6 [30 sts]
- Rounds 20–21: sc around [30 sts]
→ Start stuffing firmly. - Round 22: (3 sc, 1 dec) x 6 [24 sts]
- Round 23: sc around [24 sts]
- Round 24: (2 sc, 1 dec) x 6 [18 sts]
- Round 25: (1 sc, 1 dec) x 6 [12 sts]
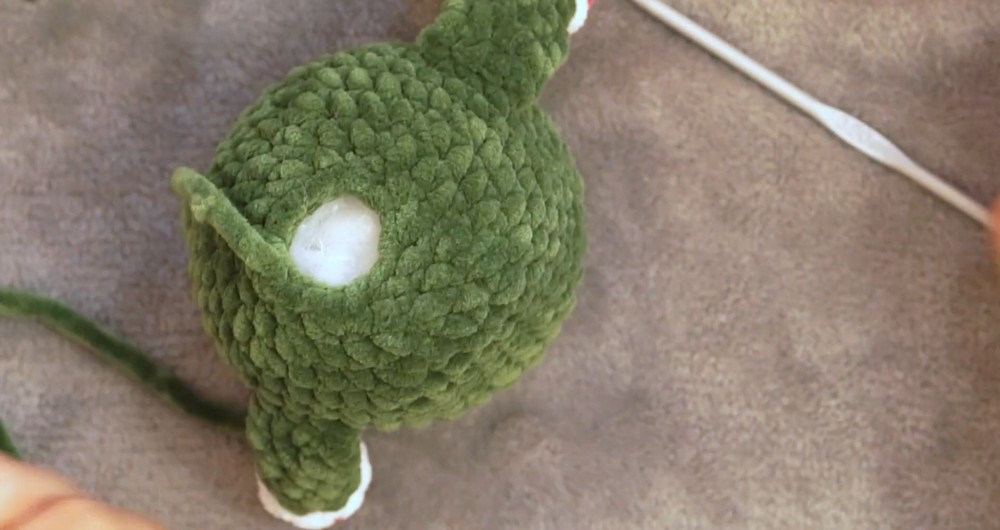
Finish stuffing. Fasten off and close with the tail.
2. Gnome Nose
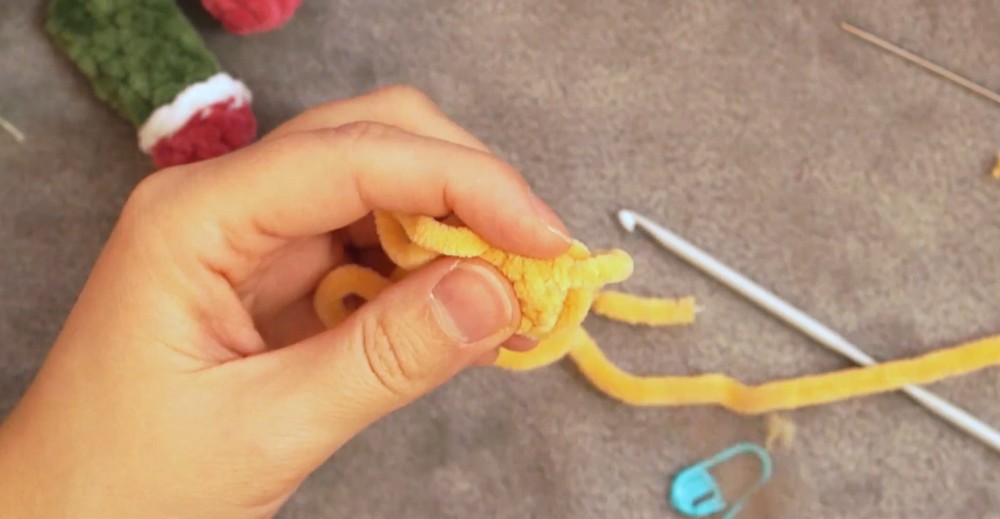
Using Beige/Nude yarn:
- Round 1: 6 sc into MR [6 sts]
- Round 2: 1 inc in each st [12 sts]
- Round 3: (1 sc, 1 inc) x 6 [18 sts]
- Round 4: sc around [18 sts]
- Round 5: (1 sc, 1 dec) x 6 [12 sts]
→ Stuff lightly. - Round 6: 6 dec [6 sts].
Fasten off, leaving a long tail.
3. Pointy Hat
Using Red yarn (or alternate colors for stripes):
Increase to Hat Size:
- Round 1: 4 sc into MR [4 sts]
- Round 2: (1 sc, 1 inc) x 2 [6 sts]
- Round 3: sc around [6 sts]
- Round 4: (2 sc, 1 inc) x 2 [8 sts]
- Round 5: sc around [8 sts]
- Continue increasing every few rounds:
- 6 sts, then 10 sts, then 12 sts, etc., following the pattern until Round 28, reaching [48 sts].
Final Shaping:
Leave the hat lightly stuffed (or unstuffed for a folded style). Fasten off and leave a long tail for sewing.
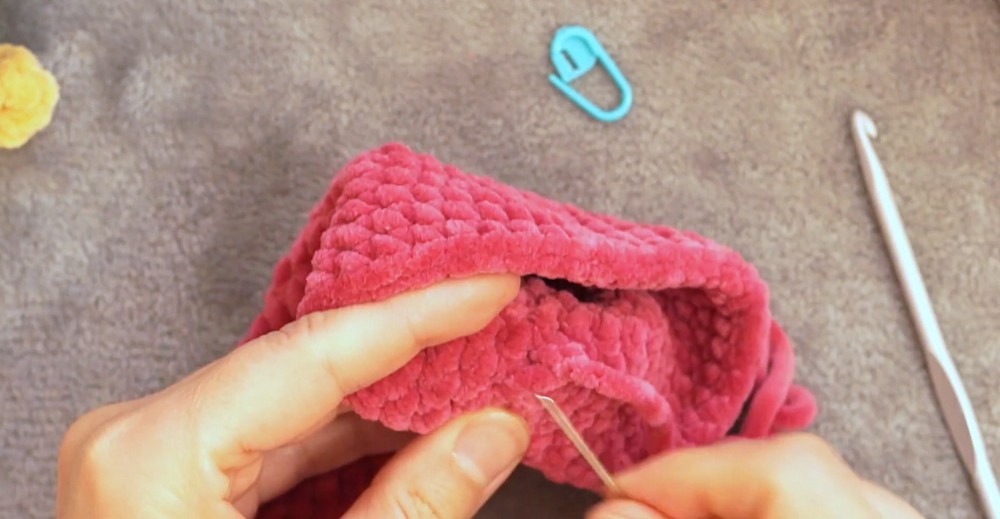
4. Beard (White Yarn)
Worked in flat rows:
- Row 1: ch 11, sc into 2nd ch from hook, sc across [10 sts]
- Row 2: dec, sc x 6, dec, ch 1, turn [8 sts]
- Row 3: dec, sc x 4, dec, ch 1, turn [6 sts]
- Row 4: dec, sc x 2, dec, ch 1, turn [4 sts]
- Row 5: 2 dec, ch 1, turn [2 sts]
- Row 6: 1 dec [1 st].
Fasten off, leaving a long tail.
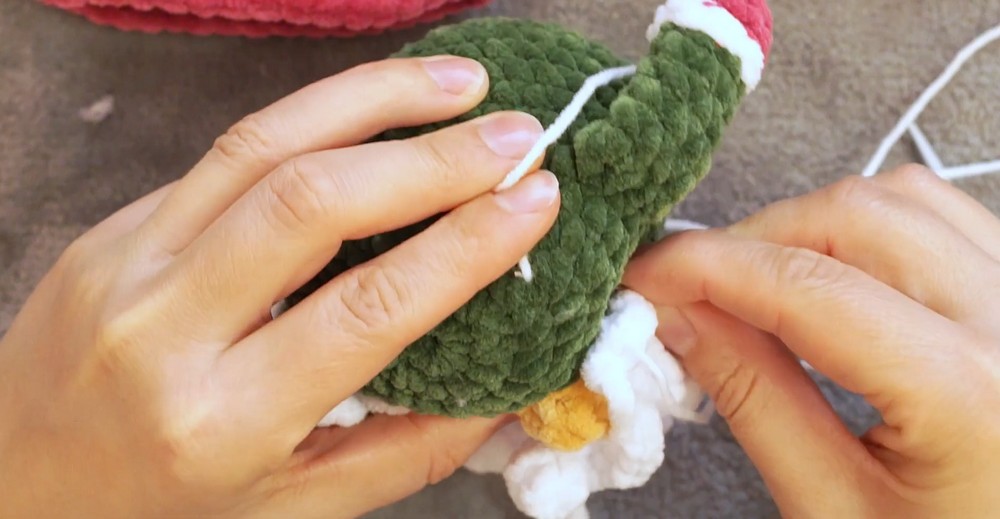
Assembly Steps
- Place the Beard:
Sew the flat edge of the beard to the body at the color change line (Top of trousers). - Attach the Nose:
Center and sew the nose over the upper edge of the beard. The top of the nose should overlap slightly with the beard. - Add the Hat:
Fit the hat over the body, resting it on the nose (slightly covering the top edge). Sew the hat securely around the base.