Crochet Pumpkin Pie Coasters Pattern for Thanksgiving Table Decor
These crochet pumpkin pie coasters bring a playful Thanksgiving twist to every mug you set on the table. Each slice is finished with a tiny swirl of crochet whipped cream, turning an everyday coaster into a festive decoration.
That looks just as charming between meals as it does during dessert. Whether you’re decorating for family dinner or making thoughtful handmade gifts. This crochet pattern adds a cheerful autumn accent that’s hard to overlook.
Crochet Pumpkin Pie Coasters Pattern
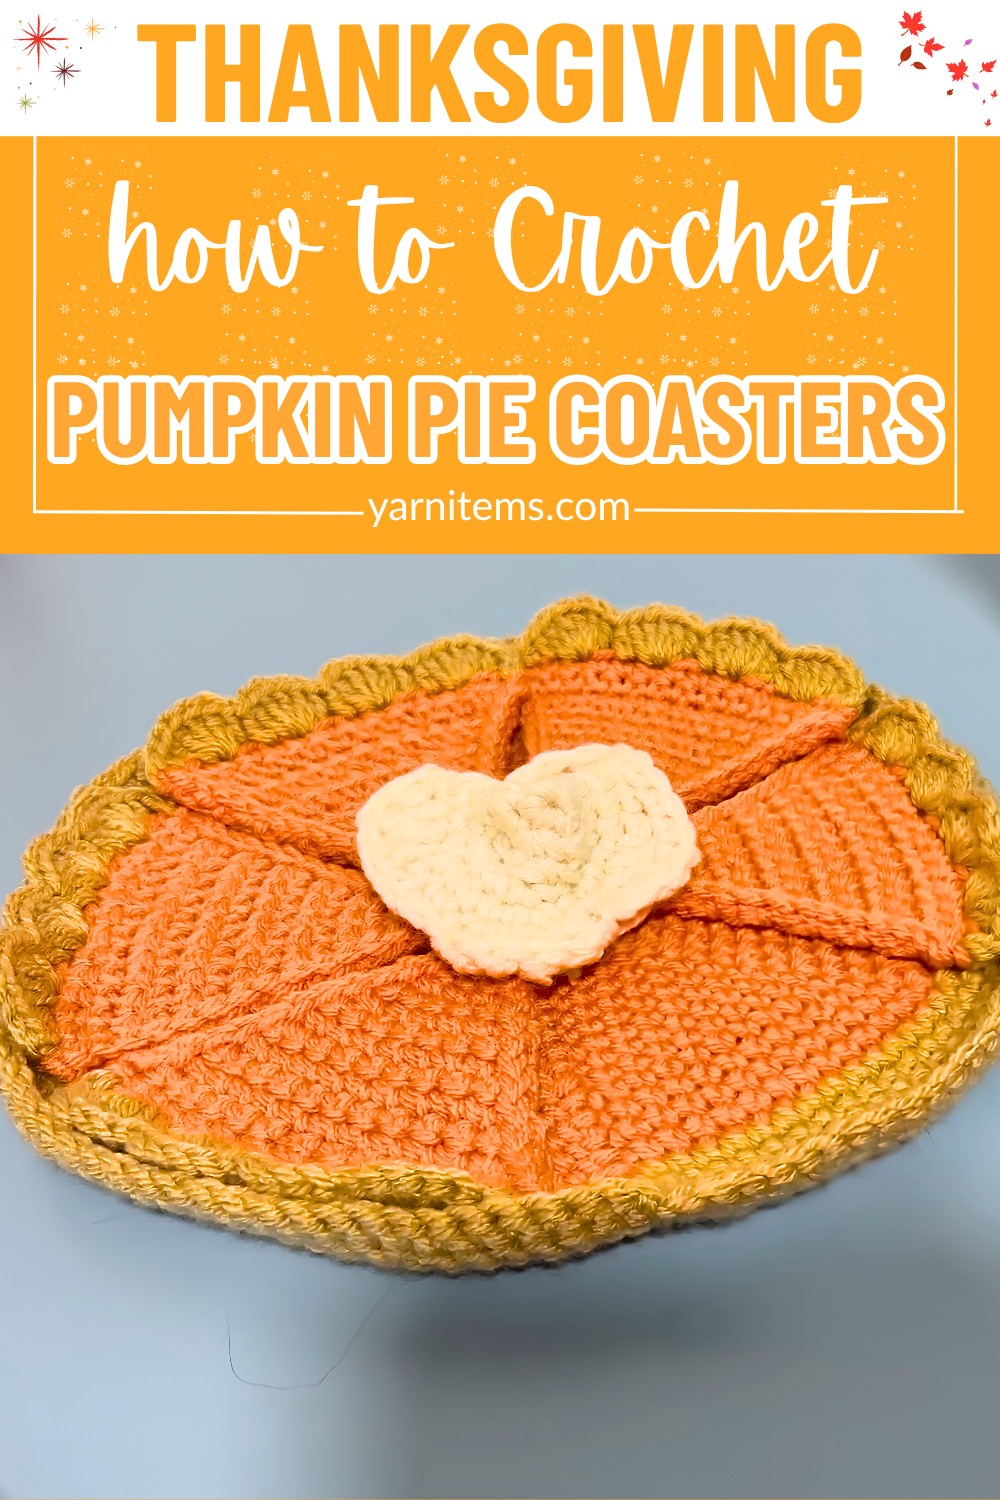
The crochet pumpkin pie piece is designed to be enjoyable from the very first stitch. Making it easy to turn a few leftover yarn colors into a set of eye-catching pie slices. The step-by-step instructions show how to shape the crust, filling, and whipped cream. With an optional crochet pie base lets all the slices fit together into one creative display. Keep reading to see how these simple details come together into a Thanksgiving decoration you’ll reach for year after year.
Credit More Than Yarn
Materials & Tools Needed
- Yarn: Acrylic yarn, weight 4, in the following colors:
- Orange (Pumpkin Pie)
- Tan (Crust)
- White (Whipped Cream – optional)
- Hook Size: 4mm crochet hook
- Scissors
- Tapestry Needle: For weaving in ends
Finished Size & Customization Ideas
- Standard Size: Approximately 4–5 inches in diameter.
- Customization Ideas:
- Use different yarn weights for larger or smaller coasters.
- Experiment with colors to create unique pie flavors.
- Such as chocolate (brown) or key lime (light green).
- Add “whipped cream dollops” for an extra touch of charm!
Pattern Abbreviations & Terminology
- Ch: Chain
- Sl St: Slip Stitch
- SC: Single Crochet
- HDC: Half Double Crochet
- DC: Double Crochet
- St(s): Stitch(es)
- Inc: Increase (2 single crochets in the same stitch)
Terminology: US Standard Crochet Terms

Step-by-Step Detailed Crochet Instructions
Pumpkin Pie Triangle Slice (Base)
- Make the Slip Knot and Initial Chains:
- Create a slip knot and place it on your 4mm hook.
- Chain 2.
- Row 1:
- In the 2nd chain from the hook, work 2 SCs.
- Chain 1, and turn your work.
- Row 2:
- SC in the first stitch.
- Work 2 SCs in the second stitch.
- Chain 1, and turn.
- Row 3 and Beyond:
- SC evenly across all stitches, but work 2 SCs in the last stitch of each row to increase.
- Repeat this pattern until you have 15 stitches in the final row.
Tip: Make sure to keep the bottom edge tight by occasionally pulling on the starting tail to prevent gaps.
- Finishing the Triangle:
- Sl St along the edges of the triangle to tidy up the shape.
- Work loosely to give it a clean finish.
- Join the Sl Sts at the top and fasten off the orange yarn.
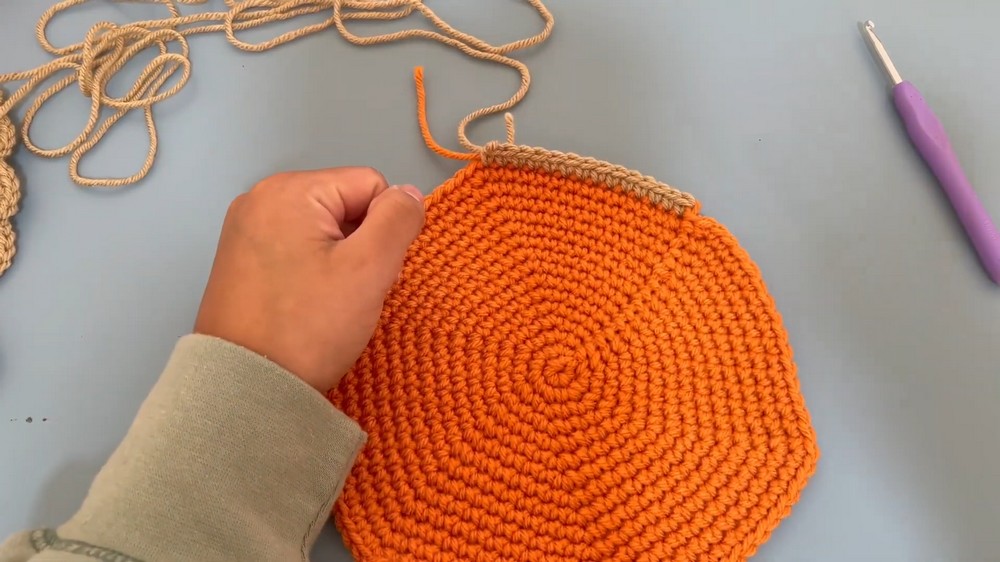
Pumpkin Pie Crust
- Attach the Tan Yarn:
- Tie the tan yarn to one corner of the triangle and secure it with a knot.
- Pull up a loop and chain 2.
- Work the Crust:
- Skip the first stitch.
- In the next stitch, work 5 DCs into the same stitch (creates a “shell”).
- SC in the next stitch to cinch the shell.
- Repeat this pattern (5 DCs, SC) along the edge to create a wavy crust look.
- Final Edge:
- At the end, work 1 final SC to secure the crust into the triangle edge.
- Fasten off and weave in the tan yarn.
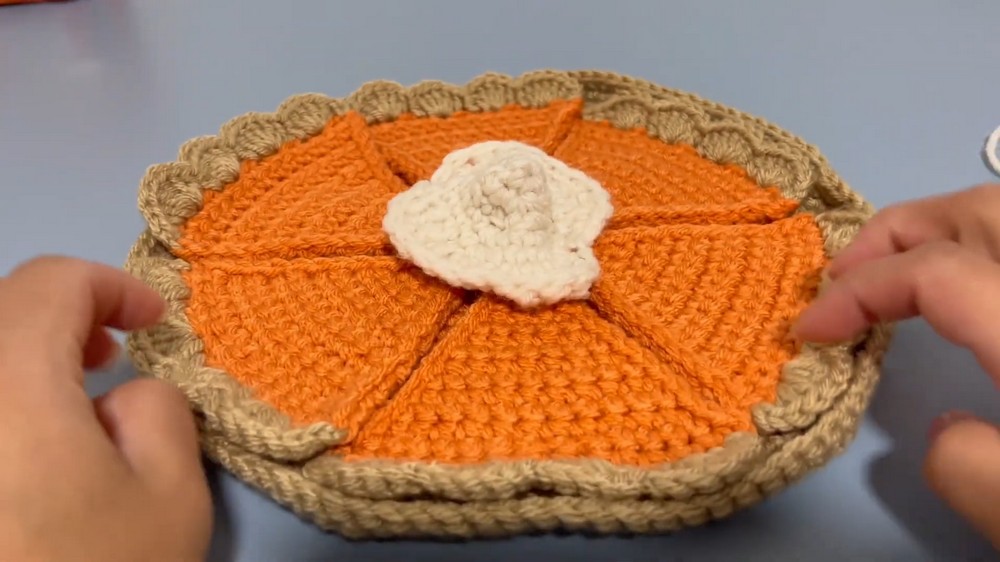
Pie Slice Assembly (Optional)
If making multiple slices for a full pie, continue below:
- Create the Pie Base:
- Use orange yarn to create a flat circle base for the pie. Start with a magic ring.
- Work 6 SCs into the magic ring.
- Follow the increase pattern for a flat circle:
- Round 2: 2 SCs in each stitch (12 stitches).
- Round 3: SC in the first stitch, inc (repeat around to 18 stitches).
- Round 4: SC in the next 2 stitches, inc (repeat around to 24 stitches).
- Continue increasing evenly until the circle’s diameter matches the size of the triangular slices arranged together.
- Attach the Slices:
- Position the slices evenly on the base and sew them along the edges using orange yarn. Be careful to maintain even spacing.
- Crust for the Full Pie:
- Switch to tan yarn and create a crust around the edge:
- Attach the tan yarn, then SC around the entire circle.
- Work 4–5 additional rounds with slight increases to give the crust height.
- Switch to tan yarn and create a crust around the edge:

Whipped Cream Topping
(Optional but adds a nice finishing touch!)
- Create a Small Circle:
- Start with a magic ring and work:
- Round 1: 6 SCs in the ring.
- Round 2: 2 SCs in each stitch (12 stitches).
- Round 3: SC in the first stitch, inc in the next (repeat around to 18 stitches).
- Continue until the “whipped cream” is your desired size.
- Start with a magic ring and work:
- Add Texture:
- Follow the edge of the circle and work random squiggly stitches for texture:
- Alternate between SCs, DCs, and HDCs, and add a few slip stitches for variation.
- For a fluffy 3D effect, scrunch the circle slightly by weaving yarn through the stitches and pulling it tight.
- Follow the edge of the circle and work random squiggly stitches for texture:
- Attach:
- Place the whipped cream on the center of the pie slice (or the center of the full pie) and sew it securely.
Finishing
- Steam or block your finished coasters for a polished look.
- Weave in all loose ends with a tapestry needle.
- Use your coasters to decorate your Thanksgiving table or gift them to friends and family!
Customization Notes
- You can vary the size of the slices by adjusting the number of rows in the triangle.
- Try using sparkly white yarn for the whipped cream for a fun effect.