Crochet Pumpkin Pie Cup Coaster – Fall Home Décor Idea
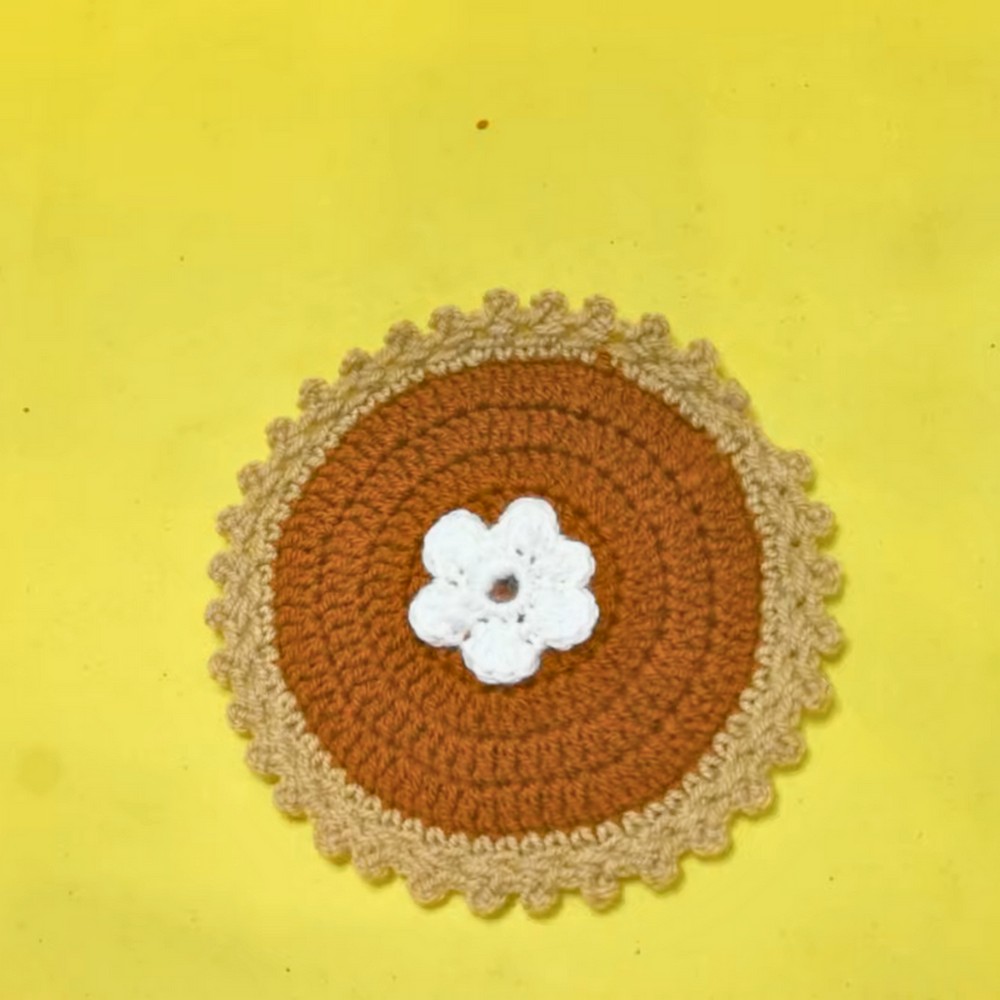
Create a cozy, seasonal touch for your home with the Crochet Fall Pumpkin Pie Cup Coaster! This adorable design combines elegance and practicality, providing the perfect place to rest your coffee cup while showcasing fall vibes. Ideal for gifting or decorating, it’s a charming addition to your crochet creations.
Crochet Pumpkin Pie Cup Coaster
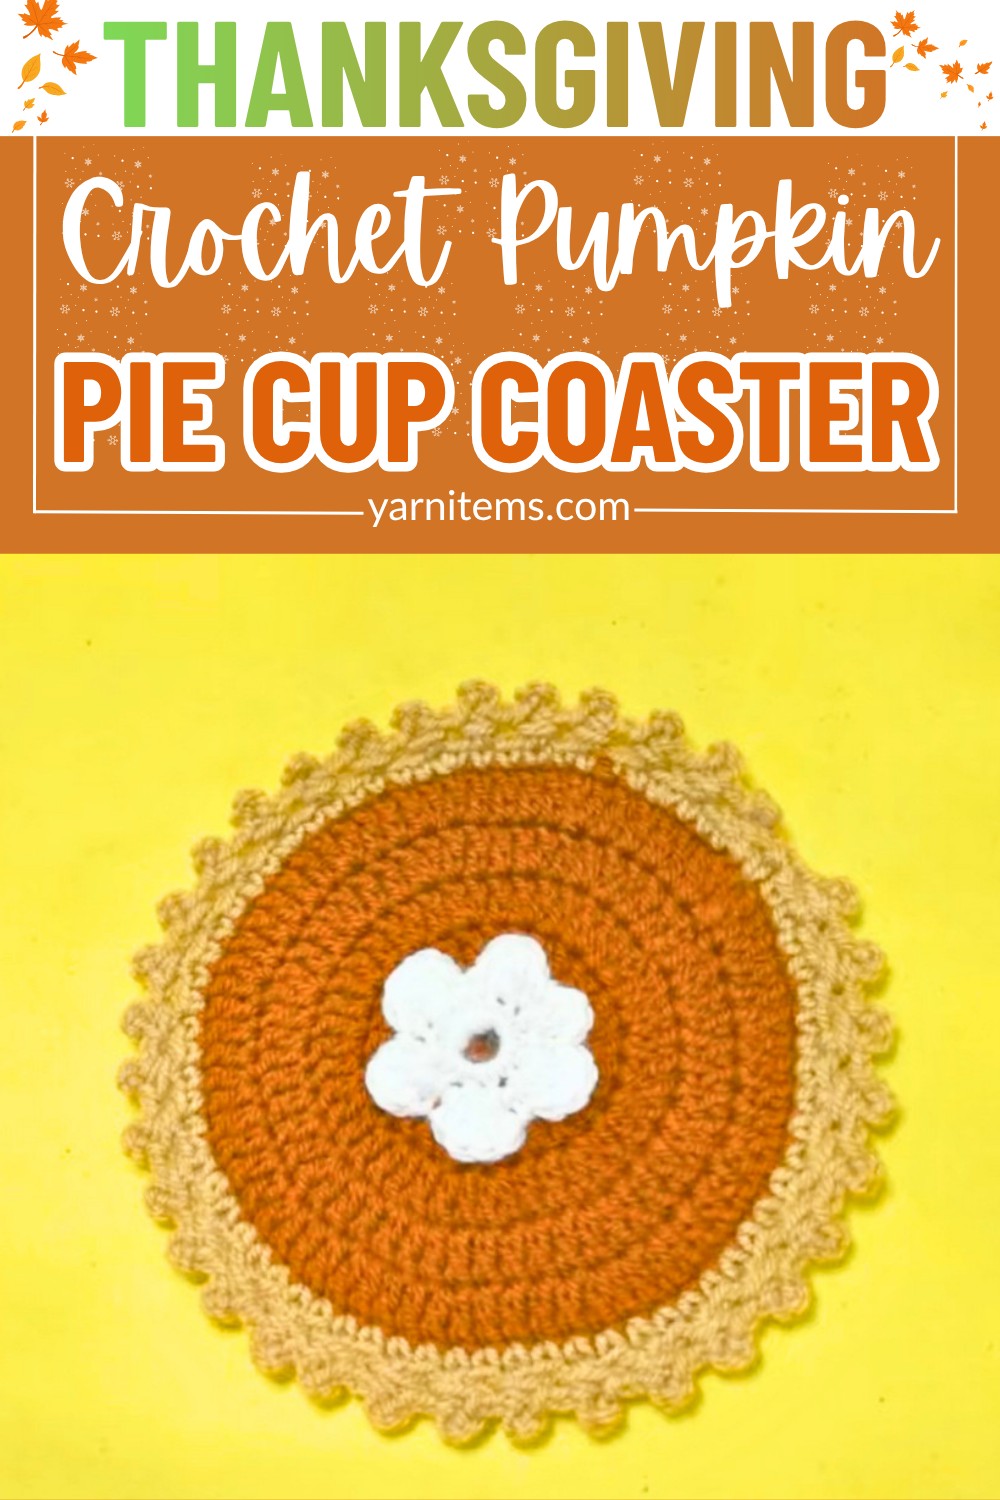
The Pumpkin Pie Cup Coaster offers both functionality and style. Made to protect surfaces from spills and heat, it’s durable and washable for long-term use.
Its vivid autumn-inspired design makes it a conversation piece, blending beauty with practicality for your seasonal décor or everyday needs.
Step-by-Step Pattern
Materials
To make the Crochet Fall Pumpkin Pie Cup Coaster, you’ll need:
- Worsted weight yarn (Size 4)
- Brown yarn: For the crust
- Orange yarn: For the pumpkin pie filling
- White yarn: For the whipped cream topping
- Crochet hook: 4.0 mm (G-6)
- Tapestry needle: To weave in ends
- Scissors
Optional Tools:
- Stitch marker: To help keep your place in circular rounds.
- Fabric stiffener: For extra firmness, if desired.
Stitch Guide
Here are the basic stitches and techniques you’ll use:
- Slip Knot: Create the starting loop on your hook.
- Chain (ch): Yarn over (YO), pull through the loop on your hook.
- Slip Stitch (sl st): Insert your hook into the stitch, YO, pull through both the stitch and the loop on the hook.
- Single Crochet (sc): Insert hook into stitch, YO, pull up a loop, YO, pull through both loops on the hook.
- Double Crochet (dc): YO, insert hook into stitch, YO, pull up a loop, YO, pull through two loops, YO, pull through the remaining two loops.
- Increase (inc): Crochet two stitches into the same stitch.
- Magic Circle (MC): A method to start crocheting in the round while keeping the center tight and closed.
Notes
- This pattern works in the round, so you won’t turn your work unless specified. Use a stitch marker to keep track of the first stitch in each round.
- Gauge isn’t crucial for this project, but your coaster should measure approximately 4–5 inches in diameter.
- You can customize the “filling” color yarn to make it represent other pies (e.g., cherry with red, blueberry with purple).
- If your coaster is curling too much, adjust your tension or try blocking the finished piece.
Pattern Instructions
Let’s start crocheting step by step!
Pumpkin Pie Base (Orange)
- Magic Circle: Start with a magic circle and secure it with a slip knot.
- Round 1: Ch 2 (does not count as a stitch). Work 12 dc into the magic circle. Sl st to the first dc. Pull the circle closed tightly. (12 stitches)
- Round 2: Ch 2. Work 2 dc into each stitch around. Sl st to the first dc. (24 stitches)
- Round 3: Ch 2. (1 dc in the next stitch, 2 dc in the next stitch). Repeat around. Sl st to the first dc. (36 stitches)
- Round 4: Ch 2. (1 dc in each of the next 2 stitches, 2 dc in the next stitch). Repeat around. Sl st to the first dc. (48 stitches) Finish off and cut the yarn.
Pie Crust (Brown)
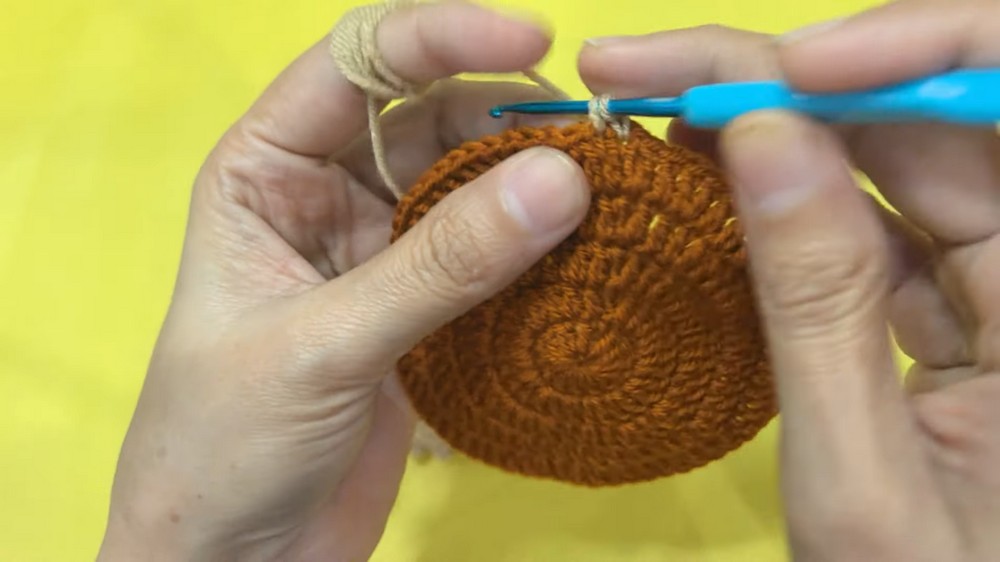
- Attach brown yarn to any stitch from Round 4 of the base.
- Round 5: Ch 1. Work 1 sc into each stitch around. Sl st to the first sc.
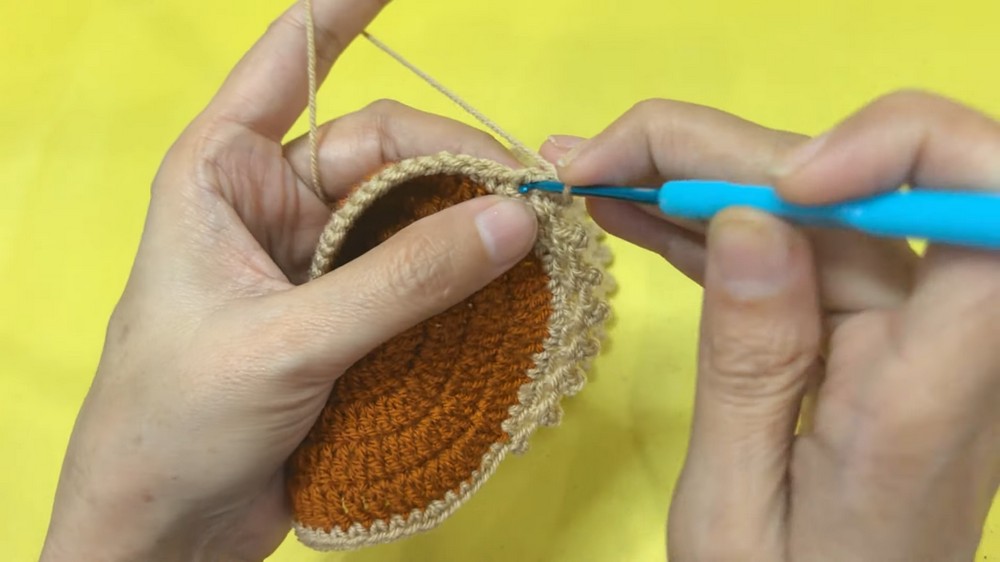
- Round 6 (Crust Ruffle): (Ch 4, skip 1 stitch, sl st in the next stitch). Repeat around to form a ruffled edge resembling a pie crust. Sl st to the first st. Finish off and weave in the ends.
Whipped Cream (White)
- Use white yarn to create a small spiral on top:
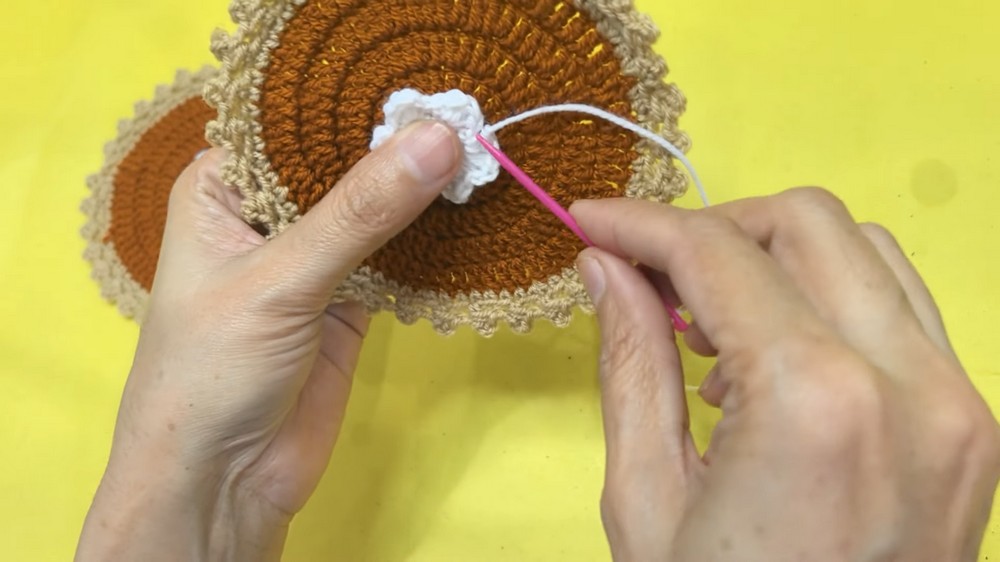
- Ch 12. Starting in the 2nd ch from hook, work 2 sc into each chain. The spiral will naturally curl as you crochet.
- Place the spiral in the center of the pumpkin pie base, securing with a few stitches using your yarn needle.
Final Touches
- Weave in any remaining loose ends with a tapestry needle.
- Block your work if needed to flatten the coaster evenly.
- If you want your coaster extra sturdy, apply fabric stiffener or line the back with felt for added firmness.
Customizations
- Add beads or embroidery: Create “sprinkles” or designs on the whipped cream.
- Experiment with different pie fillings: Use yellow yarn for lemon pie, light brown for pecan, or dark purple for blackberry.