Stylish & Warm Crochet Leaf Lace Hat Pattern Free
Delicate leaf lace details give this crochet hat a timeless look that instantly draws attention. This elegant piece combines lightweight texture with everyday comfort, making it a lovely choice for cooler weather without feeling bulky.
The graceful lace pattern creates beautiful depth while allowing the fabric to remain soft and breathable. Whether made for yourself or as a handmade gift, this stylish crochet item is sure to become a favorite.
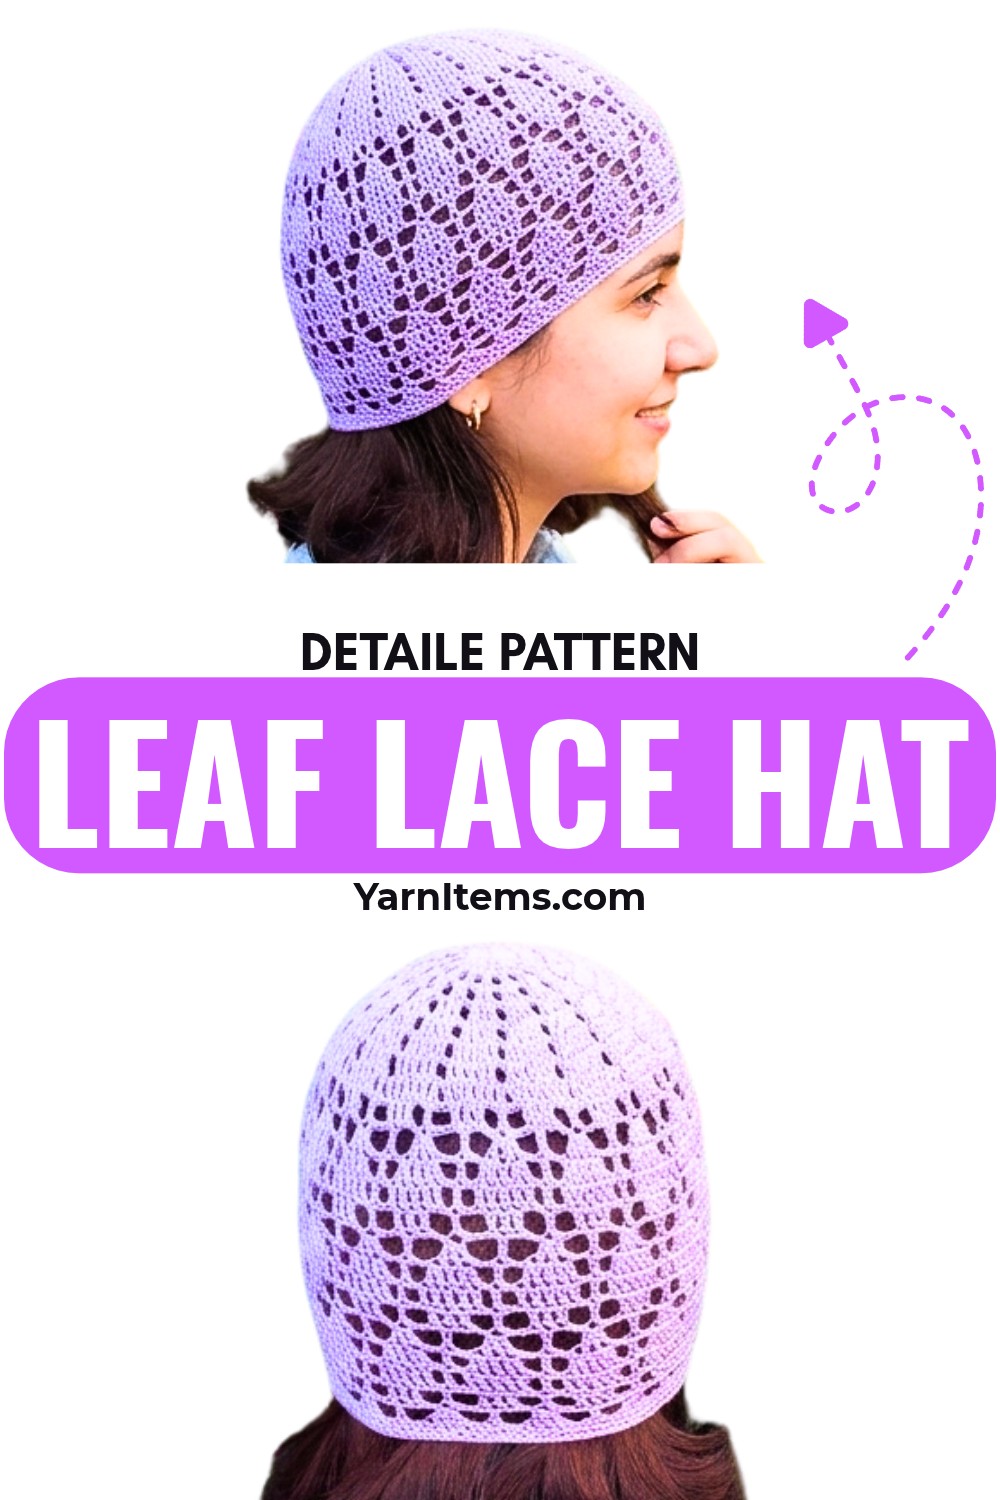
Every round adds a little more beauty as the leaf-inspired design gradually takes shape. The pattern blends simple shaping with eye-catching lace stitches, making it enjoyable for crocheters who want a wearable piece with plenty of character.
Its classic style pairs effortlessly with casual and dressy outfits, while different yarn colors can completely transform the finished look. With just a few personal touches, this crochet hat can become a truly one-of-a-kind creation.
Credit zhavin crochet
Materials & Tools Needed
- Yarn: Alize Diva yarn (or similar lightweight yarn, #2 weight)
- Hook Size: 2.0 mm crochet hook (or size appropriate for your yarn tension)
- Other Supplies: Scissors, yarn needle (for weaving in the ends)
Leaf Motif Hat – Pattern Notes
Construction Overview
- Hat is worked from the top down, in the round.
- Begins as a basic circle for the crown, then transitions into the textured leaf design.
- Finish with a single crochet brim for a neat edge.
Crown (Top of Hat)
- Worked in joined or continuous rounds (depending on preference).
- Increases are concentrated in the first several rounds to form a flat circle that will sit smoothly on the head.
- Once the desired crown diameter is reached, stop increasing and begin the leaf pattern.
Leaf Design Section
- Leaves are formed with a combination of:
- Increases (to widen the leaf),
- Decreases (to taper the leaf),
- Chain spaces (to define shape and add texture).
- The pattern is organized into groups of leaves, with chain spaces between groups to separate and visually frame each leaf motif.
- Work evenly in the round during this section (no additional crown increases) to build vertical height.
Brim
- After the leaf section, switch to rounds of single crochet (sc).
- This:
- Cleans up the edge,
- Adds structure,
- Slightly stabilizes the shape of the hat.
Customization Ideas
- Number of leaf groups: Add more leaf repeats around to fit larger sizes or to create a denser design.
- Height adjustments:
- Add extra rounds in the leaf section for a slouchier hat.
- Work fewer rounds for a beanie-style hat.
- Brim options:
- Add additional sc rounds for a deeper brim.
- Optionally use a smaller hook on the brim for a snug fit.
Finished Size & Customization Ideas
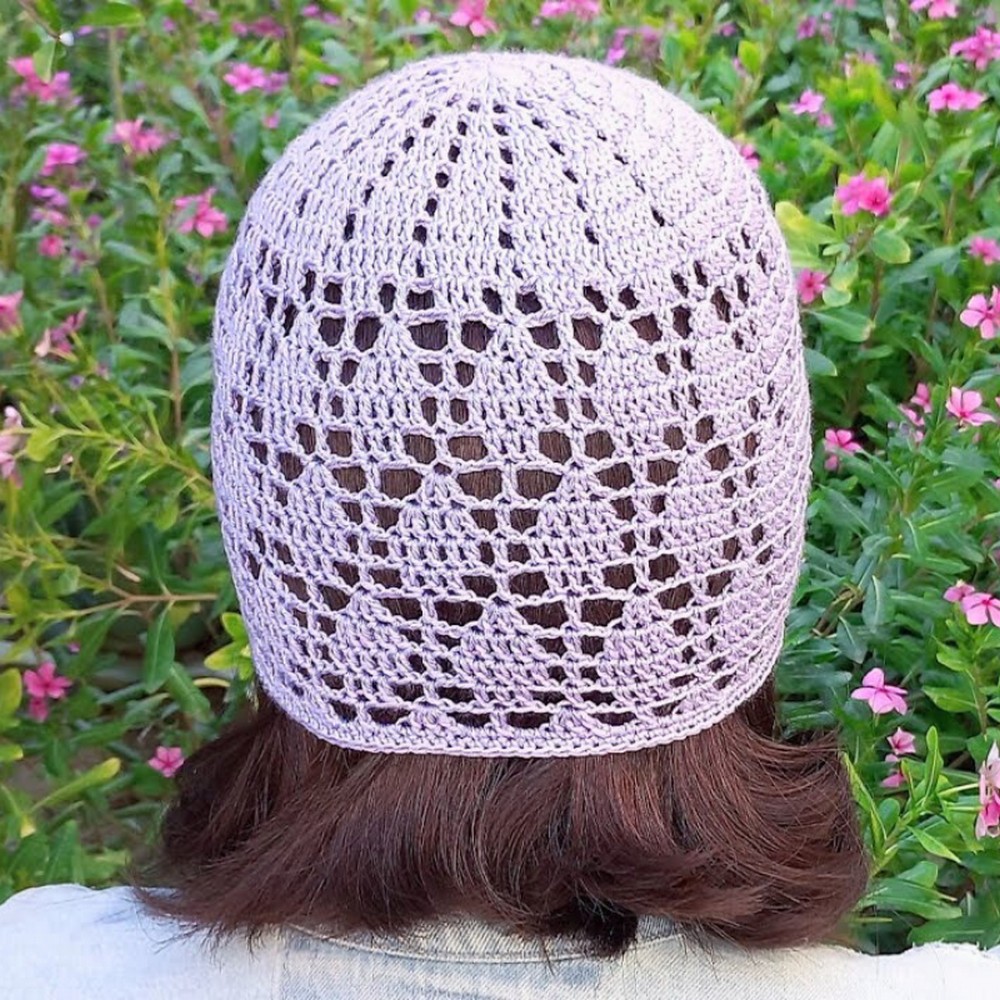
- The hat is designed for an adult size with 3 groups of leaf motifs (height approximately 21 cm/8.3 inches from crown to brim).
- To customize the hat:
- Add or subtract rounds for greater or lesser height.
- Use different yarn weights/hooks for varying sizes.
- Repeat the leaf motif layout as desired for more texture.
Helpful Tip Before You Start
Here’s a helpful tip before starting your crochet pattern:
- Count Your Stitches: At the end of each round, take a moment to count your stitches. This helps prevent errors and ensures your pattern stays symmetrical and consistent.
- Neat Slip Stitches: When joining rounds, make your slip stitch neat and even. Uneven joins can distort the overall shape of the pattern.
- Consider Blocking: After finishing the hat, consider blocking it, especially if you’ve used a stretchy yarn. Blocking can enhance the shape and smooth out any imperfections for a professional finish.
Pattern Abbreviations & Terminology
- ch: chain
- sl st: slip stitch
- dc: double crochet
- sp: space (as in chain space)
- st: stitch
- yo: yarn over
- rnd: round
Terminology used is US crochet standards.
Step-by-Step Detailed Crochet Instructions
Crown (Rounds 1-8):
Round 1:
- Begin with a slip knot and chain 4.
- Insert the hook into the first chain, create a sl st, forming a ring.
- Chain 3 (counts as the first dc), then make 15 dc into the ring.
- You will have 16 dc total.
- Join with a sl st to the 3rd chain of the starting chain.
Round 2:
- Chain 4 (counts as dc + chain space).
- Dc into the top of the next dc from the previous round, chain 1.
- Repeat around until you finish the round (16 dc, 16 ch spaces).
- Join with a sl st into the 3rd chain of beginning ch.
Round 3:
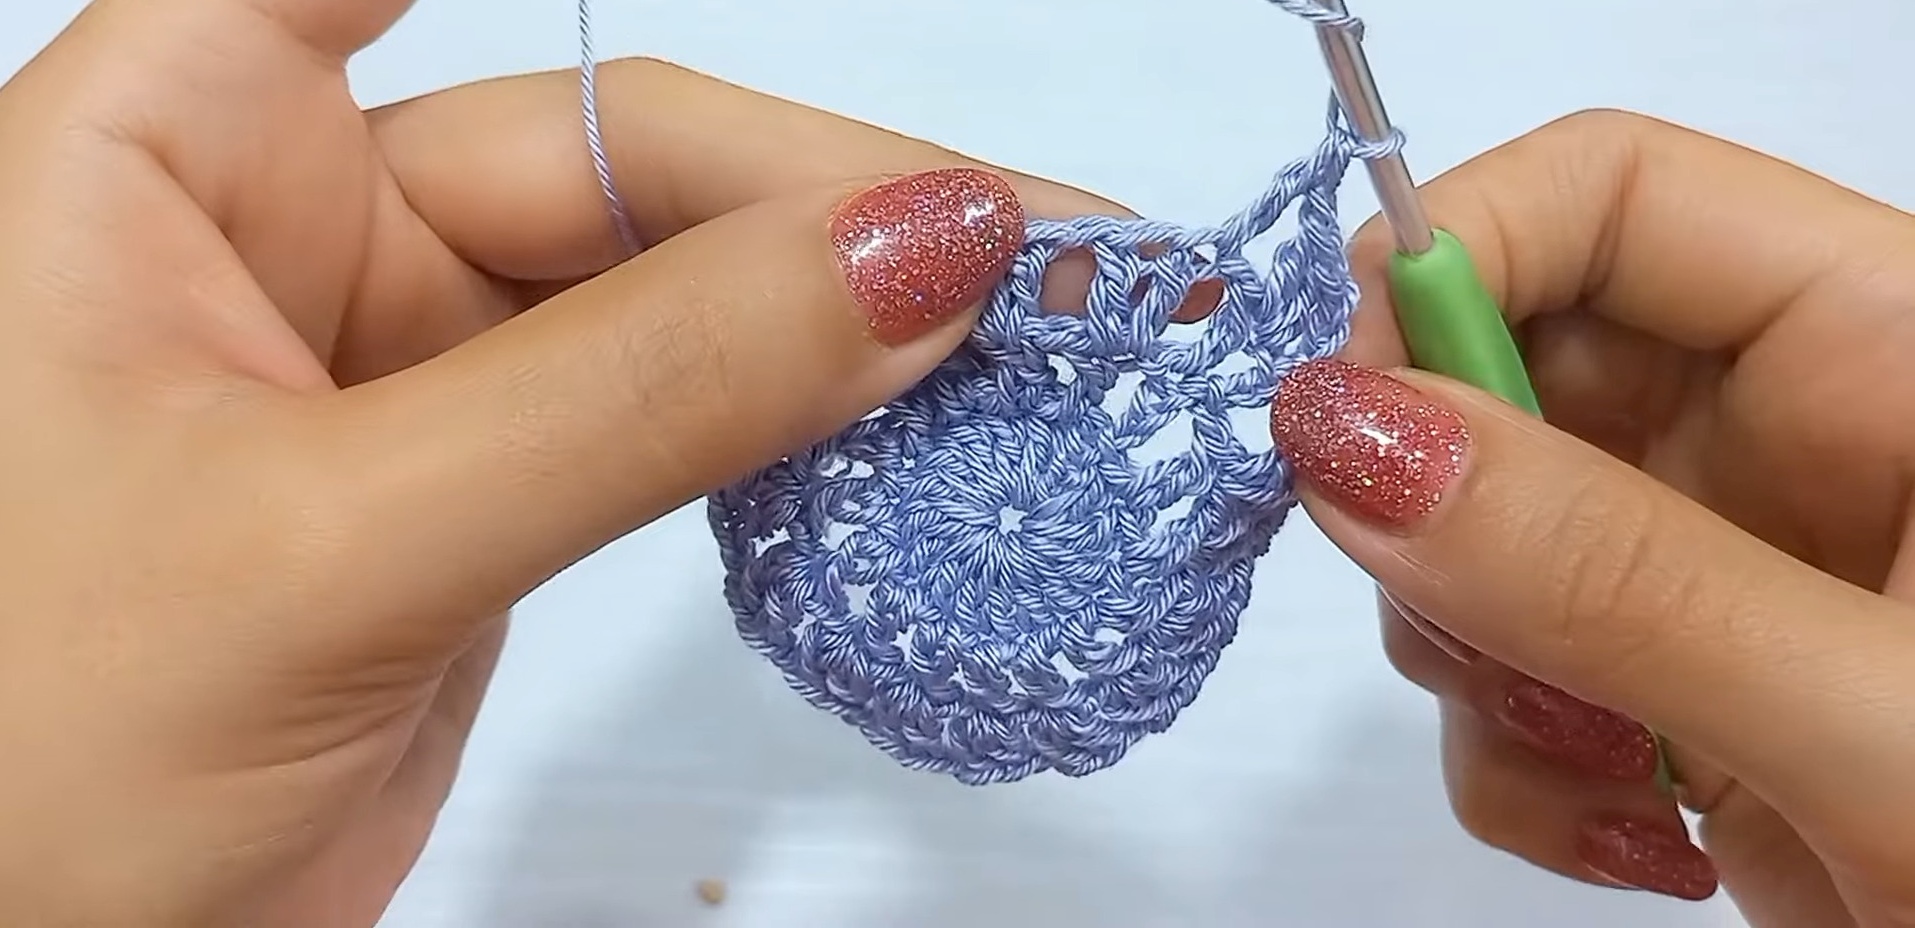
- Chain 3, dc into the same st (group of 2 dc at the start).
- Chain 1, skip the next chain space, and work 2 dc into the next dc. Repeat around.
- You will have 16 groups of 2 dc + 16 chain spaces.
- Finish by joining with a sl st to the 3rd chain.
Round 4:
- Chain 3, dc into the next st and again into the next (group of 3 dc).
- Chain 1, skip the chain space, work 3 dc into the next group.
- Repeat this sequence around.
- You will have 16 groups of 3 dc + 16 chain spaces. Finish by joining.
Round 5:
- Chain 3, dc into the next st, 2 dc into the middle st (increasing to 4 dc).
- Chain 1, work into the next group of 3 dc.
- Repeat the sequence across.
- You will now have 16 groups of 4 dc each + chain spaces.
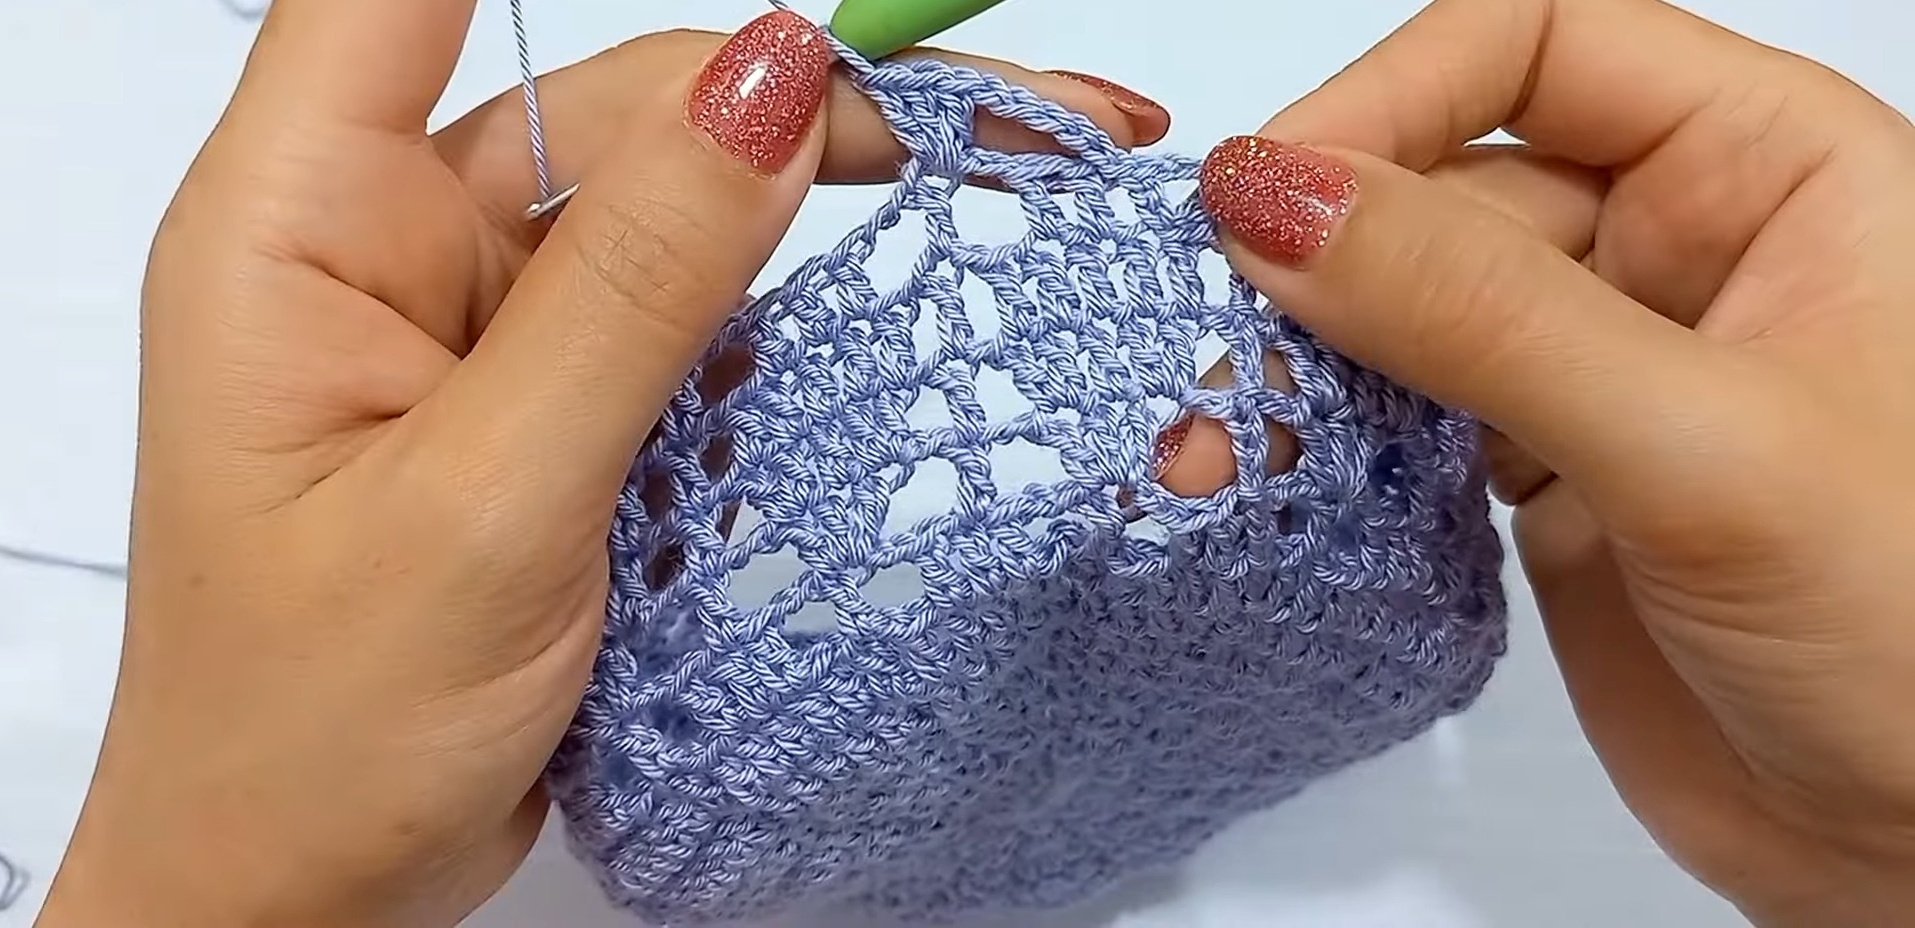
Round 6:
- Chain 3, dc into next 2 sts, work 2 dc into the 4th st (increasing to 5 dc).
- Chain 1, repeat into every group (now 16 groups of 5 dc).
Round 7:
- No stitch increase. Ch 3, dc into each st in the group, but increase chains to 2 between groups.
- Repeat across.
Round 8:
- Work as in previous rounds but start incorporating chain 1 spaces in groups, dividing stitches slightly as outlined in the tutorial.
At the end of Round 8, the diameter of your circle stops increasing and measures 15 cm (6 inches).
Body (Rounds 9 and Beyond):
Round 9 & 10:
- Introduces the first set of leaf designs.
- Follow the detailed logic from the tutorial where groups of 3–5 dc narrow down, alternating with chain spaces.
- Repeat leaf motif groups by alternating between rounds.
- Begin inserting secondary leaf designs in between rows of primary leaves.
- This creates the layered pattern.
Repeat Rounds 10-13 until you achieve the desired height. For this particular pattern, there are 3 groups of leaves completed.
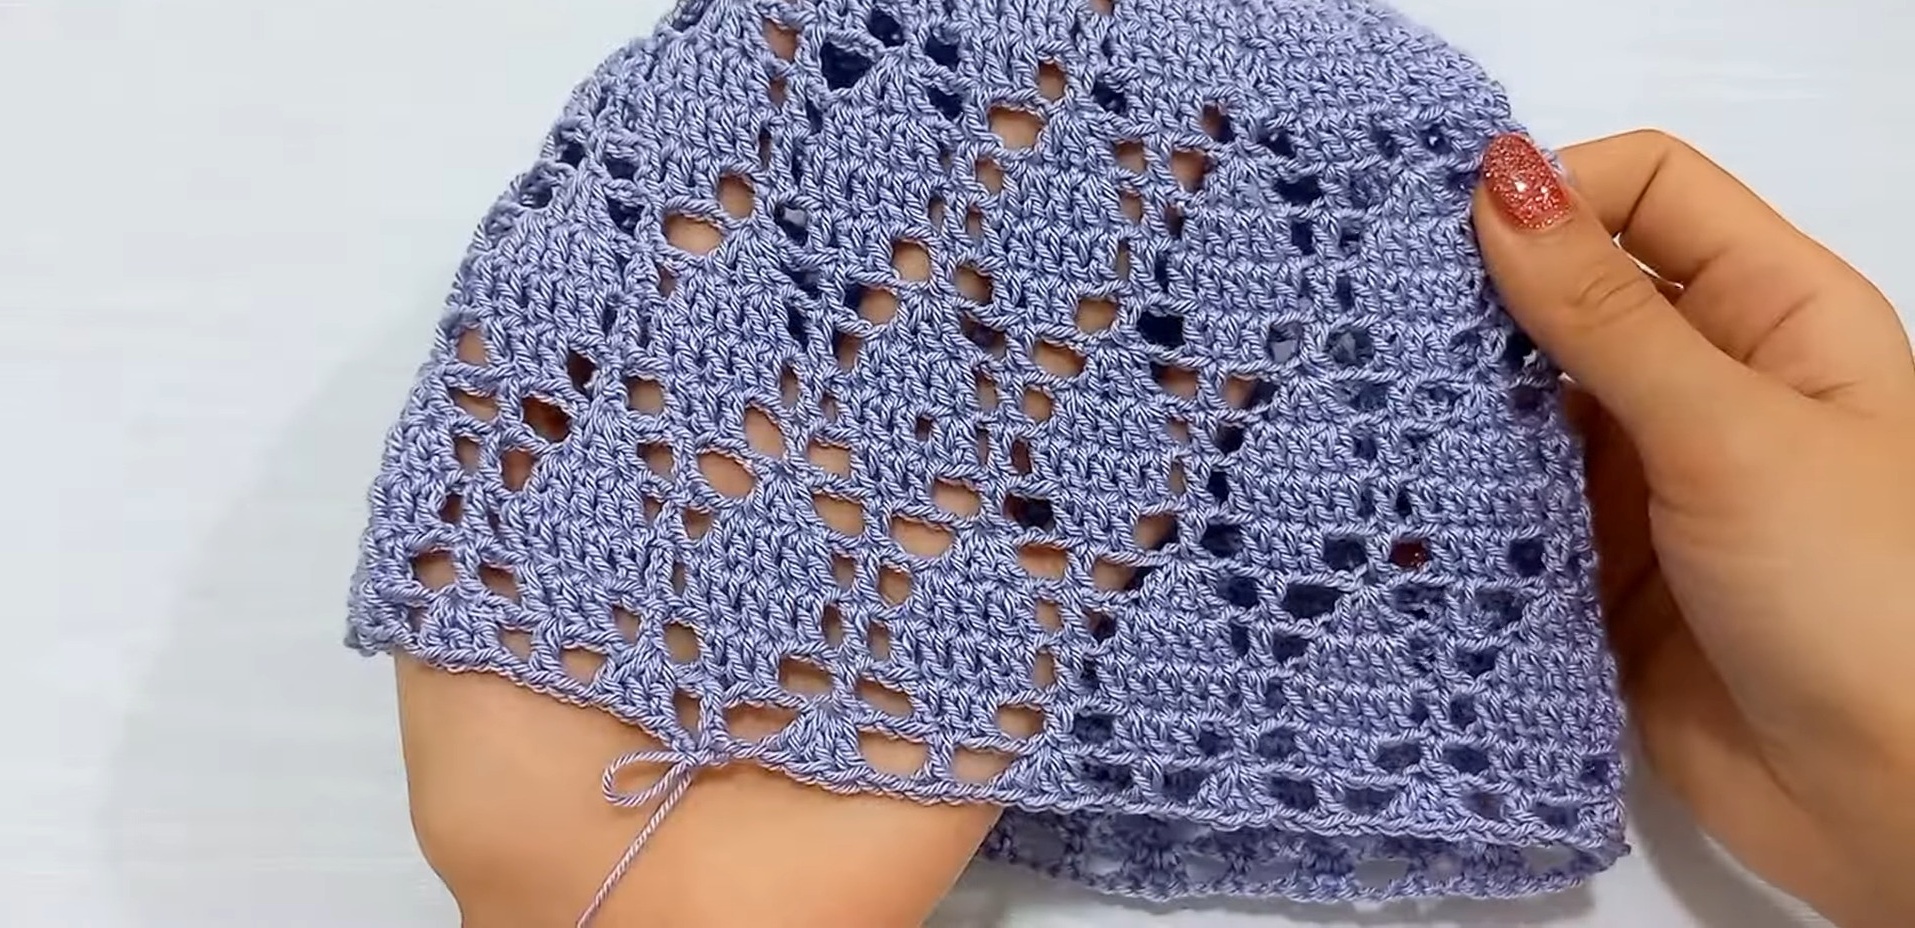
Brim (Final Rounds):
- Work 2 rounds of single crochet for the brim:
- First round: Single crochet into each double crochet and chain 2 spaces.
- Second round: Single crochet evenly around.
- Fasten off, cut yarn, and weave in the tail.
Conclusion
Your Leaf Lace Hat is now complete! The hat is beautifully textured with layered leaf designs, making it suitable for adults.
- Customization Tip: Add more rounds for taller height or fewer rounds for children.
- Blocking the hat can help shape its look.