Simple V-Stitch Sweater Top Crochet Pattern Free
Enjoy an airy, handmade crochet sweater with an open V-stitch texture, adjustable sizing, and neat ribbed bands for a comfortable everyday look.
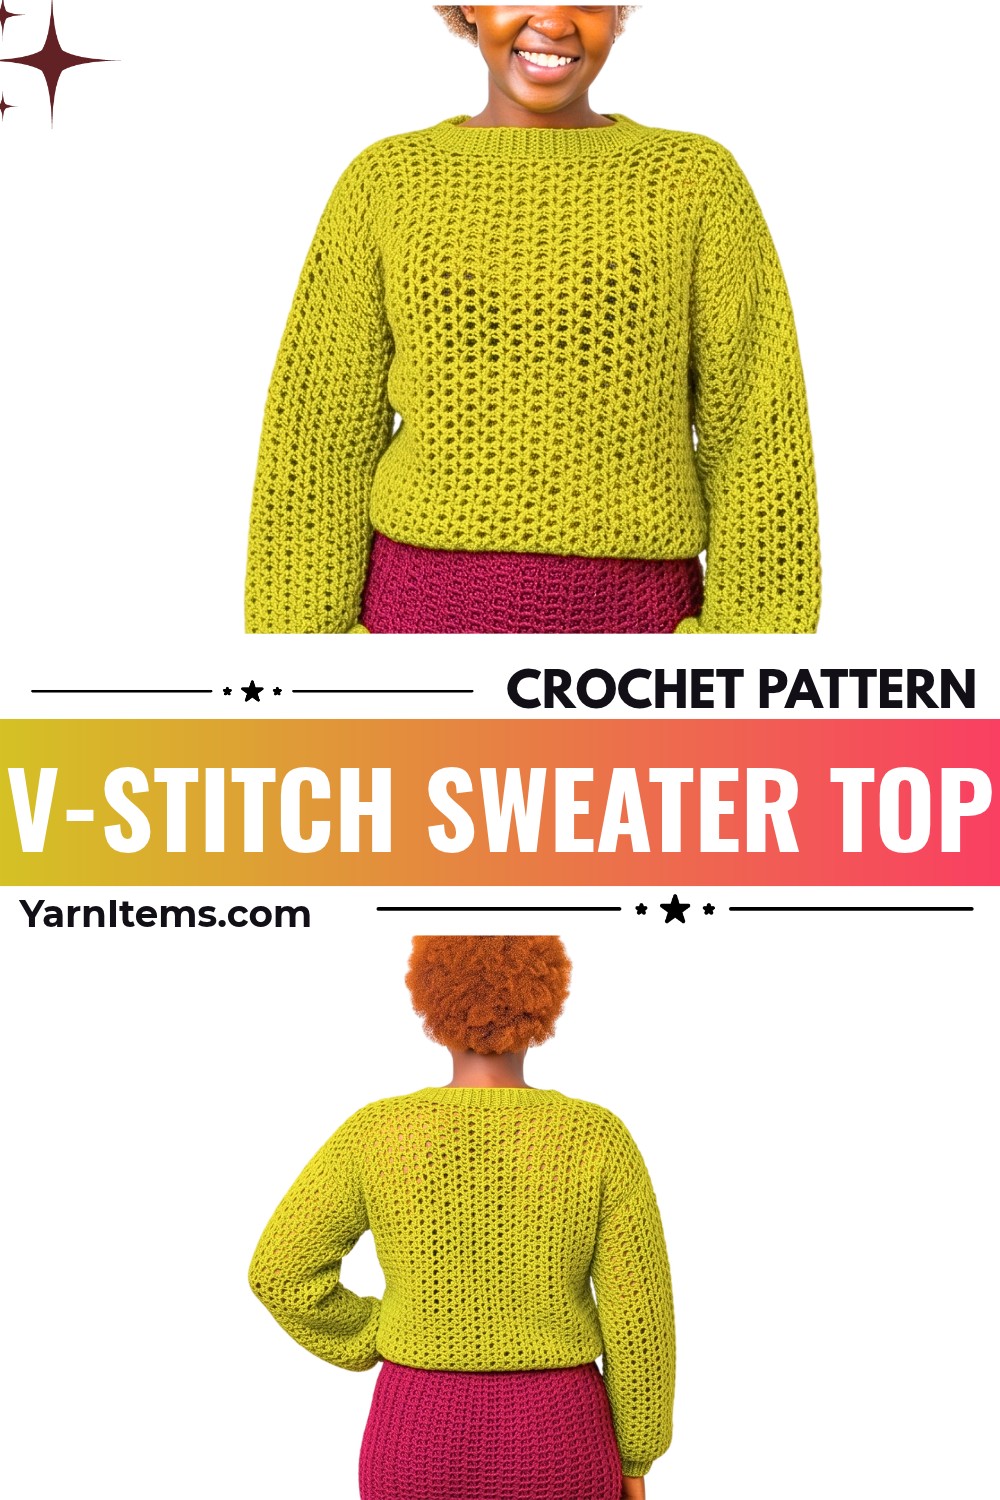
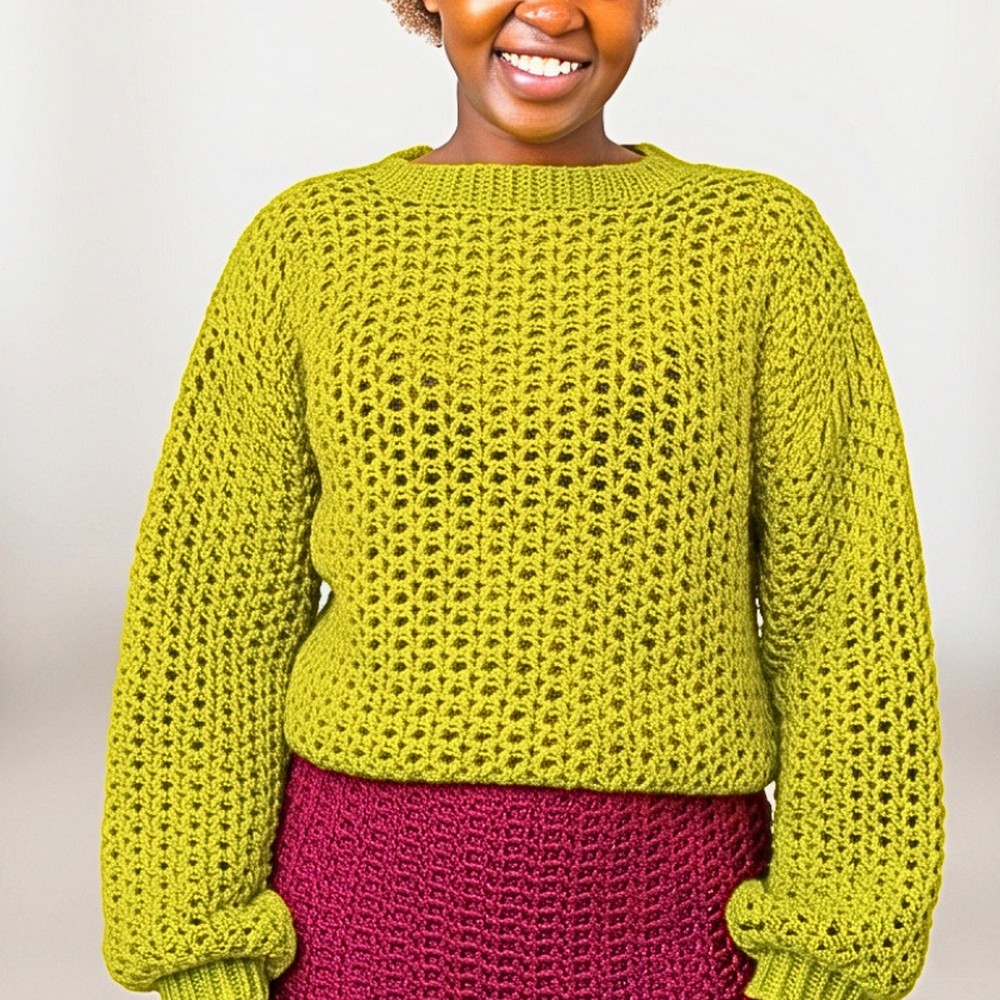
Open V-stitches give this crochet sweater top a light, breathable texture that works beautifully for casual outfits. The relaxed fit keeps it comfortable, while the simple double-crochet pattern creates attractive fabric without relying on complicated stitches.
This crochet pattern guides you through the lower body, separate front and back panels, shoulder shaping, sleeves, and three ribbed bands. You’ll also find sizing options and clear instructions for joining the crochet pieces, so you can work through each stage with confidence. Grab your yarn and let’s begin with the foundation chain.
Credit LaDenser Crochets
Materials & Tools Needed
Gather the following supplies before you begin. This design uses two crochet hook sizes because the main sweater fabric and the ribbed edges need different hook sizes.
-
Yarn: Medium-weight (Category 4), 100% acrylic 4-ply yarn. The tutorial uses Winter in Jungle Green.
-
Main Crochet Hook: 4.0 mm hook for the body, sleeves, and upper panels.
-
Ribbing Crochet Hook: 2.5 mm hook for the wrist cuffs, waistband, and neckline band.
-
Tapestry Needle: For sewing the sweater pieces together and weaving in loose yarn ends.
-
Scissors: For cutting the yarn.
-
Stitch Markers: For marking the front and back panels, shoulder sections, and ribbing placement.
-
Measuring Tape: For checking the sweater length, armhole depth, and ribbing measurements.
Finished Size & Customization Ideas
The sample sweater is made in Medium, with positive ease and an approximate bust measurement range of 36–42 inches. You can adjust the starting chain to make a smaller or larger size.
Choosing Your Starting Chain
The foundation chain for both the body and sleeves must follow a multiple of 3. This keeps the V-stitch pattern aligned as you work around the fabric.
Use these size guidelines from the tutorial:
-
Small: Chain 90-110. Choose a multiple of 3 within this range.
-
Medium: Chain 120.
-
Large: Chain 150.
For the Medium sample, the body begins with 120 chains. Measure around your bust without stretching the chain to check that it provides the fit you want.
Armhole Depth
Adult armholes commonly measure around 7-9 inches. In this tutorial, the main armhole section is approximately 7 inches deep, followed by a 2-inch shoulder extension. Together, these sections give an approximate total height of 9 inches.
Ribbing Lengths
The ribbed sections can also be adjusted to suit your measurements:
-
Wrist cuffs: 28 rows.
-
Waistband: Approximately 100–110 even rows, depending on your waist measurement.
-
Neckline band: Continue until the ribbing stretches comfortably around your head, approximately 22–24 inches when stretched.
Fit Checks While Crocheting
Check the fit at a few important stages rather than waiting until the sweater is completely finished.
-
After the foundation chain: Make sure the chain fits around your bust without stretching.
-
After the body rounds: Measure from the waist to confirm that the fabric is approximately 12 inches long.
-
Before joining the shoulders: Check that the neckline opening is comfortable and measures approximately 7 inches when unstretched.
-
Before attaching the sleeves: Compare the armhole opening with the sleeve width to make sure the pieces can be joined evenly.
Small checks at these stages can help you identify sizing adjustments before moving on to the next section.
Pattern Abbreviations & Terminology
This pattern uses US crochet terminology.
-
ch: Chain
-
sl st: Slip stitch
-
sc: Single crochet
-
dc: Double crochet
-
V-st / V-stitch: Work (1 dc, ch 1, 1 dc) into the same specified stitch or chain space.
-
BLO: Back loop only
-
rep: Repeat
-
st(s): Stitch(es)
Step-by-Step Detailed Crochet Instructions
The sweater is worked in separate stages. First, you’ll crochet the lower body in joined V-stitch rounds. Next, you’ll divide the fabric into front and back panels, shape the shoulders, and join them. The sleeves and ribbed bands are made separately and attached afterward.
Phase A: Lower Torso & Base Round
Use your 4.0 mm crochet hook and medium-weight yarn for the lower body.
Foundation Chain
-
Make a slip knot and place it on your hook.
-
Chain a multiple of 3 to fit your bust measurement without stretching.
-
For the Medium sample, make 120 chains.
-
Before joining, check that the chain is not twisted.
Joining Tip: To prevent twisting, pull out your working loop from the hook. Insert the hook into the first chain you made, catch the working loop, and pull it back through the first chain. Continue chaining and joining securely as demonstrated in the tutorial.
Round 1 – Single Crochet Foundation
-
Chain 1. This turning chain does not count as a stitch.
-
Work 1 sc into the very first chain, working over the starting yarn tail.
-
Place 1 sc into every remaining chain around.
-
Continue until you reach the beginning of the round.
-
Join with a slip stitch into the first sc.
Your stitch count should match your starting chain. For example, a foundation chain of 120 gives you 120 single crochet stitches.
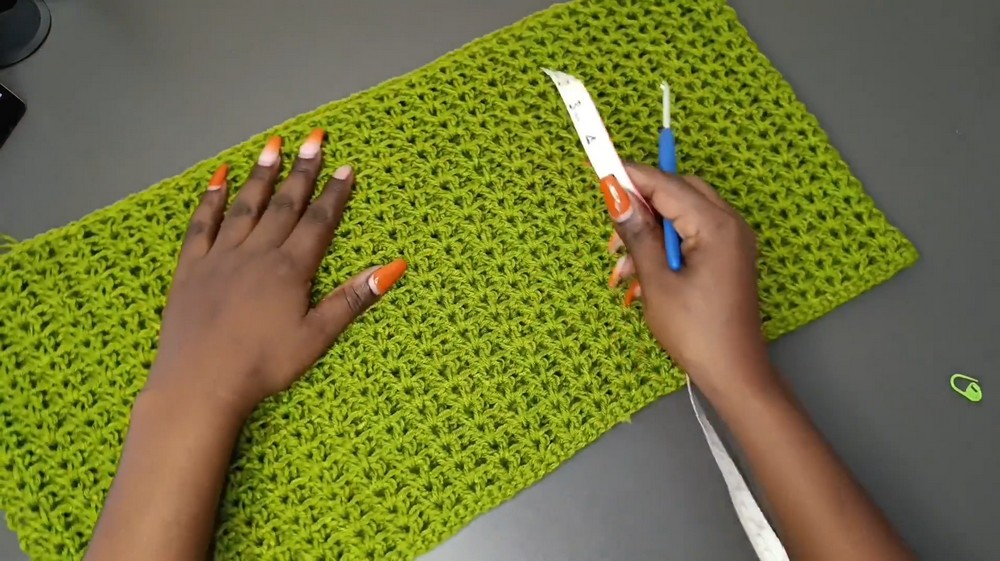
Phase B: Body V-Stitch Rounds
Switch to the 4.0 mm hook if you removed it, and begin the V-stitch pattern.
Round 1 – First V-Stitch Round
-
Chain 3. This chain counts as the first double crochet and the chain-1 space of your first V-stitch.
-
Work 1 dc into the exact same stitch where the chain originates. This completes the first V-stitch.
-
Yarn over and skip the next 2 stitches.
-
Work 1 V-stitch (1 dc, ch 1, 1 dc) into the 3rd stitch.
-
Repeat the same sequence around: yarn over, skip 2 stitches, and work a V-stitch into the next 3rd stitch.
-
At the end of the round, join with a slip stitch into the starting chain space.
Rounds 2-20 – Continue the V-Stitch Pattern
-
Slip stitch into the center chain-1 gap of the first V-stitch.
-
Chain 3, then work 1 dc into that same gap to form a new V-stitch.
-
Work 1 V-stitch into each V-stitch around.
-
Join the round with a slip stitch.
-
Slip stitch into the center of the next V-stitch to position your hook for the following round.
-
Repeat the same pattern for the next round.
Continue until you have completed 20 total rounds, including the first V-stitch round. Work in joined rounds without turning, and measure from the waist as you go. The body should measure approximately 12 inches.
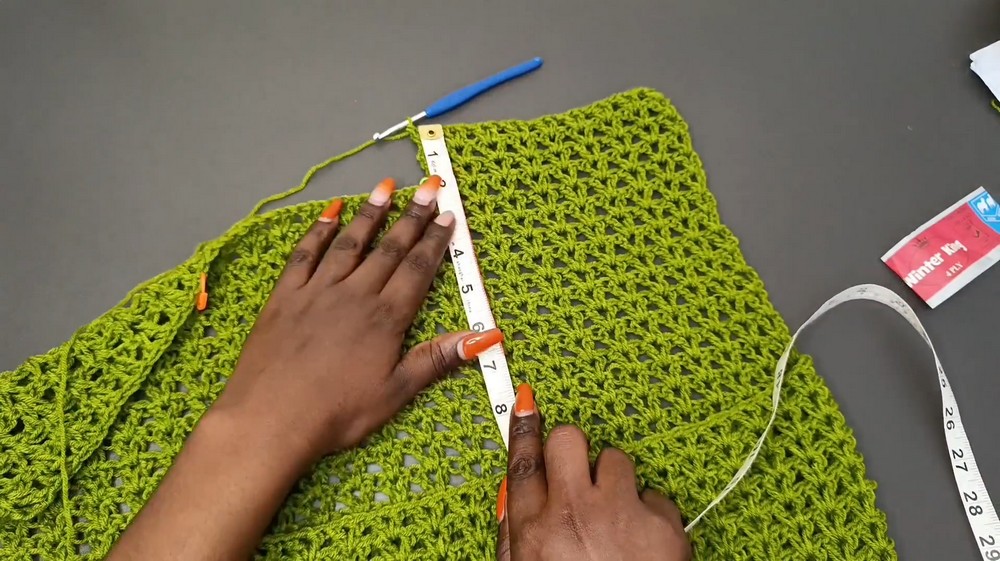
Phase C: Separating the Front and Back Panels
Once the lower body reaches the required length, you’ll divide it into two equal sections. These will become the front and back of the sweater.
Marking the Halves
-
Lay the sweater flat.
-
Identify your finishing point.
-
Place a stitch marker directly on the opposite side of the sweater.
-
These two points divide the body into equal front and back halves.
Front Panel – Rows 1–12
-
Attach or start your yarn at the marker point.
-
Chain 3.
-
Work a V-stitch across every V-stitch until you reach the opposite stitch marker.
-
Remove the marker and work a final V-stitch in that space.
-
Chain 3 and turn your work.
You are now working back and forth in rows instead of joined rounds.
-
Work V-stitches across the row.
-
Chain 3 and turn.
-
Repeat the same row pattern until you have completed 12 rows.
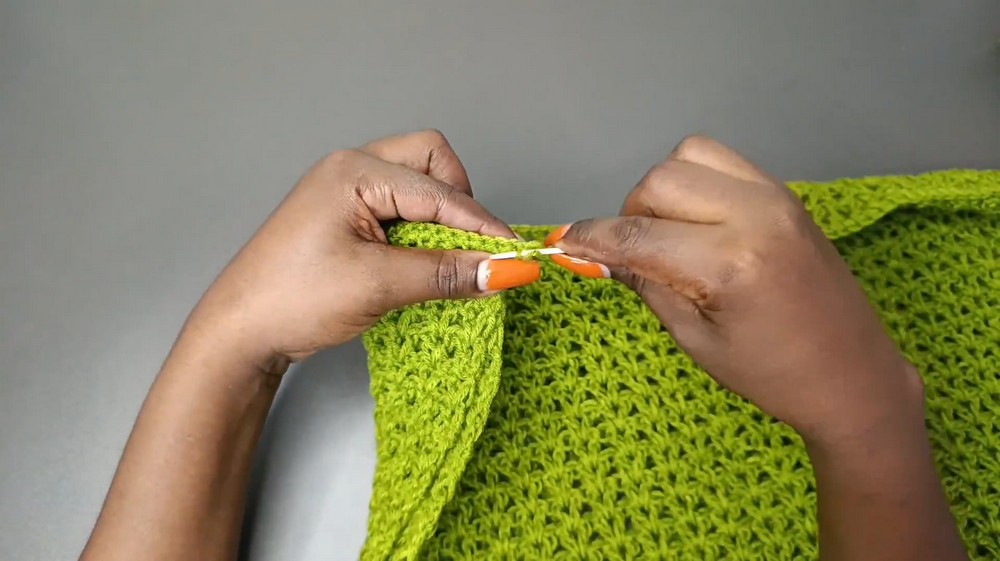
The front panel should measure approximately 7 inches in armhole depth.
Front Shoulder Shaping – Rows 13-14
The next two rows form the shoulder sections and leave an opening for the neckline.
-
Place markers to identify 8-9 V-stitches along each outer shoulder edge.
-
Leave the center stitches unworked to create the neckline opening.
-
Adjust the markers so the neck opening measures approximately 7 inches when unstretched.
-
Work 2 additional rows of V-stitches across the right shoulder section only.
-
Once the shoulder reaches the stated total height of approximately 9 inches, fasten off, leaving a long yarn tail for joining.
-
Reattach the yarn to the left shoulder section.
-
Repeat the same 2-row extension on the left side.
-
Fasten off with a long tail.
Back Panel – Rows 1-13
Now work the back section to match the front panel.
-
Reattach your yarn at the right edge of the front panel opening.
-
Work V-stitches across the back side until you reach the opposite front panel edge.
-
Chain 3 and turn.
-
Continue working back and forth in V-stitch rows.
-
Complete 12 rows total on the back panel.
-
Add 1 final shoulder extension row, matching the front shoulder width of 9 V-stitches on each side.
-
Fasten off.
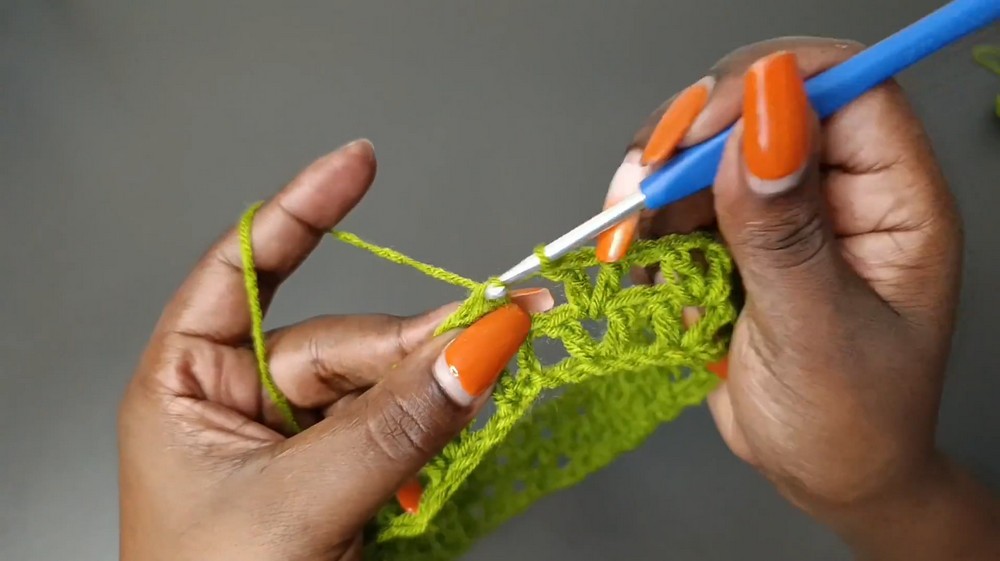
Joining the Shoulder Edges
With the front and back panels ready, join the shoulder edges to create the neckline opening.
-
Turn the sweater inside out.
-
Align the front and back shoulder edges stitch-for-stitch.
-
Insert your hook through the corresponding loops of both pieces.
-
Work single crochet stitches through both pieces across the shoulder seam.
-
Continue until the shoulder edges are securely joined.
-
Fasten off and weave in the loose ends.
The two shoulder seams should now be joined, while the center opening remains available for the neckline band.
Phase D: Sleeves (Make 2)
Make two matching sleeves using the 4.0 mm crochet hook.
Sleeve Foundation
-
Make a slip knot.
-
Chain 60.
-
Check that your chain count is a multiple of 3.
-
Join the ends with a slip stitch, taking care not to twist the chain.
Sleeve V-Stitch Rounds
-
Chain 3.
-
Work 1 dc into the same stitch to form the first V-stitch.
-
Work a V-stitch into every 3rd chain around.
-
Join with a slip stitch.
-
Continue working the same V-stitch pattern in rounds.
-
Complete 30 rounds to achieve the sleeve length shown in the tutorial.
-
Fasten off, leaving a long yarn tail for sewing.
Repeat these instructions to make the second sleeve.
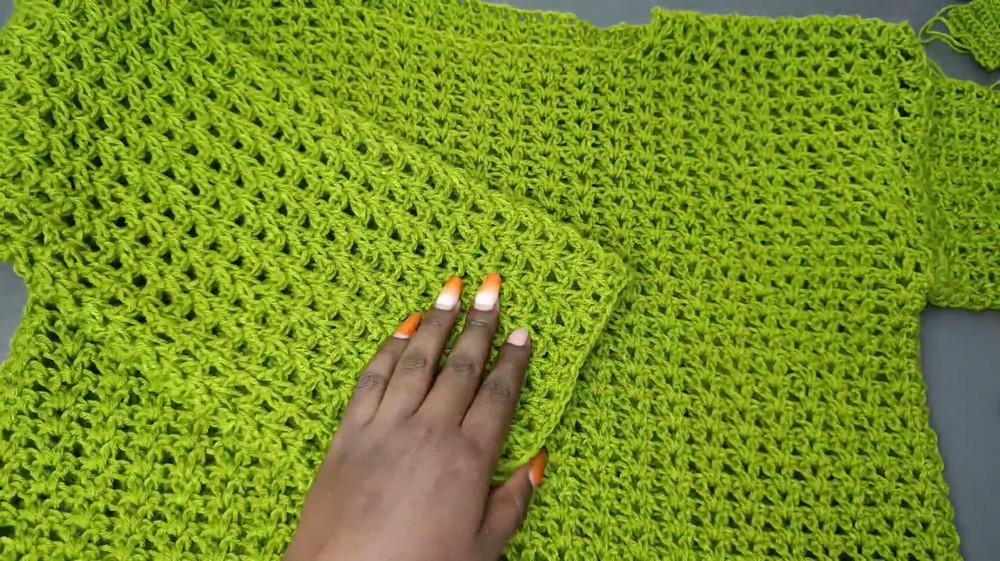
Attaching the Sleeves
-
Turn the sleeve inside out.
-
Turn the main sweater to the wrong side.
-
Align the underarm seam of the sleeve with the side split or armhole base of the sweater.
-
Pin or tie the top shoulder point to the sleeve peak to help keep the sleeve positioned correctly.
-
Using your tapestry needle and the long yarn tail, sew the sleeve securely around the entire armhole opening.
-
Check that the sleeve is evenly attached without bunching the fabric.
-
Turn the sweater right side out.
Repeat the same process for the second sleeve.
Phase E: Ribbing & Ribbed Bands
For all three ribbed sections, switch to the 2.5 mm crochet hook. The ribbing is worked in rows using single crochet stitches, with most stitches worked through the back loop only.
Wrist Cuffs (Make 2)
Starting Chain
-
Chain 10.
-
Chain 1 extra to turn.
Row 1
-
Work 1 sc into each of the 10 chains.
-
Chain 1 and turn.
Row 2 – BLO and Both-Loops Edge
-
Work 9 sc through the back loops only (BLO).
-
Work the final 10th sc through both loops. This keeps the edge stable.
-
Chain 1 and turn.
Row 3 – Odd Row
-
Work 1 sc through the back loop of each of the 10 stitches.
-
Chain 1 and turn.
Rows 4-28
Continue alternating the two row styles:
-
Even rows: Work 9 sc in BLO, then 1 sc through both loops in the final stitch.
-
Odd rows: Work all 10 sc through BLO.
Continue until you complete 28 even rows, as specified in the tutorial.
Closing the Cuff
-
Bring the two short ends of the ribbing together.
-
Align the stitches along both edges.
-
Slip stitch or single crochet through both loops across all 10 stitches to close the band.
-
Fasten off, leaving a long yarn tail for attaching the cuff.
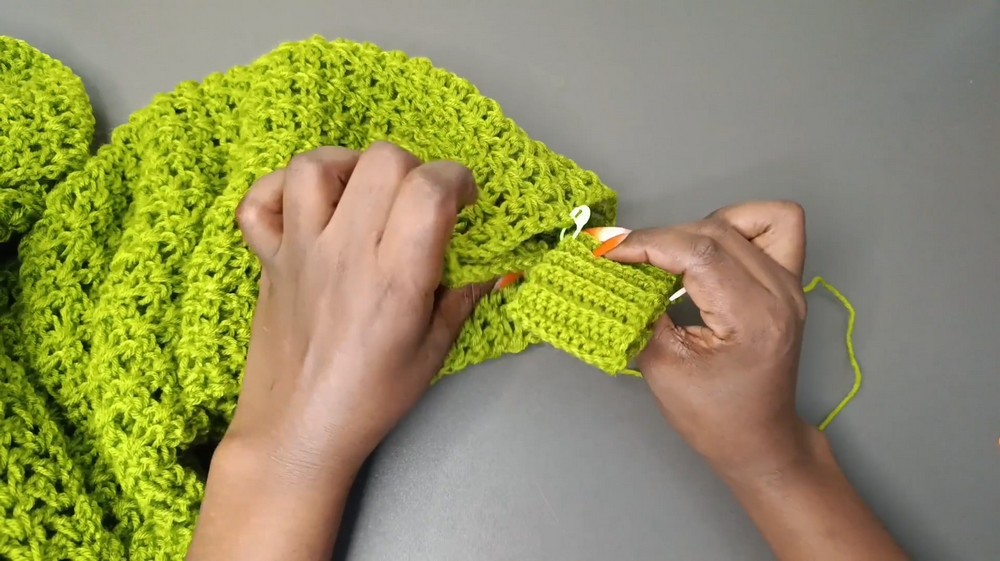
Attaching the Cuffs
-
Place the cuff around the sleeve opening.
-
Use stitch markers to divide the cuff and sleeve opening into quarters.
-
Match the marked sections so the ribbing is distributed evenly.
-
Sew the cuff securely to the sleeve using your tapestry needle.
Make the second cuff in the same way and attach it to the remaining sleeve.
Waistband Ribbing
Use the same 10-stitch ribbing method for the bottom edge of the sweater.
-
Chain 10, then chain 1 extra to turn.
-
Work the first row with 10 sc.
-
Continue alternating the BLO rows and the even-row edge method used for the wrist cuffs.
-
Work approximately 100–110 rows, depending on your waist measurement.
-
Make sure the total number of rows is even.
-
Bring the short ends together and seam them to form a closed band.
-
Use stitch markers to divide the waistband into quarters.
-
Match the marked sections with the bottom edge of the sweater.
-
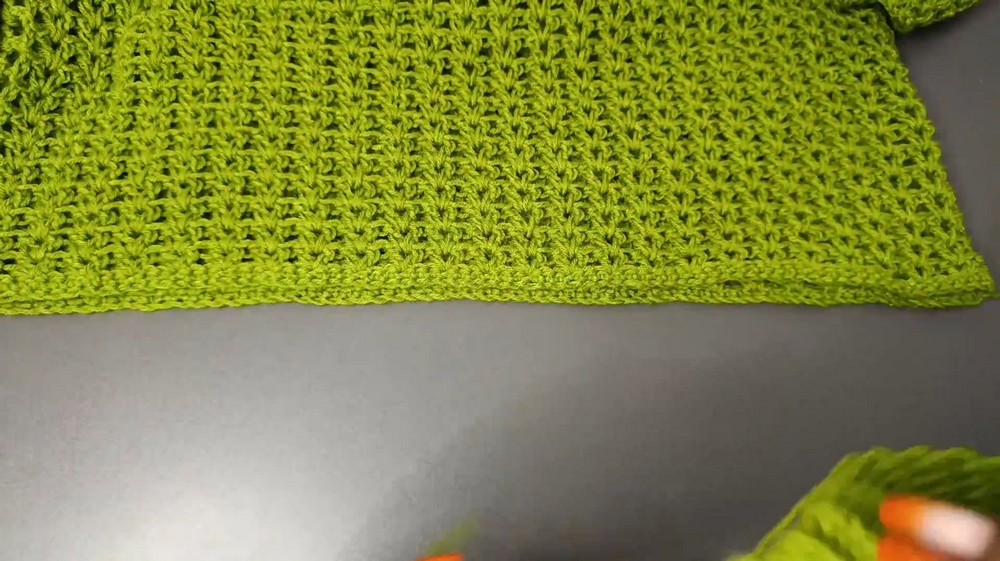
Sew the ribbing evenly around the hem.
The waistband should stretch comfortably around the bottom of the sweater without pulling the V-stitch fabric out of shape.
Neckline Ribbing
The neckline uses a narrower ribbed band, so begin with 5 stitches instead of 10.
-
Using the 2.5 mm hook, chain 5.
-
Chain 1 extra to turn.
-
Work the ribbing in alternating BLO rows.
Follow this row pattern:
-
Even rows: Work 4 sc through BLO, then work the final 5th sc through both loops.
-
Odd rows: Work all 5 sc through BLO.
Continue alternating the rows until the band stretches comfortably around your head circumference. The tutorial gives an approximate stretched measurement of 22–24 inches.
Joining the Neckline Band
-
Bring both short ends of the ribbing together.
-
Seam the ends to form a closed band.
-
Divide the band into quarters using stitch markers.
-
Mark the neckline opening into corresponding sections.
-
Match the markers and sew the ribbing evenly around the neckline.
Keep the band evenly distributed as you sew so that the neckline does not become gathered or stretched in one area.
Final Checks & Finishing
Turn the completed sweater completely to the right side.
-
Check that both sleeves are securely attached.
-
Make sure the shoulder seams and ribbed bands are neat and even.
-
Thread all loose yarn tails through your tapestry needle.
-
Weave the ends securely into the interior stitches.
-
Trim any remaining yarn tails cleanly.
Your Simple V-Stitch Sweater Top is now complete and ready to wear!