Free Crochet Hammock Pattern – Adjustable Triangle Design
Here is an easy crochet hammock pattern with adjustable sizing, sturdy cotton yarn, simple mesh rows, and clear decreases for creating neat triangular shaping.
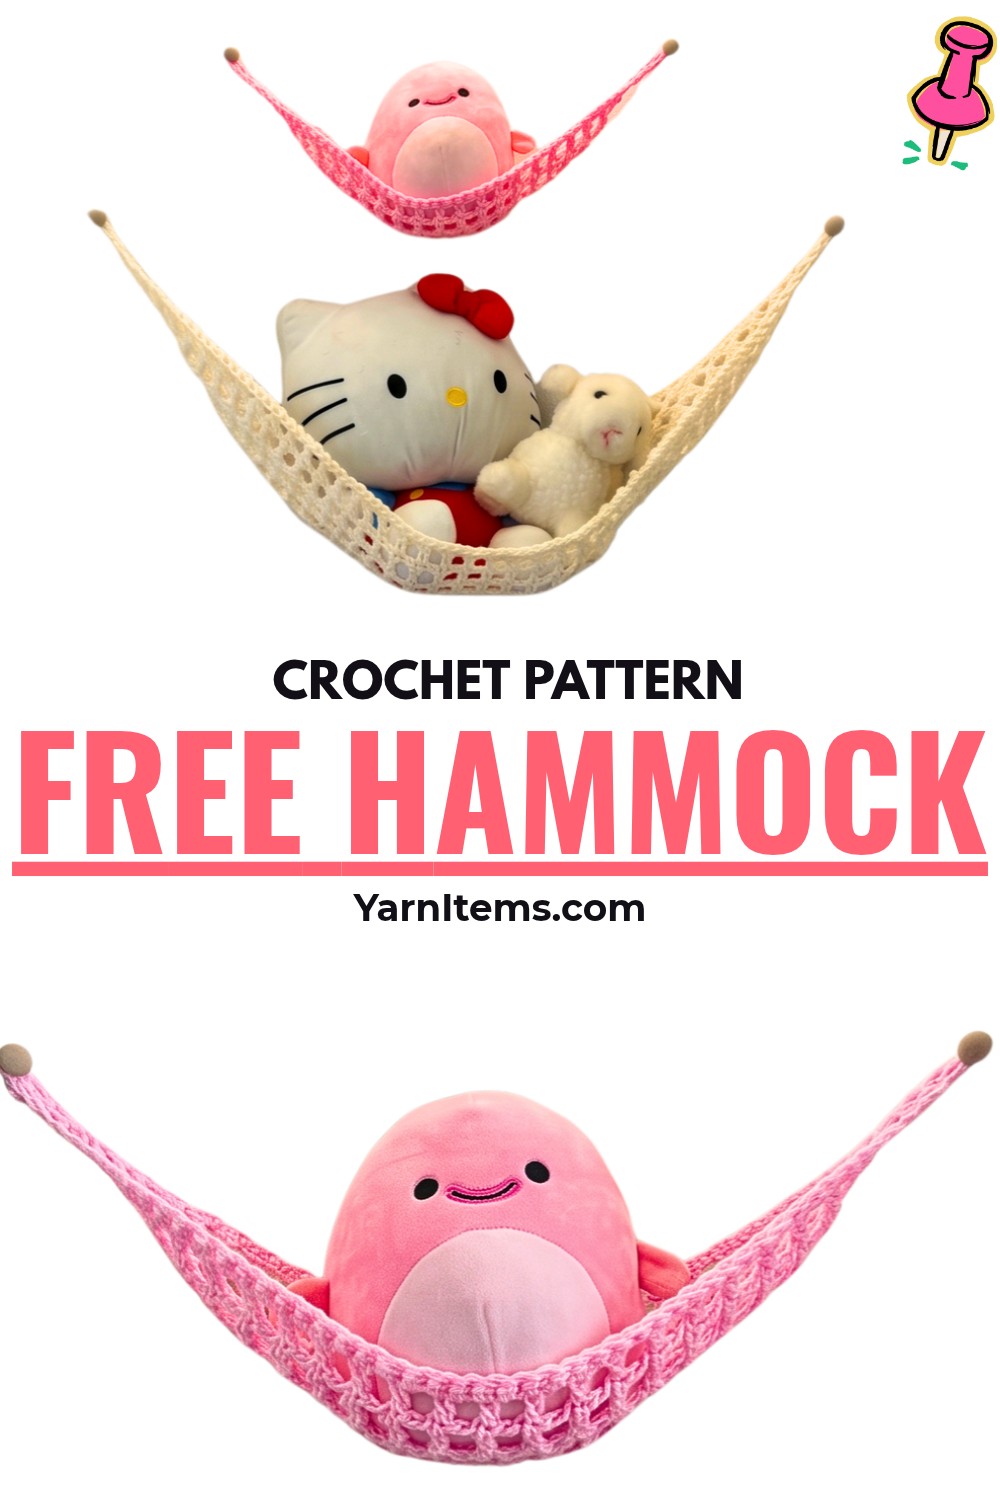
Need for lightweight storage can be solved with handmade crochet that uses very little material while still giving useful hanging space. This crochet hammock begins with simple chains and mesh stitches, making shape changes easier to follow as work grows.
This crochet tutorial walks through starting chain choices, open mesh rows, controlled decreases, final shaping, and optional hanging loops. You’ll also find sizing guidance and finishing tips for creating sturdy results. Let’s begin.
Crdit Jaimie Janelle
Materials & Tools Needed
- Yarn: Weight 4 / worsted-weight cotton yarn, such as Lily Sugar’n Cream. Cotton or heavier yarn is recommended because lightweight acrylic can stretch, sag, and distort hammock shape over time.
- Crochet Hook: 5 mm crochet hook
- Scissors
- Yarn Needle
Finished Size & Customization
Hammock size depends on your starting chain length:
- Extra Small: About 40 stitches
- Small: About 60 stitches
- Medium: About 80 stitches
- Large: About 120 stitches
For custom sizing, increase or decrease your starting chain in 20-stitch intervals. This keeps size adjustments consistent while preserving mesh construction.
Pattern Abbreviations & Terminology
- ch: Chain
- st / sts: Stitch / stitches
- dc: Double crochet
- sc: Single crochet
- sk: Skip
- dec: Decrease

Step-by-Step Crochet Instructions
Step 1: Create Your Base Chain
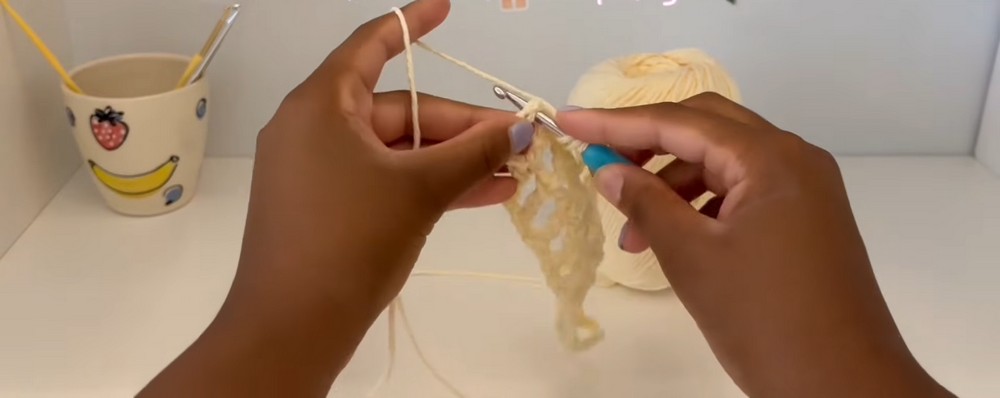
Begin by deciding how large you want your hammock to be. Your starting chain controls its overall width, so choose your stitch count before beginning the mesh.
Create a slip knot and chain your selected number of stitches. For example, use about 60 stitches for a small hammock.
Next, chain 5 additional stitches. These extra chains create the starting space needed to position your first double crochet correctly.
Work 1 dc into the 6th chain from your hook.
You now have your foundation for Row 1. Keep your chain relaxed rather than pulling it tightly, since tight foundation chains can make later rows harder to work into.
Step 2: Establish the Open Mesh Pattern
Once your first double crochet is in place, begin building the open fabric that gives hammock shape and flexibility.
For Row 1:
- Chain 1.
- Skip 1 stitch.
- Work 1 dc into the next stitch.
- Repeat ch 1, sk 1, dc across the row.
This repeating sequence creates evenly spaced openings. Check that your chain spaces remain similar in size as you move across, since uneven tension can make hammock fabric look irregular.

Step 3: Continue Mesh Rows
Turn your work after completing Row 1.
For each following row, chain 3 to turn, then continue using the same mesh sequence: Ch 1, sk 1, dc in next stitch.
Repeat this pattern across the row.
At this stage, focus on keeping your double crochets aligned with previous stitches and your chain spaces open. Consistent spacing will make later triangle shaping easier to recognize.
Step 4: Begin Triangle Shaping
Once enough mesh rows have been worked, begin decreasing to taper both sides of your hammock toward its final point.
Start your decreasing row with ch 2 to turn.
Work 1 dc into the first stitch, leaving loops on your hook rather than completing that stitch fully. Then work 1 dc into the next stitch and yarn over, pulling through all loops on your hook.
This combines two stitches into one decrease and begins narrowing the row.
Step 5: Continue the Mesh After Your Decrease
After completing your beginning decrease, return to your regular mesh sequence across the remaining portion of the row.
Continue with:
- Ch 1
- Skip 1 stitch
- 1 dc in next stitch
Repeat this pattern across the row until you approach the opposite edge.
Keeping your center mesh consistent while decreasing at the edges helps maintain triangular shaping instead of creating an uneven taper.
Step 6: Decrease at the Opposite End
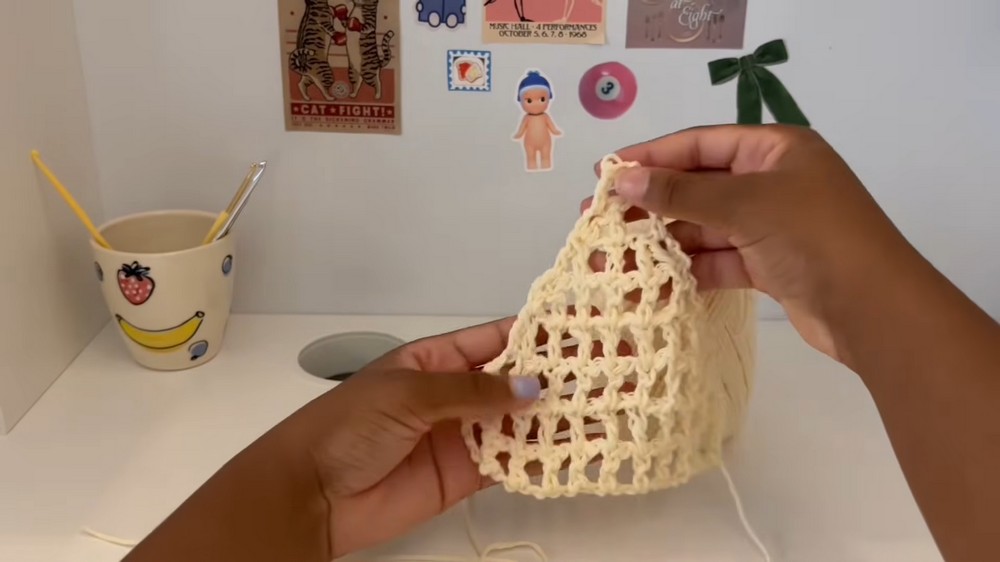
Finish each decreasing row by working another decrease at the opposite side.
This balances both edges and gradually reduces row width from both directions.
Before turning, check that both ends have narrowed evenly. If one side looks wider than the other, review your last few stitches before continuing.
Step 7: Repeat Triangle-Decreasing Rows
Continue working rows with decreases at both ends.
Each new row becomes slightly shorter, making the hammock progressively narrower toward its point.
Keep repeating the established sequence until you can clearly see the triangular form developing. Consistent tension matters here because loose or tight edges can change how quickly each side tapers.
Step 8: Continue Until You Reach the Final Point
Repeat your decreasing rows until only the final point remains.
At this stage, avoid adding extra stitches to compensate for tension differences. Follow the established decrease pattern so both edges continue meeting naturally.
Your work should now resemble an open triangular mesh rather than a rectangle.
Step 9: Finish the Final Point
For the very last row, work 1 decrease, then chain 1.
Cut your yarn and secure the final loop.
Leave enough yarn available for finishing if needed, then set your hammock aside while you prepare its loose ends.
Step 10: Weave In Loose Ends
Thread your yarn needle with each remaining yarn tail.
Weave each end securely through nearby stitches, following the direction of your crochet fabric rather than pulling tightly across open mesh spaces.
Once each end feels secure, trim excess yarn.
Taking time with this stage keeps loose tails from interfering with hanging loops or changing the appearance of your finished hammock.
Step 11: Add Optional Hanging Loops
Hanging loops can be added to each corner when you want your hammock ready for suspension.
Attach yarn to one corner loop.
Chain 6 stitches.
Step 12: Work Back Down the Hanging Chain
Once six chains are complete, work single crochet stitches back down the chain toward your corner.
This creates a compact reinforced loop rather than leaving the chain unsupported.
Keep your stitches close and even so loop shape remains neat.
Step 13: Repeat for Remaining Corners
Repeat the same process at each remaining corner:
- Attach yarn to corner loop.
- Chain 6.
- Work single crochet back down the chain.
- Secure the loop to its corner.
Check each loop before fastening off so all hanging points have similar length.
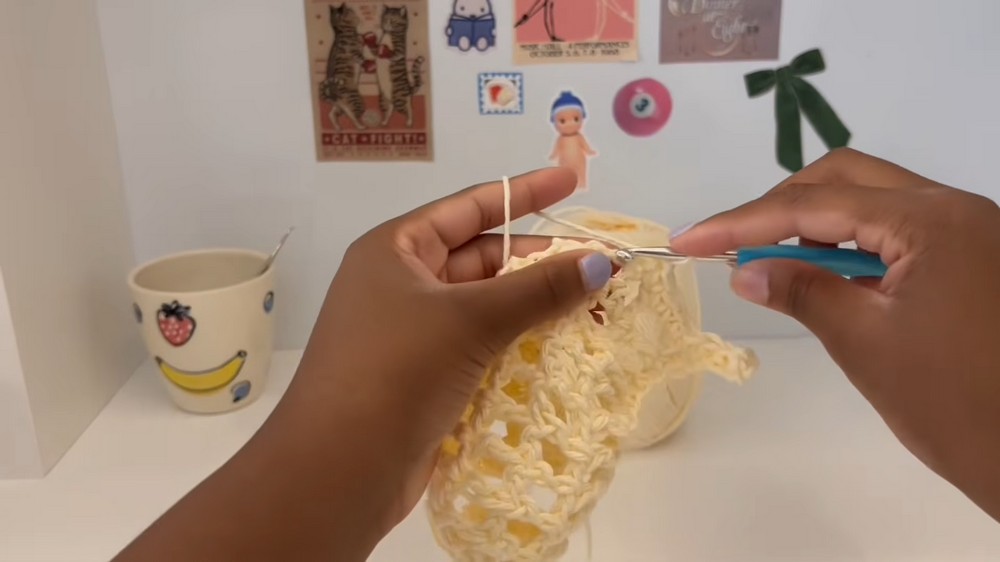
Step 14: Secure and Finish Hanging Loops
Slip stitch to secure your work, then fasten off.
Weave in every remaining yarn end with your yarn needle.
Crochet Ladies Mini Bag Pattern with Ruffled Dress Design
Your triangular crochet hammock is now complete and ready to hang.