Crochet Your Own Mini Ice Cream Cone
The mini ice cream cone crochet design is an adorable project perfect for beginners. With its vibrant colors and realistic textures, this tiny creation adds a touch of whimsy to any space.

Featuring a textured cone and scoops that embody the delight of real ice cream, it’s a fun and creative way to spark joy and imaginative play, or even make delightful keychains and décor pieces.
Credit Knitting with bano
Materials and Key Techniques
Materials:
- Worsted weight yarn in various colors (e.g., beige for cone, pink/white for ice cream)
- Size G/4.0mm crochet hook
- Polyester fiberfill stuffing
- Tapestry needle
- Stitch marker
- Scissors
Key Crochet Techniques:
- Magic Ring: Starting technique to create a tightly closed circle.
- Single Crochet (sc): Basic stitch for forming the bulk of the pattern.
- Increase: Two single crochet stitches in one stitch.
- Invisible Decrease: Technique to decrease stitch count without visible gaps or bumps.
- Slip Stitch (sl st): Used to join rounds or finish off the work.

Embodying delightful whimsy, the mini ice cream cone can be used in countless ways. As a playful accessory, it makes for charming keychains or bag charms. Its rounded shape and detailed texture evoke the cheerful essence of summertime treats, sparking delightful memories and creativity.
Perfect for gifts or for a fun home décor, this miniature crochet piece brings a touch of joy.
Detailed Pattern
- Cone:
- Begin with a Magic Ring and crochet 6 sc into the ring.
- Round 2: Increase in each stitch (12 sc).
- Round 3: (sc in next stitch, Increase) around (18 sc).
- Continue increasing for additional rounds to shape the cone.
- Stuff lightly before decreasing to close.

- Ice Cream Scoop:
- Begin with a Magic Ring, crochet 6 sc into the ring.
- Round 2: Increase in each stitch (12 sc).

-
- Round 3: (sc in next stitch, increase) around (18 sc).
- Continue for a few rounds to build scoop height.
- Stuff generously and use invisible decreases to close.
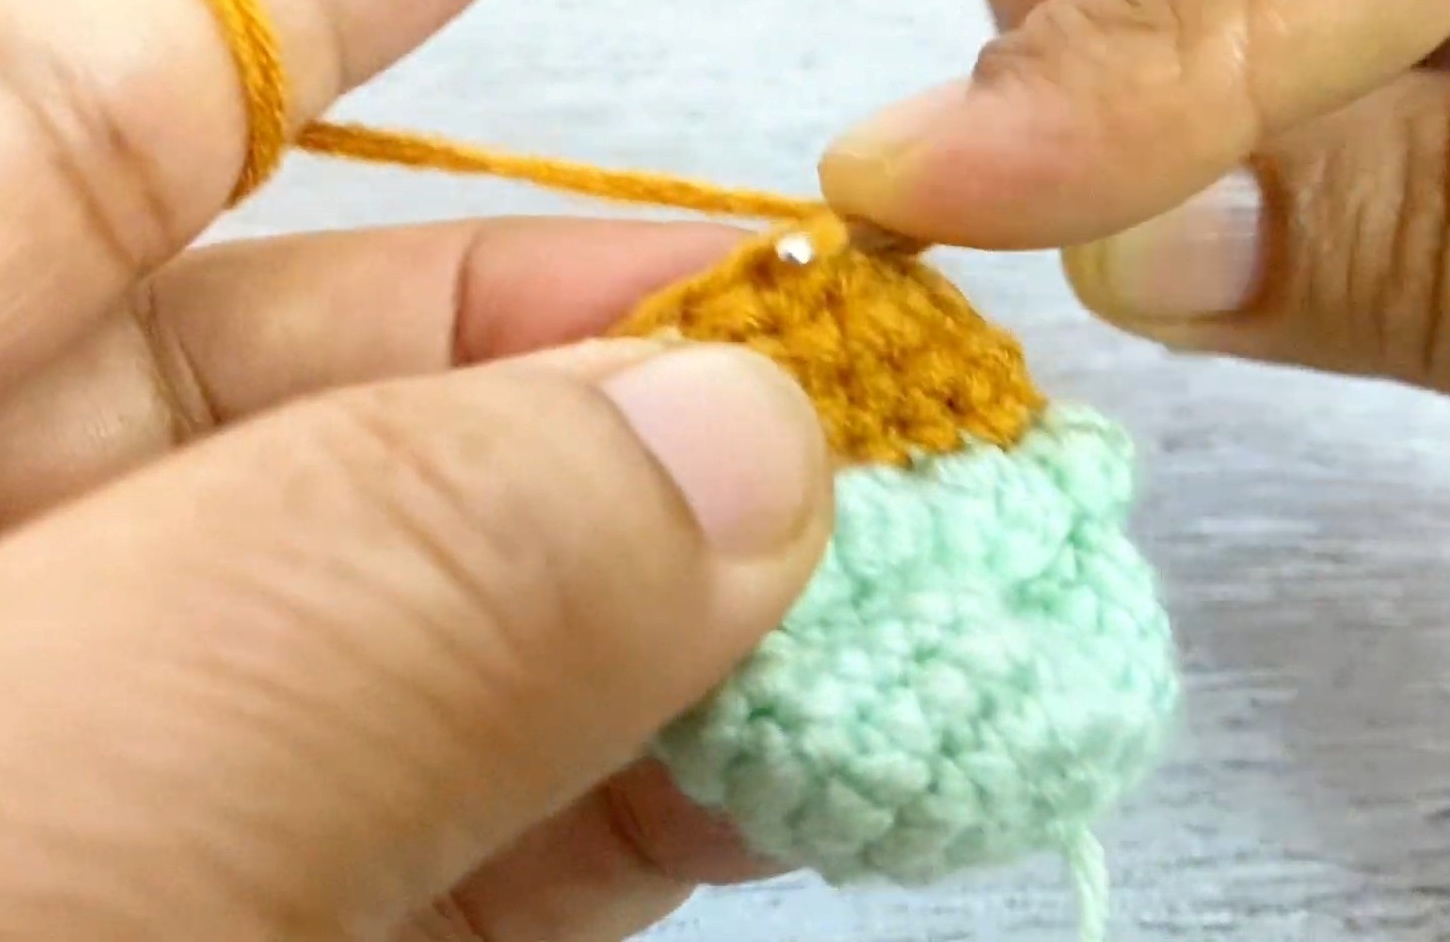
- Assembly:
- Align the scoop on top of the cone and sew together using the tapestry needle.
- Weave in ends securely to finish the piece.

Conclusion
Creating a mini ice cream cone through crochet is a delightful way to hone your skills while crafting a unique piece. Whether you’re making one for yourself or as a charming gift, this project is sure to bring smiles. Practice your basic techniques and embrace this playful creation, adding a sweet slice of creativity to your crochet repertoire.