Crochet Pumpkin Placemat Perfect for Fall Decor & Thanksgiving
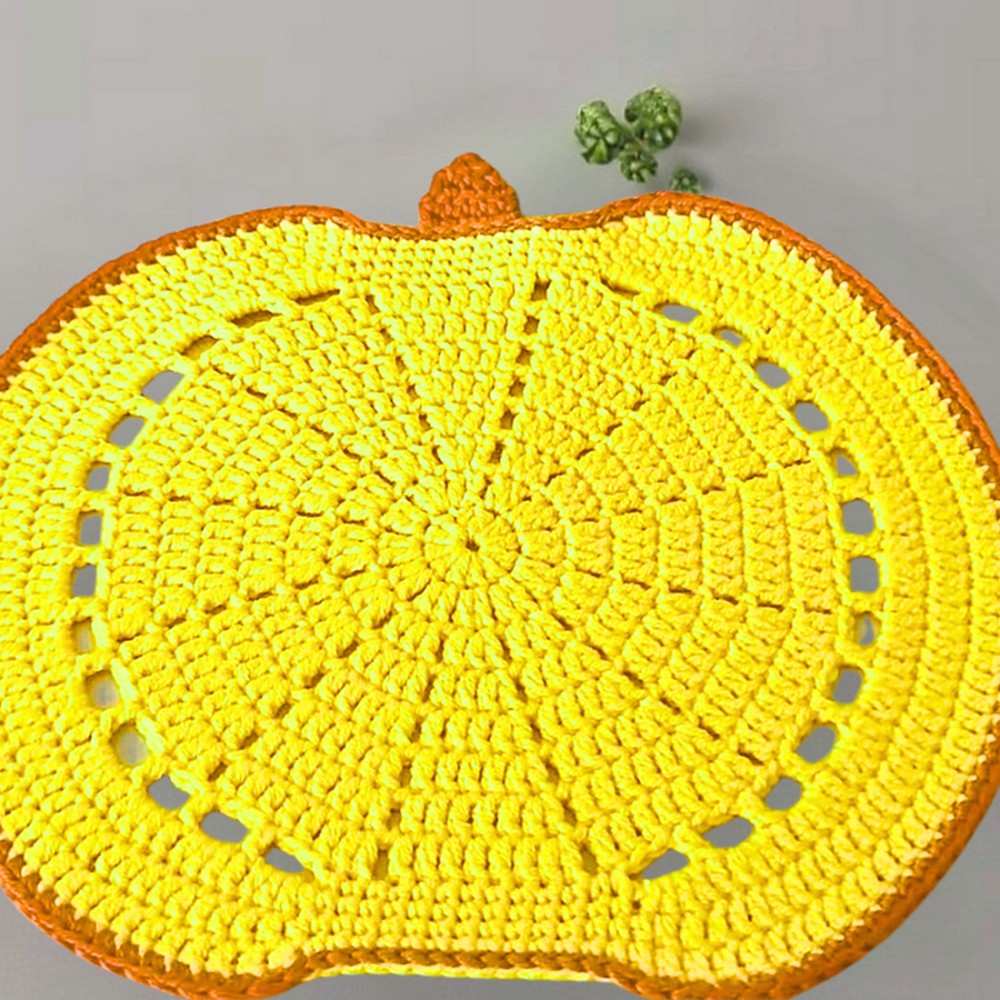
A pumpkin doesn’t have to sit in the center of the table to steal the spotlight. This crochet pumpkin placemat brings the shape of the season into every place setting, turning everyday meals and holiday gatherings into something a little more festive. Its bold outline and playful design make it a decorative crochet piece you’ll look forward to using throughout autumn.
Crochet Pumpkin Placemat Pattern
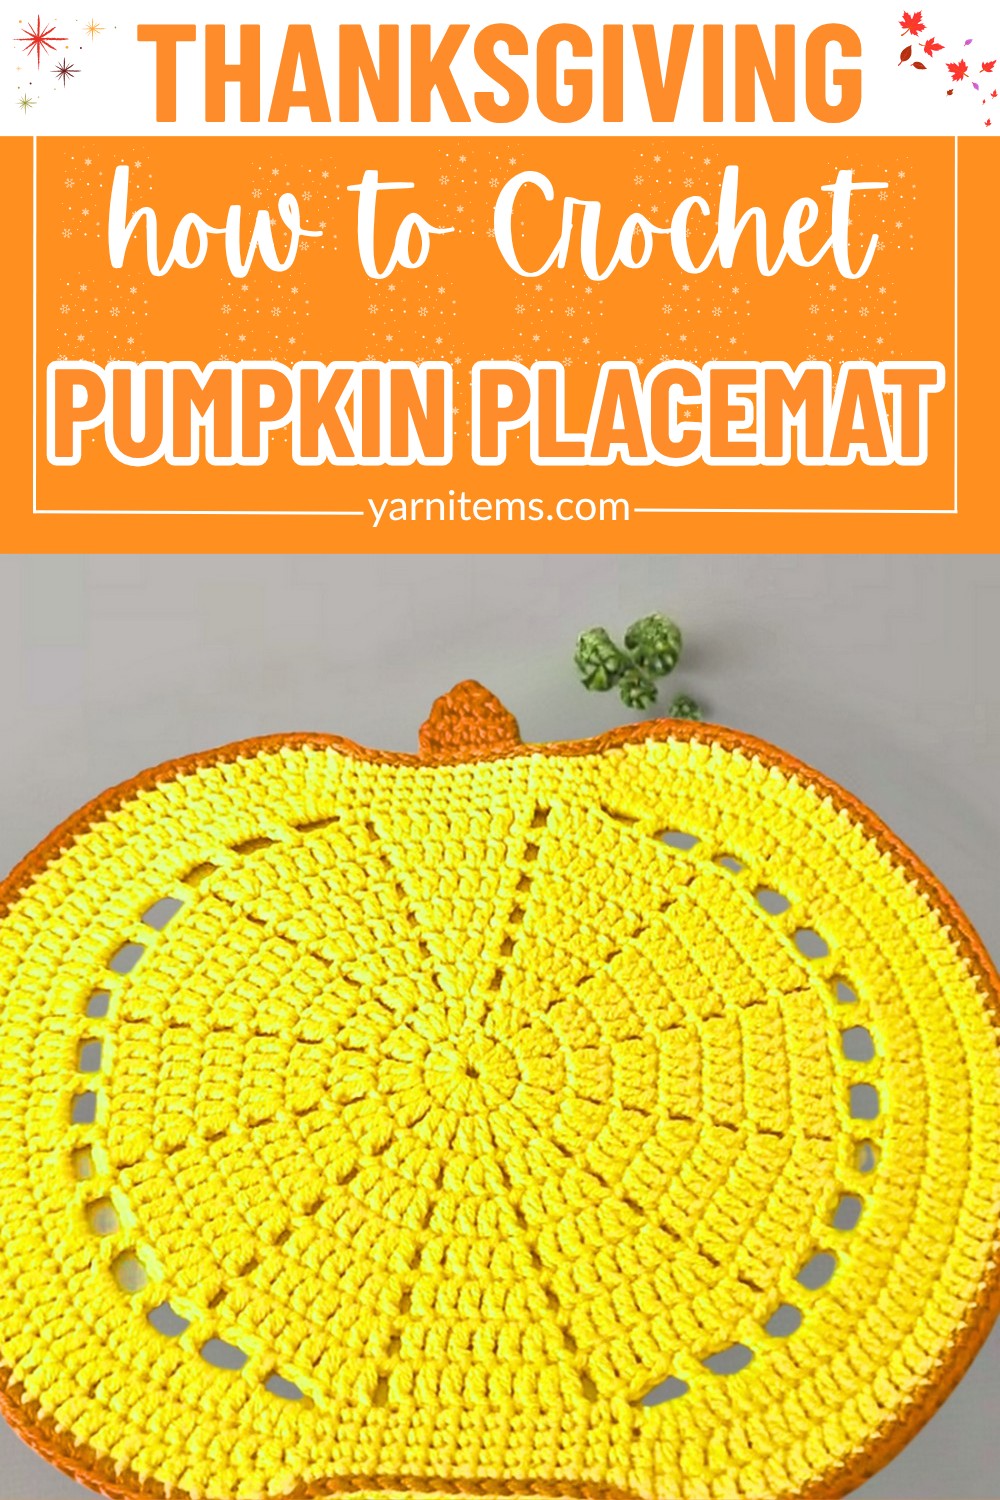
The pattern breaks the piece into simple, easy-to-follow sections, making it approachable even if you’re still building your crochet skills. You’ll learn how the pumpkin shape comes together, then finish it with the stem and leaf for a polished seasonal look. Pick classic fall shades or experiment with your favorite colors to create a placemat that’s uniquely yours.
Materials & Tools Needed
- Yarn: Alize Cotton Gold (100g, 330 meters) in:
- Orange (for the body of the pumpkin)
- Brown (for the stem)
- Optional: Yellow or other autumn colors for customization
- Hook: 2.75mm crochet hook
- Additional Tools:
- Scissors
- Yarn needle (for weaving in ends)
- Blocking tools (optional, for shaping)
Finished Size & Customization Ideas
- Finished Size: Approximately 8.5 inches in diameter.
- Customization:
- Adjust the size by increasing or decreasing the number of rounds.
- Add extra rounds for a larger placemat or fewer rounds for a smaller one.
- Experiment with different autumnal colors like yellows, reds, greens, or creams.
- Add multiple leaves or vines for unique styling.
Pattern Abbreviations & Terminology
(All in US terminology)
- ch: Chain
- sc: Single crochet
- dc: Double crochet
- hdc: Half double crochet
- sl st: Slip stitch
- MR: Magic Ring
- st(s): Stitch(es)
Step-by-Step Crochet Instructions
Follow these instructions to create the festive pumpkin placemat.
Pumpkin Body
- Start with a Magic Ring (MR):
- Chain 3 (counts as the first dc).
- Work 11 double crochets (dc) into the magic ring. You should have 12 stitches in total.
- Pull the ring tight and slip stitch (sl st) into the top of the first ch-3 to close the round.
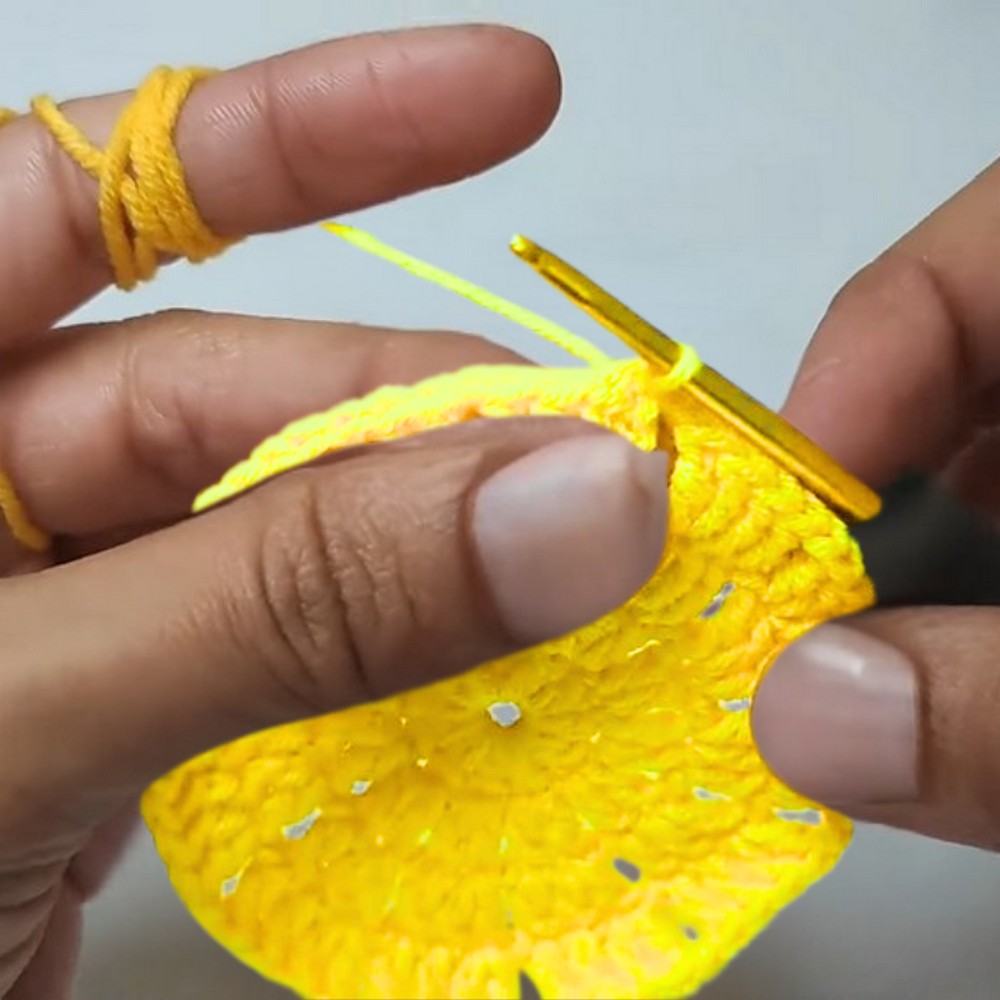
- Round 2:
- Chain 3 (counts as dc), then dc into the same st.
- Chain 1, dc into the next st. Chain 1, dc into the next st.
- Repeat this sequence (dc, ch 1) for each stitch around. You should have 12 dcs with ch-1 spaces.
- Sl st into the first ch-3 to close the round.
- Round 3:
- Chain 3 (counts as dc), then dc into the next st.
- Single crochet (sc) into the next st, dc into the next st. Chain 1.
- Repeat: sc, dc, ch 1 around the circle. At the end of the round, you should have groups of 2 stitches.
- Sl st into the first ch-3 to close.
- Rounds 4–8 (Increasing Rounds):
- Follow the increasing pattern:
- For each round, the group size increases by 1 (e.g., Round 4 has groups of 4; Round 5 has groups of 5, etc.).
- Always work a dc into the last st of the previous round’s group, and chain 1 between groups.
- Continue until Round 8, where each group will have 8 dcs.
- Close each round with sl st into the first ch-3.
- Follow the increasing pattern:
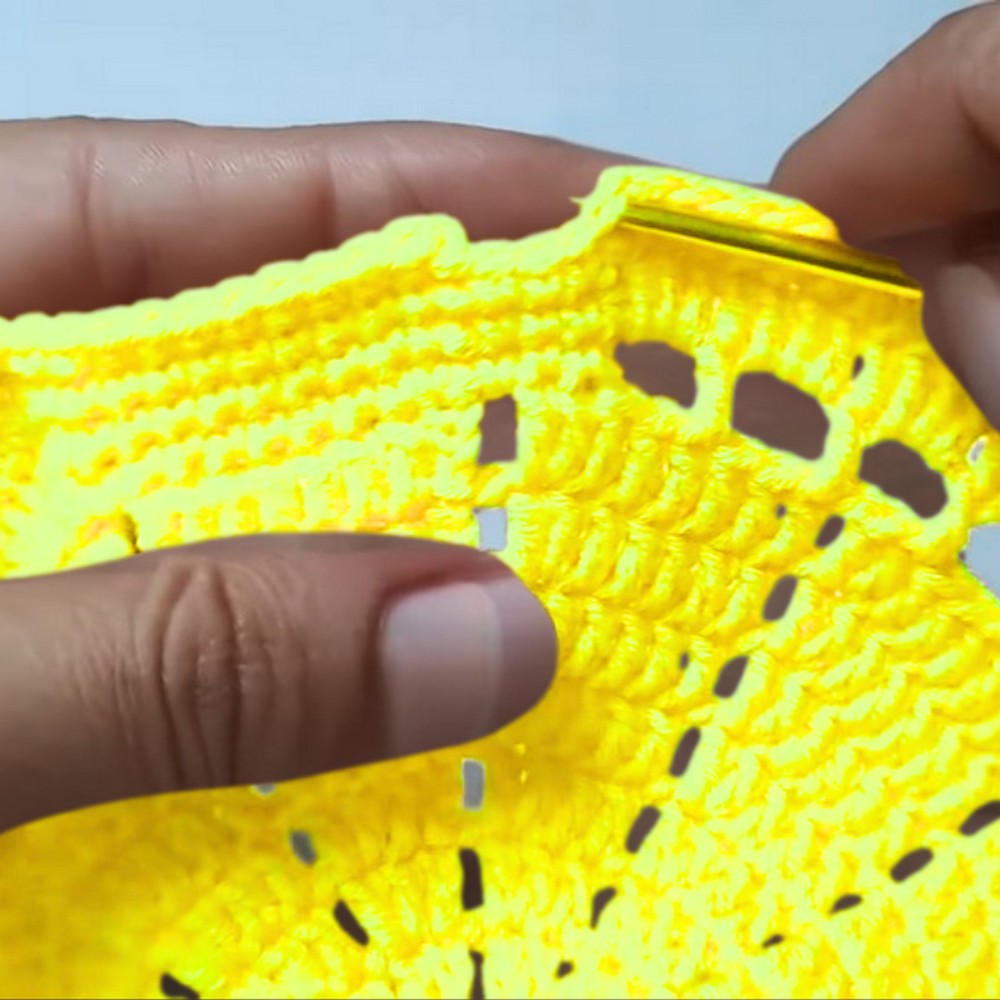
Defining the Pumpkin Sections
- Round 9:
- Chain 1.
- Into the same space, sc 10 times into the tops of the previous round’s double crochets.
- Chain 4, skip 2 stitches, and dc into the next st. Chain 3, skip 2 stitches again, and dc.
- Repeat this sequence to form sections with 13 dc groups and 14 “boxes” (ch spaces between dcs).
- Sl st into the first sc to close the round.
Edging and Shaping
- Round 10 (Filling in Boxes):
- Chain 1.
- Work a hdc and 3 dc into each chain space (box) around.
- For areas near the single crochets from the previous round:
- Work a hdc and 3 dc into the first chain 4 space before and after the sc group.
- Continue this process around for a smooth, filled-in edge.
- Sl st into the first ch-1 to close.
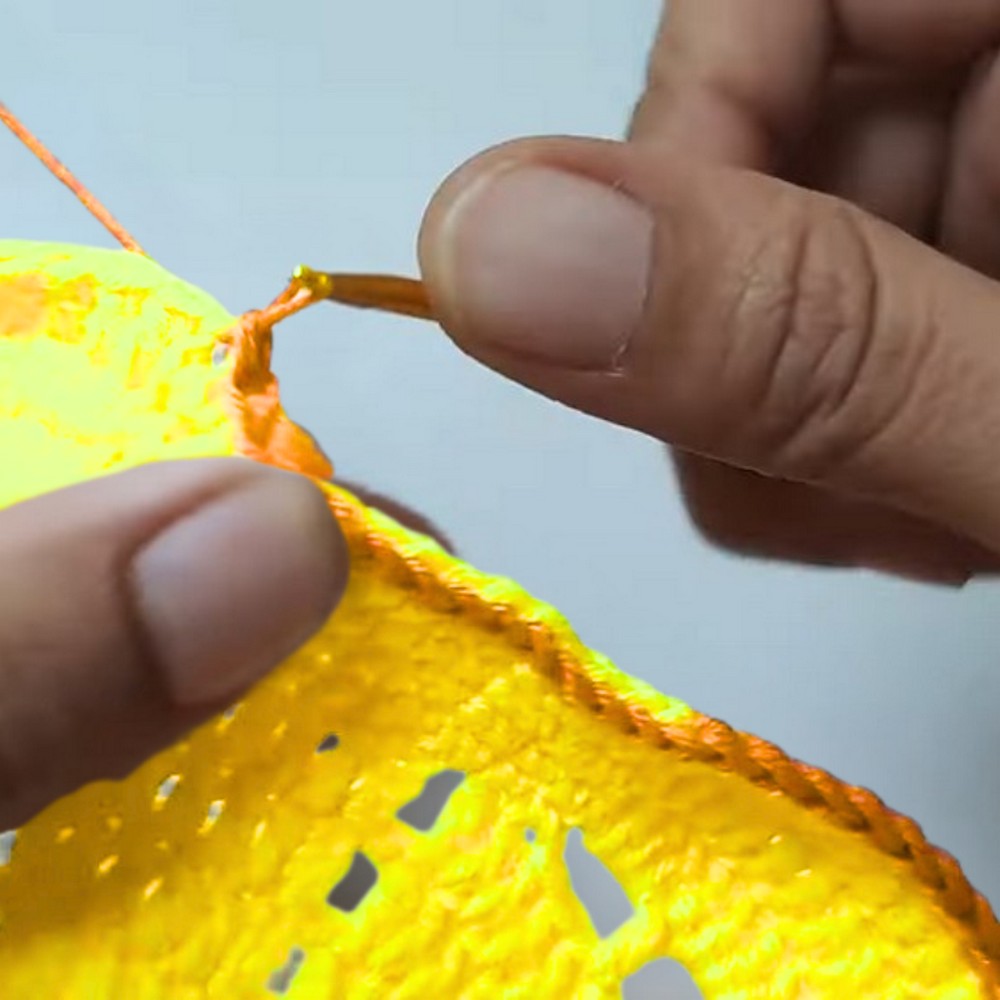
Pumpkin Stem
- Stem Formation:
- Locate the loop of the 5th single crochet at the top of the pumpkin.
- Attach brown yarn, chain 1.
- Work 5 single crochets (sc) across the loops.
- For the next 3 rows:
- Chain 1, turn, and sc across the 5 stitches.
- Row 4 (Decreasing):
- Skip the first st, sc into the next, sc into the 3rd st, and sc into the last st.
- You should now have 3 stitches left.
- Chain 1, turn, and work a final row to taper the stem.
- Fasten off and weave in the ends.
Optional Vine/Leaf
- Leaf (Optional):
- Attach yarn near the top of the pumpkin.
- Chain 25.
- Work alternating hdc patterns to give the leaf a curved shape:
- 2 hdc into 1 chain, 1 hdc into the next.
- Repeat until the chain is filled.
- Slip stitch back into the starting point, fasten off, and weave in ends.
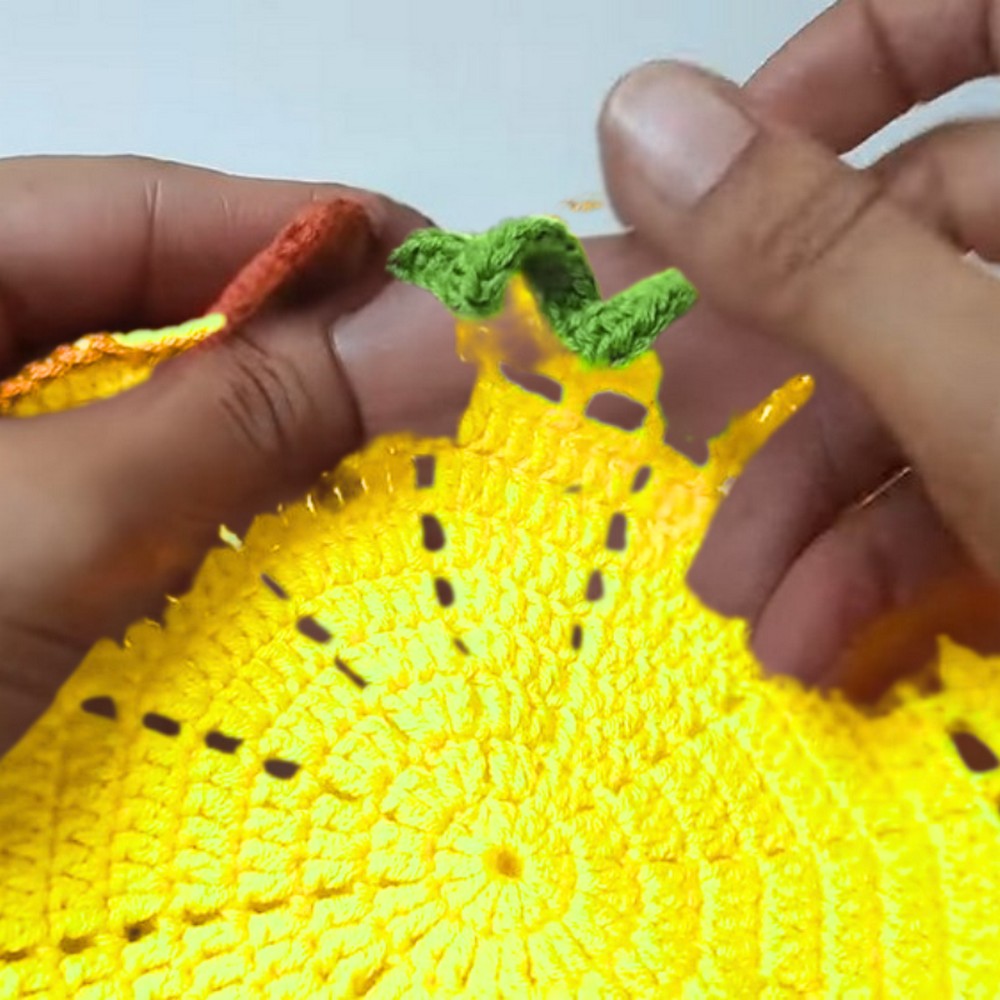
Finishing Touches
- Blocking: Lightly steam block or press using an iron to smooth edges.
- Customization: Add more leaves, use contrasting yarns, or embroider details if desired.