Easy Crochet Carrot Keychain Amigurumi Pattern
Want a cheerful little crochet accessory? Make this bright orange carrot keychain with leafy green details for bags, backpacks, or handmade gifts.
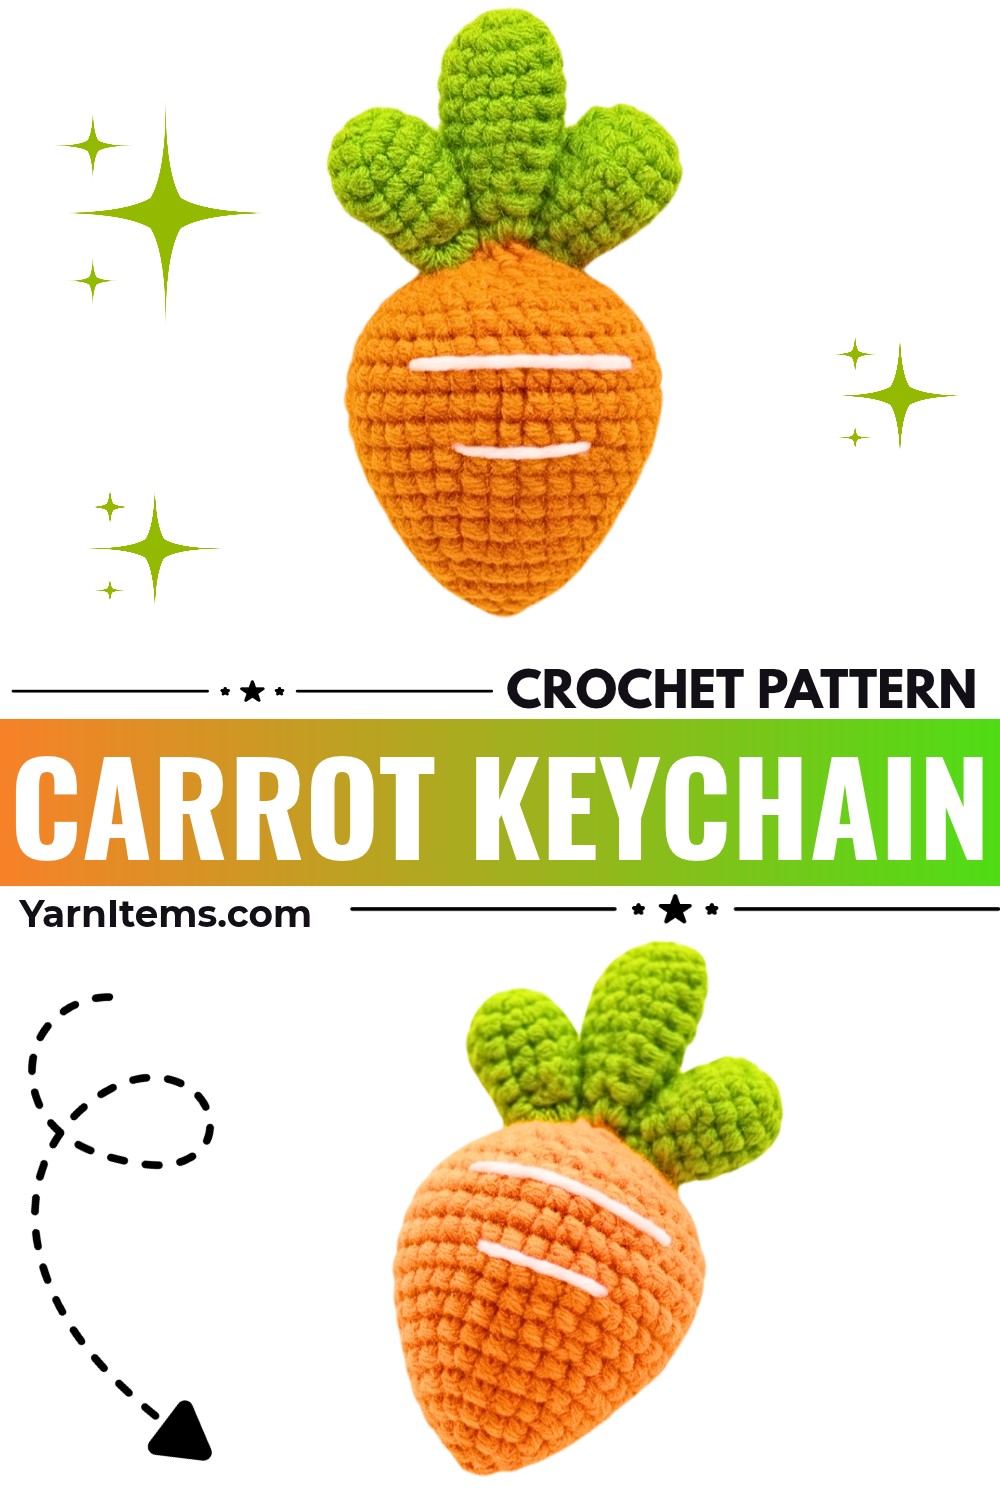
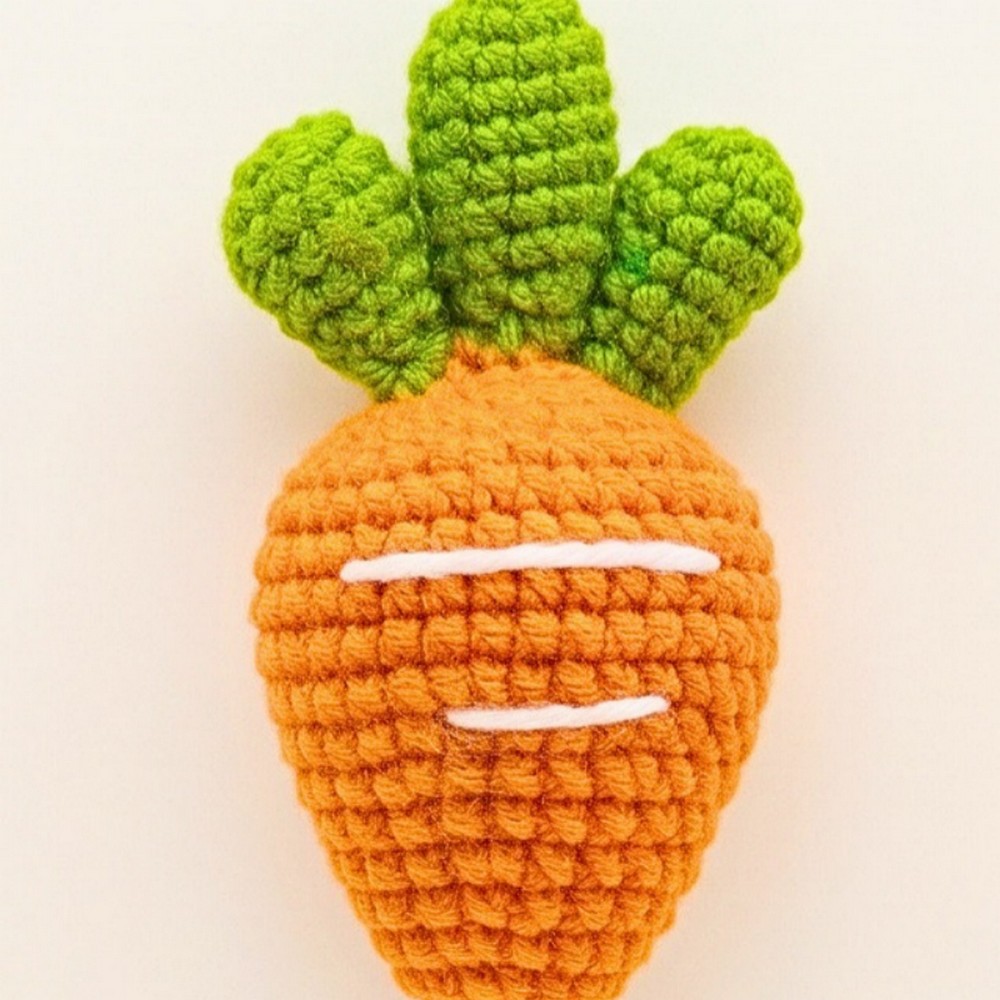
Bright orange yarn gives this tiny crochet carrot its familiar vegetable shape, while three green leaves create a fresh, leafy finish at the top. Its compact size makes it a fun accessory for keys, backpacks, and tote bags, and you can also turn it into a sweet handmade gift or playful zipper charm. The simple color combination and rounded, tapered body make this little crochet carrot especially charming.
You’ll start at the carrot’s wide top and crochet downward, gradually shaping the body before closing the pointed tip. Next, you’ll make two small leaves and one larger leaf, attach them to the top, and secure the keychain hardware. The instructions also include optional ways to personalize your crochet carrot, from an embroidered face to textured root details.
Credit JQ Handmade
Materials & Tools Needed
- Yarn: DK / Light Worsted (or Sport/Baby) yarn in:
- Vibrant Orange (main body)
- Bright Leaf Green (leaves)
- Crochet Hook: 2.5 mm or 3.0 mm (size to achieve tight stitches without gaps)
- Stuffing: Polyester fiberfill (fiber cotton)
- Notions:
- Tapestry / yarn needle
- Sharp scissors
- Stitch marker (optional, but helpful for round tracking)
- Metal keychain ring with jump ring / lobster clasp
Finished Size & Customization Ideas
Finished Size: Approximately 3.0 to 3.5 inches (7.5-9 cm) in length, excluding the keychain hardware.
Once you have finished the basic carrot, try one of these small details to give it a different look or use:
- Embroidered Face: Add safety eyes (5–6 mm) between Rounds 10 and 11, spaced 4-5 stitches apart, and backstitch a simple black smile for a kawaii amigurumi look.
- Textured Ribbing: Using a lighter cream or light brown strand, stitch short horizontal dashes across the body rounds to mimic real root ridges.
- Scented Charm: Tuck a small sachet of lavender or essential-oil-infused polyfill into the center before closing the tip.
- Bag Charm / Zipper Pull: Swap the standard split ring for a metal lobster swivel hook to easily clip to backpacks or tote bags.
Pattern Abbreviations & Terminology
All instructions use standard US crochet terminology.
- MR: Magic Ring
- ch: Chain stitch
- sl st: Slip stitch
- sc: Single crochet
- inc: Single crochet increase (work 2 single crochets into the same stitch)
- dec: Single crochet decrease (invisible decrease: insert hook into the front/outer loop of the first stitch, then into the loop of the next stitch, yarn over, pull through two loops, yarn over, pull through remaining two loops)
- st(s): Stitch(es)
- [ … ] × n: Repeat instructions inside the brackets the specified number of times.
- (N sts): Total stitch count at the end of the round.
Understanding the Joined Rounds
Unlike typical amigurumi worked in continuous spirals, this tutorial works in joined rounds. Each round is closed with a slip stitch, and a chain 1 begins the next round.
Follow these steps throughout the pattern:
- Complete the stated number of stitches in the round.
- End each round by inserting your hook into the first stitch of that round and making a slip stitch (sl st).
- Work ch 1 before beginning the first stitch of the next round.
- Do not count the
ch 1as a stitch in the final stitch counts.
Keep this joining method consistent for the carrot body and both leaves so the round structure stays the same throughout.
Crochet the Carrot Body
Part 1: Carrot Body (Orange Yarn)
The carrot starts at the wide top base and works down toward the tapered tip. Use orange yarn and follow the joined-round technique described above.
- Round 1: Form a Magic Ring. Ch 1, work 6 sc into the ring. Pull tail to close ring. Join with a sl st to the first sc, ch 1. (6 sts)
- Round 2: Work 2 sc in each st around (6 inc). Join with a sl st to first st, ch 1. (12 sts)
- Round 3: [1 sc in next st, 1 inc in next st] × 6. Join with a sl st to first st, ch 1. (18 sts)
- Round 4: Work 1 sc in each of the 18 sts around. Join with a sl st to first st, ch 1. (18 sts)
- Round 5: [1 sc, 1 inc, 1 sc] × 6 (indicated as xvx). Join with a sl st to first st, ch 1. (24 sts)
- Round 6: Work 1 sc in each of the 24 sts around. Join with a sl st to first st, ch 1. (24 sts)
- Round 7: [3 sc, 1 inc] × 6. Join with a sl st to first st, ch 1. (30 sts)
- Round 8: Work 1 sc in each of the 30 sts around. Join with a sl st to first st, ch 1. (30 sts)
- Round 9: [2 sc, 1 inc, 2 sc] × 6 (indicated as 2x v 2x). Join with a sl st to first st, ch 1. (36 sts)
- Rounds 10–13 (4 rounds total): Work 1 sc in each of the 36 sts around. Join each round with a sl st to first st, ch 1. (36 sts per round)
- Round 14: [2 sc, 1 dec, 2 sc] × 6 (indicated as 2x a 2x). Join with a sl st to first st, ch 1. (30 sts)
- Round 15: [3 sc, 1 dec] × 6. Join with a sl st to first st, ch 1. (24 sts)
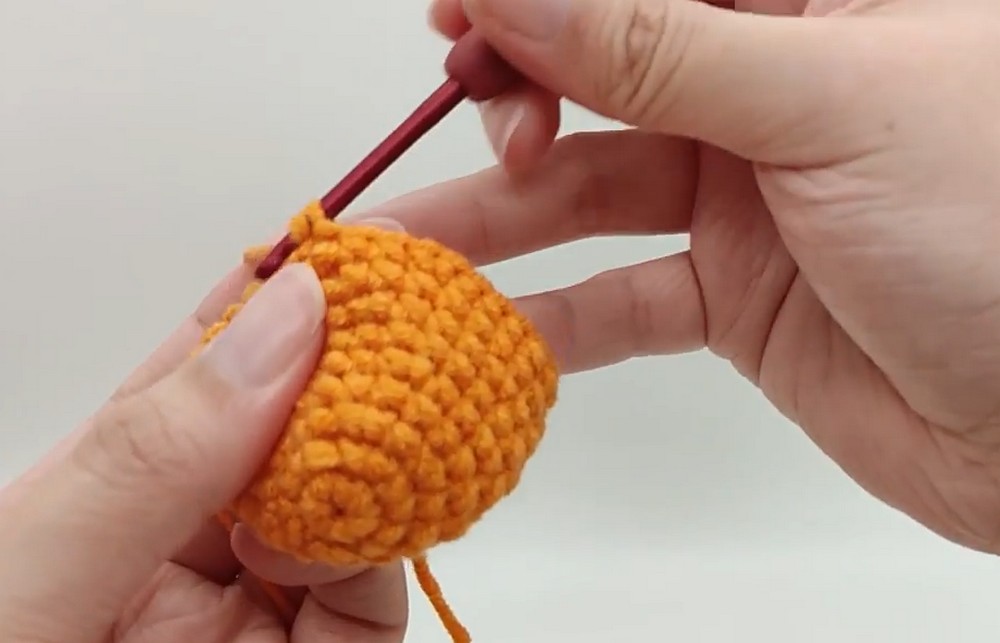
Stuffing Step 1: Begin firmly stuffing the top and middle of the carrot body with fiberfill stuffing through the opening.
- Round 16: [1 sc, 1 dec, 1 sc] × 6 (indicated as x a x). Join with a sl st to first st, ch 1. (18 sts)
Stuffing Step 2: Add more fiberfill to ensure the carrot holds a firm shape down the tapered body.
- Round 17: [1 sc, 1 dec] × 6. Join with a sl st to first st, ch 1. (12 sts)
- Round 18: 6 dec around. Join with a sl st to first st, ch 1. (6 sts)
Close the Carrot Tip
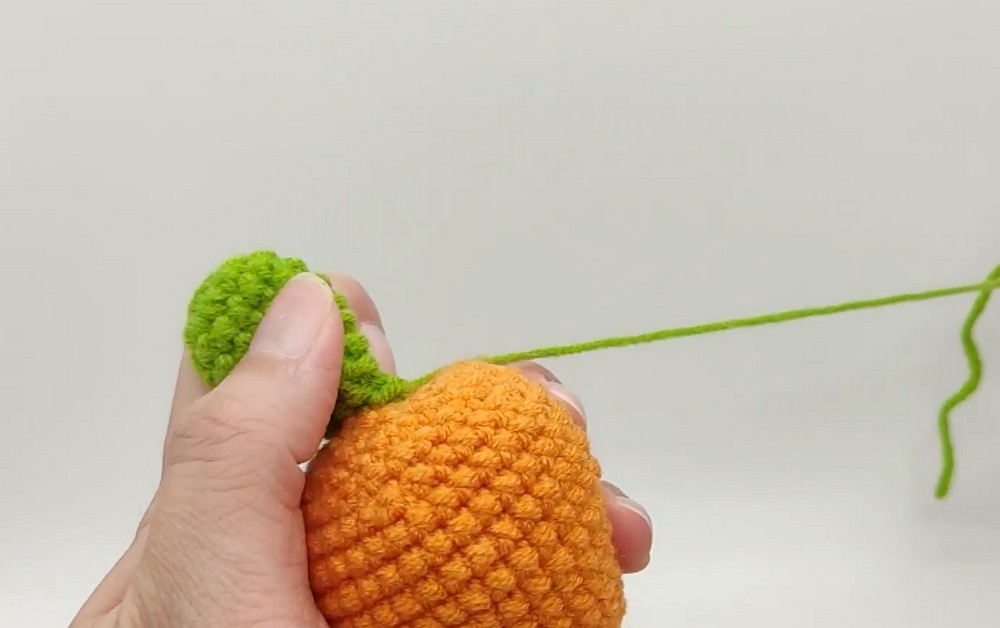
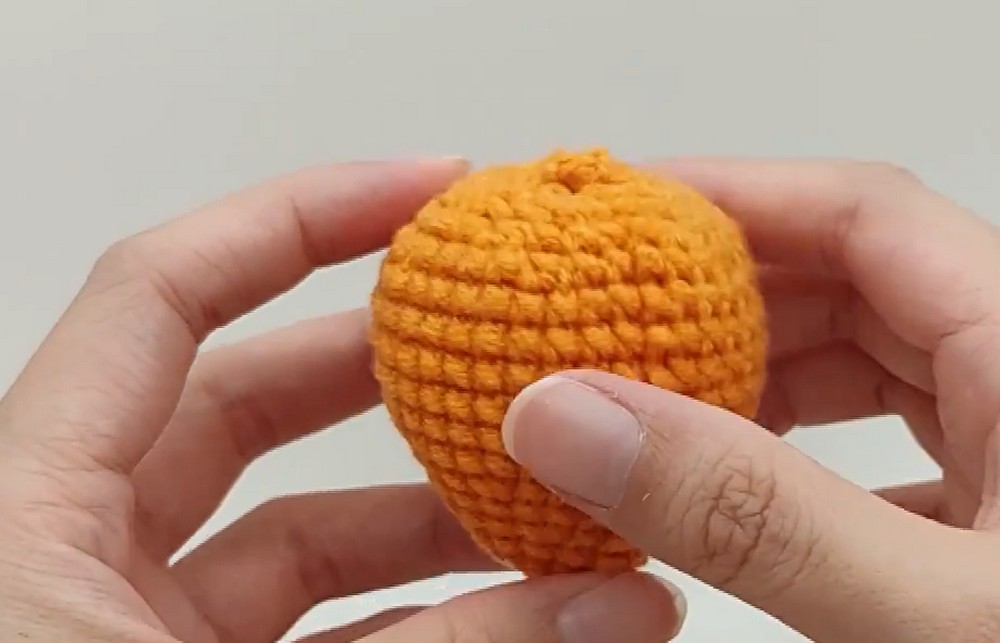
Once Round 18 is complete, fasten off and close the remaining opening.
- Cut the yarn, leaving a 4-5 inch tail, and pull the loop through to fasten off.
- Thread the tail onto a yarn needle.
- Weave the needle through the front loops of the remaining 6 stitches in a circle.
- Pull gently and firmly to close the hole at the bottom tip completely.
- Knot securely, guide the needle into the bottom tip and out through the middle of the carrot, pull slightly, snip the excess flush, and let the end retract inside.
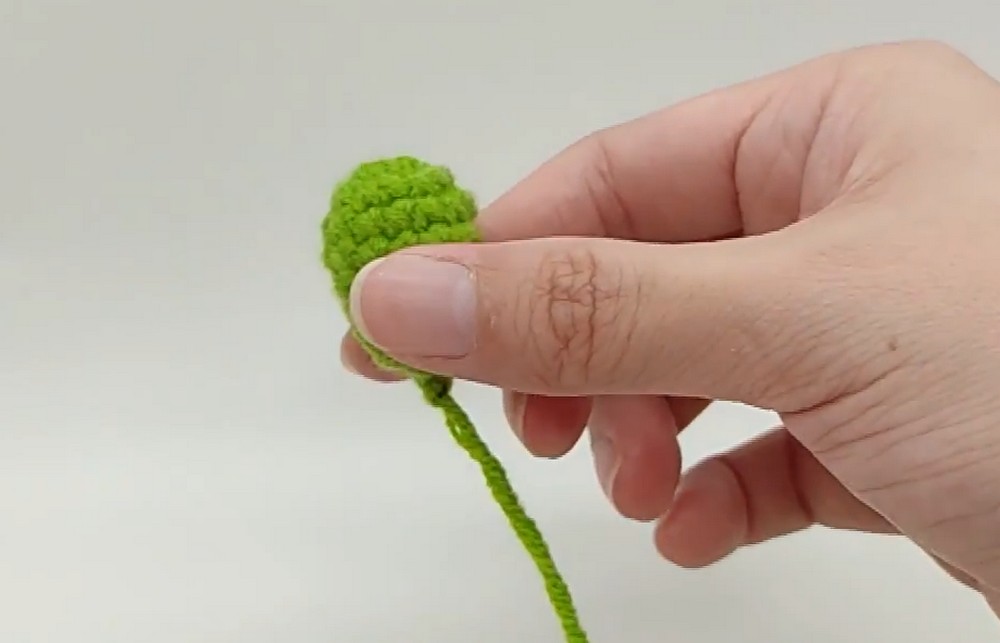
Make the Green Carrot Leaves
Part 2: Carrot Leaves (Green Yarn)
You will make two small leaves and one big leaf. Each leaf is crocheted in joined rounds, with the larger leaf having two additional even rounds to give it extra length.
Small Leaves (Make 2)
Use green yarn to crochet two matching small leaves.
- Round 1: Form a Magic Ring. Ch 1, work 6 sc into the ring. Pull tail to close. Join with a sl st to first sc, ch 1. (6 sts)
- Round 2: Work 2 sc in each st around (6 inc). Join with a sl st to first st, ch 1. (12 sts)
- Rounds 3-4 (2 rounds total): Work 1 sc in each of the 12 sts around. Join each round with a sl st to first st, ch 1. (12 sts per round)
- Round 5: [2 sc, 1 dec] × 3. Join with a sl st to first st, ch 1. (9 sts)
- Round 6: Work 1 sc in each of the 9 sts around. Join with a sl st to first st, ch 1. (9 sts)
- Round 7: [1 sc, 1 dec] × 3. Join with a sl st to first st. (6 sts)
Finish Each Small Leaf
- Insert a tiny bit of fiberfill stuffing into the upper chamber of the leaf.
- Fasten off, leaving a 6-8 inch tail for sewing.
Make the second small leaf using the same instructions.
Big Leaf (Make 1)
The big leaf follows the exact same structure as the small leaf, but adds two additional even rounds between the increase section and the decrease section.
- Round 1: Form a Magic Ring. Ch 1, work 6 sc into the ring. Pull tail to close. Join with a sl st to first sc, ch 1. (6 sts)
- Round 2: Work 2 sc in each st around (6 inc). Join with a sl st to first st, ch 1. (12 sts)
- Rounds 3-6 (4 rounds total): Work 1 sc in each of the 12 sts around. Join each round with a sl st to first st, ch 1. (12 sts per round)
- Round 7: [2 sc, 1 dec] × 3. Join with a sl st to first st, ch 1. (9 sts)
- Round 8: Work 1 sc in each of the 9 sts around. Join with a sl st to first st, ch 1. (9 sts)
- Round 9: [1 sc, 1 dec] × 3. Join with a sl st to first st. (6 sts)
Finish the Big Leaf
- Insert a small amount of fiberfill into the leaf.
- Fasten off, leaving an 8–10 inch tail for sewing.
Assemble Your Crochet Carrot Keychain
Once the orange carrot and all three green leaves are ready, arrange the foliage at the wide top of the body. The larger leaf sits in the center, while the two smaller leaves fan out on either side.
1. Attach the Big Leaf
- Center the open base of the Big Leaf directly over the flat top of the carrot body (centered on Round 1 of the orange base).
- Thread the tail onto a yarn needle.
- Whipstitch the 6 stitches of the leaf base into the stitches of the top center of the carrot.
- Circle through the attachment points 2 to 3 times to make the stem upright and stable. Tie off and bury the remaining green tail inside the carrot body.
2. Attach the Small Leaves
- Position the two Small Leaves on opposite sides of the central big leaf, angling them slightly outward to fan them naturally.
- Sew each small leaf securely to the top of the carrot against the sides of the central leaf base.
- Tie off each tail, pass the needle deep into the orange body, and cut off the excess flush.
3. Attach the Keychain Hardware
- Open the jump ring of your keychain hardware using small pliers or your fingers.
- Thread it through the tight center crochet stitches at the top crown between the bases of the leaves.
- Close the jump ring securely.
A Few Ways to Give Your Carrot Its Own Personality
The basic carrot already works as a bright little accessory, but a few optional details can make it feel more personal. Add safety eyes between Rounds 10 and 11, spaced 4–5 stitches apart, and backstitch a small black smile for a kawaii expression. For a more natural vegetable look, stitch short horizontal dashes across the orange body using a lighter cream or light brown strand.
You can also turn it into a scented charm by placing a small sachet of lavender or essential-oil-infused polyfill inside before closing the tip. If you plan to clip it onto a backpack or tote bag, use a metal lobster swivel hook instead of a standard split ring.
Your crochet carrot keychain is ready to use as a cheerful bag accessory, zipper pull, or handmade gift. Its bright orange body and leafy green top make a simple, recognizable design that is easy to personalize with your own finishing touches.