Crochet Bear Hooded Scarf with Hearts, Ears & Ribbed Texture
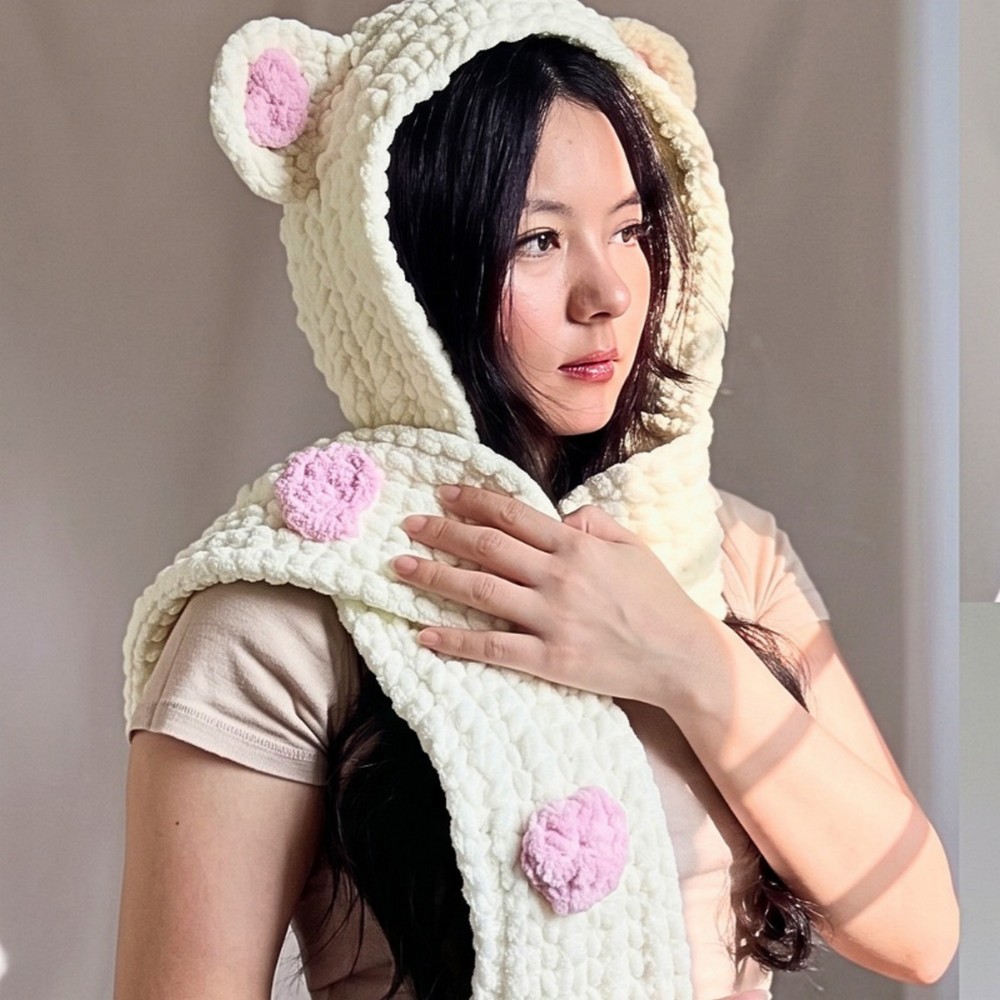
Wrap up in a soft crochet bear hooded scarf with squishy ribbed texture, rounded ears, and red heart details at the scarf ends.
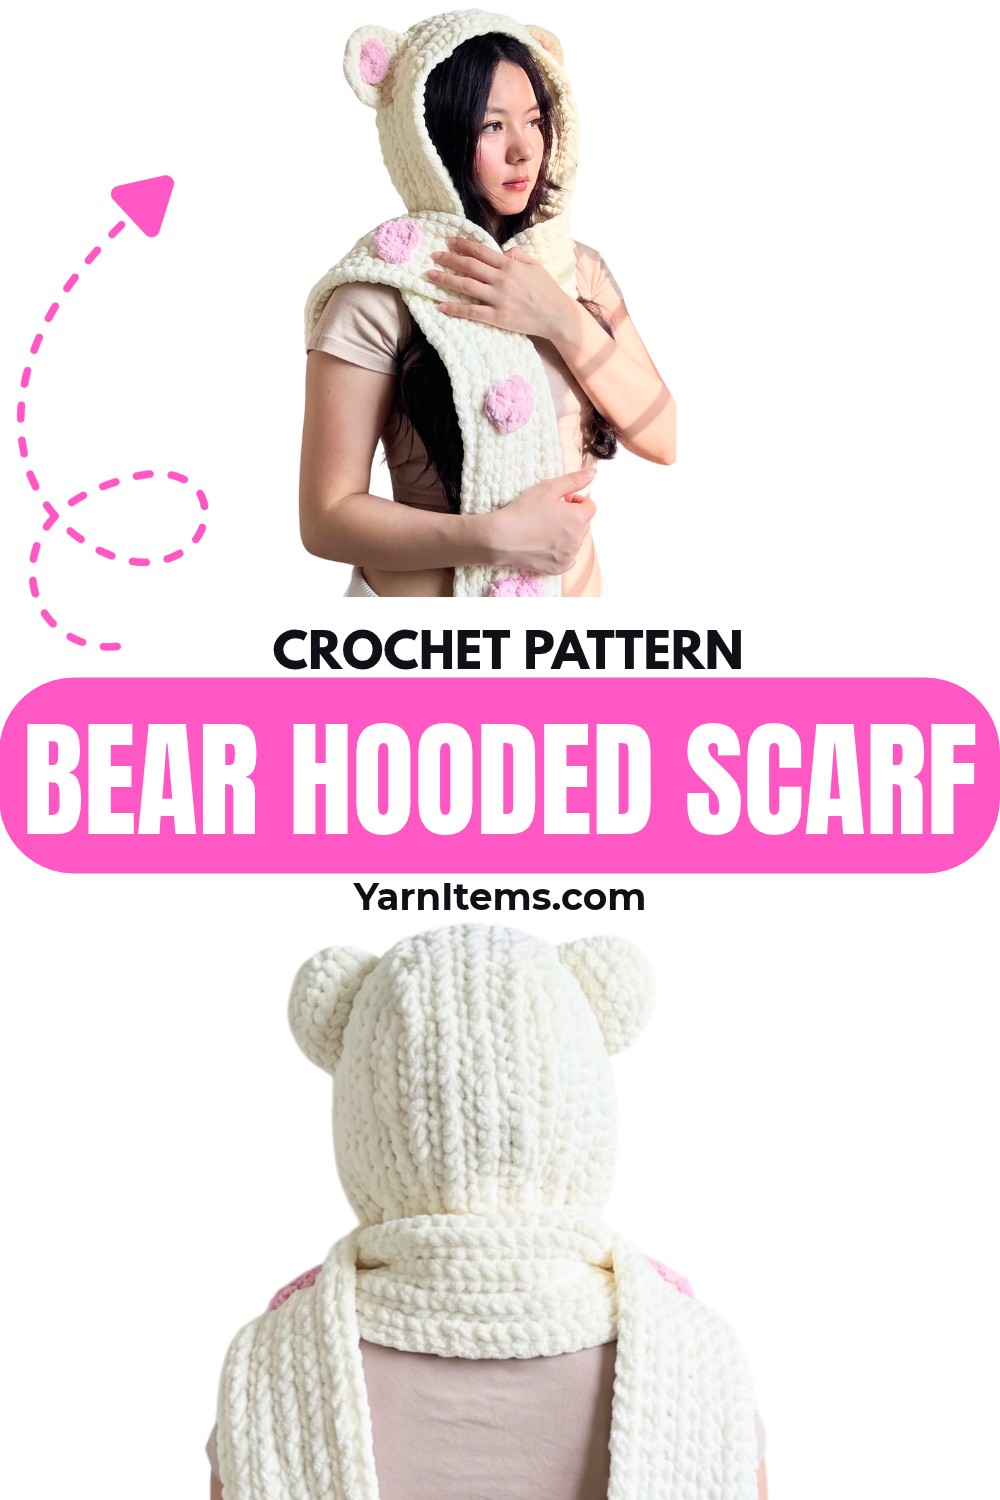
Winter accessories become much more playful with this bear-inspired crochet scarf, combining a long ribbed scarf with a cozy hood, rounded ears, and bright heart accents. The chunky white blanket yarn gives the finished crochet piece a soft, substantial feel, while the back-loop stitching creates texture that resembles knitted fabric.
The crochet scarf and hood are both worked with HDC, making the main pieces straightforward while the hood gains its shape through a centered decrease. Once the hood is seamed, the ears and hearts add the recognizable bear details, and you can adjust the scarf length, hood fit, or heart size to suit the wearer.
Credit Yaan_Vlogs
Materials & Tools
- Blankie yarn in white for the scarf, hood, and ears
- Blankie yarn in red for the hearts
- 9.0 mm crochet hook for the scarf, hood, and ears
- 6.0 mm crochet hook for the hearts
- Measuring tape
- Stitch markers
- Yarn needle
- Scissors
The sample scarf measures approximately 67 inches long and 6 inches wide. The hood is made to approximately 25 inches in length, measured from the top of the head down toward the collarbone.
Crochet Abbreviations
ch – chain
st(s) – stitch(es)
sl st – slip stitch
hdc – half double crochet
hdc dec – half double crochet decrease
dc – double crochet
tr – treble crochet
blo – back loop only
mr – magic ring
Crochet the Scarf
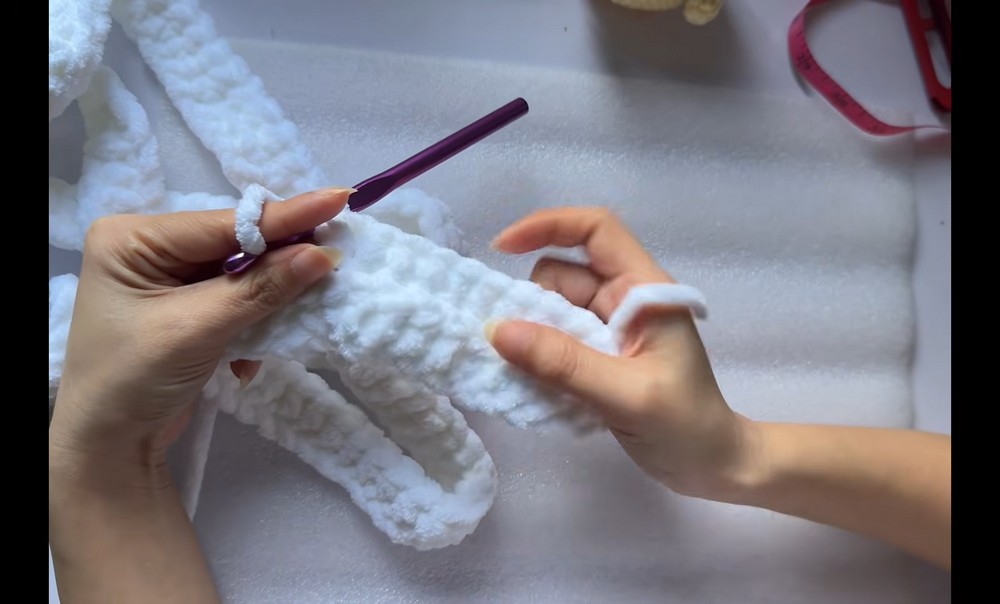
The scarf is worked lengthwise, so its foundation chain determines the finished length. For the sample, chain 130, or continue chaining until the foundation measures approximately 65–67 inches.
Row 1: Ch 130, skip the first ch, make 1 hdc in the 2nd ch from the hook and 1 hdc in each ch across. (129 sts)
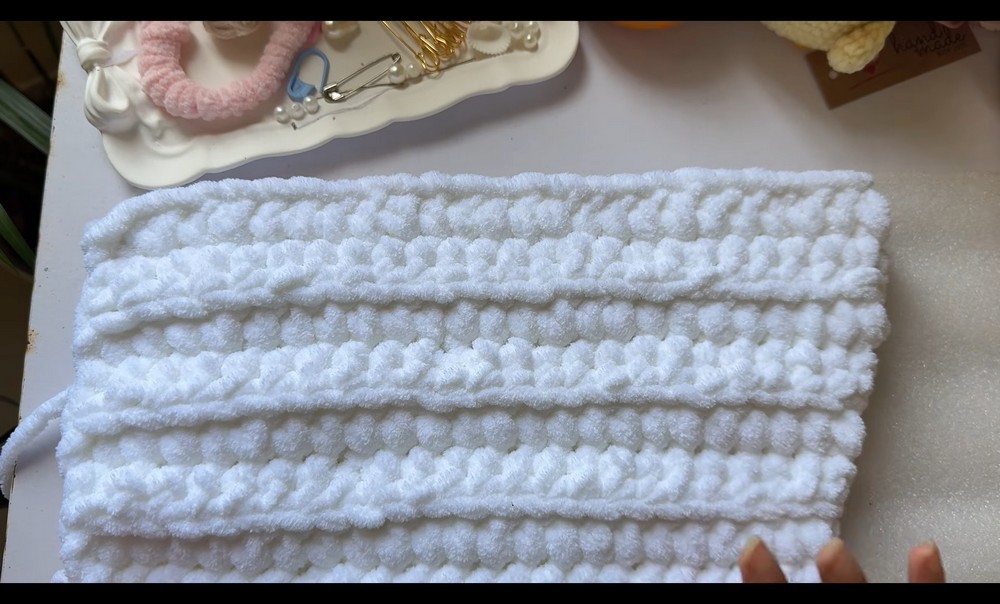
Row 2: Ch 1, turn, and work 1 hdc in the BLO of every stitch across. Working through the back loops creates the scarf’s raised, ribbed texture.
Row 3 and onwards: Ch 1, turn, and repeat the BLO hdc pattern across every stitch until the scarf reaches approximately 6 inches in width. Fasten off.
For a shorter or longer scarf, adjust the foundation chain. The sample is about 67 inches long, while a length around 65–75 inches can be used as a guide for customization. Add more rows if you want to increase the width.
Shape the Hood
The hood begins with a foundation chain measuring approximately 25 inches.
Row 1: Ch 51, skip the first ch, make 1 hdc in the 2nd ch and 1 hdc in each chain across. (50 sts)
Row 2: Ch 1, turn, and make 1 hdc in the BLO of every stitch across. (50 sts) Place a stitch marker exactly in the middle, after the 25th stitch.
Row 3 – Decrease Row: Ch 1, turn, and work hdc in the BLO across until you reach the stitch immediately before the marker. Make an hdc dec by inserting the hook into the BLO of the unworked stitch, pulling up a loop, removing the marker, then inserting the hook into the marked stitch and pulling up another loop. Complete the decrease and place the stitch marker into the newly created decrease stitch. Continue with hdc in the BLO across the remaining stitches.
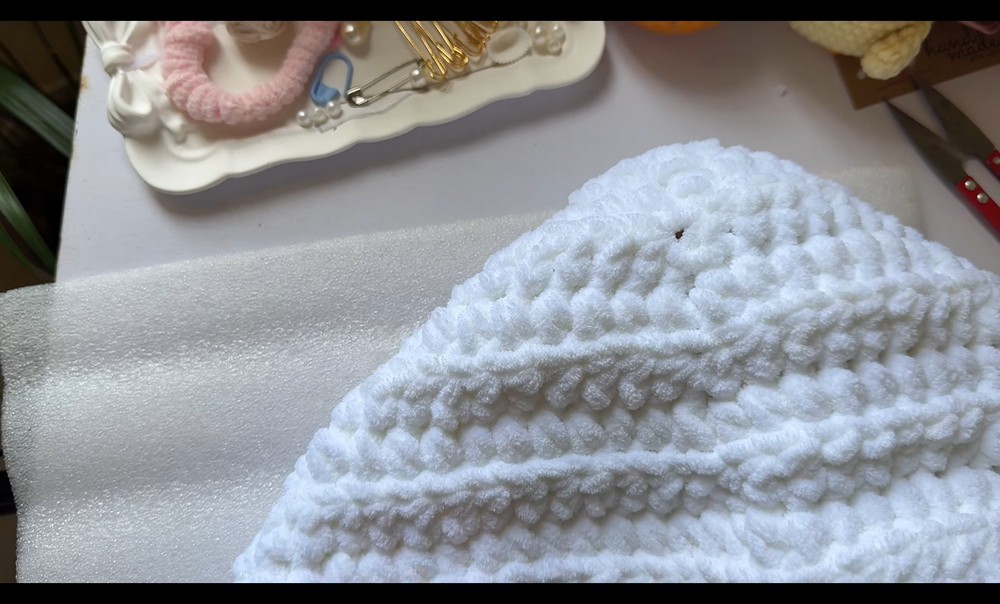
Row 4 and onwards: Continue working hdc in the BLO across, making the decrease exactly at the stitch marker on every row. Alternate the side from which the decrease stems as you continue shaping the hood. Keep working until the hood is wide enough to comfortably cover the head.
Seam the Hood
Fold the hood in half with the right sides facing together. The angled, decreased edge forms the back of the head.
Back Seam: Working through the BLO of both edges, SL ST the back seam together. Keep the stitch marker attached to the bottom corner as you work.
When 3 stitches remain, including the marked stitch, do not continue with regular slip stitches. Instead, make an hdc dec across those final chains. Insert the hook slightly lower into the actual body of the stitch rather than only into the top loops. This helps prevent the back of the hood from finishing with an unwanted pointed tip.
Fasten off.
Teaching Guide: Keep the Hood Decrease Centered
The hood’s shape depends on one central decrease line, so the stitch marker is more than a simple reminder—it identifies the exact location where the shaping needs to continue. After completing each decrease, move the marker into the newly created decrease stitch before continuing across the row.
The BLO technique should remain consistent throughout the hood. When you reach the marked area, work the decrease through the back loops as described rather than switching to the top loops.
Pay particular attention when seaming the back. The final three stitches are handled differently from the rest of the seam: they are finished with an hdc decrease instead of regular slip stitches. Working slightly lower into the stitch body at this point helps the back edge settle without forming a pointed tip.
Before permanently joining the hood, try it on and check the depth from the top of the head toward the collarbone. If more coverage is needed, continue the repeated BLO HDC rows before finishing the seam.
Make the Bear Ears
Make 2 ears using the 9.0 mm hook.
Row 1: Make a magic ring without pulling it completely closed. Ch 1, work 5 hdc directly into the ring, then tighten the ring to form a half-circle. (5 sts)
Row 2 – Increase Row: Ch 1, turn, make 2 hdc in the first stitch, 1 hdc in each of the next 3 stitches, and 2 hdc in the last stitch. (7 sts)
Rows 3-5: Ch 1, turn, and work 1 hdc in each stitch across. (7 sts)
Ear Border: Work SC evenly around the entire curved edge to create a clean border. Fasten off, leaving a long yarn tail for sewing.
Repeat for the second ear.
Crochet the Hearts
Switch to the 6.0 mm crochet hook and use the red yarn.
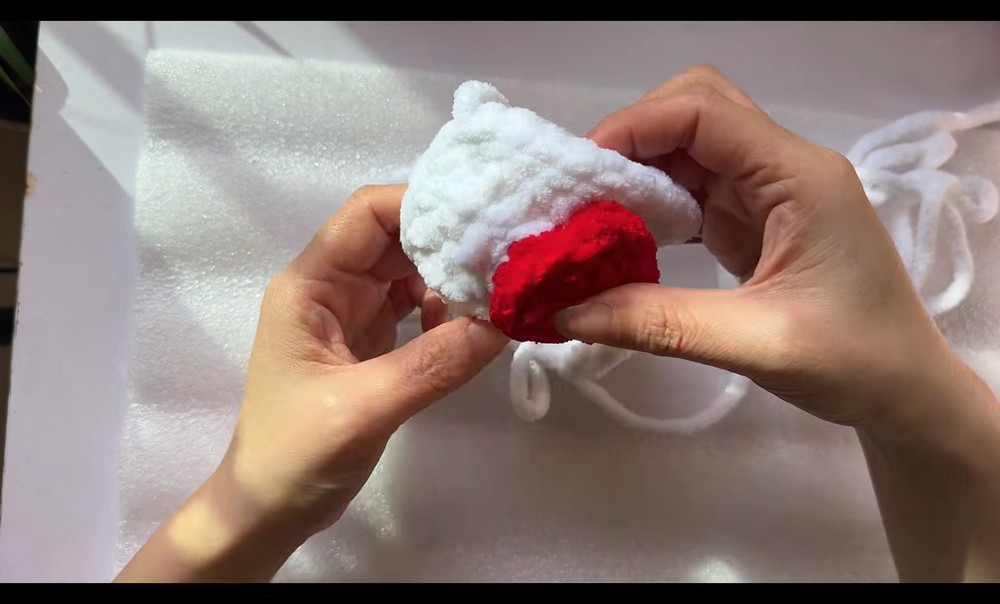
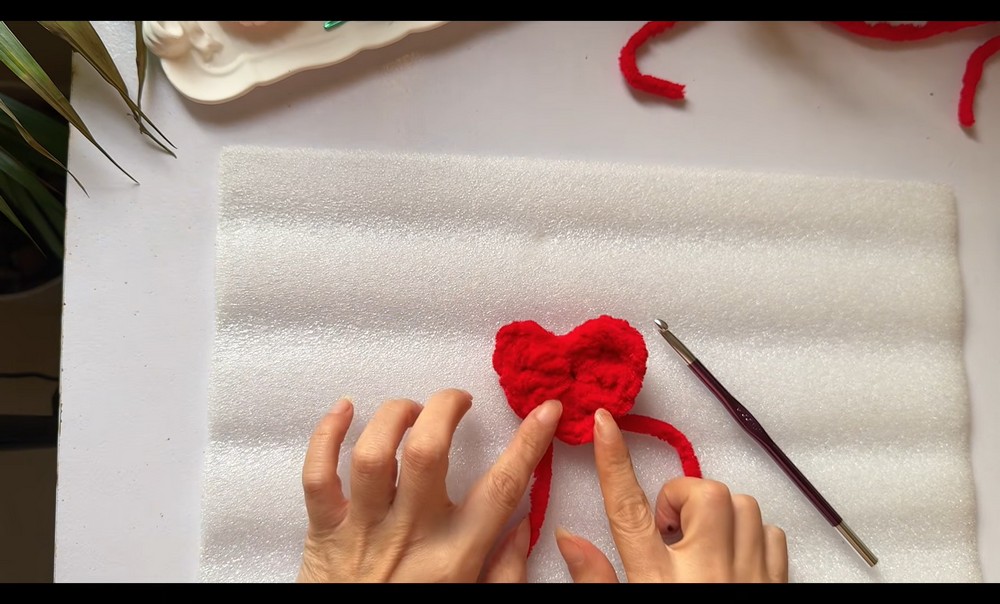
Round 1: Make a magic ring and CH 3, which counts as the first TR. Work 1 TR, 2 DC, and 1 HDC into the ring. For the center point, work 1 DC, then CH 1. Complete the second half with 1 HDC, 2 DC, and 2 TR into the ring. Carefully pull the magic ring tight to close the center, CH 1, and SL ST into the center of the ring. Fasten off, leaving a long tail for sewing.
For smaller hearts to place inside the ears, replace every TR in the heart pattern with DC.
A Quick Size Check Before Sewing
Take a moment to check the separate pieces before attaching anything. Lay the scarf flat and position the hood at its exact center, then place the ears symmetrically over the hood’s top curves.
The hood can also be tried on before seaming so you can confirm that its depth provides the coverage you want. Since the scarf foundation chain controls its length, adjust that chain before beginning if the finished length needs to be different.
For the heart details, use the larger version at the scarf ends and the smaller modified version inside the ears when you want a more subtle accent.
Attach the Hood to the Scarf
Find the exact center of the scarf and align it with the bottom, flat opening of the hood.
Pin the pieces together first so the hood remains centered while you work. Sew or SL ST the bottom edge of the hood to the scarf, joining the pieces securely and neatly.
Attach the Bear Ears
Position each ear on the curved top section of the hood. Pin the flat edge of each ear in place before sewing.
Using the long yarn tail and a yarn needle, stitch each ear securely to the hood. Check that both ears sit at matching heights before finishing the second one.
Add the Heart Details
Use the long red yarn tails to sew the larger hearts onto the front ends of the scarf.
If you made the smaller heart variation, sew it into the center concave area of each bear ear.
Weave all remaining yarn ends into the back of the stitches with the yarn needle and trim the excess.