
These cozy, elastic-waist shorts are perfect for lounging in style or stepping out in comfort, featuring a customizable fit and a thoughtful design you’ll enjoy crocheting.

Crochet shorts are a fun, wearable item perfect for sunny days or cozy lounging. They offer unique flexibility since you can customize the length, fit, and design to match your style. These shorts are not just trendy but also functional, making it a great addition to your wardrobe. The soft, stretchy band ensures comfort and a perfect fit, while the design adds charm and individuality. They’re suitable for casual outings or relaxing at home, making them an all-around cozy choice.
Stylish Crochet Shorts
Making them is easier than it looks! The process starts with forming an elastic band that fits snugly around the hips, then carefully crocheted rows shape the body. As you progress, details like drawstrings are added for enhanced fit, or you can even adjust the pattern to turn them into pants. This short pattern provides helpful tips for beginners, making it approachable for anyone looking to try something wearable and creative.
Credit FTK Crochet
Pattern Highlights:
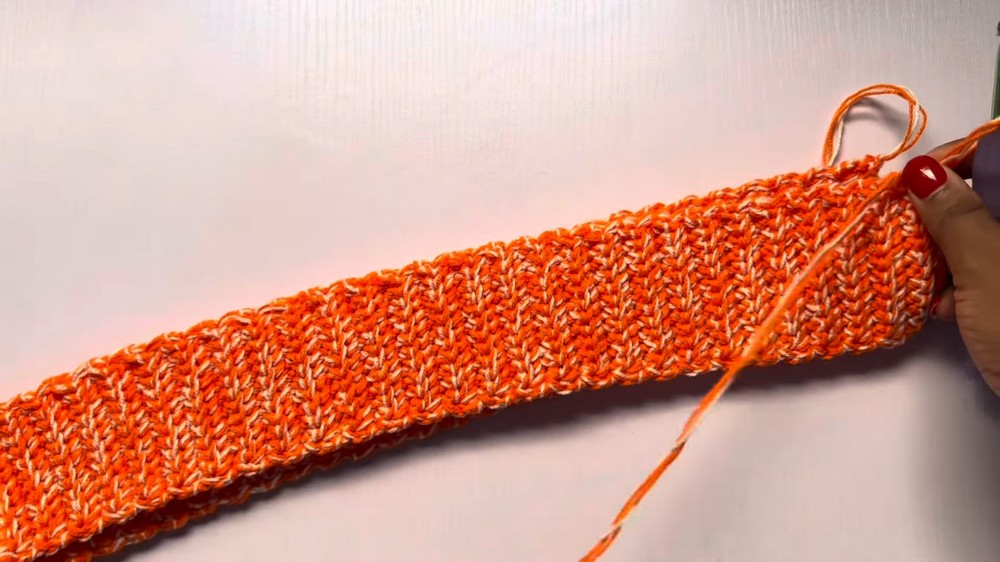
- Elastic Band Foundation: Start with a ribbed waistband made by working single crochets in back loops only to create stretch and texture.
- Measurement-Based Crocheting: Personalized fit using your hip, length, and thigh measurements.
- Shaping with Increases: Carefully placed increases create the shorts’ structure and slight flare.
- “Bridge” Structure for Legs: Chains mark the divides for the two legs, with seamless shaping in the round.
- Drawstring or Elastic Band Option: Add a finishing touch with a drawstring for adjustability or an elastic for extra snugness.
Expanded Description
These crochet shorts begin with a stretchy waistband, making single crochets worked in back loops only in vertical rows. This technique naturally creates an elastic ribbing, allowing the shorts to comfortably hug your waist. You’ll measure your hip circumference and crochet enough rows to match, ensuring a snug yet flexible fit. Once the band is complete, it’s joined seamlessly using slip stitches to form a loop—ready for the body of the shorts.
The body section of the shorts is worked in rounds. Start by crocheting single crochets around the waistband to establish a clean base, followed by rows of double crochets. Strategic increases are added at specific points in the front and back to shape the shorts. These increases make sure the fabric conforms comfortably to your hips and thighs while giving a polished finish.
The real ingenuity comes with the “bridge” construction for the legs. Chains are worked across the middle of the shorts, dividing the piece into two symmetrical halves for the legs. This creates an intentional structure and marks the foundation for working the leg portions. The legs themselves are crocheted in rounds from the newly formed “bridge” outward, using rows of double crochet. The length is entirely customizable, allowing you to create shorts that are as short or long as you like.
Finally, finish off the look with either a drawstring or a sewn-in elastic band—whichever feels more comfortable or aligns with your style. You can also add a row of single crochets to the waistband for a more solid edge and weave in all your ends for a tidy result.

Video Tutorial
Step-by-Step Pattern
Materials
Ensure you have all the required materials prepared before starting your pattern:
- Yarn: Cake yarn (self-made or purchased), preferably a medium-weight yarn. If you’d like a fuller texture, combine three strands of yarn together.
- Crochet Hook: 4 mm hook size.
- Measurement Tape: To measure your waist, hips, thighs, and the desired length of the shorts.
- Tapestry Needle: For weaving in ends.
- Stitch Markers: To mark increases or critical stitches.
- Scissors: To cut off yarn ends.
- Optional: Elastic band (for the waistband) or drawstring.
Pattern Instructions
Step 1: Create the Waistband
- Begin by measuring your hips with a measurement tape. This will determine the total length of the waistband.
- Chain 12 to start. Add an additional chain for turning.
- Row 1 (Foundation ROW): SC into the second chain from the hook and each subsequent chain. (12 SCs total)
- Row 2: Chain 1, turn your work. SC into the first stitch (picking both front and back loops). For the remaining stitches, work SC into the back loops only to create elasticity.
- Repeat Row 2 until the waistband reaches the desired circumference (e.g., for 44-inch hips, 120 rows). Ensure the band fits snugly but comfortably.
- Join the Band: Use SL ST to seam the two ends of the band together, picking front loops only during the seam to retain the elasticity.
Step 2: Body of the Shorts
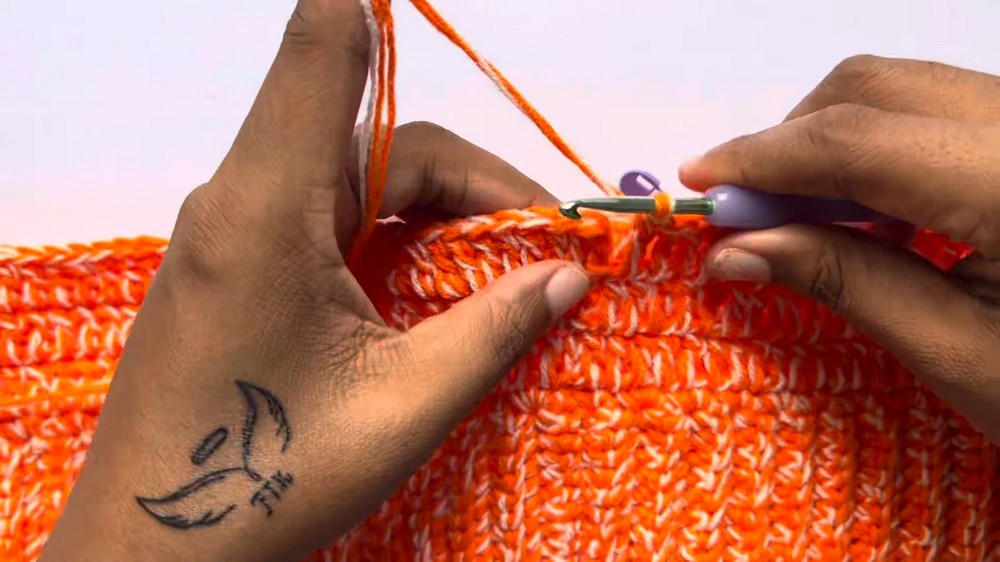
- Chain 1 and turn your work. Begin working SC stitches around the band to create the foundation row for the body.
- Count the total number of stitches around the band (e.g., 120 stitches were used for the tutorial). Ensure consistency.
- Row 1 (Foundation DC Row): Chain 2, then work DC into each stitch around. Slip stitch to join at the end of the row.
- Increase Rows:
- Row 2: Add increases by working 2 DC into the middle stitch of each side (using stitch markers for placement). Continue with DC across all other stitches.
- Row 3: Work 1 DC into the first two stitches, then 2 DC each into two consecutive stitches in the middle (increase points). Continue DC across for the rest of the row.
- Row 4: Add 5 regular DC, then increase on the 6th by working 2 DC into the stitch. Repeat the same increase pattern at marked middle sections.
- After completing the increase rows for shaping, continue working regular DC around the shorts until the body reaches your desired vertical length (e.g., 15 rows for an 8-inch length).
Step 3: Divide for the Thighs
- Mark the center of the shorts (front and back) with stitch markers to divide it into two equal sections for each thigh.
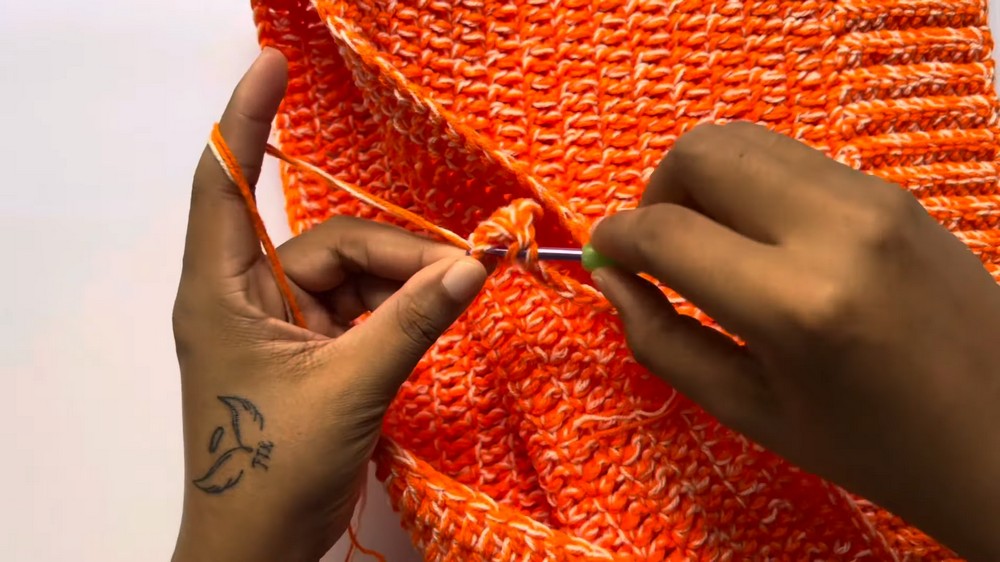
- For the bridge that connects the legs:
- Reattach your yarn at the middle point and chain enough stitches to create the bridge (e.g., 20 chains were used for a large size). Adjust chain length based on your measurements and fit.
- Slip stitch the chain to the corresponding middle section on the opposite side. Cut off the yarn and secure the ends.
- Work DC stitches around the entire leg opening, including bridging chains. Count each stitch carefully to ensure symmetry.

Step 4: Create the Legs
- First Leg:
- Attach yarn at the center of one thigh opening.
- Work DC around, ensuring continuous rounds. Add rows until your desired length is achieved. Try 6–7 rows for standard shorts, or add more for longer styles.
- Second Leg:
- Repeat the same process for the other leg, ensuring the row count and stitch count match the first leg.
Step 5: Finishing Touches
- Work SC around the waistband for added firmness.
- Add a drawstring by chaining 250 (approx.) and threading it through the waistband. Alternatively, insert an elastic band for a snug fit (tutorial provided in the video link).
- Weave in all loose ends with a tapestry needle to clean up your pattern.
Step 6: Customization Ideas
- Add decorative trim near the thighs using SC or a shell stitch pattern.
- Experiment with different yarn colors to make patterned shorts.
- Transform shorts into pants by continuing the DC rows in both leg openings.
Troubleshooting and Suggestions
Common Issues:
- Uneven Stitch Counts: Be sure to count your stitches periodically, especially when working in the round or adding increases. Use stitch markers to easily mark key sections like the “bridge” or increase points.
- Trouble with Elasticity: If your waistband feels too rigid, check that you’re consistently using single crochets in the back loops only. This technique is key to achieving the stretch.
- Bridge Centering: Ensure the “bridge” chains are located at the exact middle of the shorts by evenly dividing the stitch count between the two “legs.” Misplacement may result in uneven leg lengths.
Creative Options:
- Color Blocks or Stripes: Switch up colors for the waistband, body, or legs to create a bold, playful effect.
- Embellishments: Add pom-poms to the drawstring ends or edge the legs with a decorative stitch, such as shell or picots, for a unique touch.
- Alternate Fit: Turn the shorts into full-length pants by extending the leg rows.
- Different Yarn Weights: Play with lighter yarns like cotton for summer shorts, or bulkier options for cozy winter wear.


