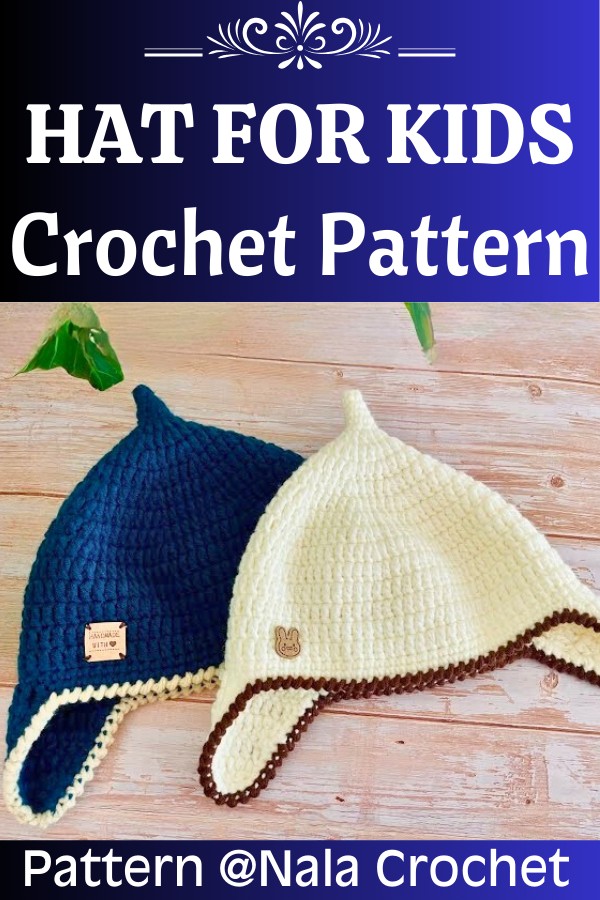
How to Crochet a Comfortable and Adorable Hat for Kids
Few handmade pieces capture childhood charm as beautifully as this cozy crochet hat. Created with comfort and everyday wear in mind, this soft and stretchy piece keeps little heads warm while adding a sweet touch to any outfit.
Its simple texture makes the finished item look polished without feeling complicated. The result is a practical accessory that children will love wearing throughout the cooler season.
Crochet Hat for Kids
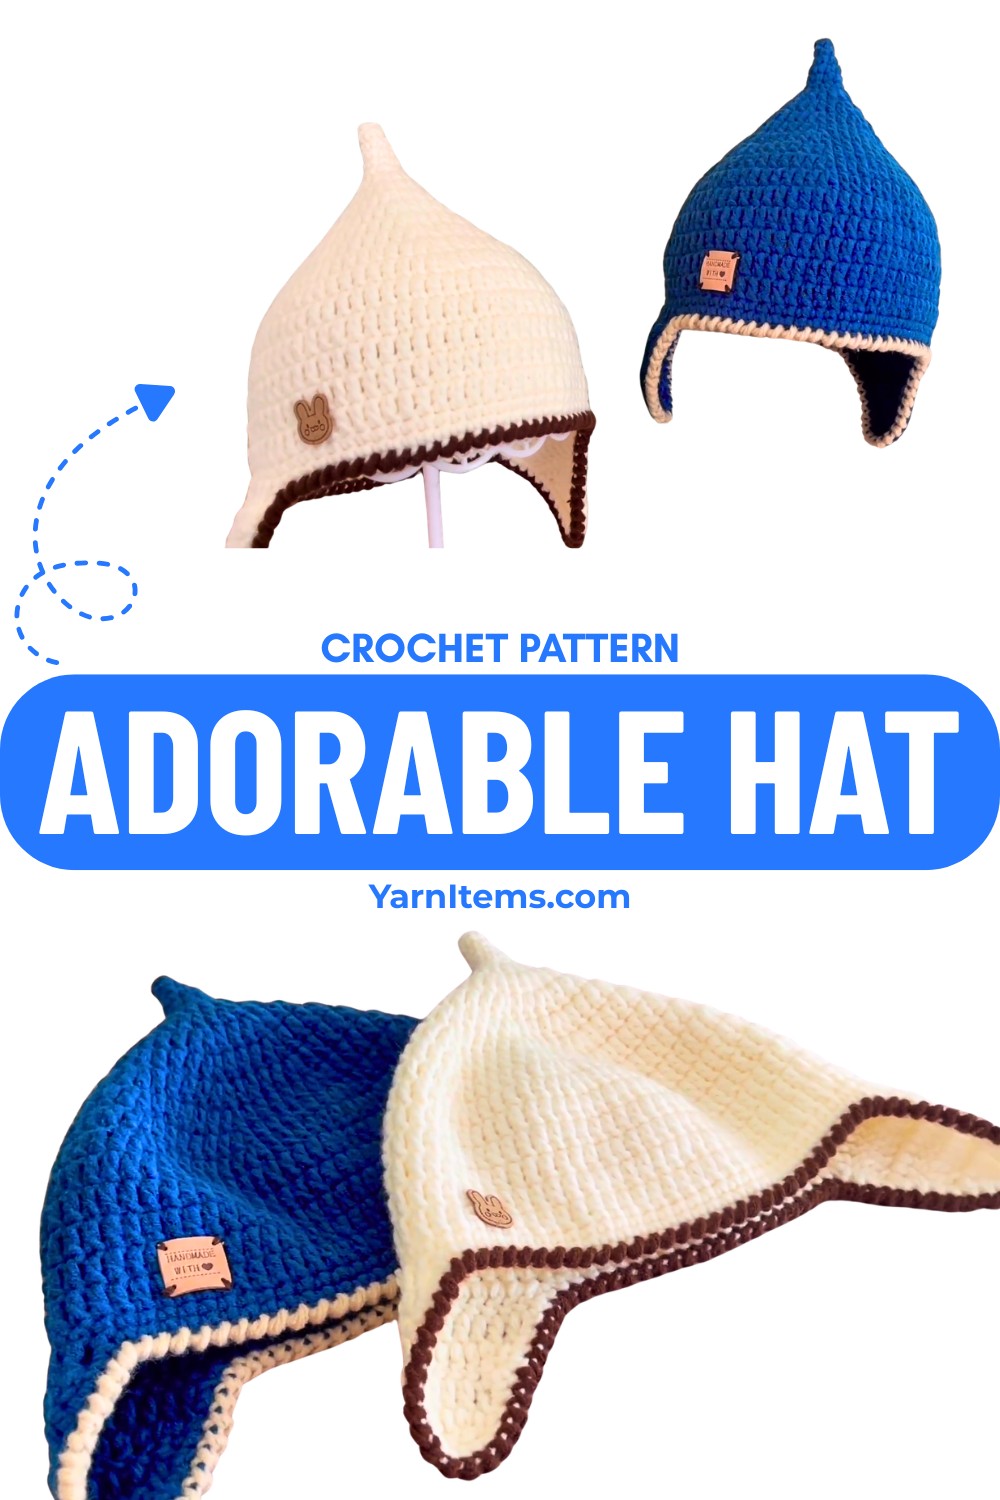
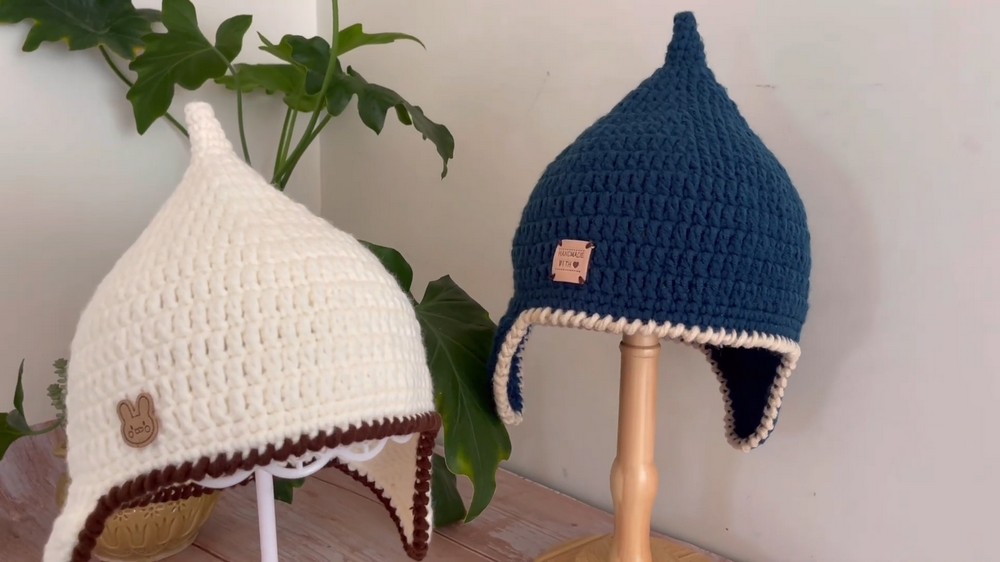
A thoughtful design makes this crochet hat suitable for beginners while still producing a beautiful finished piece. The flexible fit works well for kids of different ages, making it a wonderful choice for personal use or as a heartfelt handmade gift. Every stitch adds warmth, softness, and lasting comfort to the finished item. It’s a delightful crochet piece that blends style, function, and handmade charm in every row.
Credit Nala Crochet
Kids’ Crochet Earflap Hat: Pattern Overview
This step-by-step pattern is adapted from Nala Crochet’s tutorial to create an adorable earflap hat for kids, combining charm and functionality. Below, you’ll find useful tips, techniques, material requirements, and a detailed guide on how to make this crochet project from start to finish.
Don’t Start Until You Read This
Key Techniques
- In-the-Round Construction: The hat’s body is worked in joined rounds, starting from the crown and progressing downward.
- Earflaps & Edging: The earflaps are worked in rows, attached to the bottom rim, followed by a finishing border and reverse single crochet (crab stitch) for texture.
Important Rules
- Chains Do Not Count as Stitches: Ignore turning chains when counting stitches in double crochet rounds. Always join rounds by slip stitching into the first “real” stitch.
- Seamless Techniques:
- Smooth Seam at Crown: Keep join lines invisible by gently pulling the tail or central loop during starting rounds.
- Neat Earflap Edges: Insert your hook into the body loops (not chain loops) during decreases to avoid uneven edges.
Materials & Tools Needed
-
Yarn: Medium / Worsted weight acrylic yarn (approx. 4.5 mm thick)
-
Crochet Hook: 4.5 mm crochet hook
-
Tapestry / Yarn Needle: For weaving in ends
-
Scissors
Gauge
- Target Gauge:
- 16 sts x 8 rows = 4 × 4 inches (10 × 10 cm) in double crochet with a 4.5 mm hook.
Pattern Notes
- Joining Method: Use slip stitch (sl st / C) to join rounds.
- Turning Chains:
- Ch 1 for single crochet;
- Ch 2 for double crochet.
- Repeats: Increase rounds are separated into 8 sections for uniform growth.
Abbreviations & Terminology
-
ch: Chain
-
sl st / C: Slip Stitch (ปิดงาน / C)
-
sc / x: Single Crochet (x)
-
dc / f: Double Crochet (f)
-
inc / v: Single Crochet Increase (2 sc in same st)
-
dc inc / V: Double Crochet Increase (2 dc in same st)
-
dc2tog / A: Double Crochet Decrease / Cluster across 2 sts
Finished Size
- Fits toddlers / young children with a 18–20 inch head circumference.
Customization Ideas
- Braided Ties: Attach ties to earflap tips.
- Pom-Poms: Add a faux-fur or yarn pom-pom to the crown.
- Animal Ears: Bear, cat, or bunny ears for playful designs.
Helpful Tips
- Stitch Totals: Check counts at the end of each round.
- Tension: Keep consistent tension while shaping earflaps and decreasing rows.
Step-by-Step Instructions
Part 1: Crown & Top Increase Rounds
Rounds 1–14
- Round 1:
- Instructions: Lock yarn onto hook, make 4 single crochet (sc) into a central loop. Join with a slip stitch (sl st) to the 1st sc.
- Stitch Count: (4 sts)
- Round 2:
- Instructions: Chain 1 (Ch 1). Sc in each of the 4 stitches. Join with a sl st to the 1st sc.
- Stitch Count: (4 sts)
- Round 3:
- Instructions: Ch 1, repeat [1 sc, 1 sc increase (inc)] 2 times. Join with a sl st to the 1st sc.
- Stitch Count: (6 sts)
- Round 4:
- Instructions: Ch 1, sc in each of the 6 stitches. Join with a sl st to the 1st sc.
- Stitch Count: (6 sts)
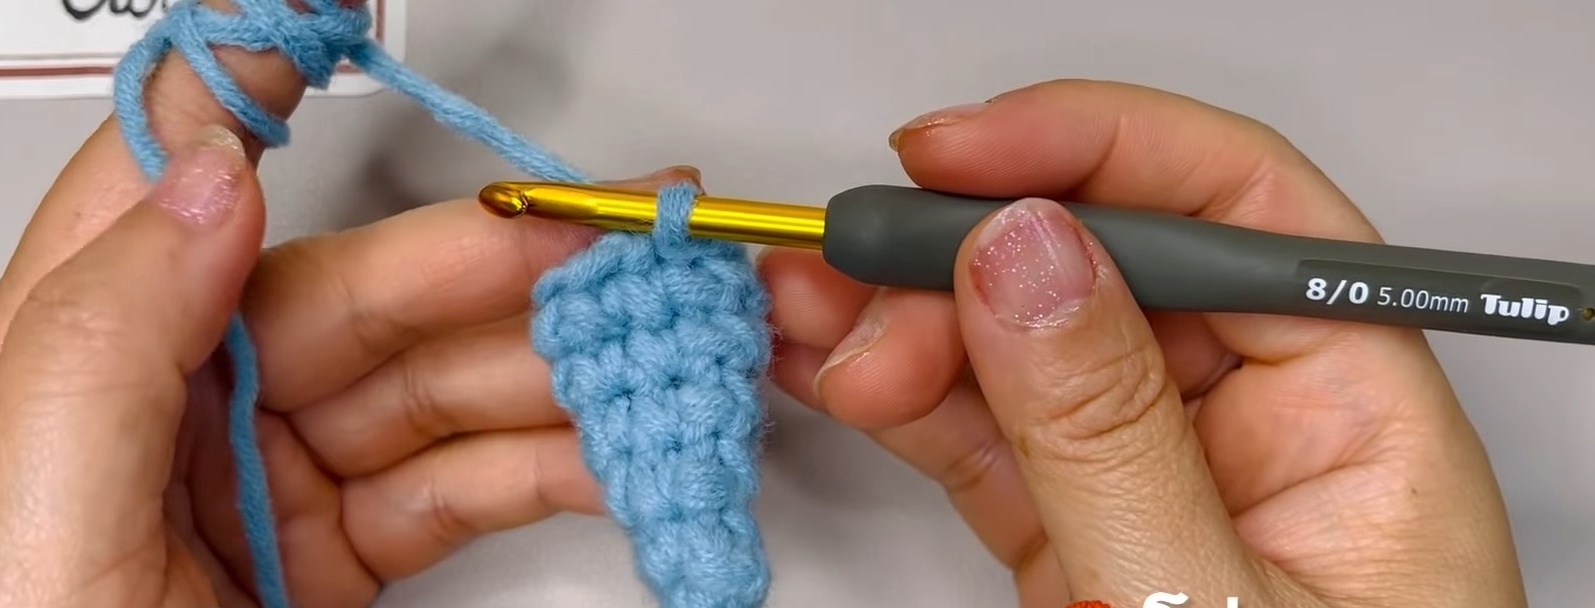
- Round 5:
- Instructions: Ch 1, repeat [2 sc, 1 sc inc] 2 times. Join with a sl st to the 1st sc.
- Stitch Count: (8 sts)
- Round 6:
- Instructions: Ch 1, sc in each of the 8 sts. Join with a sl st to the 1st sc.
- Stitch Count: (8 sts)
- Round 7:
- Instructions: Ch 2 (does not count as a stitch). Work 2 double crochets (dc inc) in each stitch around. Join with a sl st to the 1st dc.
- Stitch Count: (16 sts)
- Round 8:
- Instructions: Ch 2, repeat [1 dc, 1 dc inc] 8 times. Join with a sl st to the 1st dc.
- Stitch Count: (24 sts)
- Round 9:
- Instructions: Ch 2, repeat [2 dc, 1 dc inc] 8 times. Join with a sl st to the 1st dc.
- Stitch Count: (32 sts)
- Round 10:
- Instructions: Ch 2, repeat [3 dc, 1 dc inc] 8 times. Join with a sl st to the 1st dc.
- Stitch Count: (40 sts)
- Round 11:
- Instructions: Ch 2, repeat [4 dc, 1 dc inc] 8 times. Join with a sl st to the 1st dc.
- Stitch Count: (48 sts)
- Round 12:
- Instructions: Ch 2, repeat [5 dc, 1 dc inc] 8 times. Join with a sl st to the 1st dc.
- Stitch Count: (56 sts)
- Round 13:
- Instructions: Ch 2, repeat [6 dc, 1 dc inc] 8 times. Join with a sl st to the 1st dc.
- Stitch Count: (64 sts)
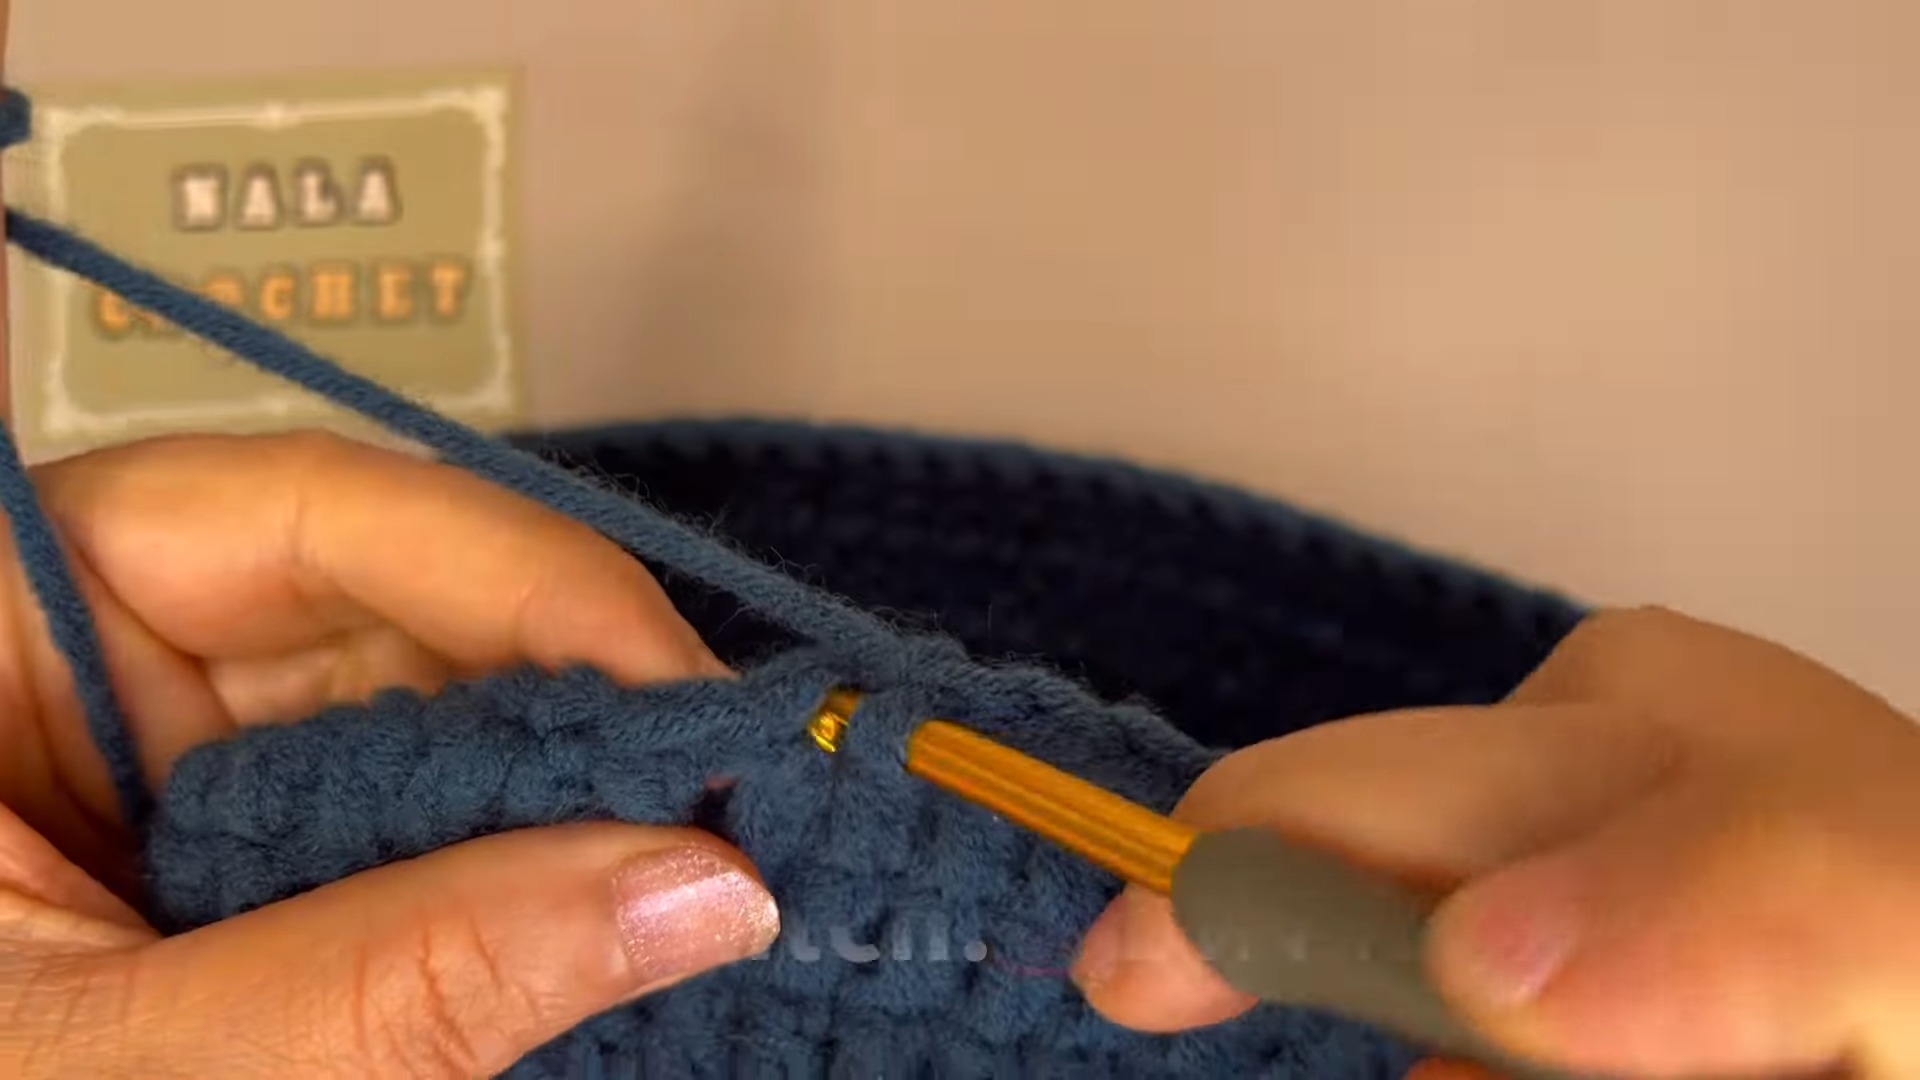
- Round 14:
- Instructions: Ch 2, repeat [7 dc, 1 dc inc] 8 times. Join with a sl st to the 1st dc.
- Stitch Count: (72 sts)
Part 2: Hat Body & Lower Rim
Rounds 15–20
- Rounds 15–19 (5 Rounds):
- Instructions: Ch 2, dc in each of the 72 sts. Join with a sl st to the 1st dc.
- Stitch Count: (72 sts per round)
- Round 20:
- Instructions: Ch 1, sc in each of the 72 sts to reinforce the edge. Join with a sl st to the 1st sc. Do not cut yarn.
- Stitch Count: (72 sts)
Part 3: Earflaps
First Earflap (Worked Back-and-Forth in Rows)
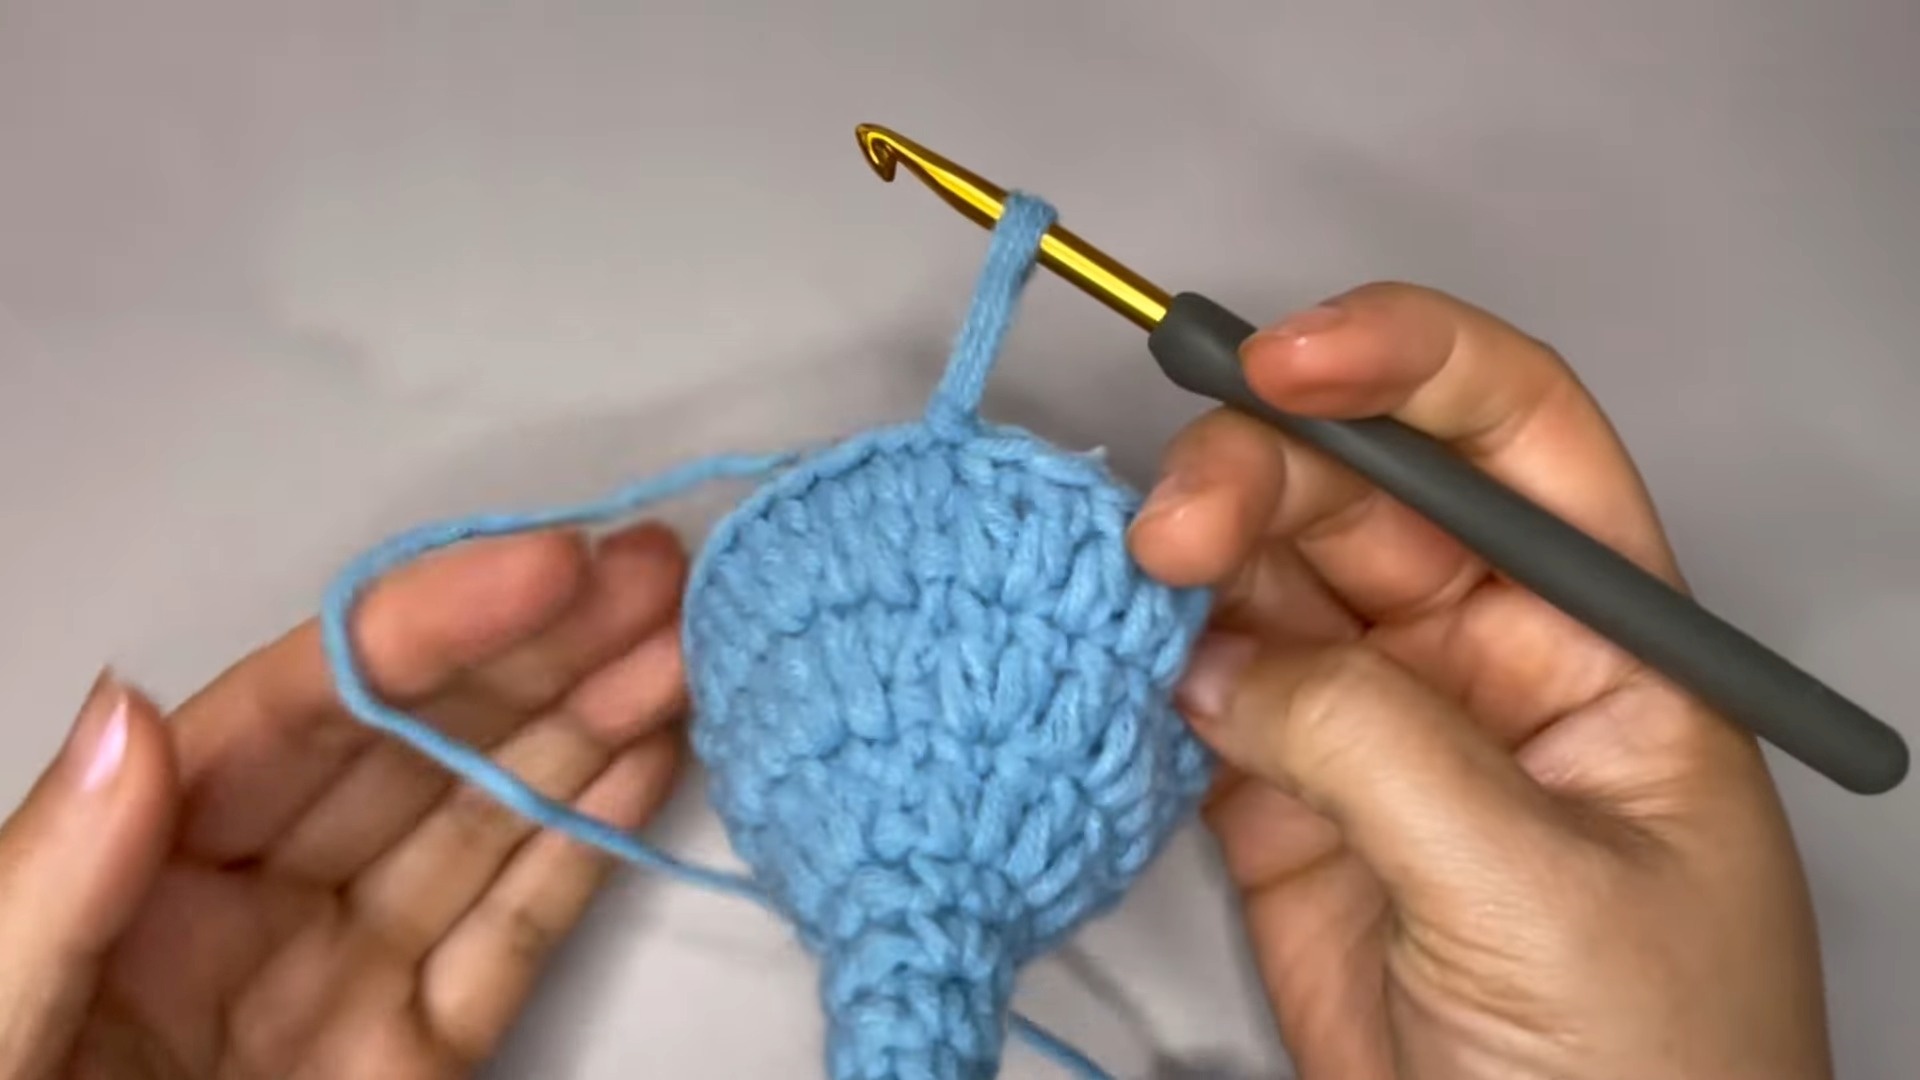
- Row 1:
- Instructions: Ch 2, turn. Dc into the 1st stitch and next 10 sts.
- Stitch Count: (11 sts)
- Row 2:
- Instructions: Ch 2, turn. Dc2tog over the first 2 sts, dc in the next 7 sts, dc2tog over the last 2 sts.
- Stitch Count: (9 sts)
- Row 3:
- Instructions: Ch 2, turn. Dc2tog over the first 2 sts, dc in the next 5 sts, dc2tog over the last 2 sts.
- Stitch Count: (7 sts)
- Row 4:
- Instructions: Ch 2, turn. Dc2tog over the first 2 sts, dc in the next 3 sts, dc2tog over the last 2 sts.
- Stitch Count: (5 sts)
- Row 5:
- Instructions: Ch 2, turn. Dc2tog over the first 2 sts, dc in the next st, dc2tog over the last 2 sts. Fasten off.
- Stitch Count: (3 sts)
Second Earflap
- Placement: Count 20 stitches along the front rim from the end of the first earflap to establish the forehead gap. Reattach yarn in the 21st stitch.
- Rows 1–5: Repeat Rows 1–5 of the first earflap instructions.
- Ending Stitch Count: (3 sts on Row 5)
Assembly & Finishing
1. Stabilizing Border
- Instructions: Reattach yarn. Work 1 full round of sc along the outer edge of the hat rim and around both earflaps. Place 2 sc into each row post around earflaps to stabilize the shape.
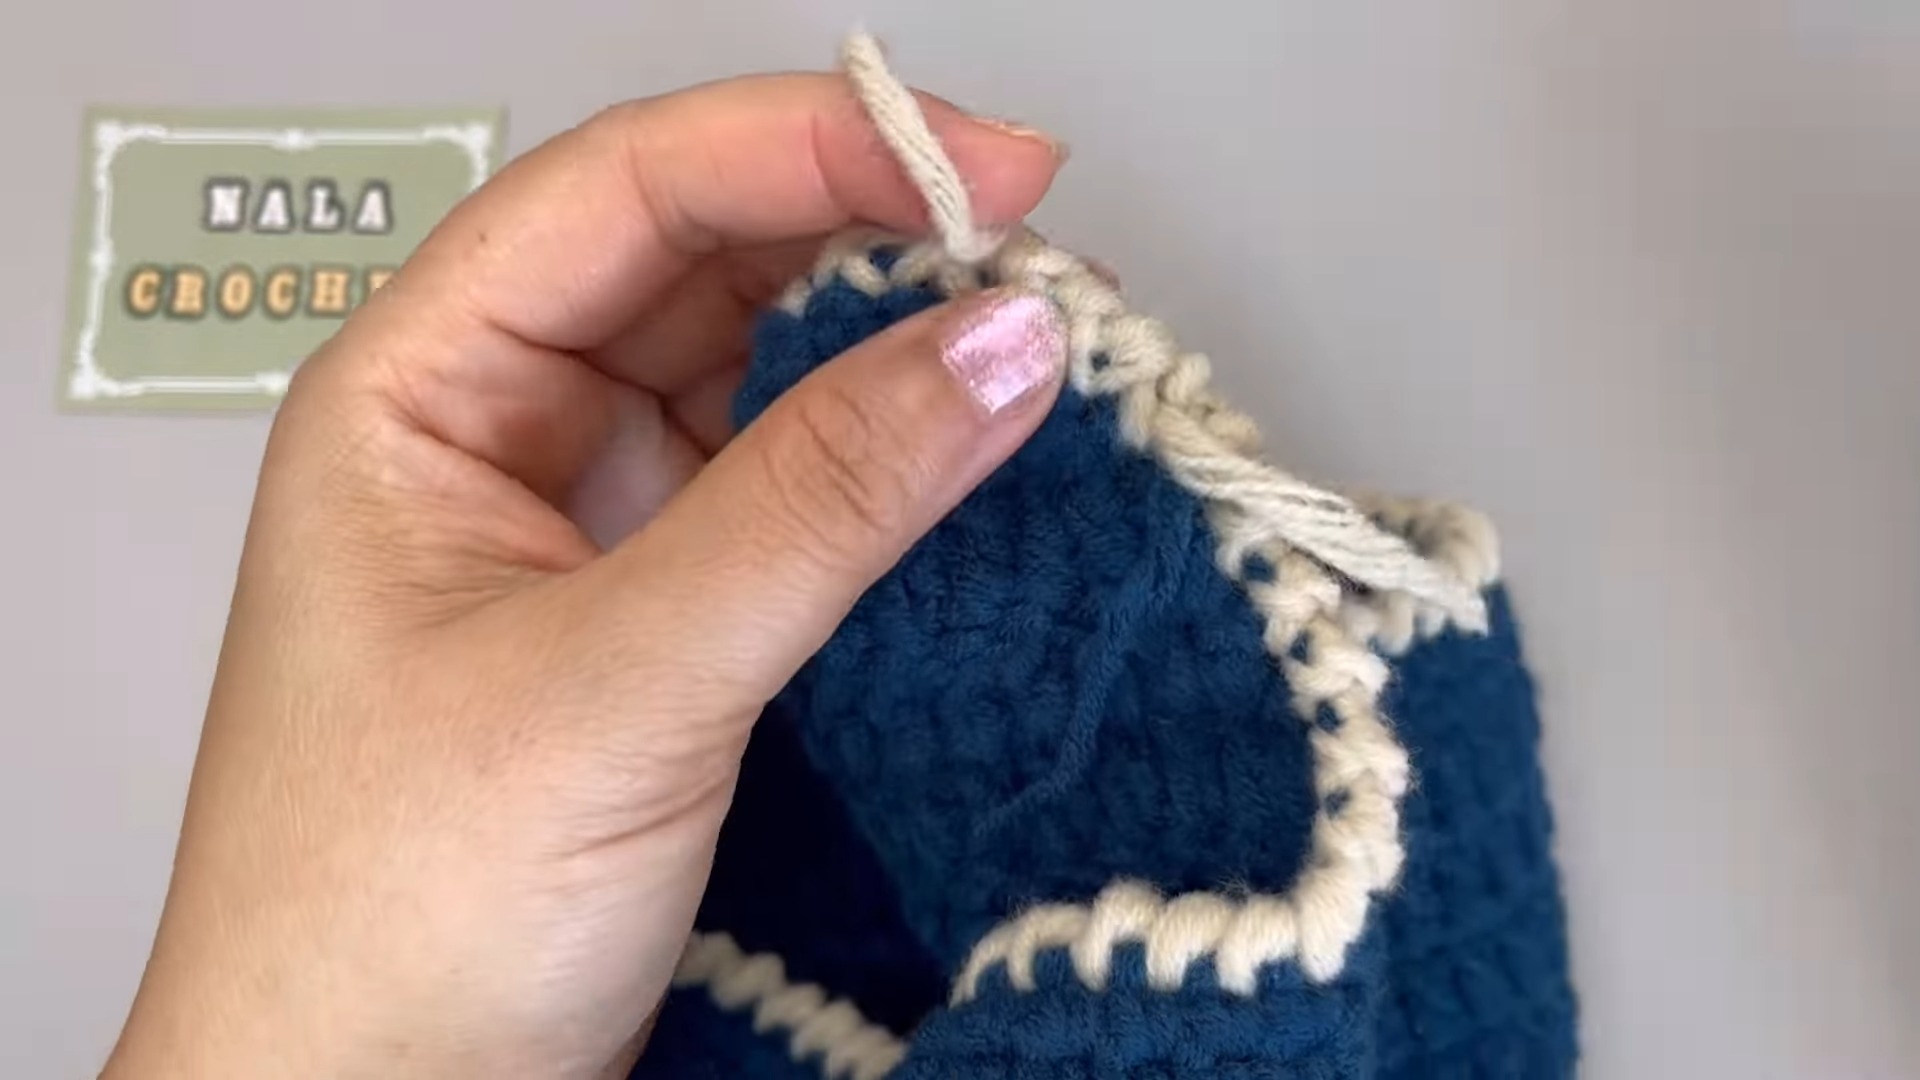
2. Decorative Trim
- Instructions: Work a round of Crab Stitch (Reverse Single Crochet) around the hat’s edge for a textured border.
3. Weave in Ends
- Instructions: Cut yarn, leaving a tail. Pull through and firmly weave in all loose ends using a tapestry needle.
Final Tips
- Symmetry: Double-check both earflaps for symmetry; ensure 20 sts between them.
- Edge Stability: Confirm the reverse sc trim holds the hat’s shape securely.