Crochet Puffy Star and Moon Keychains – Amigurumi Charms
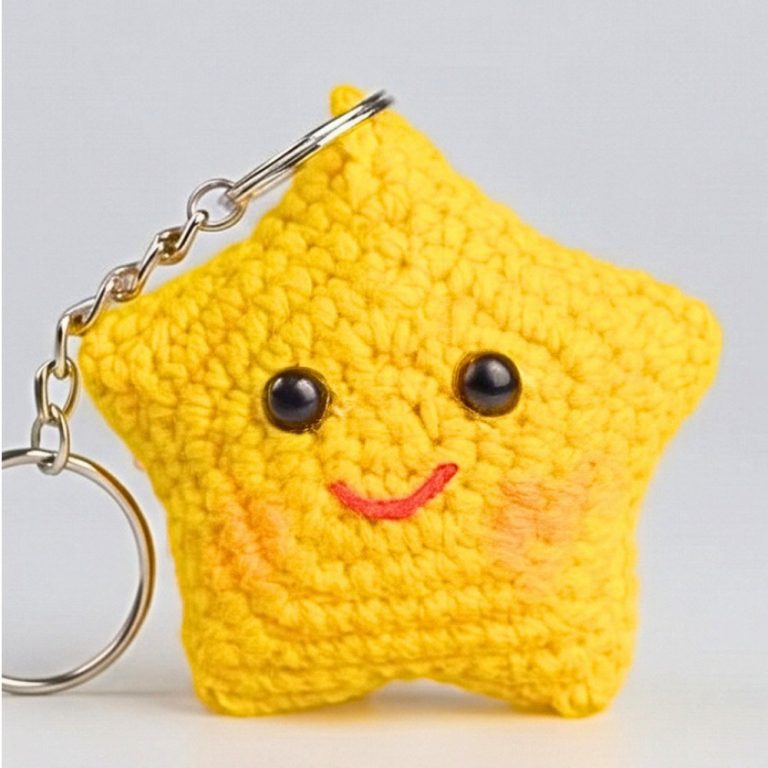
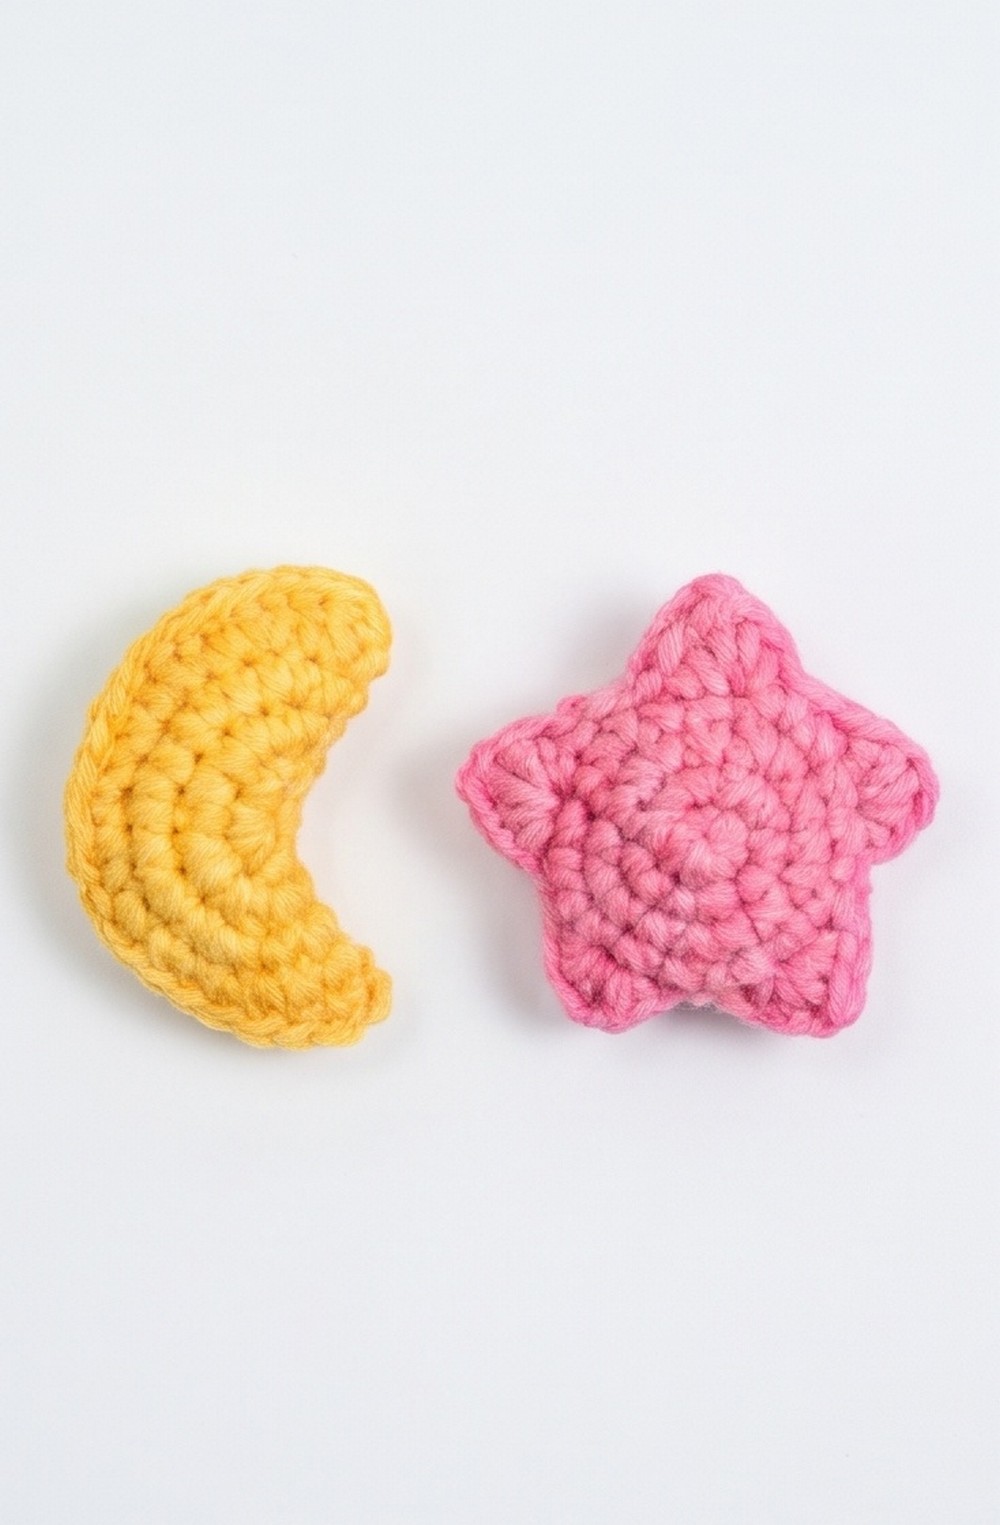
Turn soft pink stars and cheerful yellow crescent moons into tiny puffy crochet charms for keychains, bags, and zipper pulls.
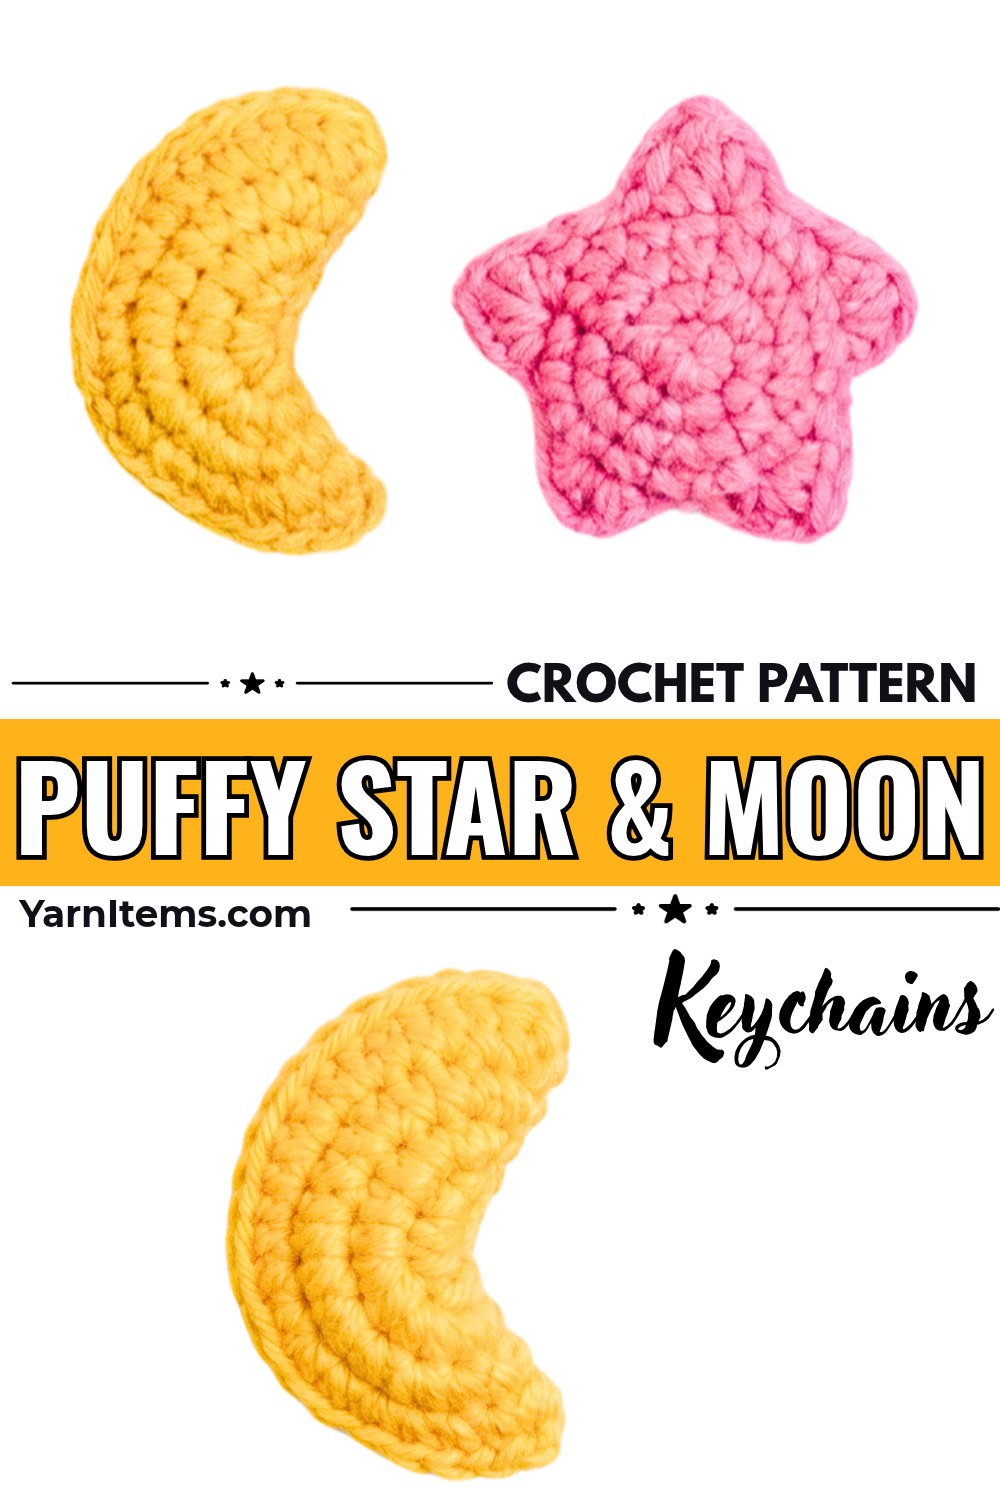
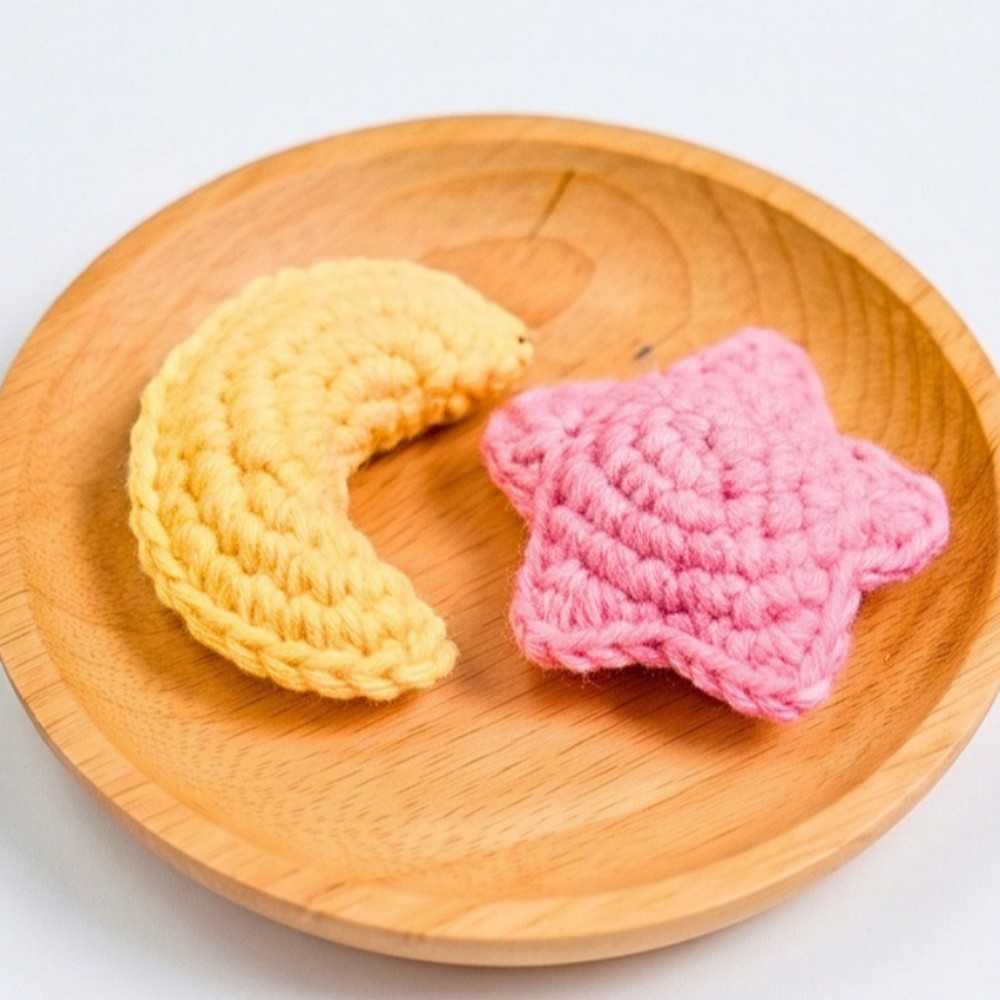
Small crochet accessories can make everyday items feel more personal, and these padded star and crescent moon charms add a playful touch without using much yarn. Their soft stuffing gives them a three-dimensional finish, making them especially cute as matching bag charms or lightweight crochet keychains.
You will crochet two matching pieces for each shape, sew the edges together, and add a little polyfill stuffing for a puffy finish. The instructions also cover neat assembly, secure yarn finishing, and attaching the completed charms to keychain hardware.
Credit Betty’s.Crochi
Finished Size & Customization Ideas
Each finished charm measures approximately 5 cm (2 inches), making these small, lightweight accessories suitable for:
- Keychains
- Bag charms
- Zipper pulls
- Matching accessory sets
Customization Ideas
- Pastel Colors: Use soft pink, yellow, lavender, mint, or other gentle shades.
- Bright Colors: Try neon colors for a bold accessory.
- Seasonal Colors: Choose orange and purple for Halloween or red and green for Christmas.
- Paired Charms: Attach a star and crescent moon together to a split-ring keychain chain for a coordinated set.
You can make several stars and moons in different colors to create matching accessories for friends or family.
Materials & Tools Needed
- Yarn: 5-ply Milk Cotton yarn. Use yellow for the crescent moon and pink for the star, or choose your own colors.
- Crochet Hook: 2.5 mm crochet hook.
- Polyfill Stuffing: A small amount for filling the charms.
- Tapestry Sewing Needle: For stitching the matching pieces together and hiding yarn tails.
- Scissors: For cutting the yarn.
- Keychain Hardware: Keychain findings or split-ring attachments.
- Craft Glue: Optional, for additional securing where appropriate.
Pattern Abbreviations & Terminology
- R: Round / Row
- Ch: Chain
- Mr: Magic Ring
- St: Stitch
- Sc: Single Crochet
- Inc: Increase (2 sc worked into the same stitch)
- Dec: Decrease
- Hdc: Half Double Crochet
- Dc: Double Crochet
- Slst: Slip Stitch
- FLO: Front Loop Only
- BLO: Back Loop Only
Before You Begin
Both designs are made from two matching crochet pieces. The star uses five pointed sections around its outer edge, while the moon uses a circular base that develops into the crescent shape through its later rounds.
After crocheting the pieces, place each matching pair together and sew around the edges. Leave a small opening for stuffing, then close it completely. Keep the yarn tail on the second piece of each pair long enough for sewing.
Part 1: Crochet the Puffy Star
Make 2 identical star pieces using your main color, such as pink. Work the rounds in the sequence provided, shaping the five points in the final round.
Round 1 – Star Center (5 Sts)
- Make a magic ring.
- Work 5 sc into the ring.
- Pull the yarn tail tightly to close the center.
color=”secondary” size=”sm”>Stitch count: 5 sts.
Why this round matters: The magic ring creates the small center from which the star will expand. Pulling it closed prevents an unwanted hole in the middle of the finished charm.
Round 2 – First Increase Round (10 Sts)
- Work a slst.
- Ch 1.
- Work 5 inc around, placing 2 sc into each stitch.
color=”secondary” size=”sm”>Stitch count: 10 sts.
The increases double the stitch count and widen the center, giving enough space for the following round.
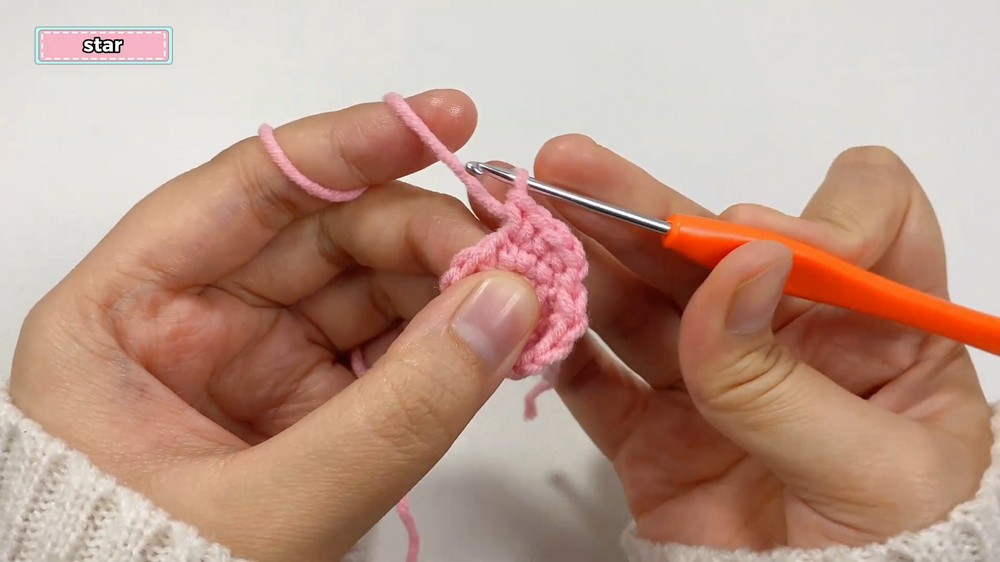
Round 3 – Second Increase Round (15 Sts)
- Work a slst.
- Ch 1.
- Repeat the following sequence 5 times around:
- 1 sc
- 1 inc
<text color=”secondary” size=”sm”>Stitch count: 15 sts.</text>
This round continues expanding the star base. The regular stitches between increases help distribute the extra stitches around the shape.
Round 4 – Third Increase Round (20 Sts)
- Work a slst.
- Ch 1.
- Repeat the following sequence 5 times around:
- 2 sc
- 1 inc
color=”secondary” size=”sm”>Stitch count: 20 sts.
What happens next: This is the final increase round before shaping the points. The next round changes the stitch heights to create the star’s outer outline.
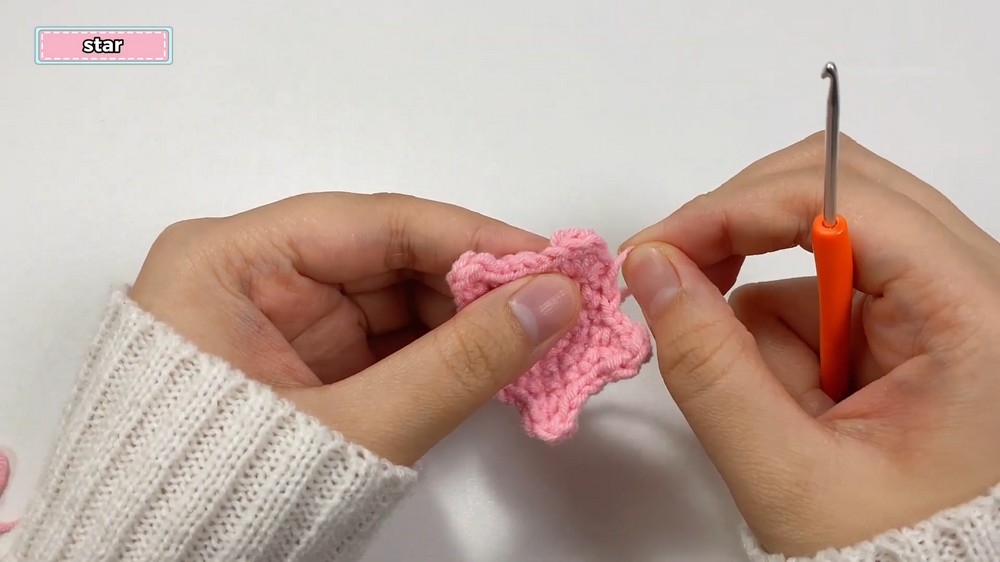
Round 5 – Forming the 5 Points
- Work a slst.
- Ch 1.
- Repeat the following point sequence 5 times around:
- 1 sc
- 1 hdc
- 1 dc
- 1 hdc
- 1 sc
- 3 slst
- Finish with a slip stitch.
- On the first star piece, cut the yarn.
- On the second star piece, leave a long yarn tail for sewing.
The taller dc in each sequence helps form the pointed sections, while the shorter stitches shape the transitions between them. The slip stitches create the lower sections between the points.
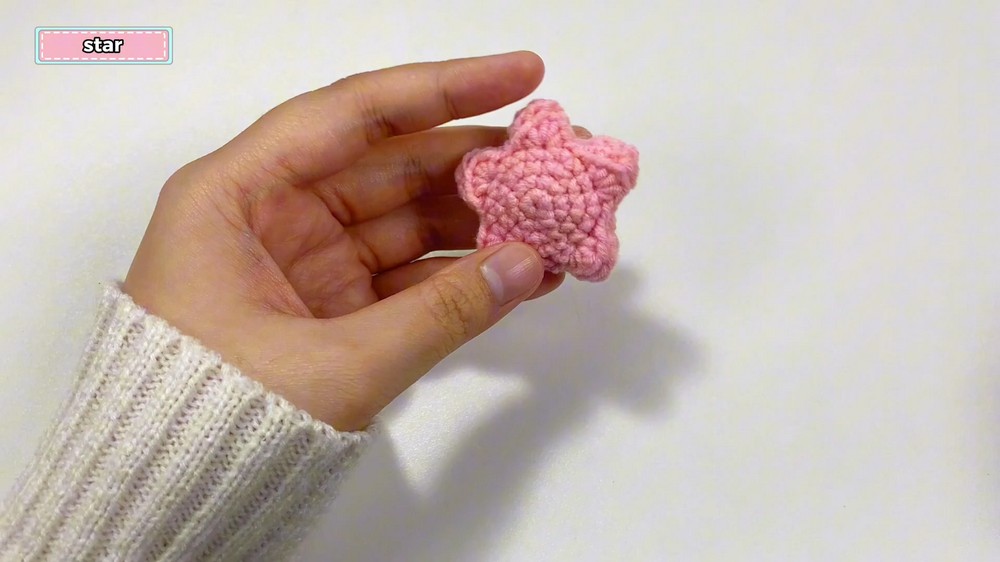
Part 2: Crochet the Puffy Crescent Moon
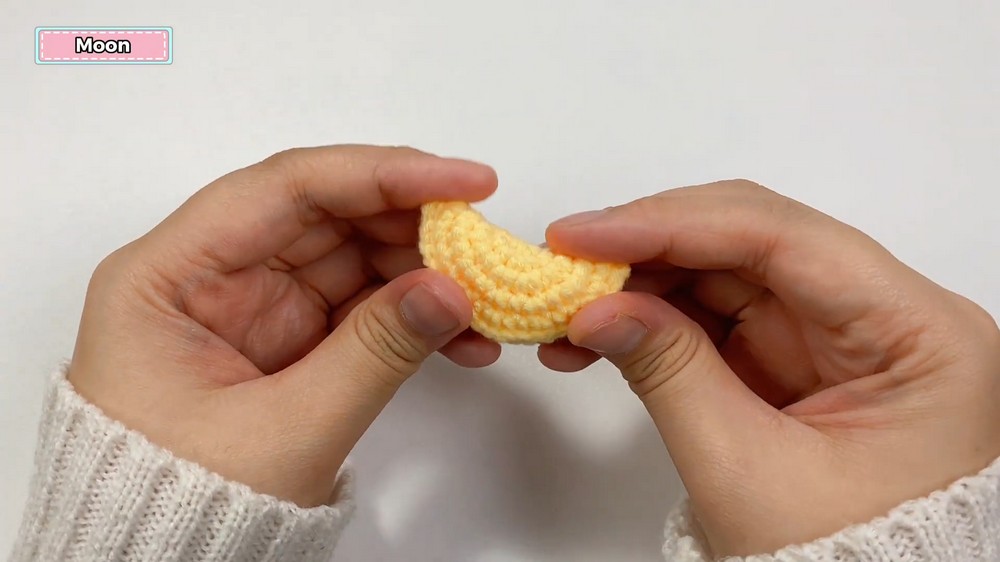
Make 2 identical moon pieces using a contrasting color, such as yellow. The moon begins with a magic ring and expands through five rounds.
Round 1 – Moon Center (6 Sts)
- Make a magic ring.
- Work 6 sc into the ring.
- Pull the yarn tail tightly to close the center.
color=”secondary” size=”sm”>Stitch count: 6 sts.
This small center forms the starting point for the moon shape.
Round 2 – First Increase Round (12 Sts)
- Work a slst.
- Ch 1.
- Work 6 inc around, placing 2 sc into each stitch.
color=”secondary” size=”sm”>Stitch count: 12 sts.
The increases expand the center evenly and prepare it for the next round.
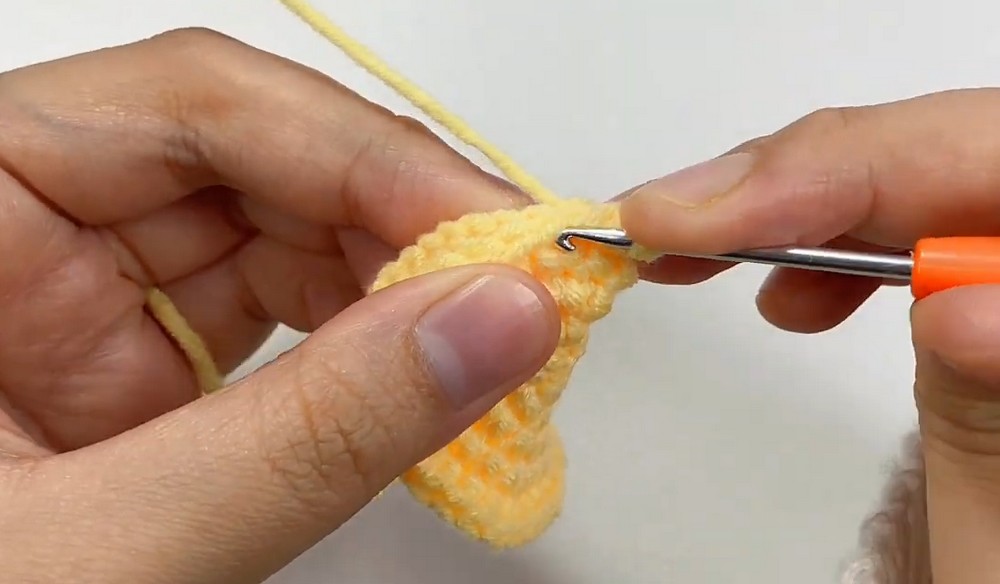
Round 3 – Second Increase Round (24 Sts)
- Work a slst.
- Ch 1.
- Work 12 inc around, placing 2 sc into each stitch.
color=”secondary” size=”sm”>Stitch count: 24 sts.
The stitch count doubles again, creating a wider base for the crescent.
Round 4 – Third Increase Round (36 Sts)
- Work a slst.
- Ch 1.
- Repeat the following sequence 12 times:
- 1 sc
- 1 inc
color=”secondary” size=”sm”>Stitch count: 36 sts.
The increases are now spaced between regular single crochets, continuing to expand the shape.
Round 5 – Fourth Increase Round (48 Sts)
- Work a slst.
- Ch 1.
- Repeat the following sequence 12 times:
- 2 sc
- 1 inc
color=”secondary” size=”sm”>Stitch count: 48 sts.
- On the first moon piece, cut the yarn.
- On the second moon piece, leave a long yarn tail for sewing.
Why the increase spacing changes: Each round adds stitches at wider intervals. This expands the crochet piece while distributing the increases around the shape.
Part 3: Assemble the Puffy Charms
Once both star pieces and both moon pieces are complete, assemble each matching pair separately.
Position the Matching Pieces
- Take the two star pieces and place them together.
- Position them with their wrong sides facing inward, so the right sides face outward.
- Match the points and outer edges.
- Repeat the same arrangement with the two moon pieces.
Why this positioning matters: Keeping the right sides facing outward ensures that the neat crochet surfaces remain visible on both sides of the finished charm.
Sew the Outer Edges
- Thread the long yarn tail from the second piece onto your tapestry needle.
- Align the outer edges of the two matching pieces.
- Use a whipstitch or mattress stitch to sew around the edges.
- Keep the stitches close enough to hold the pieces together securely.
- Continue sewing until approximately three-quarters of the edge is closed.
At this point, leave a small opening for the stuffing.
Add the Polyfill Stuffing
- Take a small amount of polyfill.
- Insert it through the remaining opening using your fingers or tweezers.
- Distribute the stuffing gently inside the charm.
- Add enough to make the shape plump and puffy without stretching the crochet stitches.
- Check that the stuffing reaches the outer sections, including the star points and moon tips.
Why you should pause before closing: Leaving the opening until the charm is about three-quarters sewn allows you to add stuffing without forcing it through a very small gap.
Close the Opening
- Continue sewing the remaining edge.
- Keep the stitches consistent with the rest of the seam.
- Close the opening completely.
- Secure the yarn with a firm finishing knot.
Repeat the same assembly process for the second charm.
Part 4: Secure the Keychain Attachment
The final attachment is important because these charms may be pulled or handled regularly when used on bags, keys, and zippers.
- Choose the keychain finding you want to use.
- Position the charm so it hangs in the intended direction.
- Attach the keychain hardware securely using the method demonstrated in the original tutorial.
- Check that the attachment point is firm and that the charm does not turn awkwardly when held.
- If using craft glue as an optional extra, apply it only where appropriate for the chosen hardware and material, and allow it to dry fully according to the glue instructions.
Why check the attachment before using the charm: A neatly sewn charm can still come loose if its hardware is not secured properly. Checking the connection helps prevent the finished accessory from separating during everyday use.
Final Finishing
- Secure all yarn knots tightly.
- Thread the remaining yarn tails through the interior of the amigurumi charm to hide them.
- Weave the tails through several stitches so they remain secure.
- Trim the excess yarn carefully.
- Check the seams and stuffing once more.
- Attach the finished charms to the keychain findings.
Final Checks
Before using the star and moon charms, inspect these details:
- Star Points: Check that all five points are clearly shaped and the two pieces are aligned.
- Moon Shape: Make sure both moon pieces match and the curved shape is positioned correctly.
- Stuffing: The charms should feel evenly padded without large empty areas or stuffing showing through the stitches.
- Seams: Check that the outer edges are fully closed.
- Yarn Tails: Make sure all loose ends are hidden securely.
- Hardware: Check that the keychain attachment is firm.
Your puffy crochet stars and crescent moons are now ready to decorate keys, bags, and zipper pulls. Make them in matching colors for a coordinated pair or mix bright shades to create a playful collection of tiny handmade charms.