Free Crochet Sunglasses Case Pattern with Button Closure
Keep your glasses and crochet essentials protected in a textured crochet pouch with a fold-over flap, button loop, and simple side seams.
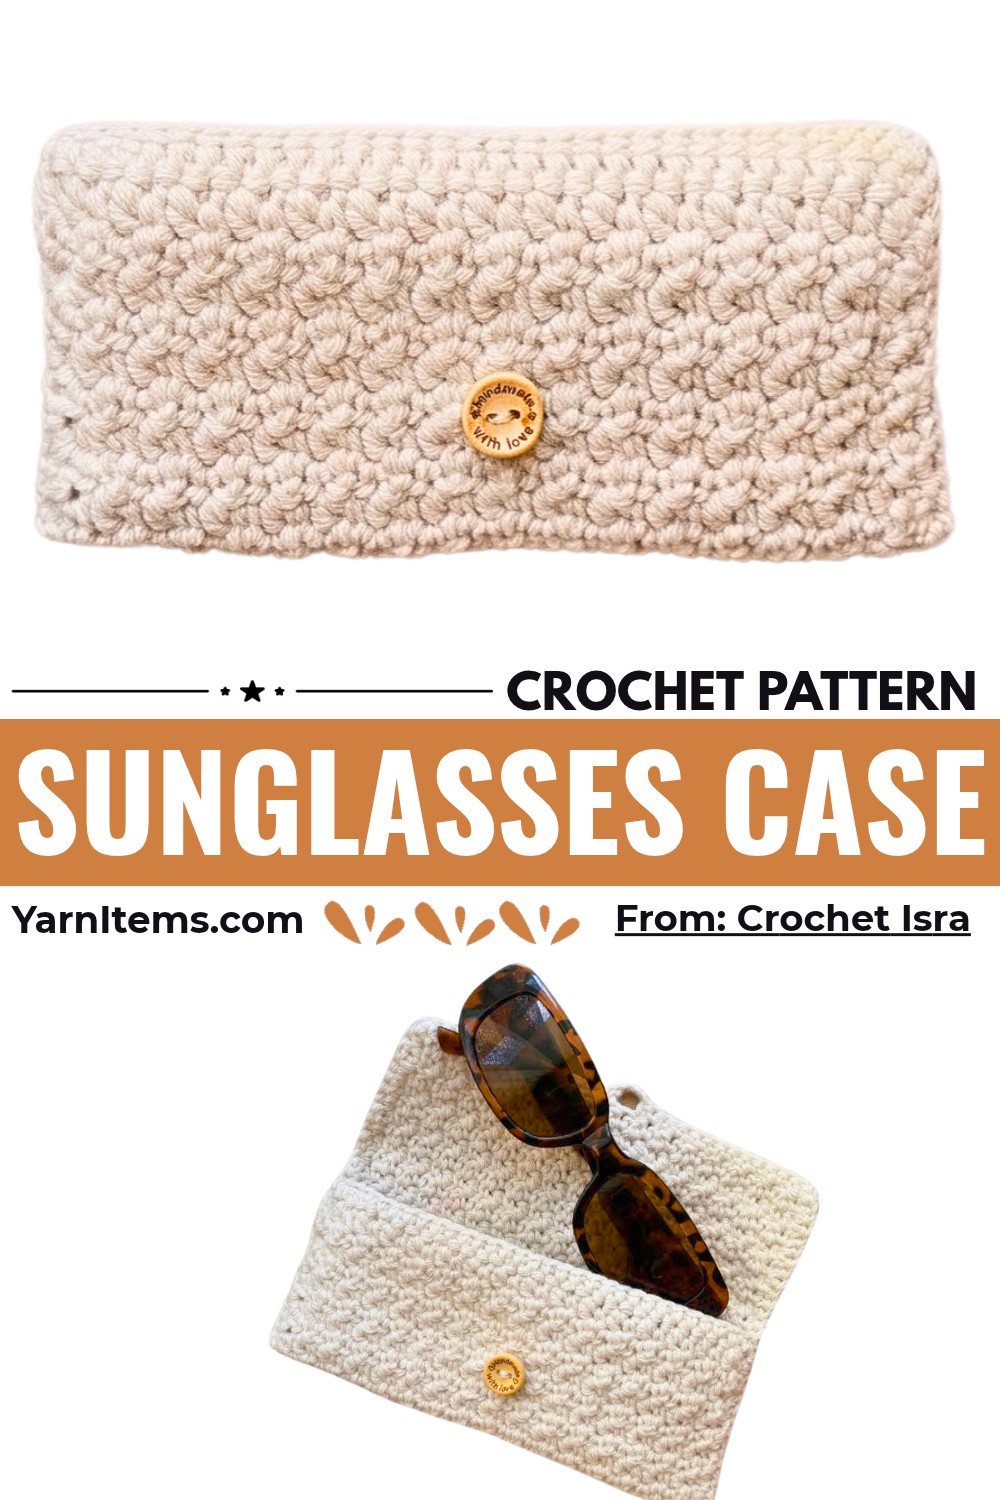
This crochet sunglasses case is worked as one long rectangle, then folded and stitched into a compact pouch. Alternating single crochet and double crochet stitches create a textured fabric, and the finished case measures about 7 inches wide by 3.5 inches tall when folded. It can hold sunglasses, reading glasses, crochet hooks, scissors, or other small notions.
The construction is beginner-friendly: make the textured rectangle until it reaches the required flat length, crochet a border around its edges, and add a chain loop along the flap for the button closure. After folding the lower section into a pocket and sewing the sides, attach one button to finish the case.
Credit Crochet Isra
Materials & Tools Needed
- Yarn: Any yarn of your choice. The creator uses medium-weight yarn.
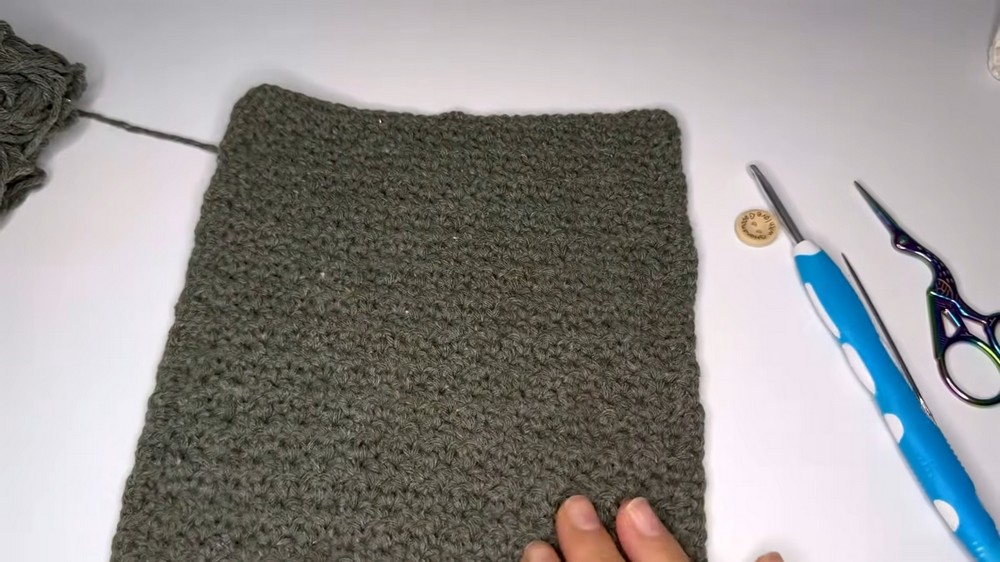
- Crochet Hook: Choose a hook smaller than the size recommended for your yarn. The creator used a 4.0 mm hook. A smaller hook helps create tighter stitches so items are less likely to peek through the fabric.
- Notions:
- Scissors.
- Yarn needle for sewing and weaving in ends.
- 1 button.
- Pins or stitch markers, optional, to hold the folded pouch in place.
Finished Size & Customization
When folded and assembled, the case measures approximately 7 inches wide by 3.5 inches tall.
This size is suitable for sunglasses, reading glasses, crochet hooks, scissors, and small crafting notions.
You can adjust the pattern to suit the item you want to store:
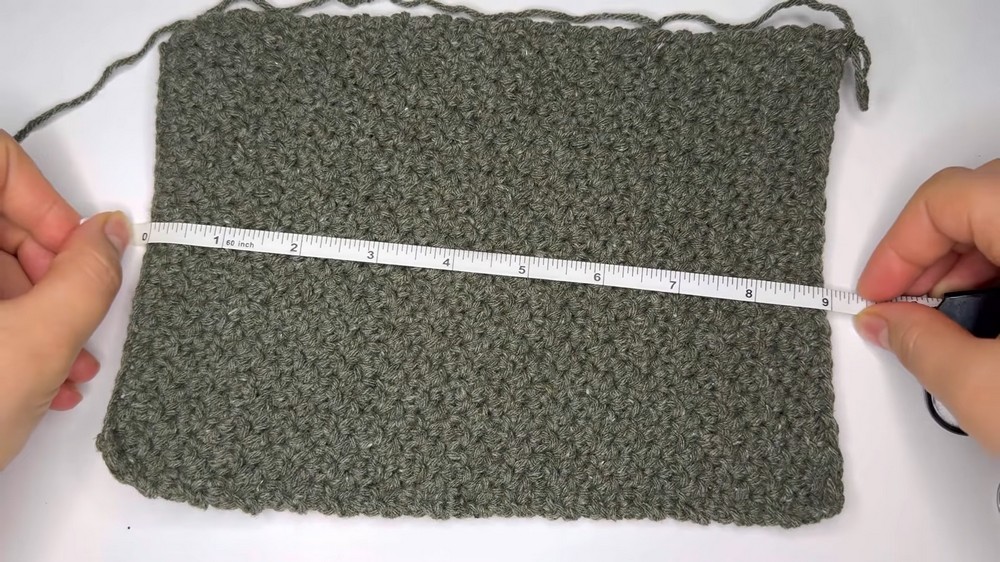
- Change the Length: Make the initial foundation chain longer or shorter to adjust the width of the case. Continue repeating the textured rows until the flat piece reaches your preferred length. The tutorial uses a flat length of approximately 9 inches before folding.
- Adjust the Button Loop: The button loop is made with a chain of 4. Add or remove chains if your button is noticeably larger or smaller.
Crochet Abbreviations
- Ch: Chain
- St(s): Stitch(es)
- Sl St: Slip stitch
- Sc: Single crochet
- Dc: Double crochet

Part 1: Crochet the Textured Rectangle
The main body is made as one rectangle using alternating single crochet and double crochet stitches. The stitches switch positions on every row, creating a textured fabric that forms both the front and back of the finished case.
Row 1: Foundation and First Stitch Pattern
- Make a slip knot and place it on your hook.
- Chain 30 stitches. This foundation chain measures approximately 6 inches.
- Add 1 turning chain.
- Insert your hook into the second chain from the hook and work 1 sc.
- In the next chain, work 1 dc.
- Continue alternating 1 sc, 1 dc across the foundation chain.
- Finish the row with a dc.
Keep the stitches in the same alternating order across the row. This establishes the texture that you will continue in the following rows.
Row 2: Reverse the Stitch Placement
- Chain 1 and turn your work.
- Look at the stitches from the previous row.
- Work 1 sc into the top of the previous row’s dc.
- Work 1 dc into the top of the previous row’s sc.
- Continue alternating these stitches across the row.
- End the row with a dc.
The important detail is to place each stitch into the opposite stitch type from the previous row: sc goes into dc, and dc goes into sc.
Subsequent Rows: Continue the Textured Pattern
Repeat the same stitch placement for every new row:
- Chain 1 and turn.
- Work 1 sc into the top of each dc from the previous row.
- Work 1 dc into the top of each sc from the previous row.
- Continue alternating across the row.
- End each row with a dc, then chain 1 and turn.
Keep repeating until the rectangle measures approximately 9 inches in flat length.
Before moving on, lay the rectangle flat and check that the edges are reasonably straight and the fabric is firm enough for the items you plan to store.
Part 2: Crochet the Border and Button Loop
Once the rectangle reaches the desired length, work a single crochet border around its entire outer perimeter. This gives the edges a neat finish and creates the button loop along the flap.
Step 1: Begin the Border
- Chain 1.
- Work single crochet stitches evenly around the outer edge of the rectangle.
- Along the side edges, distribute the stitches evenly so the border does not pull or become wavy.
Step 2: Work the Corners
When you reach each of the four corners, work 2 sc into the exact same corner space.
These extra stitches give the border enough room to turn around the corners smoothly.
Step 3: Make the Button Loop
When you reach the top edge, which will form the short flap:
- Work 14 sc along the top edge.
- Chain 4 to create the button loop.
- Skip 1 stitch on the foundation edge.
- Continue working single crochet stitches along the edge.
The chain-4 space will later fit over the button attached to the front of the pouch.
Step 4: Complete the Border
- Work 2 sc into the final corner stitch, as specified in the supplied instructions.
- Join with a slip stitch to the first chain of the round.
- Fasten off, leaving a yarn tail for weaving in.
Part 3: Fold the Rectangle into a Pouch
The rectangle now has its border and button loop. Folding it creates the pocket that will hold your glasses or crochet supplies.
Position the Fold
- Turn the crocheted rectangle to the wrong side.
- Bring the bottom edge upward to form the pouch pocket.
- Adjust the fold until the pocket measures approximately 3.5 inches tall.
- Check that the top flap remains free to fold over the opening.
- Use pins or stitch markers to hold the folded layers in position while you sew.
Make sure the folded pocket is even on both sides before closing the seams.

Part 4: Sew the Side Seams
Use a yarn needle and a suitable length of yarn to join the two sides of the folded pouch.
- Thread your yarn needle.
- Begin at one lower side of the folded pocket.
- Use a whipstitch to join the front and back panels.
- Take one stitch from the front panel and a corresponding stitch from the back panel.
- Continue stitching along the side until the folded pocket is securely closed.
- Repeat the same method on the opposite side.
- Secure the yarn and weave in the ends.
Keep the stitches even so the side seams look neat and the pouch holds its shape.
Part 5: Attach the Button
The final closure uses one button on the front of the pouch and the chain-4 loop on the flap.
- Turn the case right-side out.
- Fold the top flap down over the pouch.
- Bring the chain-4 loop over the front body to identify where the button should sit.
- Mark the button position so the loop aligns comfortably.
- Sew the button securely onto the front of the case using a sewing needle and thread or suitable yarn.
- Fasten off and secure the ends.
Try the loop over the button before finishing the attachment. It should fit securely without stretching the flap too tightly.
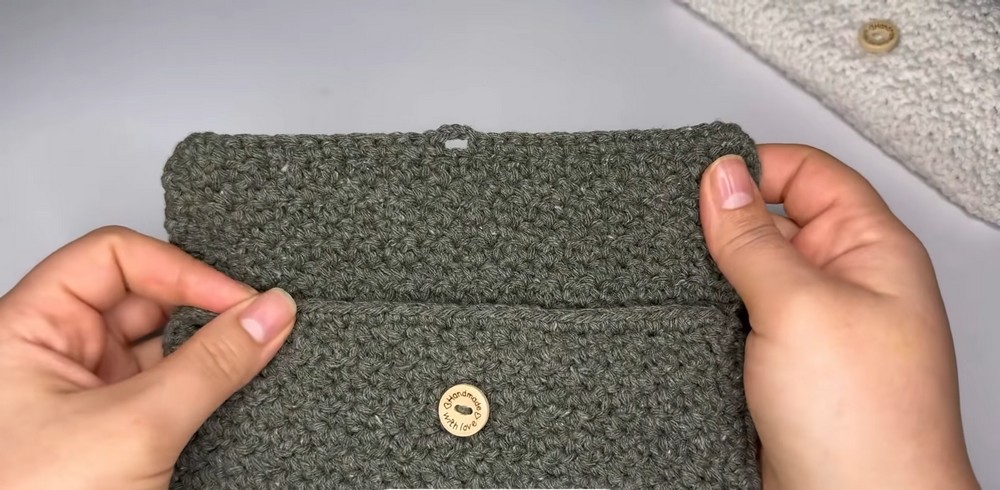
Final Check
Weave in any remaining loose yarn tails on the inside of the case. Check both side seams, the button attachment, and the button loop to make sure everything is secure.
Your crochet sunglasses case is now ready to use. The same textured rectangle can also be adapted to hold crochet hooks, scissors, and other small crafting accessories.