Spiral Crochet Bucket Hat Pattern
That little spiral ridge is what gives this bucket hat its character, and watching it travel around the crown makes each new round surprisingly satisfying to crochet.
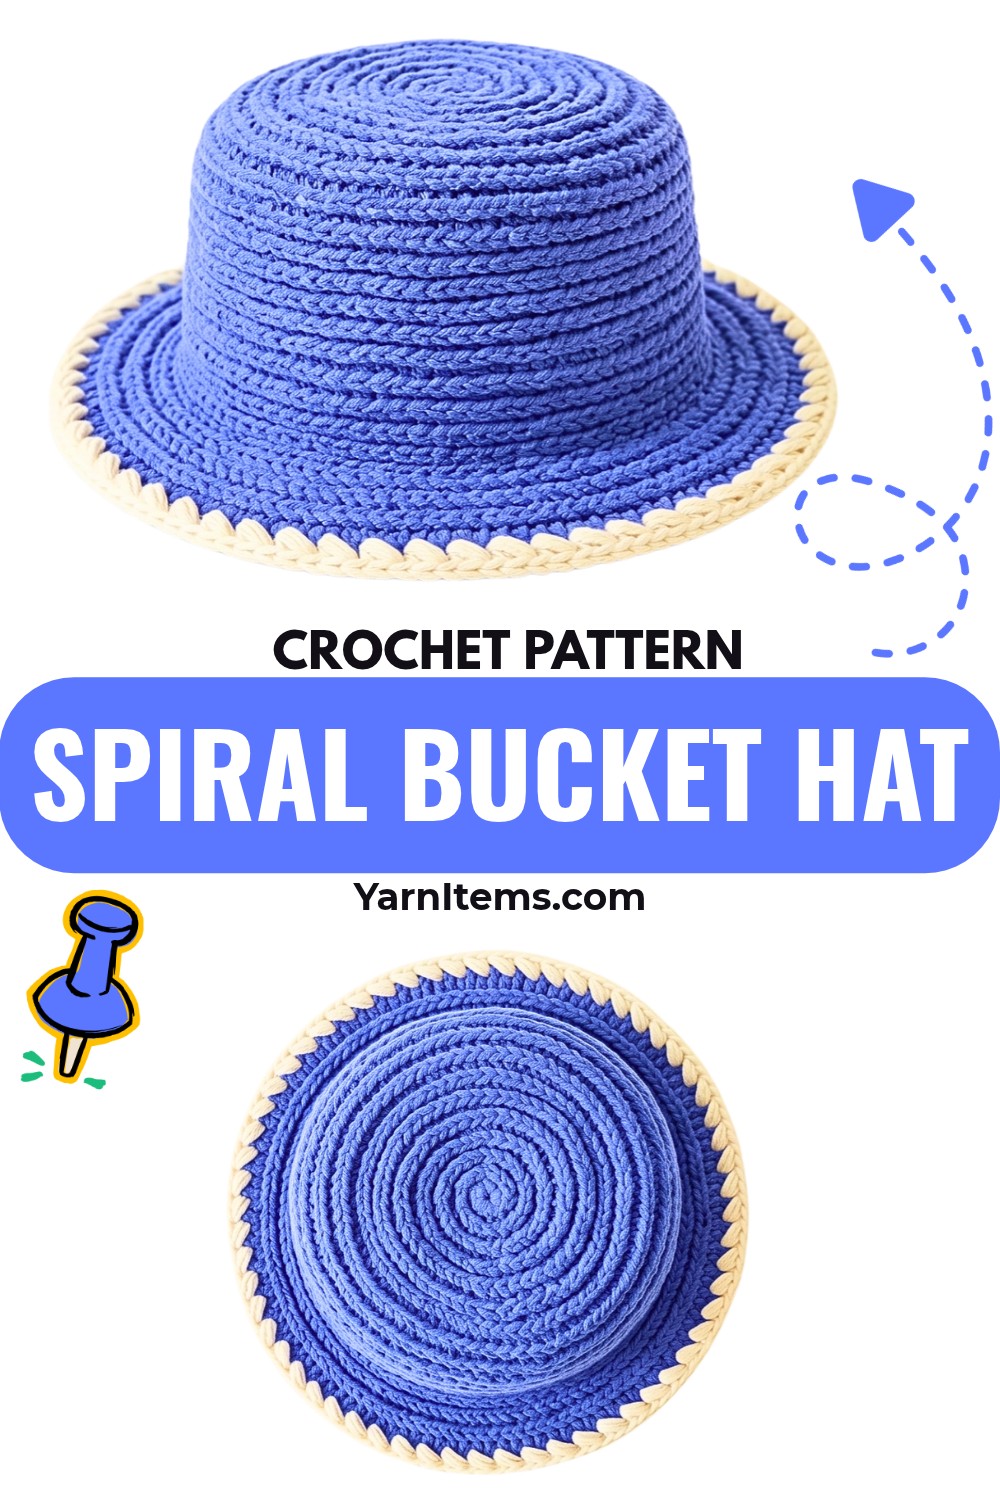
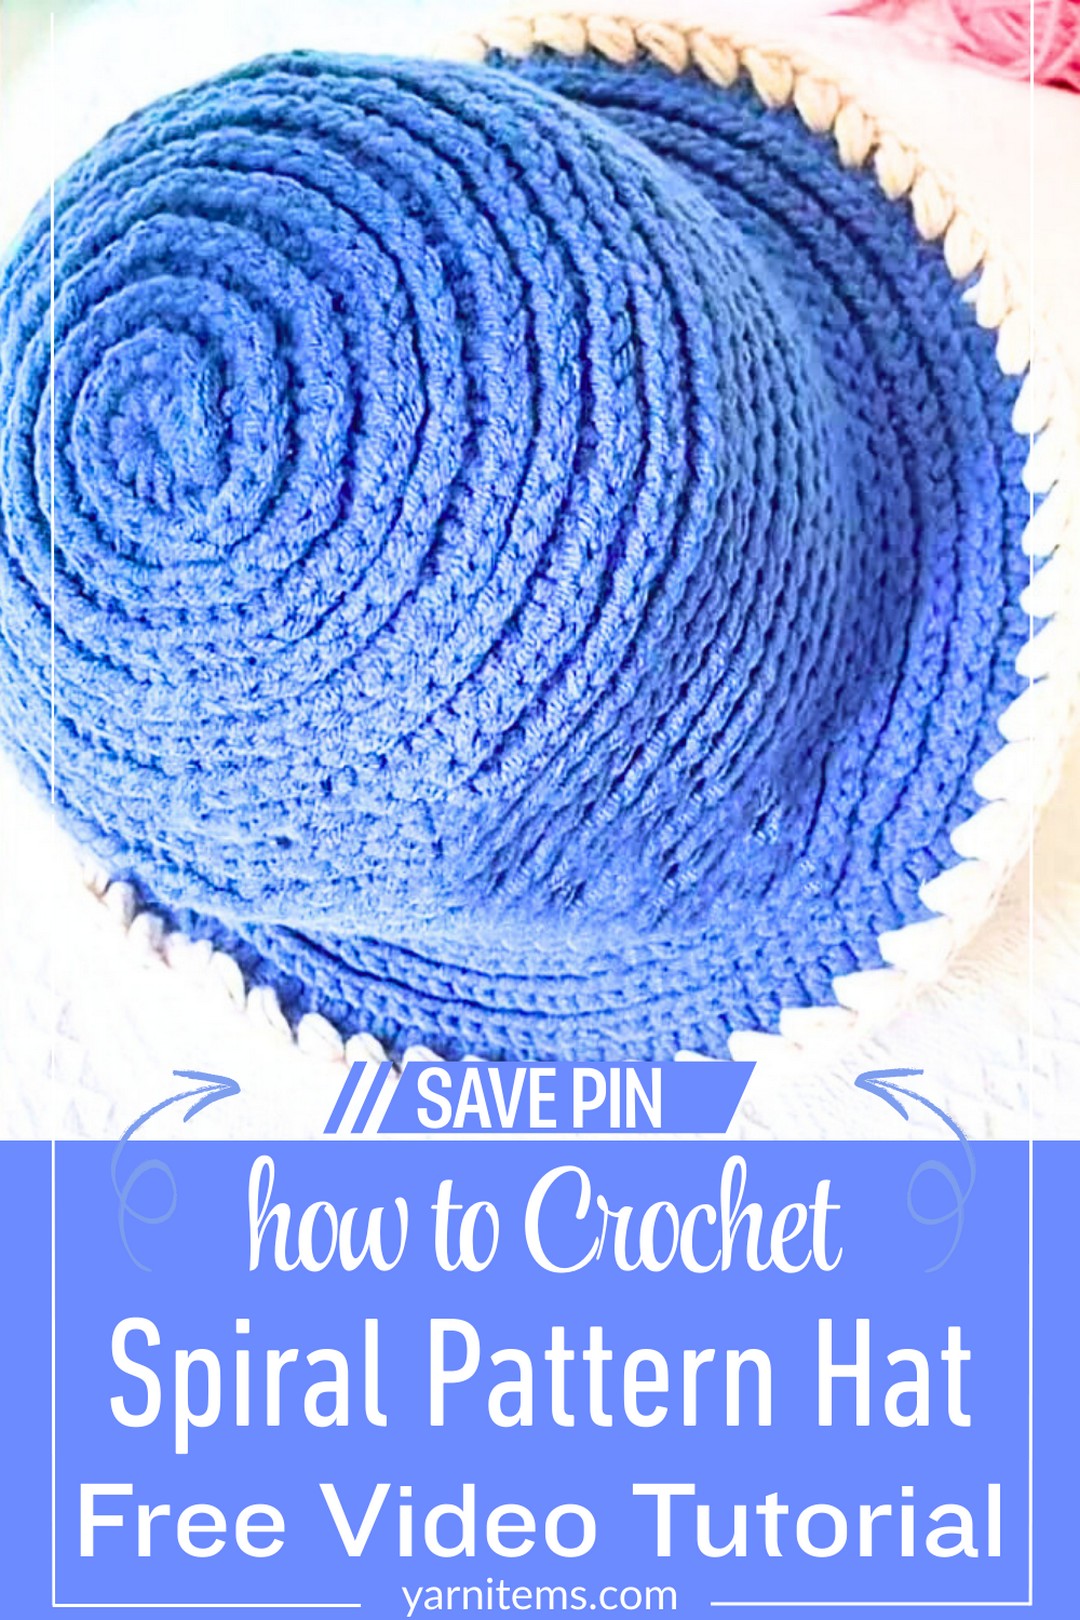
A crochet bucket hat can be simple in shape and still have one detail that makes you want to keep looking at it. Here, the detail comes from working the half double crochet stitches through the back loop, creating a raised spiral that travels continuously from the crown down toward the brim.
The construction is easier than the texture first suggests. You build the crown with increases, keep the sides straight for the main depth of the crochet hat, then open the shape out again for the brim. Once you understand that rhythm-and keep your stitch marker in place-the spiral becomes something you can simply follow rather than constantly figure out.
Credit anxin_crochet
Materials & Tools
- Main Color (MC): Blue medium/worsted-weight yarn
- Contrasting Color (CC): Cream/off-white yarn for the decorative edging
- Crochet Hook: 4.0 mm
- Stitch Markers: Locking stitch markers or safety pins
- Tapestry / Sewing Needle: For the invisible join and weaving in ends
- Scissors
Finished Size & Customization
This pattern creates a standard adult bucket/top-hat style with a spiral crown.
The easiest place to adjust the depth is the straight-sided section. Work fewer or more rounds between Rounds 9–22 if you want to change how deep the hat sits on the head.
You can also make the decorative edge your own by changing the cream yarn for another contrasting shade such as gold, pastel pink, or a metallic yarn.
Abbreviations
- ch: Chain
- sl st: Slip stitch
- sc: Single crochet
- hdc: Half double crochet
- inc: Increase – 2 hdc worked into the same stitch
- BLO: Back Loop Only
- sk: Skip stitch
- Cluster / Space Stitch: 2-sc cluster worked back into the skipped stitch space
Before You Begin: Keep the Spiral Moving
This hat is worked in a continuous spiral, so the rounds are not joined unless the instructions specifically tell you to do so.
Starting with Round 2, work the stitches through the back loop only (BLO). This is what creates the raised spiral ridge.
A stitch marker is especially useful here. Place it in the first stitch of each round and move it upward as you work. Without a visible round join, that marker gives you a clear place to recognize where the next round begins.
Once the crown starts growing, don’t worry if the work looks more like a textured circle than a hat. The first rounds are building the top. The straight rounds that follow are what turn that circle downward into the sides.
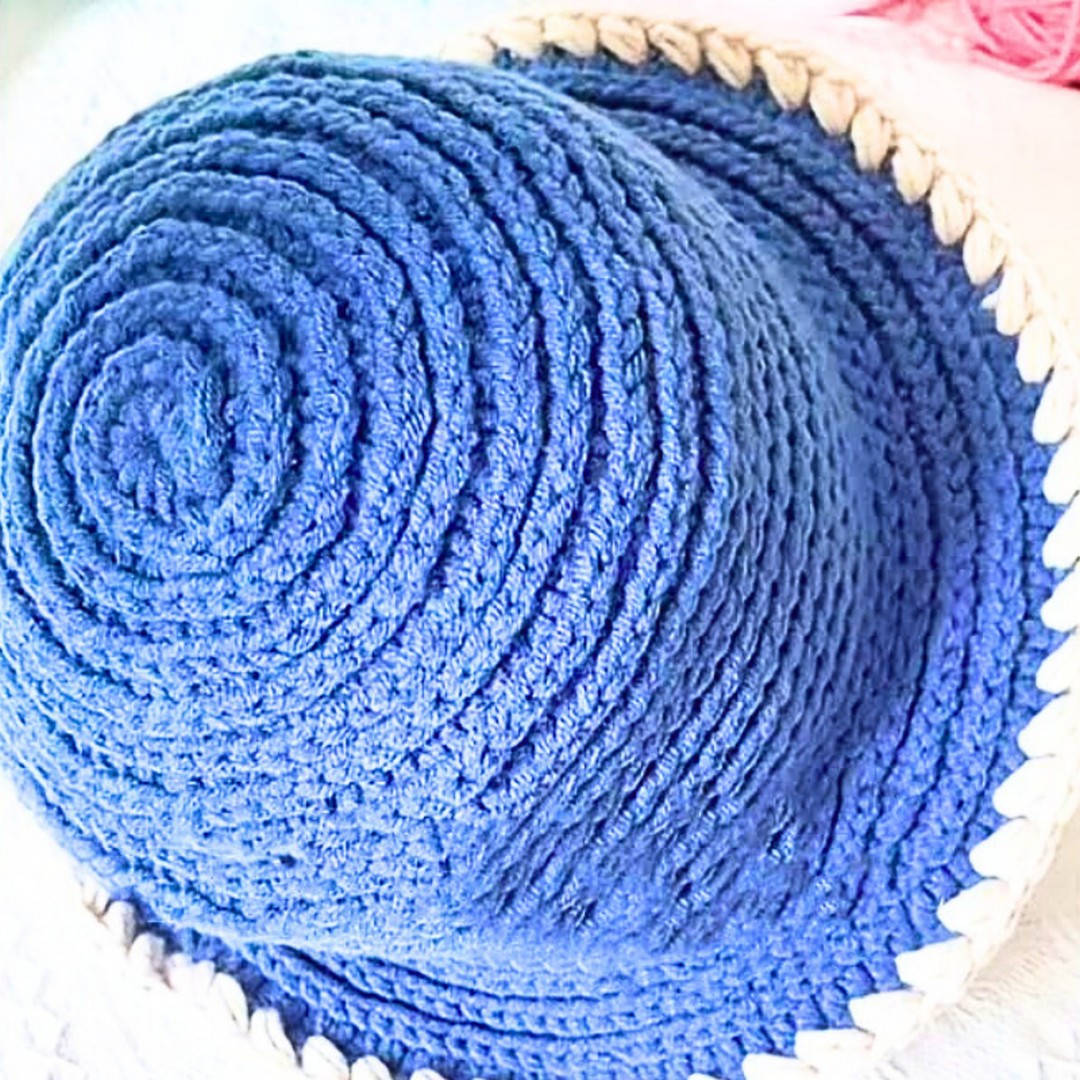
Steps: Crown & Spiral Top
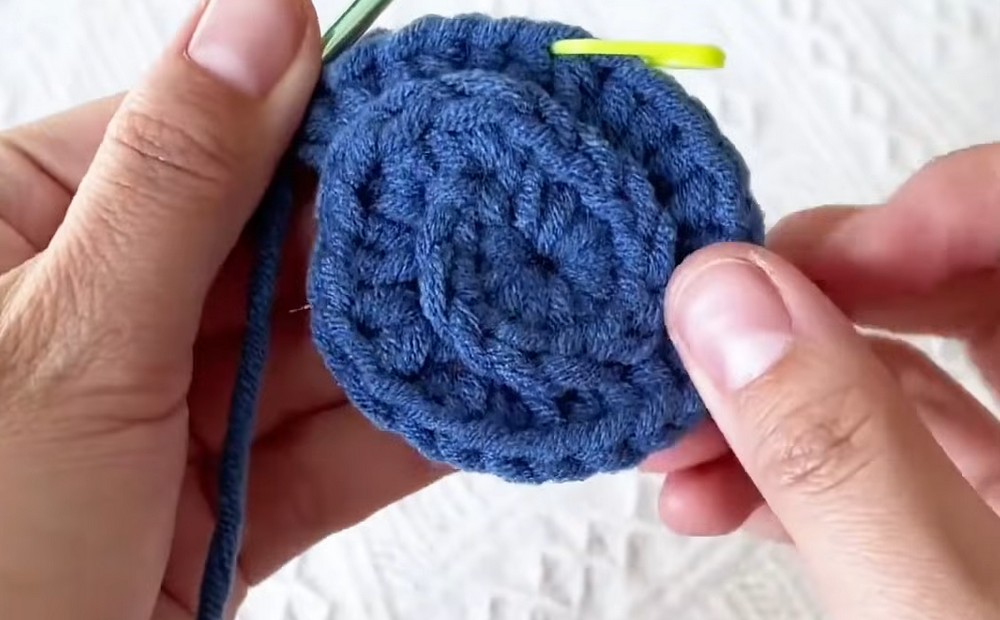
Round 1: Start with a magic ring; ch 2, counting as the first hdc; work 11 hdc into the ring; place a stitch marker in the 2nd chain of the ch-2; pull the yarn tail firmly to close the center; 12 hdc total.
Round 2: Working in BLO, work 2 hdc in each stitch around; 24 hdc total.
The first increase round doubles the stitch count, so the crown begins spreading outward rather than building upward.
Round 3: Working in BLO, repeat [1 hdc in next st, inc in next st] 12 times; 36 hdc total.
Round 4: Working in BLO, repeat [1 hdc in each of next 2 sts, inc in next st] 12 times; 48 hdc total.
Round 5: Working in BLO, work 1 hdc in each stitch around with no increases; 48 hdc total.
This straight round is intentional. You are not supposed to increase every round of the crown.
Round 6: Working in BLO, repeat [1 hdc in each of next 2 sts, inc in next st] 16 times; 64 hdc total.
Round 7: Working in BLO, work 1 hdc in each stitch around; 64 hdc total.
Round 8: Working in BLO, repeat [1 hdc in each of next 3 sts, inc in next st] 16 times; 80 hdc total.
At this point, the crown has reached its main width. The next section stops increasing and begins creating the vertical sides of the hat.
Hat Body / Sides
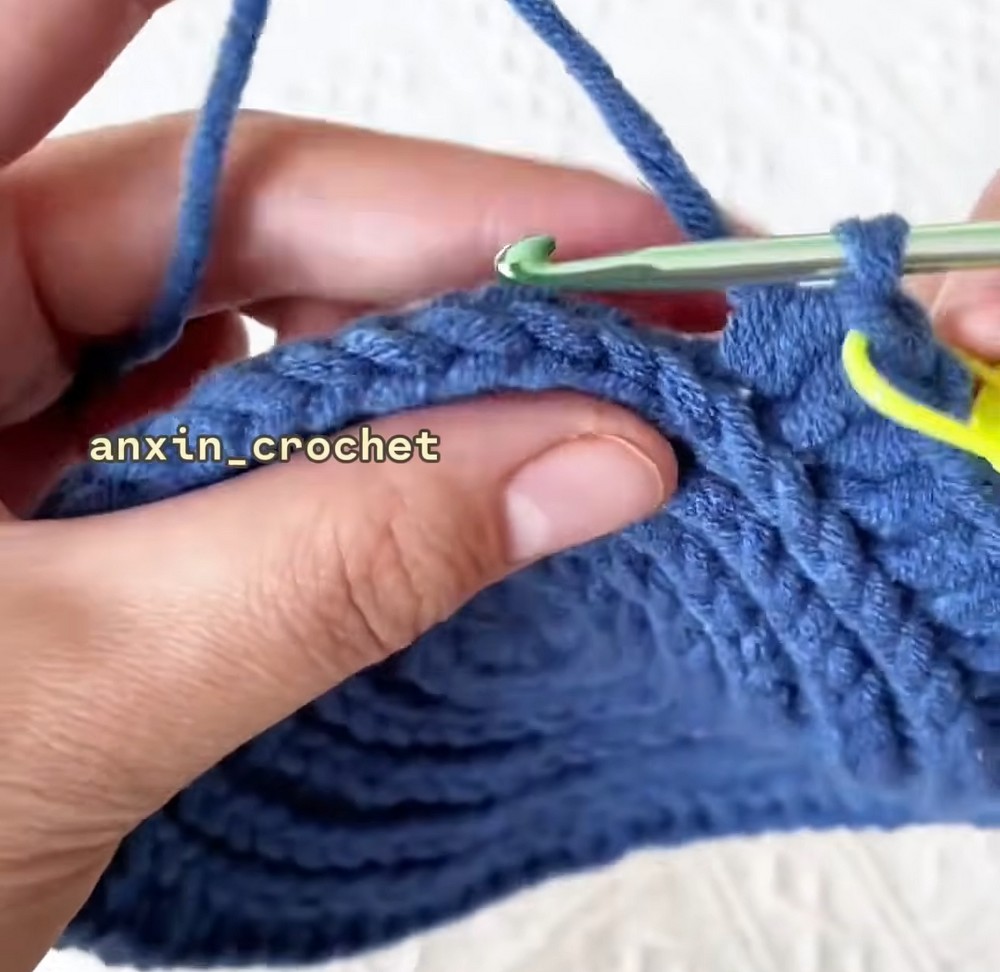
Rounds 9-22: Working in BLO, work 1 hdc in each stitch around for 14 straight rounds; maintain 80 hdc in every round.
These rounds are where the circular crown starts becoming the body of the bucket hat.
Keep your stitch marker moving from round to round and resist the temptation to add increases here. The 80-stitch count stays the same throughout Rounds 9–22.
If you want a deeper or shallower hat, this is the section to adjust: the number of straight rounds controls the crown depth before the brim begins.
Shape the Brim
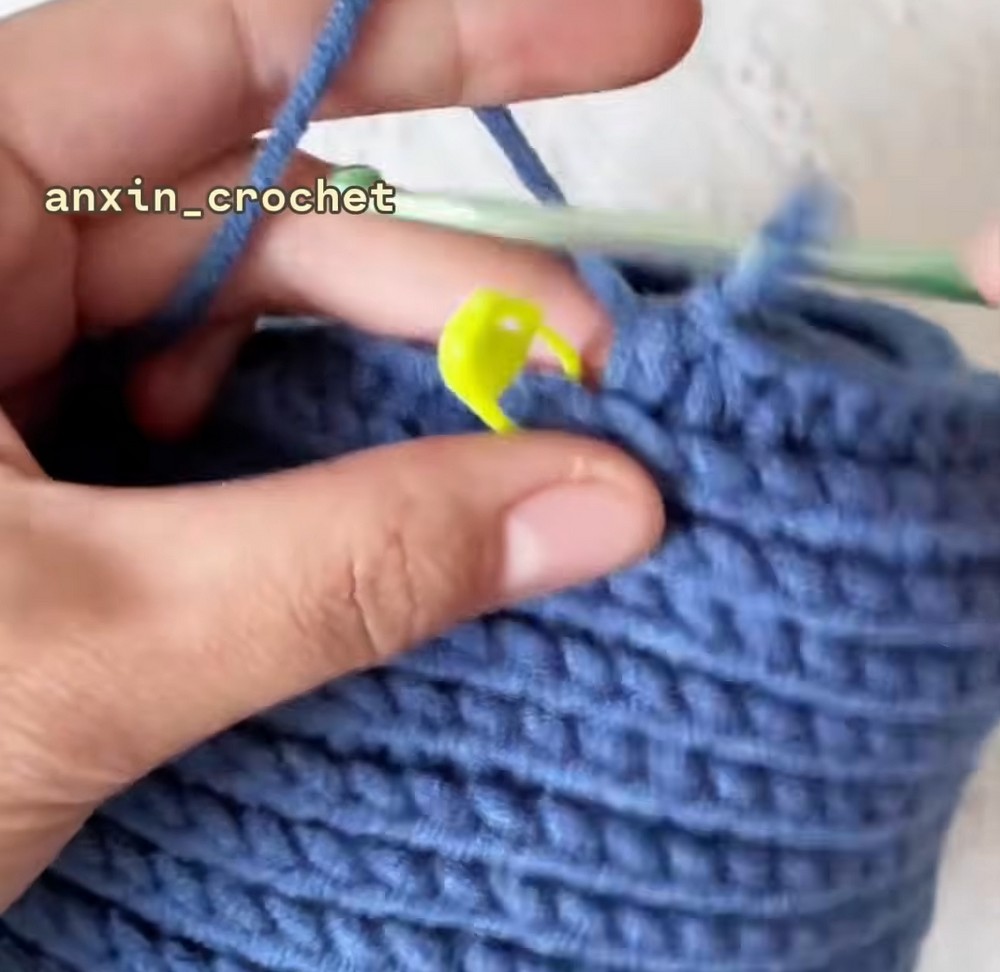
Round 23: Working in BLO, repeat [1 hdc in next st, inc in next st] 40 times; 120 hdc total.
This is the round where the hat suddenly begins opening outward.
You have maintained 80 stitches through the body, and now the increases expand the circumference to 120 stitches, giving the brim room to flare away from the sides.
Rounds 24–25: Working in BLO, work 1 hdc in each stitch around; 120 hdc total per round; on the last stitch of Round 25, insert the hook into the BLO, yarn over with the Main Color, pull up a loop so that 3 loops are on the hook, then switch to the Cream Color and yarn over to pull through all 3 loops to complete the color change seamlessly.
The color change happens at the end of Round 25 rather than as a separate step afterward. Completing the final stitch with the new color gives the cream border a cleaner beginning.
Decorative Border
Round 26: Join the Cream yarn with a sl st into the first stitch; repeat [skip next st, work 1 sc in following st; yarn over and reach back into the skipped stitch space to pull up a loop, yarn over and pull up another loop in the same space, yarn over and pull through all 4 loops on hook] across the entire brim.
The interesting part of this border is that the stitch does not simply move forward from one stitch to the next. After skipping a stitch and making the sc, you reach back into that skipped space to create the decorative cluster.
That backward movement is the part to watch closely as you work the first few repeats. Once you recognize the sequence—skip, sc, reach back, pull through—the edging becomes much easier to repeat around the brim.
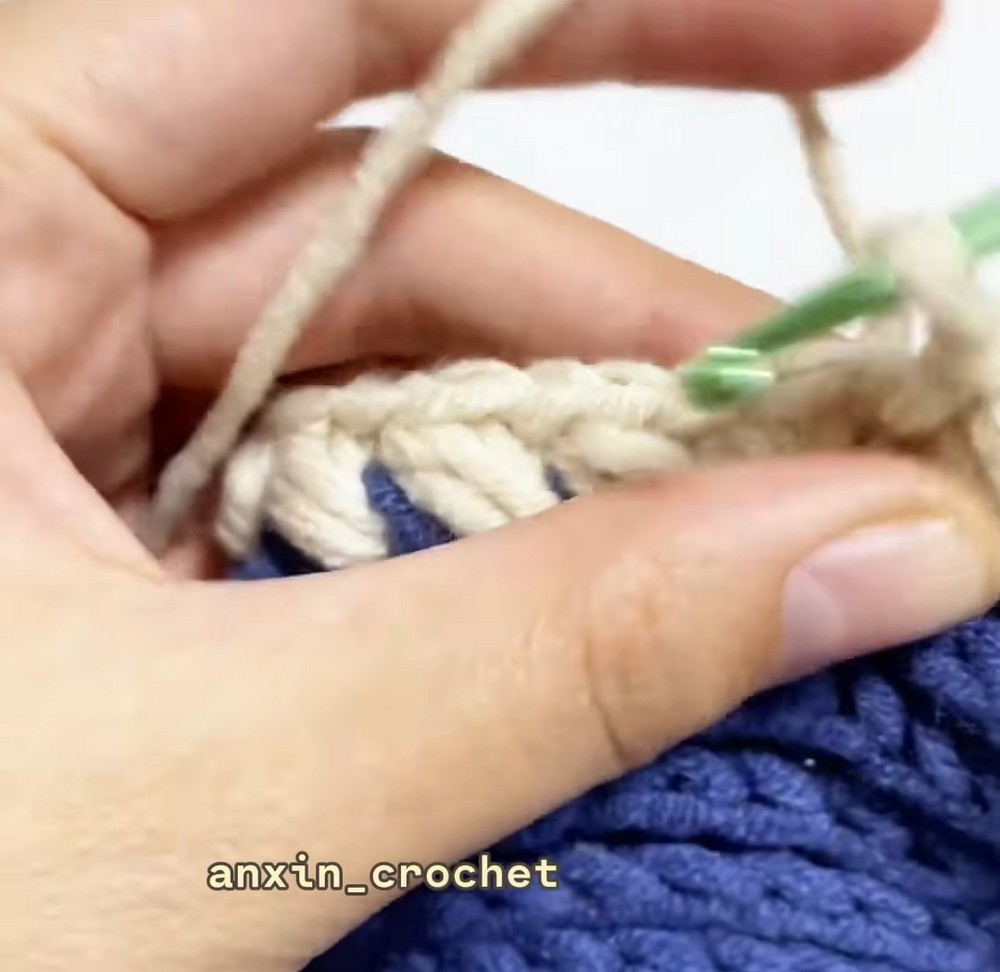
Finish the Border
Invisible Join & Weaving Ends
Finishing: Cut the Cream yarn leaving a 6-inch tail; thread it onto a tapestry needle; insert the needle under both loops of the first border stitch from front to back; then thread it back down through the center of the last stitch made to create an invisible join; turn the hat inside out and weave the yarn tails securely through multiple stitches along the inside; trim the excess yarn.
The invisible join is worth taking a moment with because it keeps the final cream border from having an obvious step where the round ends.
Once the tails are woven through several stitches on the inside, the Spiral Pattern Bucket Hat is ready to wear.
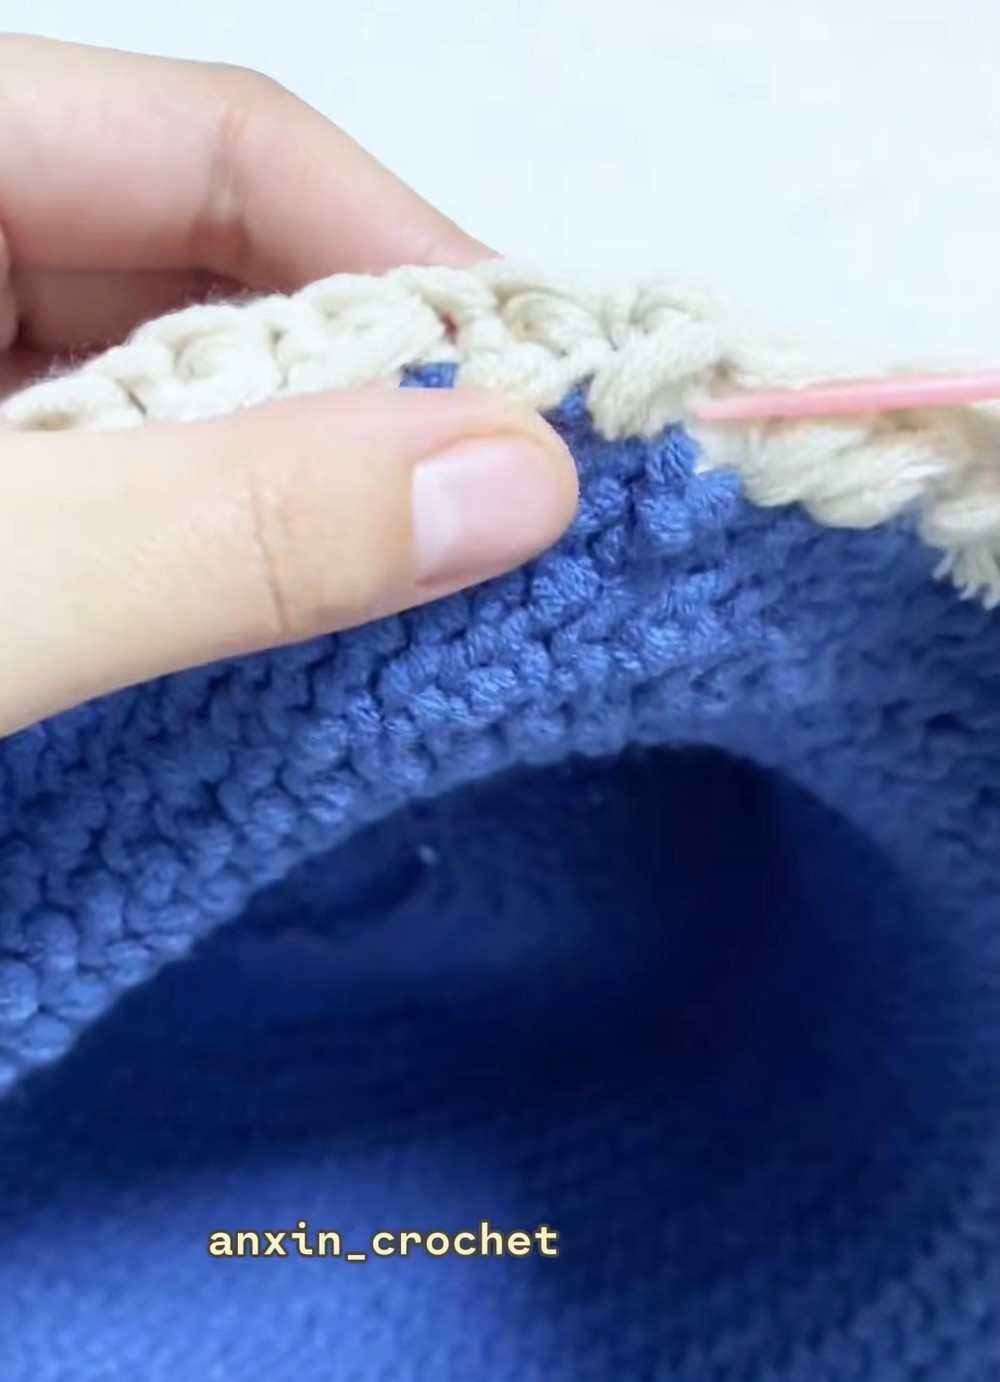
The finished hat gets most of its personality from the continuous BLO spiral, while the contrasting Round 26 edging gives the brim a clean decorative finish. The construction itself follows a clear progression: increase the crown → keep the sides straight → increase for the brim → add the contrasting edge.
That sequence is the main thing to keep in mind while crocheting. You don’t need to memorize every round at once; simply recognize which stage of the hat you are in, keep the stitch marker moving, and let the spiral build naturally.