How to Hold Crochet Yarn and Hook Guide for Beginners
Get a comfortable crochet grip and learn how to control yarn tension while making your starting chain with steady, simple movements.

Starting crochet can feel surprisingly awkward when the yarn keeps slipping, or the hook does not seem to move naturally. The way you hold both makes a difference because your fingers are responsible for feeding the yarn, controlling tension, and keeping the beginning of your work steady. There is no single grip that suits every crocheter, so the goal is to find a position that gives you control without making your hand tense.
Once your hands are positioned comfortably, the basic movement becomes much easier to understand. You will learn how to guide the yarn with your index finger, hold the chain close to the hook, make a yarn over, and pull the yarn through the loop without fighting the hook. These small adjustments are especially useful while learning because consistent tension comes from allowing the yarn to move rather than gripping it too tightly.
Credit Goga Hook
What You Need
- Yarn
- Crochet hook
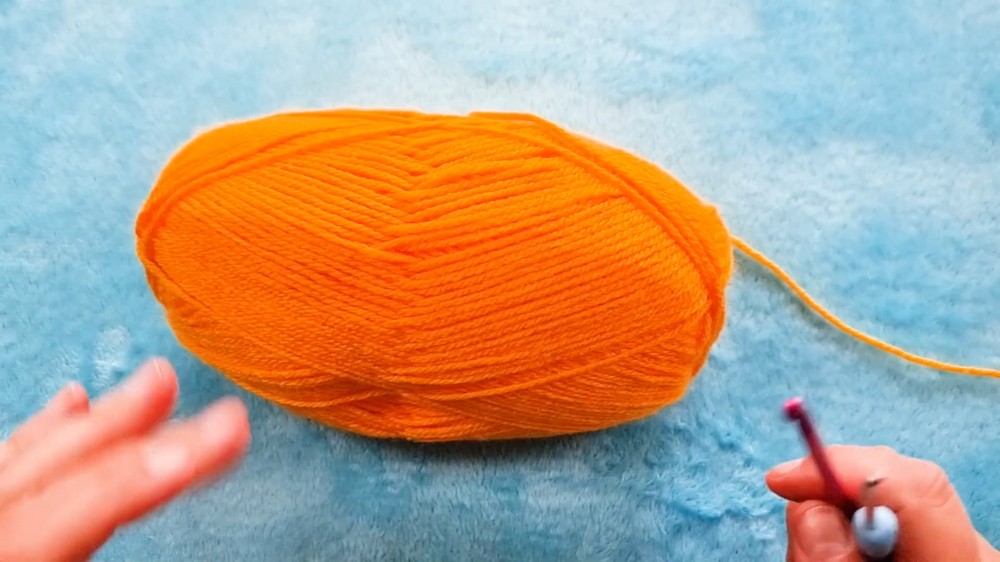
For practice, choose yarn that is easy to see and a hook that feels comfortable in your hand. You do not need special equipment to learn these basic movements.
How to Hold the Yarn
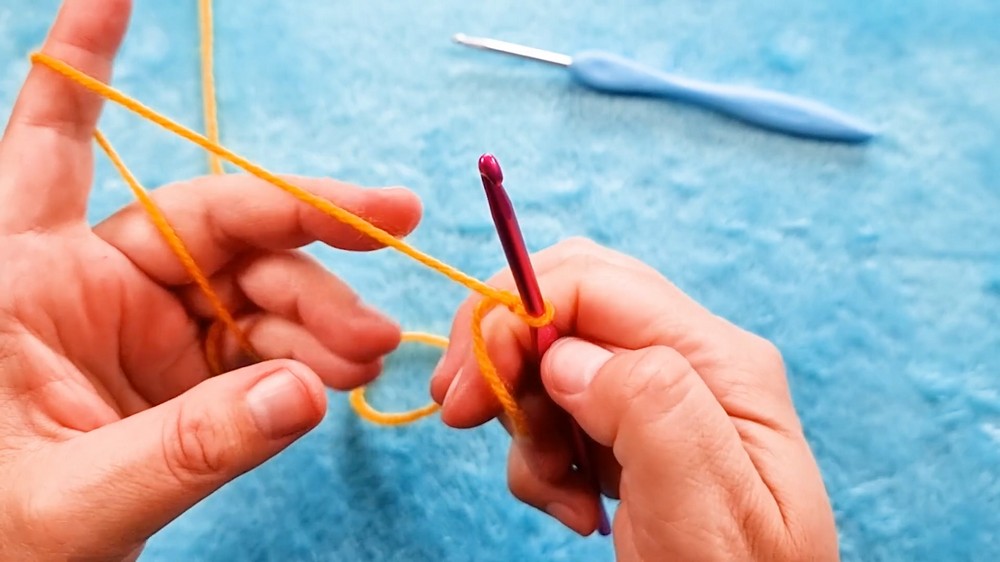
If you are right-handed, begin with the short end of the yarn, called the tail, on your right-hand side.
Wrap the yarn around your little finger. Bring it over the top of your next three fingers, then pull it forward so it drapes over your index finger.
This arrangement gives your fingers a simple way to control how much yarn moves toward the hook. You can pull, hold, or release the yarn as needed rather than trying to control the strand with your whole hand.
Tension Check: The yarn should be controlled, but not pulled so tightly that it cannot slide when you make a stitch. Your index finger helps guide the working yarn while your other fingers provide resistance.

Choosing a Crochet Hook Grip
There are two common ways to hold a crochet hook. Try both before deciding which feels more natural.
Pencil Position
Hold the hook as though you were holding a pen to write, with the hook resting on top.
This position can feel familiar if you naturally prefer using your fingers to guide small movements.
Knife Position
Hold the hook as though you were holding a dinner knife, with the hook resting underneath your gripping fingers.
This gives you another way to control the hook, particularly if the pencil position feels awkward.
Which One Should You Use?
Neither position has to be your permanent choice. Try each one and pay attention to whether you can move the hook smoothly without squeezing it too tightly.
How to Make the Starting Chain
With the yarn and hook positioned, you can begin working them together.
Hold the Beginning of the Chain
Keep your index finger extended with the yarn draped over it. Use your thumb and middle finger to pinch and hold the beginning of your chain.
Holding the work close to the hook gives you more control over the loop you are working with. As the chain becomes longer, your fingers will need to move along with it.
Yarn Over
Loop the yarn over the hook.
At this point, release a little tension from your index finger. The working yarn should not be pulled so tightly that the hook struggles to move through the loop.

Turn the Hook and Pull Through
Point the head of the hook downward, then smoothly bring the yarn through the loop.
The important movement is not about pulling hard. Let the hook carry the yarn through the loop while your fingers keep the work steady.
Move Your Grip as the Chain Grows
As your chain becomes longer, it can become harder to pull the yarn through the loop if your fingers are still holding the original starting point.
Simply move your thumb and middle finger higher up the chain so they are holding the work closer to the active hook.
This keeps the working area controlled and prevents you from stretching the chain unnecessarily.
One Movement to Remember
Whether you use the pencil position or the knife position, the basic movement stays the same: over → release a little tension → point the hook downward → pull the yarn through the loop.
Once that sequence starts to feel natural, your hands can gradually make the small adjustments needed to keep the yarn moving smoothly.

A Quick Hand Check
Before continuing to practice, pause and look at what your hands are doing.
- Is the yarn moving smoothly over your index finger?
- Are your thumb and middle finger holding the chain close enough to the hook?
- Can the hook turn without being squeezed tightly?
- Can you pull the yarn through the loop without forcing it?
If the answer to any of these is no, make a small adjustment rather than changing everything at once. A slightly different finger position can make the next chain much easier.
As you practice, the goal is not to make your hands look exactly like someone else’s. You are learning how the yarn, hook, and fingers work together. Once that movement becomes familiar, holding everything will require much less conscious attention.