Crochet Butterfly Granny Square Pattern with Step-by-Step Guide
A butterfly nestled inside a crochet granny square gives this classic pattern a lovely nature-inspired twist. The center motif adds a delicate and playful detail, while the traditional square border keeps the design practical and easy to use in larger crochet patterns.
You can keep the colors soft and subtle or choose brighter shades to make the butterfly stand out, making each square feel a little different from the next.
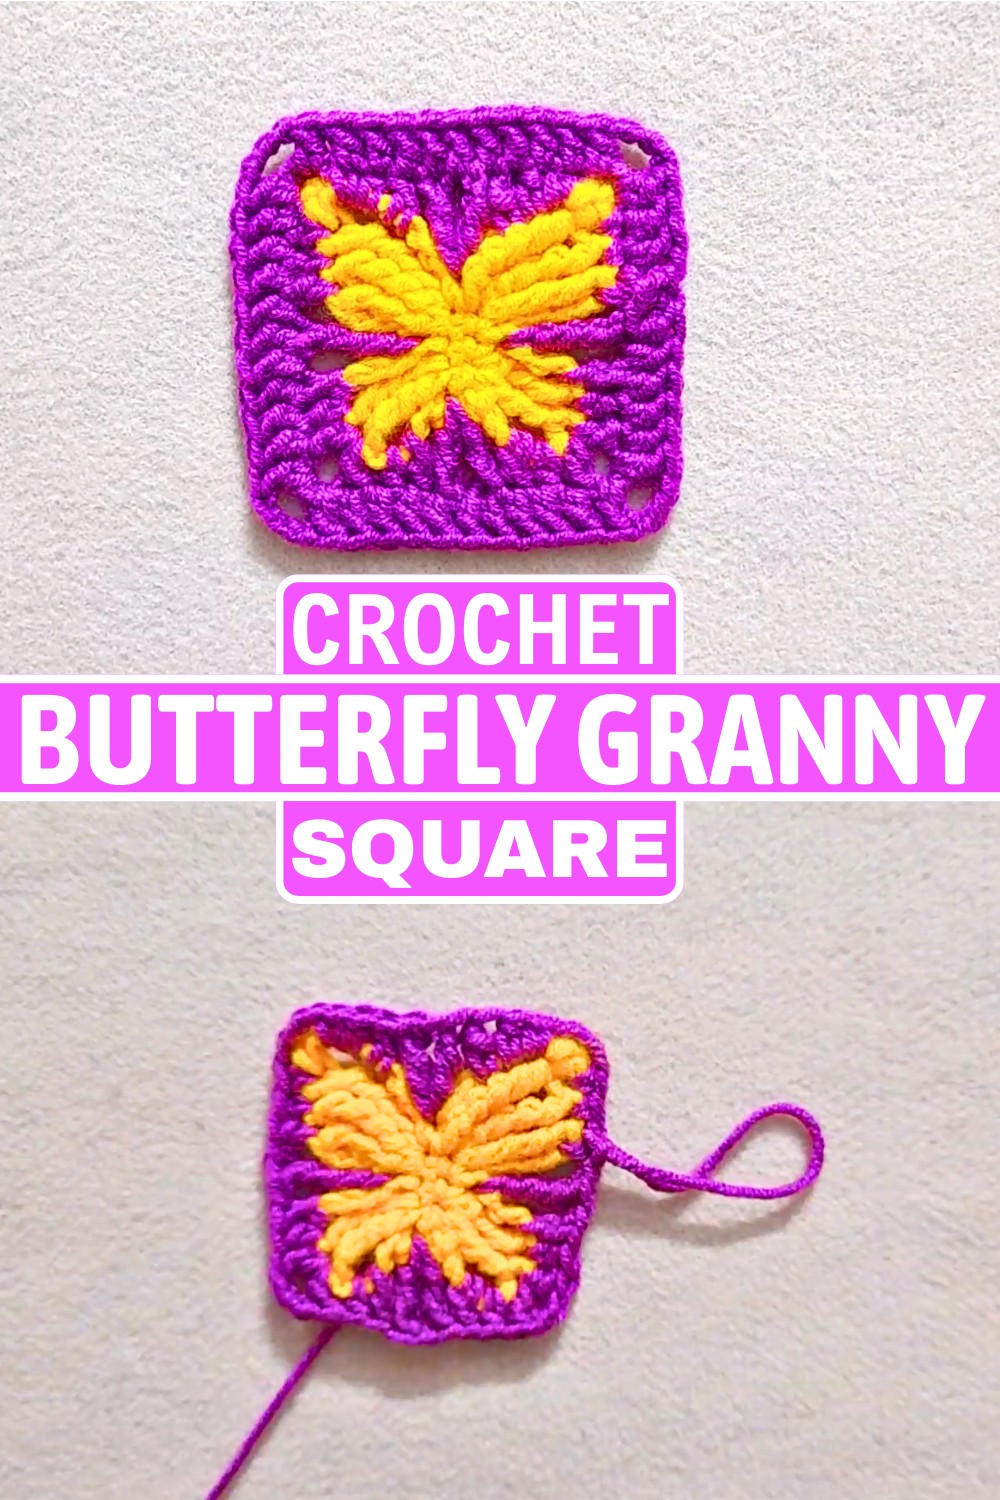
This pattern is a fun way to turn a small crochet motif into something you can actually use. Once the butterfly is finished, you’ll work around it to create the granny-square shape, which can later be joined with other squares for blankets, cushions, bags, or decorative pieces.
The pattern also gives you plenty of room to experiment with color and texture, so whether you’re making one square or a whole collection, you can give the finished crochet piece your own personal touch.
Credit qp’s Crochet Creations
What You’ll Need
- -Yarn: 2 colors
- Color A- butterfly
- Color B- granny-square border
- 3.5 mm crochet hook
- Scissors
- Yarn needle
The finished size will depend on your yarn, tension, and hook. With the suggested materials, the square may be approximately 4–5 inches.
Before You Start
This pattern uses several taller stitches, so if you haven’t worked treble-based stitches before, it’s worth practicing them on a small scrap of yarn first.
You’ll be using:
- single crochet
- half double crochet
- double crochet
- treble crochet
- double treble crochet
- triple treble crochet
The taller stitches are what help create the pointed, open shapes of the butterfly wings.
Abbreviations
- ch: chain
- sc: single crochet
- hdc: half double crochet
- dc: double crochet
- tr: treble crochet
- dtr: double treble crochet
- ttr: triple treble crochet
- sl st: slip stitch
- st: stitch
- yo: yarn over
US crochet terminology is used.
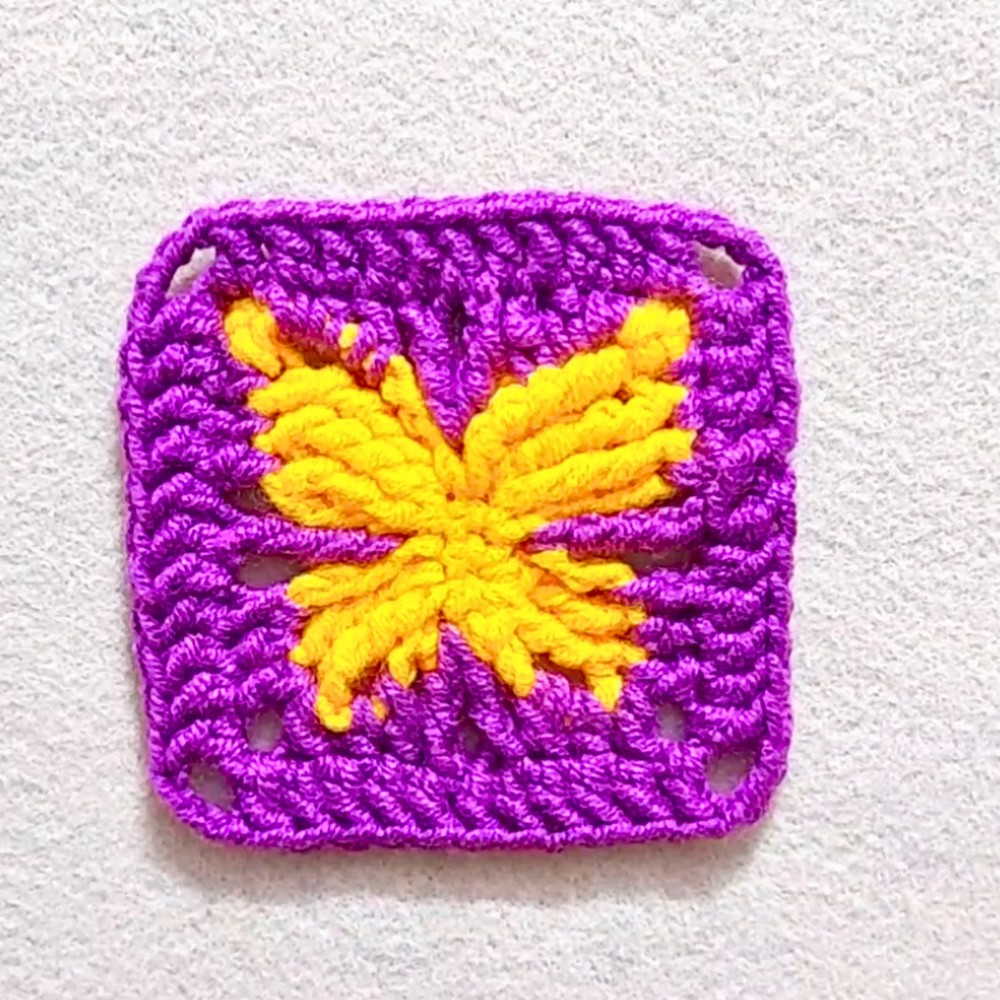
A Quick Look at the Construction
Before starting, it helps to know what you’re actually making.
Part 1- Butterfly
Color A is used to create the butterfly motif, including its two pairs of wings.
Part 2 – First Border
Color B is worked around the butterfly to create a more stable shape.
Part 3 -Granny Square
The final round turns the motif into a traditional square that can be joined with other crochet squares.
This is why you don’t need to think of the whole project as one complicated pattern.
You’re simply transforming one shape into another.
Start the Butterfly Step by Step
Begin with Color A.
Make a slip knot.
Chain 5, then join the chain with a slip stitch to create the starting circle.
From here, the butterfly is formed by building the wing shapes around the starting section.
Create the Right Side of the Butterfly
Start by making the first wing structure.
Step 1
Chain 4 and turn.
Skip the first stitch and work single crochet according to the provided stitch sequence, creating the short base used for the wing.
Step 2
Turn your work and chain 4.
Into the second single crochet, work 2 DTRs.
For a DTR, yarn over three times before inserting the hook and work through two loops at a time.
Step 3
Chain 4 and slip stitch into the third single crochet.
Chain 4 again.
Into the fourth single crochet, work:
- 1 DTR
- 2 TTR
Then chain 3 and slip stitch between the two TTRs.
Finally, chain 6 and slip stitch back into the fourth single crochet.
You should now be able to recognize the first half of the butterfly wing.
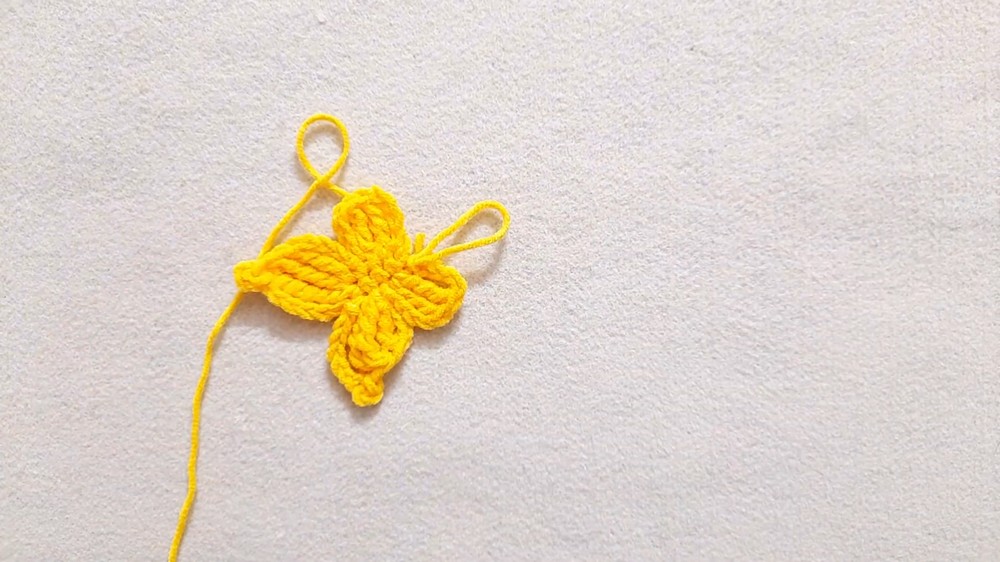
Mirror the Wing on the Other Side
The second wing is created by working back from the starting point so that the butterfly remains balanced.
Step 1
Chain 6.
Then chain another 3 and slip stitch into the sixth chain as directed by the pattern.
Step 2
Locate the fourth chain from the starting chain.
Work:
- 2 TTRs
- 1 DTR
into this space.
Then chain 4 and slip stitch into the third chain.
Step 3
Chain 4.
Work 2 DTRs into the second chain.
Chain 4 again and slip stitch back to the point where the butterfly wings originally began.
At this stage, the butterfly motif should have its characteristic four-wing shape.
Secure the motif with a slip stitch.
Fasten off Color A and weave in the yarn tail.
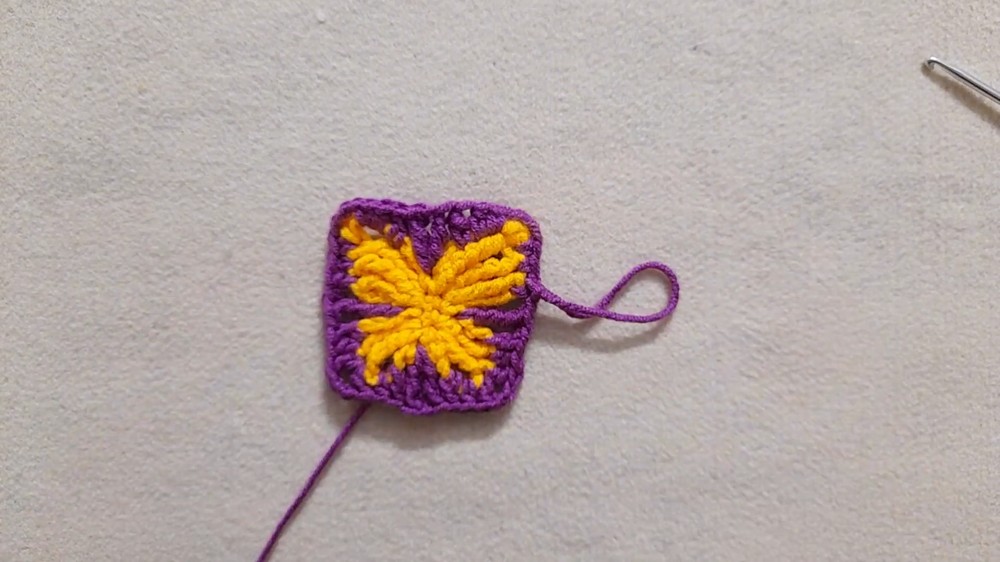
Turn the Butterfly Into a Square
Now comes the part that makes this pattern different from a standalone butterfly motif.
Switch to Color B.
Instead of leaving the butterfly as an isolated decoration, you’ll build crochet stitches around its edges until it becomes the center of a square.
Attach Color B at the top of one of the DTR stitches using a slip stitch.
Build the First Border
Chain 2.
For this round, the chain 2 counts as the first half double crochet.
Now work single crochet around the upper edges of the butterfly, following the stitch placement shown in the pattern.
The different stitch heights are important here.
You’ll use combinations of:
- sc
- hdc
- dc
- tr
around the open spaces.
In the larger butterfly openings, use the taller stitches as specified:
TR + ch 1 + TR
These taller stitches help fill the open areas without flattening the butterfly shape.
Continue working around the entire motif.
When you reach the beginning, join with a slip stitch.
Don’t rush this round
This is the shaping round.
The butterfly itself is intentionally irregular, while the finished square needs to become balanced.
If your square starts looking noticeably uneven here, check the placement of your stitches before moving to the next round.
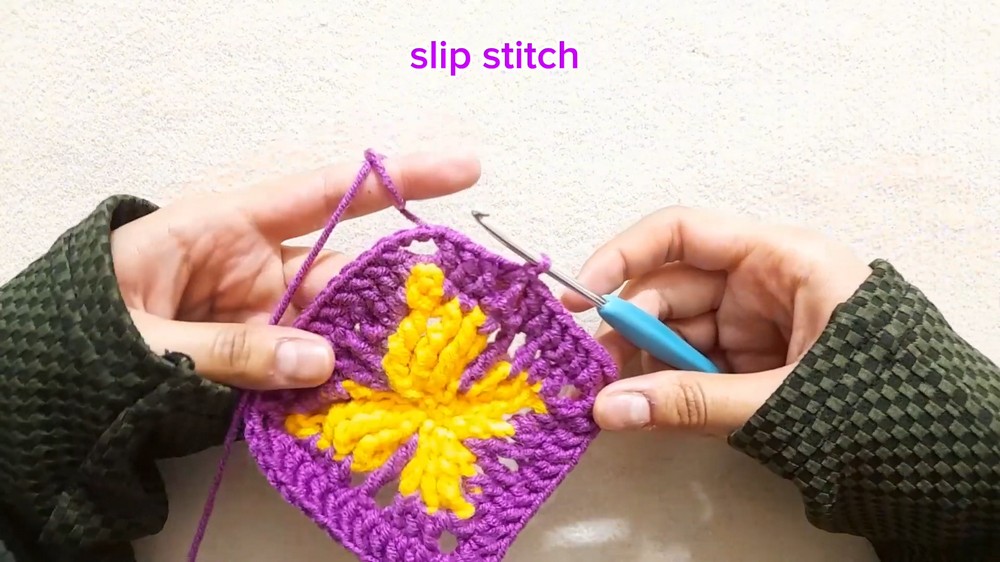
Create the Granny-Square Shape
The final round is where the design begins to look like a traditional granny square.
Chain 3, which counts as the first double crochet.
Work double crochet stitches across the side until you reach the corner.
At each corner, work:
1 dc, ch 3, 1 dc
Continue working double crochet along the next side.
Repeat the same corner sequence at each corner.
For the example, aim for approximately 9 double crochets along each side between the corners.
The important thing is to keep the four sides balanced.
Once you’ve worked around the entire square, join with a slip stitch.
Fasten off Color B.
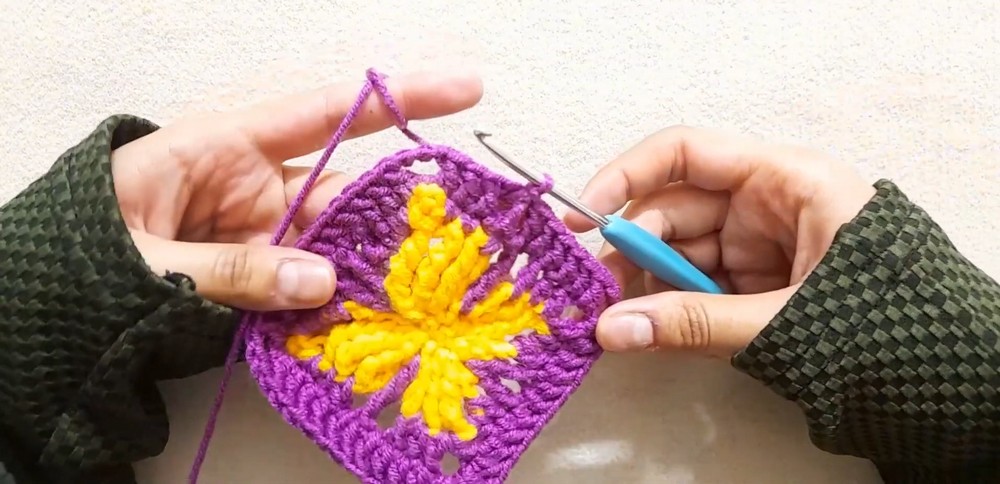
Shape and Finish the Square
Weave all remaining yarn ends into the back of the square.
Trim only after the ends are securely woven.
Optional blocking
If the square isn’t lying completely flat, blocking can make a big difference.
Pin it gently into a square shape, lightly mist it with water, and allow it to dry completely.
Don’t stretch it aggressively—just encourage the four corners and sides into a clean shape.
How to Use Your Butterfly Square
This is where the little motif becomes much more versatile.
Make one square for a small decorative project, or crochet several and join them together.
You can use butterfly granny squares for:
- blankets
- cushion covers
- bags
- scarves
- decorative panels
- small home accessories
Because each butterfly can use different colors, a larger pattern doesn’t have to look repetitive.
Make Every Butterfly Different
One of the easiest ways to personalize this pattern is to change Color A.
Try:
- pastel pink and cream
- lavender and white
- blue and yellow
- coral and peach
- several shades of one color
You can also keep the butterfly the same color throughout a pattern and change only the border.
That gives you a coordinated collection without making every square identical.
For an extra decorative touch, embroidery or small embellishments can be added after the square is complete.
If You’re Making Several Squares
Before crocheting a large number of squares, make one complete sample first.
Measure it.
Then check:
- Are all four sides similar?
- Is the butterfly centered?
- Does the square lie flat?
- Does your chosen color combination work?
- Is your tension consistent?
Once you’re happy with the sample, use it as your reference for the remaining squares.
This simple step can save a lot of time when you’re making a blanket or larger pattern.
Your Butterfly Granny Square Is Ready
You’ve started with a small butterfly motif and transformed it into something much more useful: a crochet square that can become part of a much larger pattern.
That’s what makes this pattern so enjoyable.
The butterfly gives the square its personality, while the familiar granny-square border makes it practical and easy to combine with other crochet pieces.
Try one color combination first, then make another.
You may find that the same pattern looks completely different simply by changing the butterfly and border colors.