Beginner-Friendly Knit Scrap Sweater with Leftover Yarn
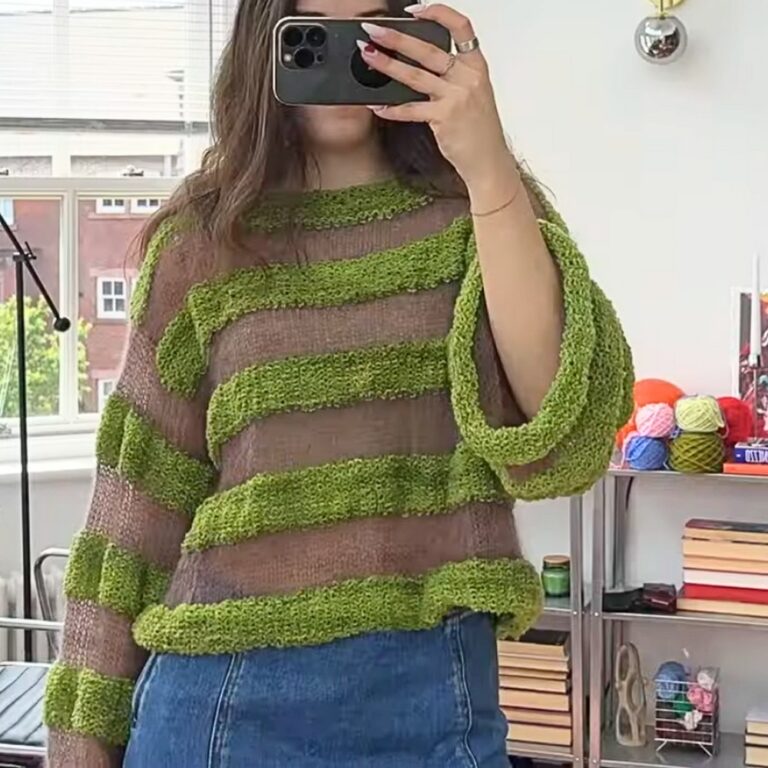
Turn leftover yarn into a stylish winter wardrobe essential with the Knit Scrap Sweater tutorial. This beginner-friendly guide transforms your stash of double-knit and chunky yarns into cozy, sustainable fashion with minimal effort. By crafting simple rectangles and joining them, you can create your own unique sweater while reducing waste in both creative and practical ways.
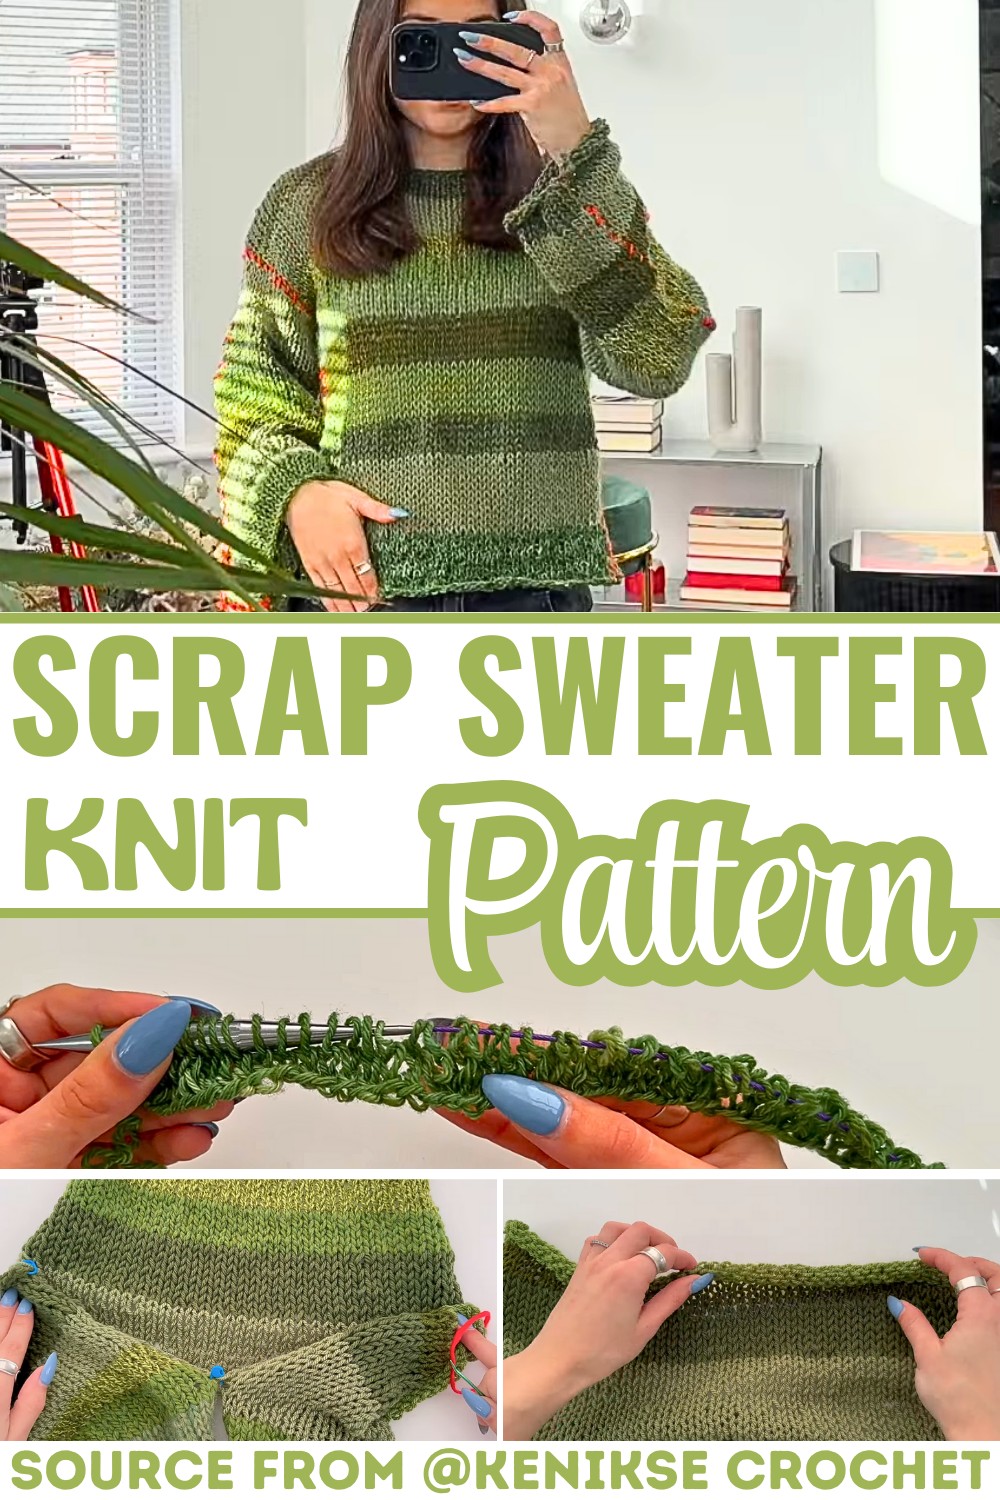
Knit Scrap Sweater
What sets this tutorial apart is its clever use of contrasting seams that add a bold design element to your finished sweater. You’ll also learn clever techniques, such as a long-tail cast-on method, that simplify the process and ensure clean edges. Whether you’re tailoring sleeve lengths or perfecting color changes, the step-by-step instructions make it approachable for all skill levels.
Pattern Highlights:
- Custom Fit and Assembly: Learn to craft simple sleeve, front, and back panels for a fully customizable fit.
- Efficient Color Changes: Discover a simple method for switching yarn colors on neat knit rows without creating gaps or tangles.
Credit Kenikse Crochet
Step-by-Step Pattern
Materials
Here’s what you’ll need for this project:
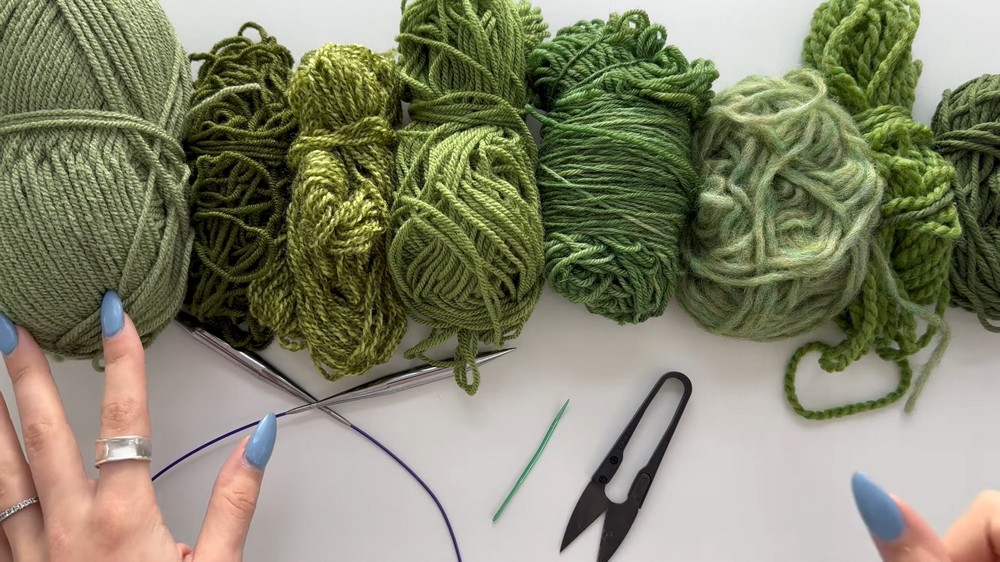
- Variety of scrap yarns: From double knit (DK) to chunky yarn (mix and match for added texture). Ensure you check your gauge carefully.
Tip: If your yarns vary widely in thickness, aim for DK to chunky weights for consistency in the final look. - Knitting needles: 10mm needles – circular ones with cables are ideal, but straight needles can work too.
- Scissors
- Tapestry/darning needle: For seaming and weaving in ends.
- Stitch markers: Optional but helpful in marking armholes and sections.
- Cable needle or extra scrap yarn: For holding stitches.
Stitch Guide
This sweater uses two basic stitches:
- Knit Stitch (K):
- Keep your working yarn behind the needle.
- Insert the right-hand needle from left to right into the loop on the left-hand needle (toward the back).
- Wrap your working yarn around the right-hand needle, pull through, and slide it off the left-hand needle.
Repeat for all stitches in the row.
- Purl Stitch (P):
- Keep the working yarn in front of the needle.
- Insert the right-hand needle from right to left into the loop on the left-hand needle (toward the front).
- Wrap your working yarn around the right-hand needle, pull through, and slide it off the left-hand needle.
Repeat for all stitches.
Notes
Here are some tips and adjustments to make the process even smoother:
- Gauge Check: Work up a small swatch to determine how your yarns work together with 10mm needles.
- Tip: With DK yarn, your stitches will appear loose on oversized needles, creating a relaxed, textured look.
- Customizing Size: Adjust the width and length by adding or reducing the stitches and rows in each panel. Measure your body and compare it to the size of your panels for a perfect fit!
- Color Blocking: Let your creativity shine by randomly changing colors within rows. Tie knots with yarn tails or weave them securely later to switch without fraying.
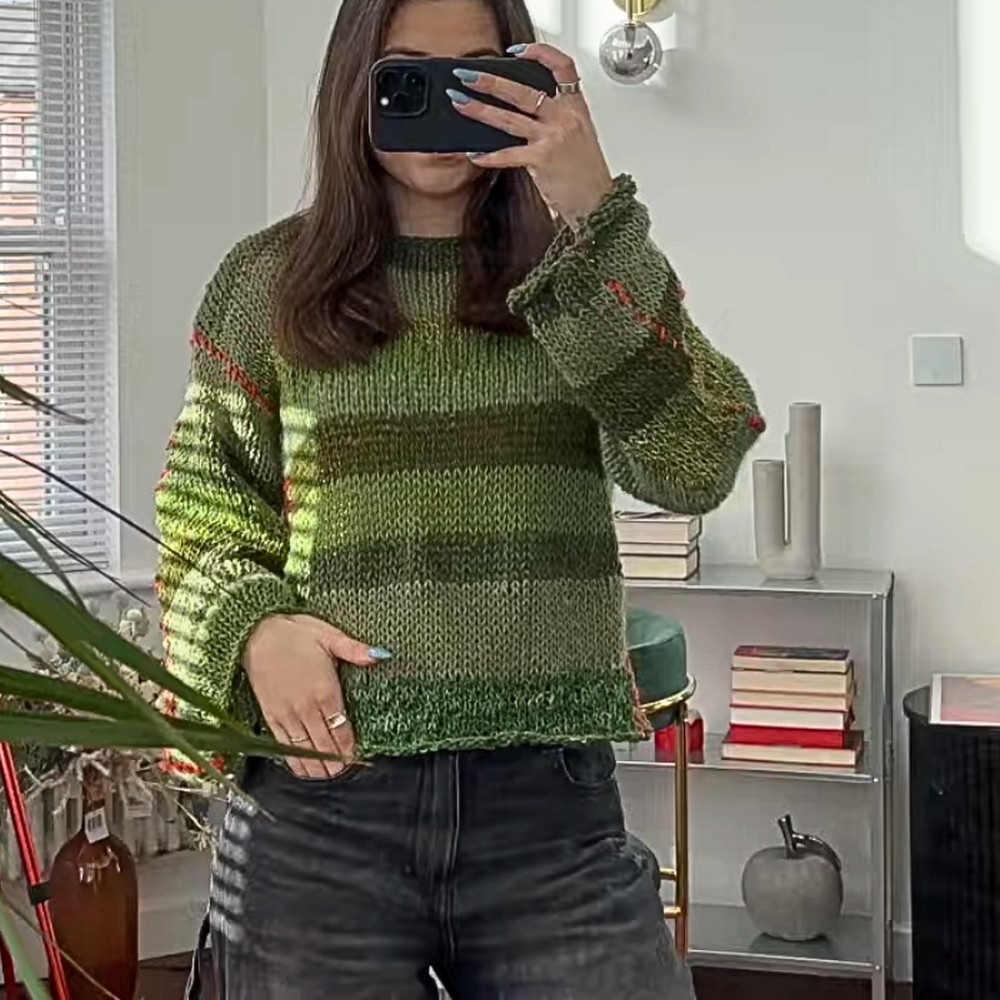
- Joining with Contrasting Yarn: If you’re looking for a unique finish, use a bold yarn color to seam pieces using visible stitches.
Pattern Instructions
This sweater is made up of four panels:
- Front panel
- Back panel
- Two sleeve panels
Step 1: Knitting the Front Panel
- Cast On:
- Use the long-tail cast-on technique. Estimate the length by casting on 10 stitches, measuring the yarn used, and multiplying by the total number of stitches.
- For the front panel: Cast on 50 stitches (or more to match your preferred width).
- Begin Rows:
- Row 1: Pearl across all stitches for a softer texture.
- Row 2: Turn your work and knit across.
Repeat these two rows in sequence for 60-65 total rows to reach the desired length for the body panel.
- Changing Colors:
- To change colors, cut the old yarn, leaving a tail, and tie the new yarn in while knitting. Secure the tails by tying knots near the first few stitches of the new color.
- Shoulder Shaping:
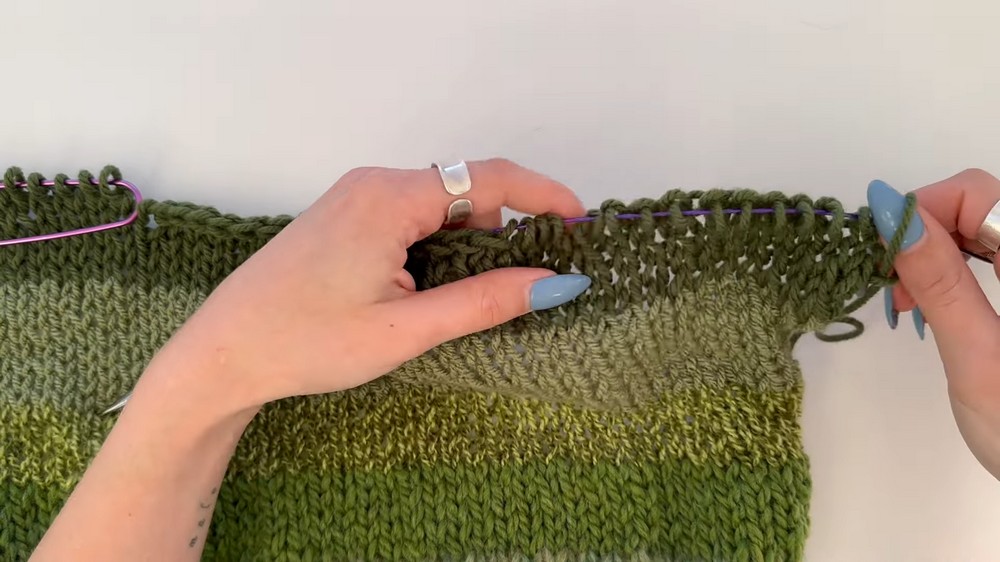
- On your last knit row, start shaping the shoulders.
- For the first shoulder: Purl 15 stitches, cast off 20 stitches at the neckline, and purl the remaining 15 stitches.
- Shoulder Finish:
- On each shoulder portion, work three additional rows: Knit, Purl, Knit.
- Cast off purlwise.
Step 2: Knitting the Back Panel
This is a simple rectangle without shoulder shaping.
- Cast On: Cast on 50 stitches as before.
- Work 65 rows, alternating Knit and Pearl rows.
- Cast off to finish.
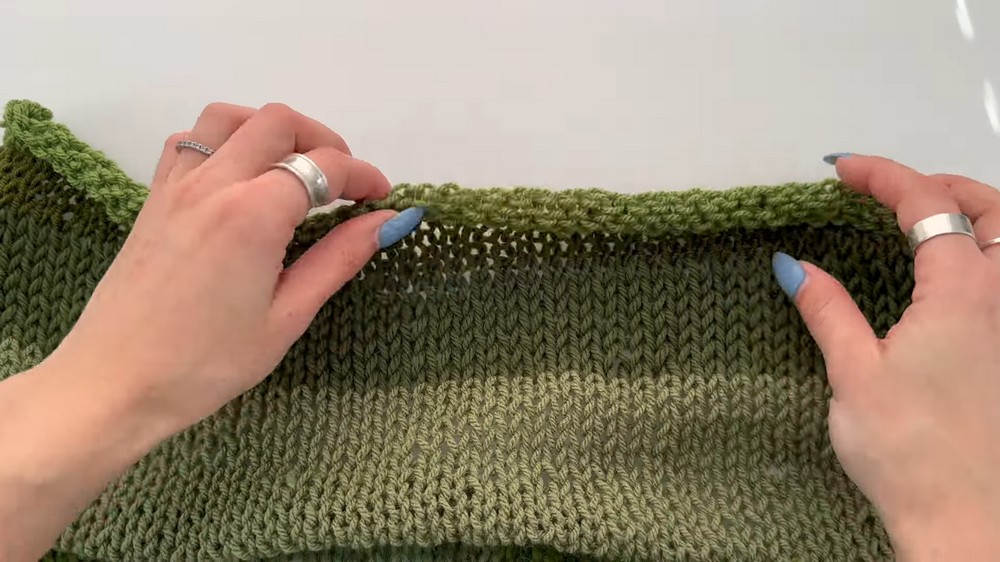
Step 3: Knitting the Sleeves
The sleeves follow the same method:
- Cast On: Cast on 40 stitches for the sleeve width.
- Work 70 rows, alternating Knit and Pearl rows until the desired length is achieved.
- You can introduce stripes by switching yarn colors at random points.
- Repeat for the second sleeve.
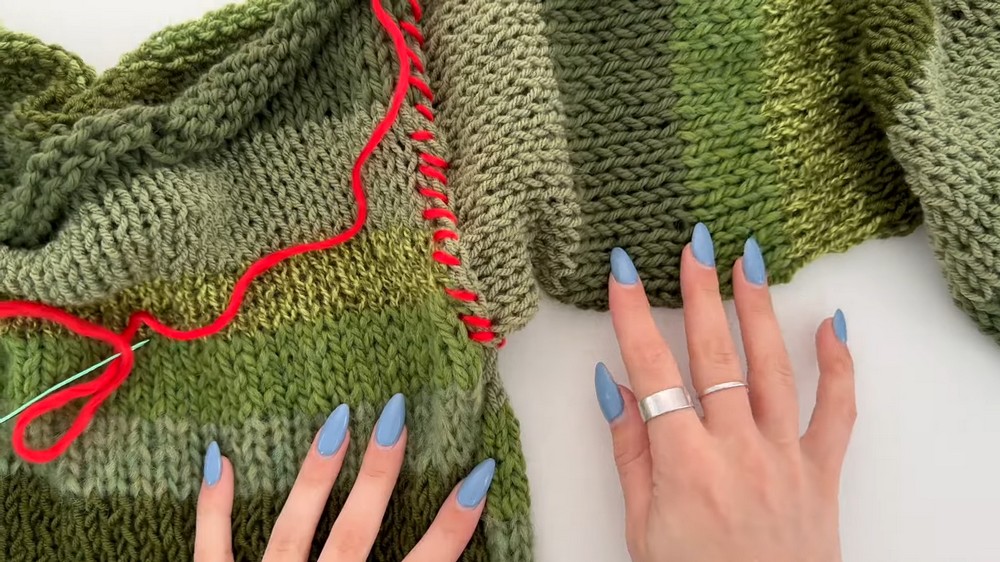
Step 4: Joining the Panels
Joining is done with visible contrasting yarn stitches for added style!
- Seaming the Sleeves to Armholes:
- Fold the sleeve in half and determine the center point.
- Match the center to the shoulder seam. Attach using stitch markers. Use contrasting yarn and a tapestry needle to sew around the armhole evenly.
- Seaming the Front and Back Panels:
- With wrong sides facing, seam the side edges of the front and back panels together. Leave space at the shoulders for the armholes.
- Joining Sleeves to Shoulders:
- Fold the sleeves and sew along the edge using the same contrasting yarn method.
- Weaving in Tails:
Secure all loose yarn ends by neatly threading them into the seams.
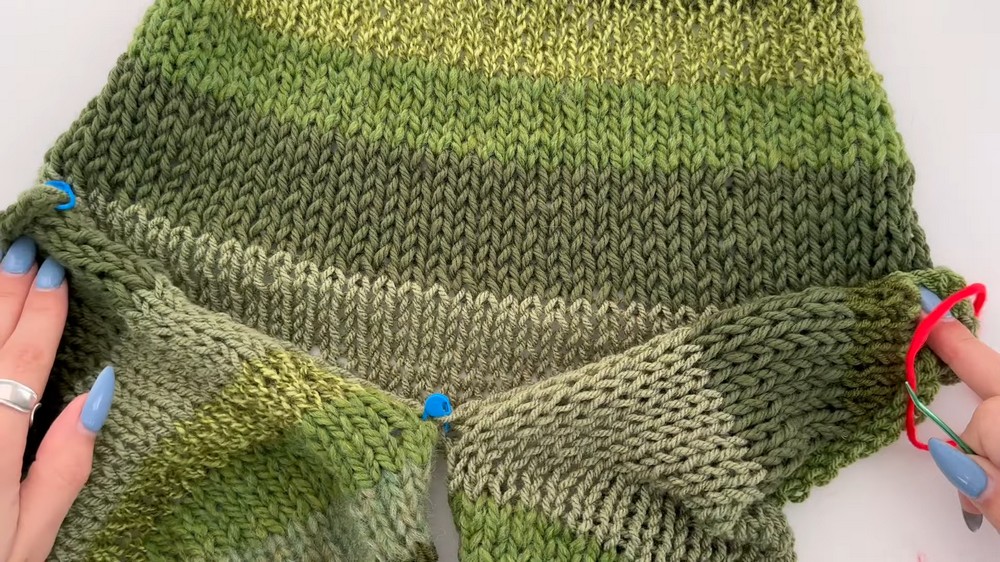
Final Touches
Once completed, turn your sweater right side out. The contrasting seams create a trendy, irregular design that highlights the project’s handmade nature. Trim any stray ends, then try on your scrap-yarn sweater to enjoy the fruits of your labor!
Pattern Question
Q: Can I use only one type of yarn weight for this sweater?
A: Yes, you can! While the pattern suggests mixing yarn weights for a textured look, a single yarn weight like double-knit or chunky will work just as well. Be sure to check your gauge to adjust sizing accordingly.
Video Tutorial