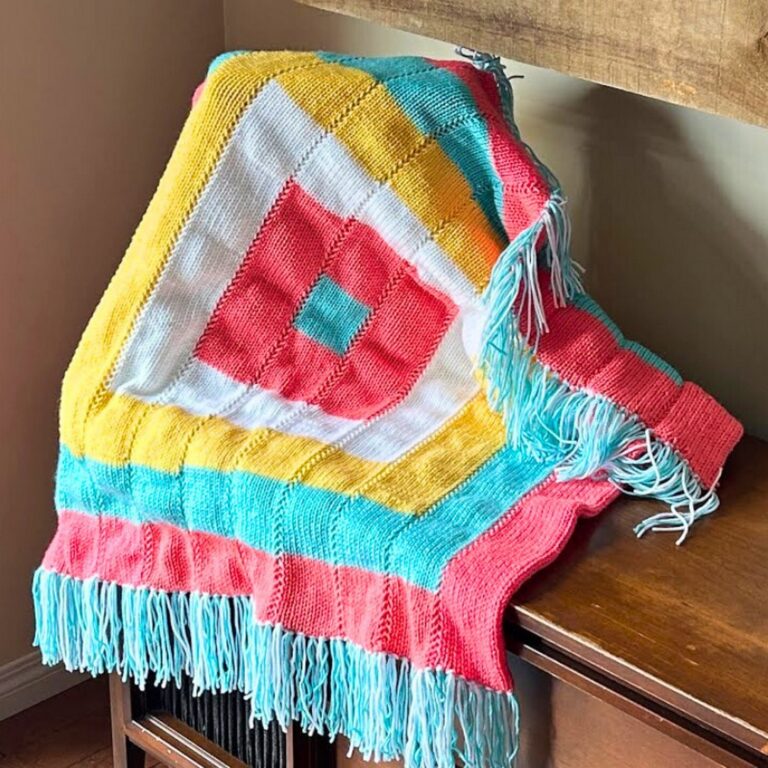
Knitting a Custom-Fit Sweater – Step-by-Step Tutorial
Are you ready to knit a sweater that fits your style and measurements perfectly? This comprehensive tutorial guides you through creating a made-to-measure knit sweater using basic stitches, making it an ideal project for both beginners and experienced knitters. With clear instructions, you’ll learn to craft a timeless wardrobe piece that is equal parts comfortable and stylish. Not only does this pattern allow you to explore creative customization with yarn selections, but it also emphasizes essential skills like gauge swatching, which help ensure the ideal fit for your unique body shape.

Knitting a Custom-Fit Sweater
What makes this knit sweater tutorial special is the versatility and attention to detail it offers in every step. You’ll start with a bottom-up design, beginning with a ribbed base and moving through sections structured to ensure a modern, flattering fit. The use of Lucas brushed alpaca yarn brings unmatched softness. Still, the tutorial also encourages freedom to experiment and customize with the yarn of your choice, as long as you calculate the gauge correctly. Additionally, you’ll master techniques such as the long-tail cast-on for a smoother start, seamless mattress stitching to join panels, and symmetrical shaping for the neckline and sleeves, giving your sweater an elegant, professional finish.
Pattern Highlights
- Discover how to use the long-tail cast-on method to create flexible stitches for a comfortable sweater base.
- Learn how to seamlessly join panels with the mattress stitch and create ribbed cuffs and hems for tailored details.
Credit Kenikse Crochet
Step-by-Step Pattern
Materials
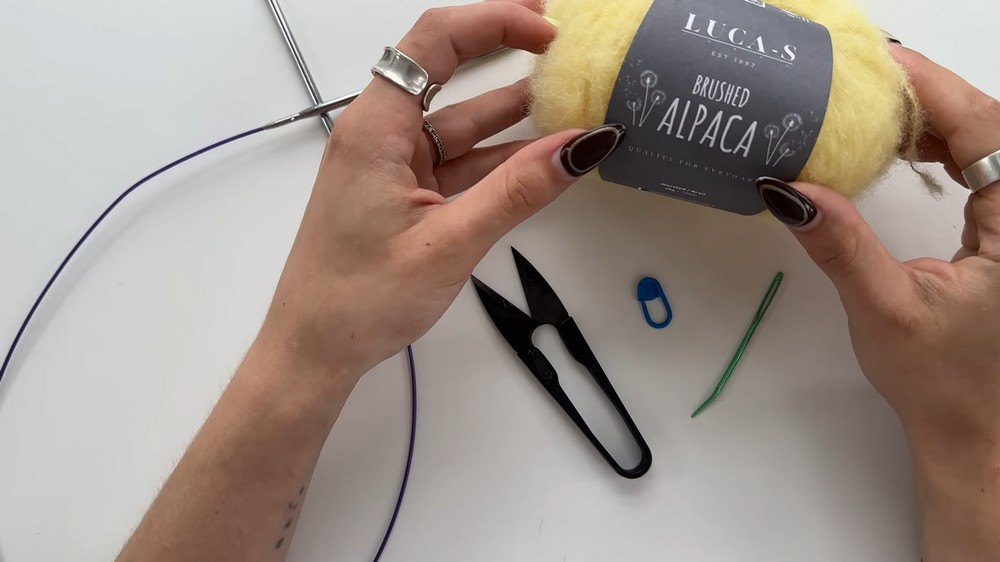
To make your own custom-fit sweater, here’s what you’ll need:
- Yarn: Lucas Brushed Alpaca Weight (or any yarn of your choice).
- Knitting Needles: 4mm circular needles (or needles appropriate for your yarn per the gauge).
- Additional Tools:
- Stitch markers
- Scissors
- A second set of cables (with stoppers)
- Measuring tape
Want to use a different yarn? No problem—make sure to knit a gauge swatch to adjust your stitch count accordingly.
Stitch Guide
Here’s a reference for the simple stitches and techniques you’ll you‘ll
- Long Tail Cast-On:
- Make a slipknot, leaving a long yarn tail.
- Using both needles together, cast on stitches by grabbing the yarn with your thumb and index finger, then creating loops around the needles.
- Knit Stitch:
- Insert the right needle into the front loop of the stitch on the left needle.
- Wrap the working yarn around the right needle and pull it through to create a new stitch.
- Purl Stitch:
- Bring the yarn to the front. Insert the right needle into the stitch from the back.
- Wrap the yarn around the correct needle, pull the stitch through, and transfer it to the other needle.
- Stockinette Stitch:
- Alternate knit rows on the “right “side with “url rows on the “wrong “side.”
- Slip, “Slip, Knit (SSK) Decrease:
- Slip two stitches (one at a time) as if to knit.
- Insert the left needle into these two stitches, then knit them together through the back loops. This creates a left-leaning decrease.
- Knit Two Together (K2tog) Decrease:
- Insert the right needle into two stitches at once, then knit them together. This creates a right-leaning decrease.
- Casting Off:
- Knit two stitches, pull the first stitch over the second.
- Continue with the same method—knitting or purling as required—until you have one stitch left. Cut the yarn, pull it through the final loop, and secure.

Notes
Here are some tips for making the perfect beginner sweater:
- Fit & Gauge: Each shirt is made-to-measure. Knit a small swatch first to determine how many stitches you’ll need to achieve your desired fit. The sweater starts at the bottom and works upward, so ensure the initial cast-on fits your bust or the bottom width you desire.
- Customization Ideas:
- Adjust the ribbing length to create a tighter or looser edging.
- Experiment with sleeve lengths—it can be a full-length sweater or a fun cropped piece.
- Use a contrasting yarn color for the cuffs and neckline for a fun pop of color!
Pattern Instructions
Bottom-Up Sweater Foundation
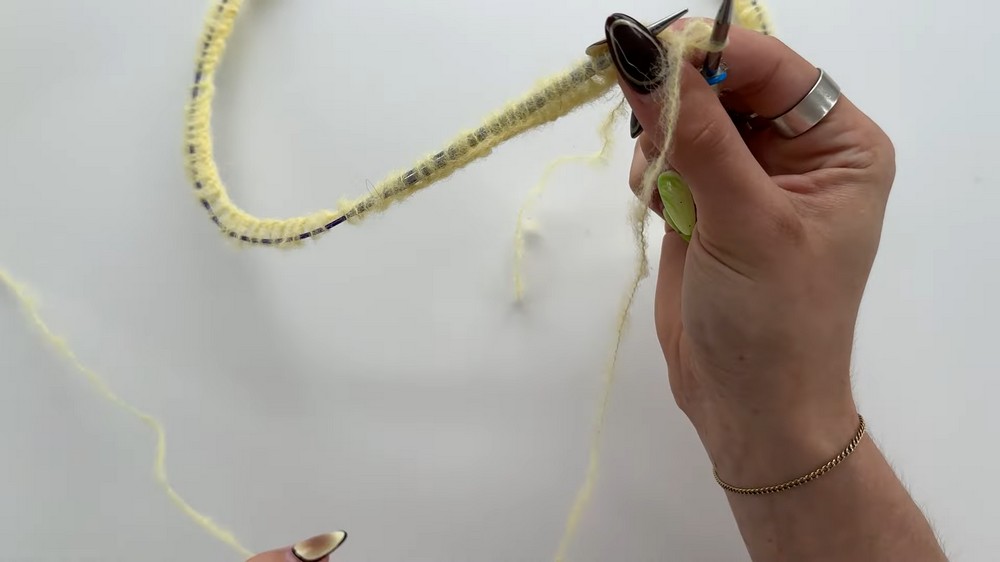
- Long Tail Cast-On:
- Using both needles (to prevent a tight edge), cast on the required number of stitches for your size. In the video, 204 stitches are cast on using the long-tail method. Add 1 extra stitch (205 total) for joining the round.
- Join to Work in the Round:
- Ensure your stitches aren’t torn. Slide the first stitch on the left needle onto the right one. Pull the second (rightmost) stitch over this to secure the round. Place a stitch marker to denote the beginning of the round.
- Ribbing:
- Work in a 1×1 ribbing (K1, P1) until the ribbing is the desired length. For the tutorial, 12 rows were used.
Waist to Armpit Section
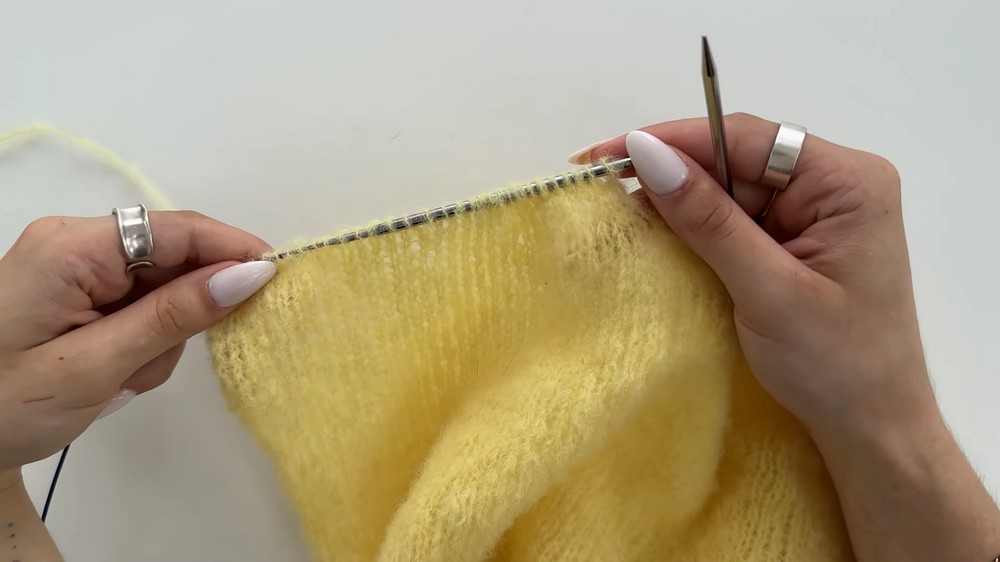
- Knit Stockinette in the Round:
- After finishing the ribbing, work in plain knit rounds (this forms a stockinette stitch). Continue until the body is long enough to reach the base of your armpit. For the video, this measured approximately 31cm.
- Separate Front and Back Panels:
- Divide the total stitches in half (e.g., 204 ÷ 2 = 102 stitches). Place the back stitches on one cable and secure with stoppers. Focus on the front stitches for now.
Front Panel
- Knit Flat in Stockinette:
- Alternate knit rows (right side) and purl rows (wrong side) to work the front panel.
- Shape Armholes:
- Continue flat knitting until just below the neckline, accounting for collar space (e.g., approximately 3-4 cm).
- Shape the Shoulders:
- For each side of the neckline, reduce rows as follows:
- Left Shoulder: Start with an SSK decrease at the beginning of the knit row.
- Right Shoulder: End the knit row with K2tog.
- Alternate between knit and purl rows, repeating decreases until your shoulder fits your body measurements.
- For each side of the neckline, reduce rows as follows:
Back Panel
- Work Flat Stockinette: Knit the back panel the same way as the front.
- Shallow Neckline: Adjust the back neckline to be higher (approximately 10 fewer rows for the neck area).
Seam Shoulders Together
- Use the mattress stitch to join the front and back shoulders. Check that your seams are smooth and tight.
Sleeves
- Pick-Up Stitches:
- Start at the armpit, pick up 2 stitches, skip 1, and repeat.
- Work the sleeve in the round using plain knit rounds.
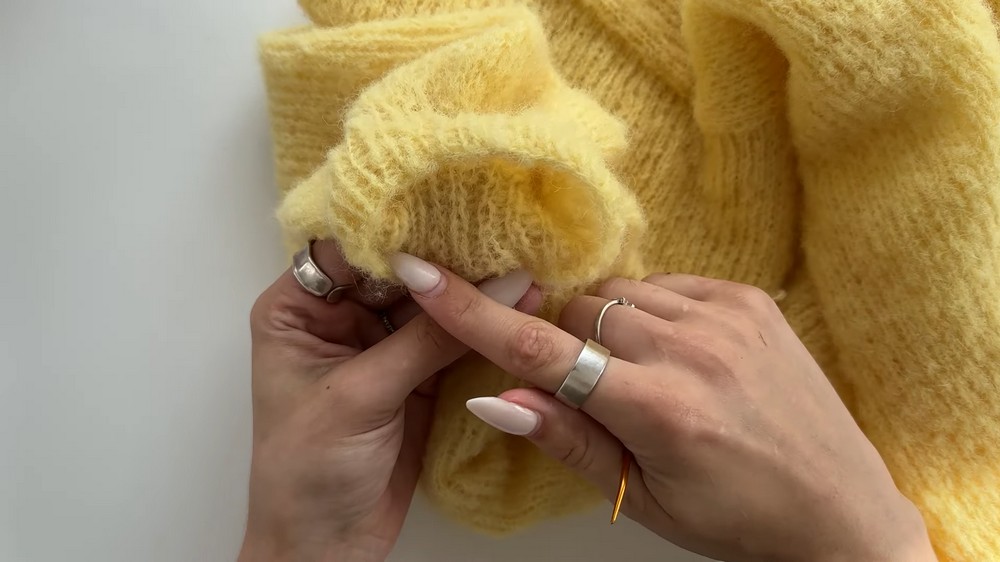
- Cuff Ribbing:
- Once the sleeve reaches your desired length, decrease stitches (optional) and knit a 1×1 ribbing.
Collar
- Pick-Up Stitches:
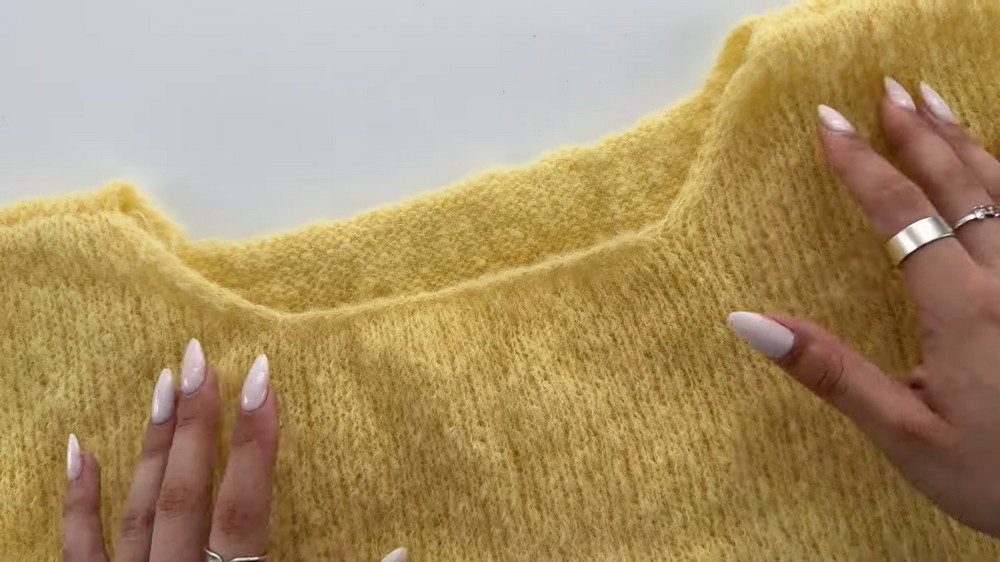
- Around the neckline, pick up an even number of stitches.
- Ribbing:
- Knit in 1×1 ribbing until your collar reaches your ideal height.
- Bind Off:
- Cast off in K1, P1 ribbing for a polished edge.
Final Assembly
- Weave in all ends: Use a tapestry needle to secure and hide loose yarn ends.
- Block Your Sweater: Wash and block the sweater to smooth out stitches and ensure it holds its shape.
Pattern Question:
Q: Can I use a different type of yarn for this sweater?
A: Yes! Feel free to use any yarn, but make sure to create a gauge swatch to calculate the needed stitches for the correct fit. This ensures the sweater maintains its shape and design.