Knit a Striped Sweater with Mohair and Double-Knit Yarns
If you’ve been searching for a cozy and elegant project to elevate your knitting skills, this striped sweater tutorial is just what you need! Using two distinct types of textured yarn—double-knit bouclé and lace-weight mohair—this project allows you to create a stunning sweater with stripes that pop. Designed for both beginners and experienced knitters, the tutorial provides a comprehensive, step-by-step guide to crafting a stylish and functional garment. From learning the basics of gauge swatching to creating seamless panels, this project is the perfect opportunity to practice essential techniques while crafting a sweater that’s genuinely one of a kind.
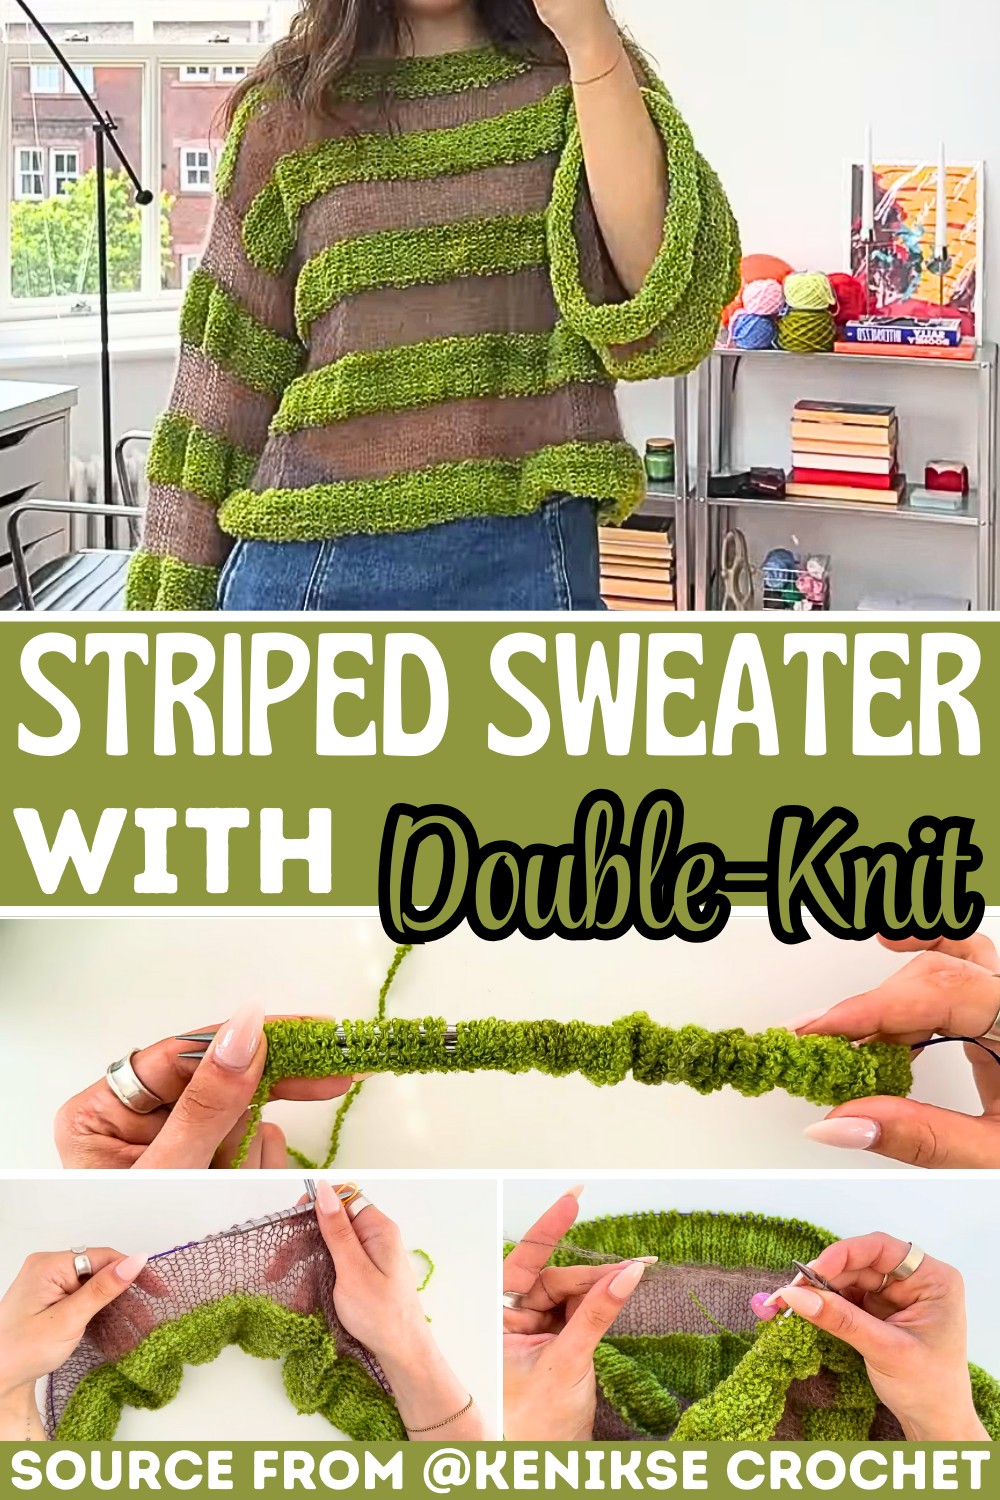
Knit a Stunning Striped Sweater
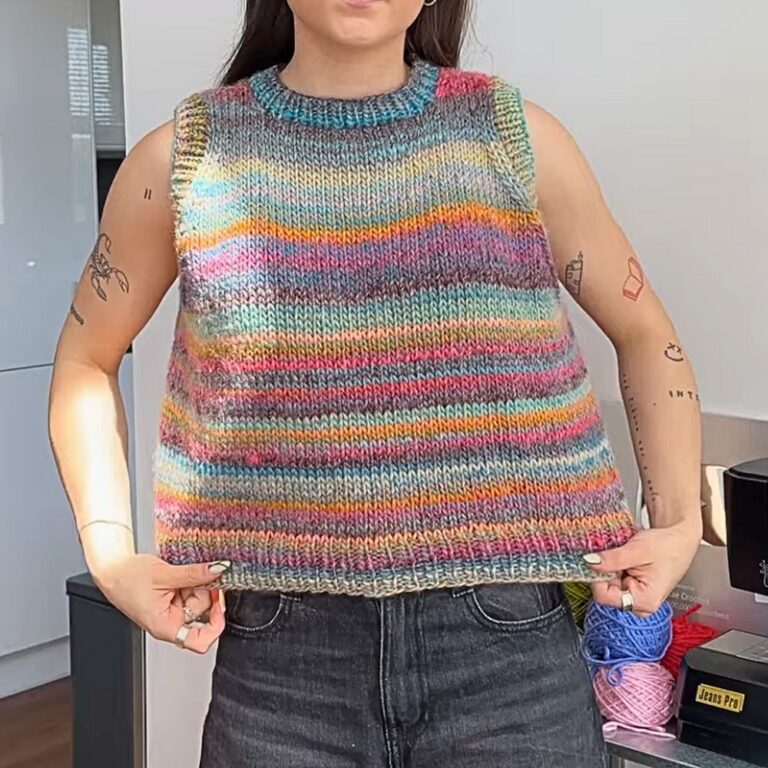
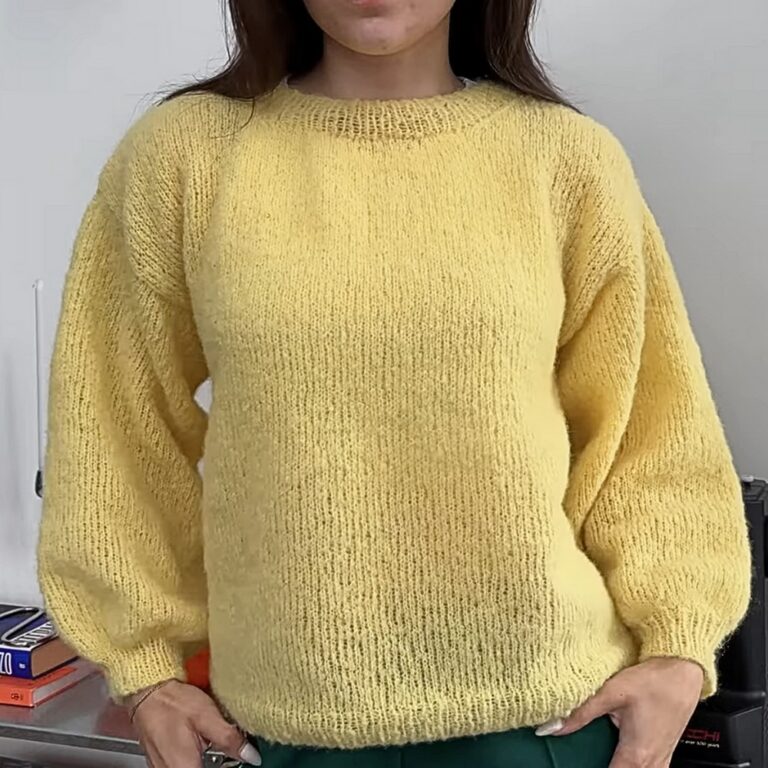
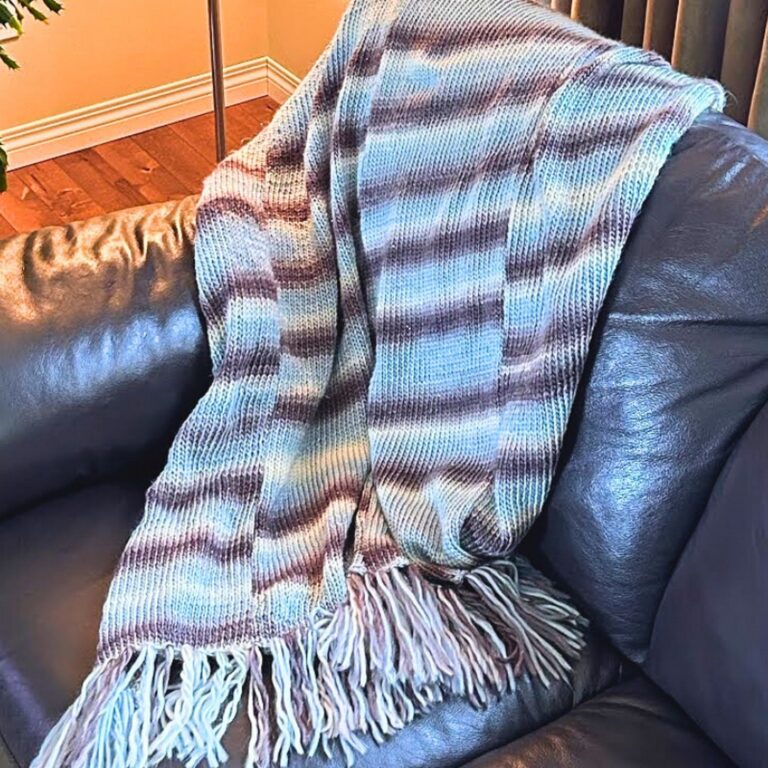
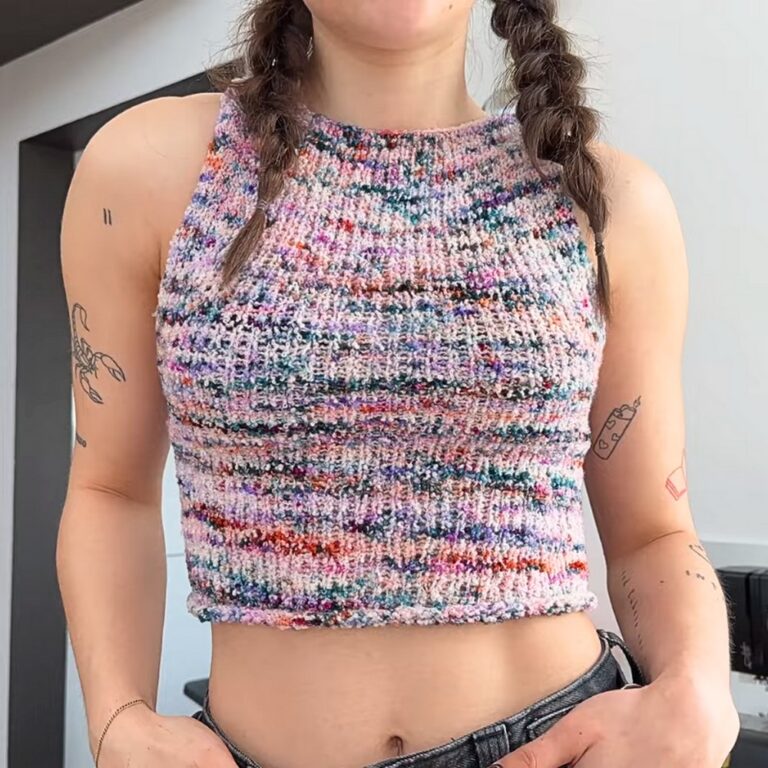
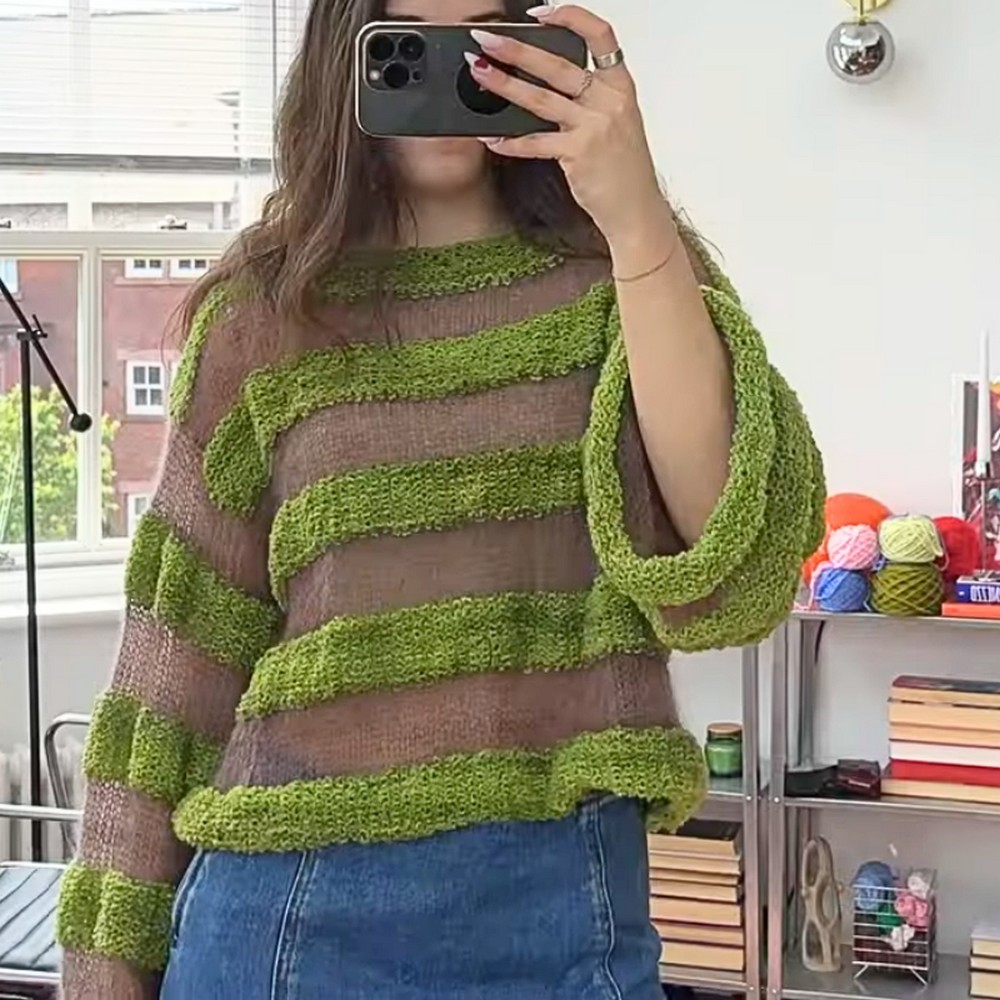
What makes this striped sweater truly stand out is its innovative use of contrasting textures and colors. This Striped Sweater tutorial demonstrates a smart way to alternate rows of bouclé yarn for a cozy feel and mohair for a soft, luxurious finish—creating bold, eye-catching stripes with a harmonious balance. You’ll also learn clever techniques for joining in the round to keep your stitches untwisted and professional-looking, along with detailed instructions for seamlessly casting on, dividing the panel into front and back portions, and crafting a comfy sleeve design that complements the sweater’s overall aesthetic.
Pattern Highlights
- Combine two unique yarn textures—bouclé and mohair—for dynamic striped patterns with a polished look.
- Master the art of seamless circular knitting, learn to cast on without twisting, and tackle back-and-front panel separation with ease.
Credit Kenikse Crochet
Step-by-Step Pattern
Materials:
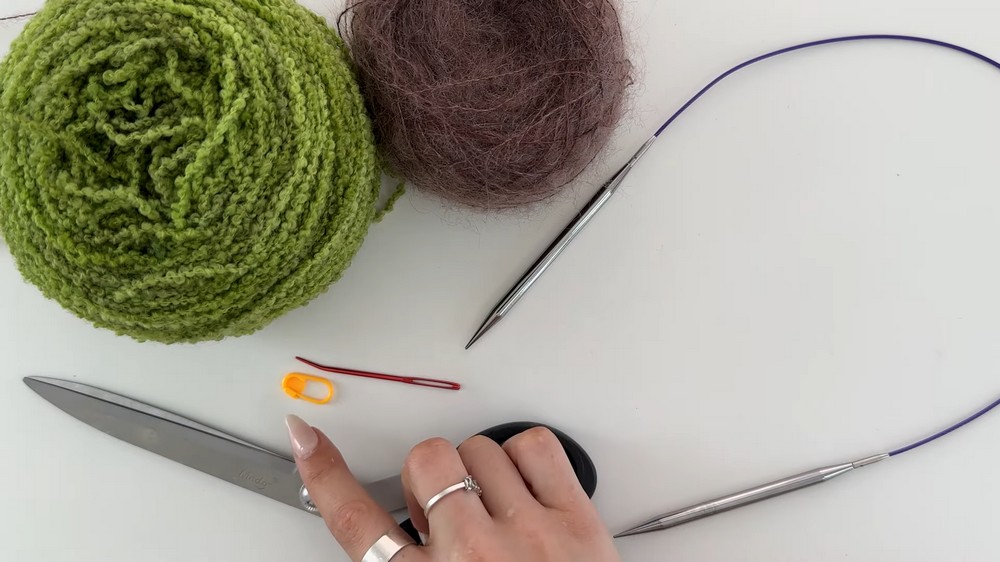
To knit this sweater, you’ll need the following:
- Yarn (2 types):
- Double-knit yarn (e.g., bouclé).
- Lace-weight mohair yarn.
- Circular knitting needles (6mm, cable included).
- Scissors.
- Tapestry needle.
- Stitch markers.
Stitch Guide:
A breakdown of the key stitches and techniques used:
- Cast-On:
Make a slipknot, then use your thumb and index finger to form loops for a long-tail cast-on. Ensure the stitches are even and not too tight. - Knit Stitch (K):
Insert the needle through the front of the stitch, wrap the yarn around the needle, and pull it through to create the “knit” texture. - Purl Stitch (P):
Bring the yarn to the front, insert the needle from back to front, wrap the yarn, and pull it through to create a “purl” texture. - Joining in the Round:
Once the stitches are cast on, transfer the first stitch to the other needle, loop over, and tighten to join. - Bind-Off:
Work two stitches as instructed, and then pass the first stitch over the second to secure. Repeat to finish rows or panels.
Pattern Instructions:
Step 1: Cast-On
- Make a slipknot on your needle with the double-knit yarn.
- Using the long-tail cast-on method, cast on 140 stitches to create the sweater base. Add one extra stitch for the join. (Total: 141 stitches).
- Ensure the stitches on the cable are straight and not twisted.
- Join in the round: Transfer the first cast-on stitch to the opposite needle, loop it through, and tighten.
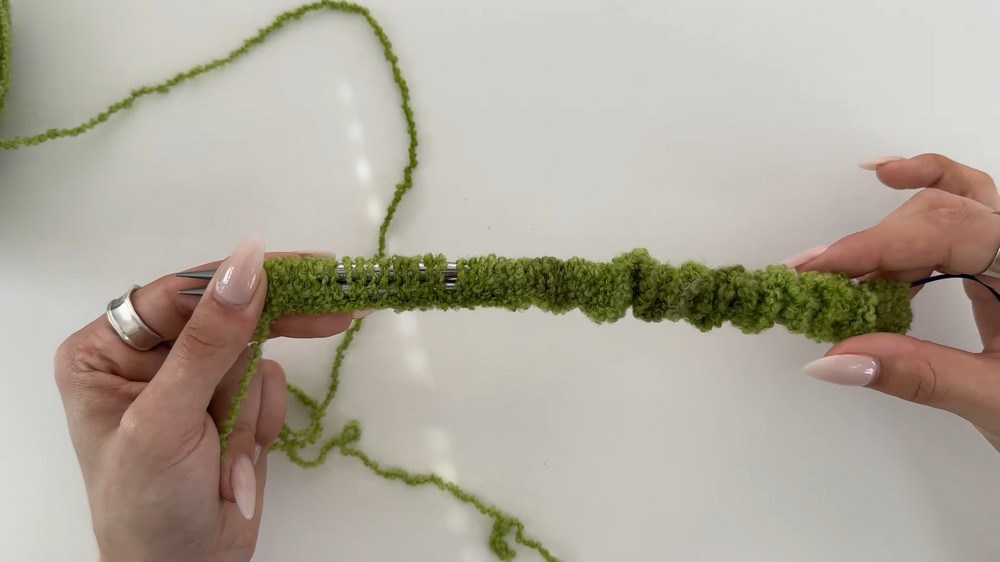
Step 2: Ribbed Hem (Bottom Edge)
- Begin by working in purl stitches for the first 12 rows (using the double-knit yarn).
- Use a stitch marker to mark the beginning of each row as you knit in the round.
Step 3: Creating Stripes
- Switch to the mohair yarn:
- Cut the double-knit yarn, leaving a tail.
- Join the mohair and switch to knit stitches.
- Knit 12 rows for the contrasting stripe.
- Alternate between the two yarns (purl for double-knit, knit for mohair), creating 12-row stripes.
- Repeat until you’ve completed 5 sets of stripes. This marks the sweater’s waist portion.

Step 4: Divide for Front and Back
- Place half the stitches (70 stitches) on one cable (back panel) and the other half on another (front panel).
- Front Panel:
- Work back and forth (not in the circle).
- For mohair rows: Knit on the front and purl on the back.
- For double-knit rows: Purl on the front and knit on the back.
- Create 4 stripe sets (12 rows each).
- Back Panel: Repeat the same process for the back.
Step 5: Shoulder Seams
- Sew the front and back panels together at the shoulders using the tapestry needle. Sew across 16 stitches per shoulder. Ensure the neckline opening is wide enough for your head.
- Hide the ends of the tails by weaving them into the rows.

Step 6: Sleeves
- Flip the sweater wrong side out. Locate the armpit and pick up stitches around it to knit the sleeves. Cast on 60 stitches evenly around the armhole.
- Stripe Pattern:
- Use mohair for the first stripe: Knit stitches in the round (12 rows).
- Switch to double-knit yarn for the next stripe: Purl stitches in the round (12 rows).
- Continue until the sleeve is the desired length. (In this tutorial: 8 stripe sets per sleeve).
- Bind off the sleeve using a purl or knit bind-off, depending on the row you finish on.
Step 7: Finishing Touches
- Once both sleeves are complete, hide all the yarn tails using a tapestry needle.
- Turn the sweater right-side out and give it a final finishing touch by gently blocking it to ensure evenness.

Pattern Question
Q: Do I need to adjust the pattern for different sizes?
A: Yes, adjusting the pattern for your desired size is essential! Create a gauge swatch to determine how many stitches you’ll need for your bust, then tailor the number of rows and stitches accordingly.