Square Baby Blanket Tutorial – Color Panels & Braided Joins
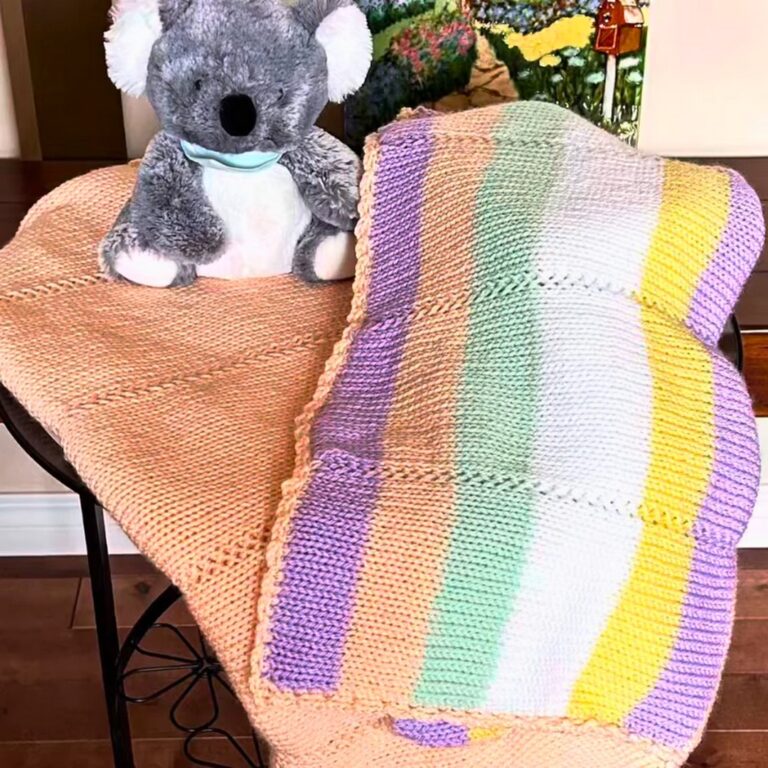
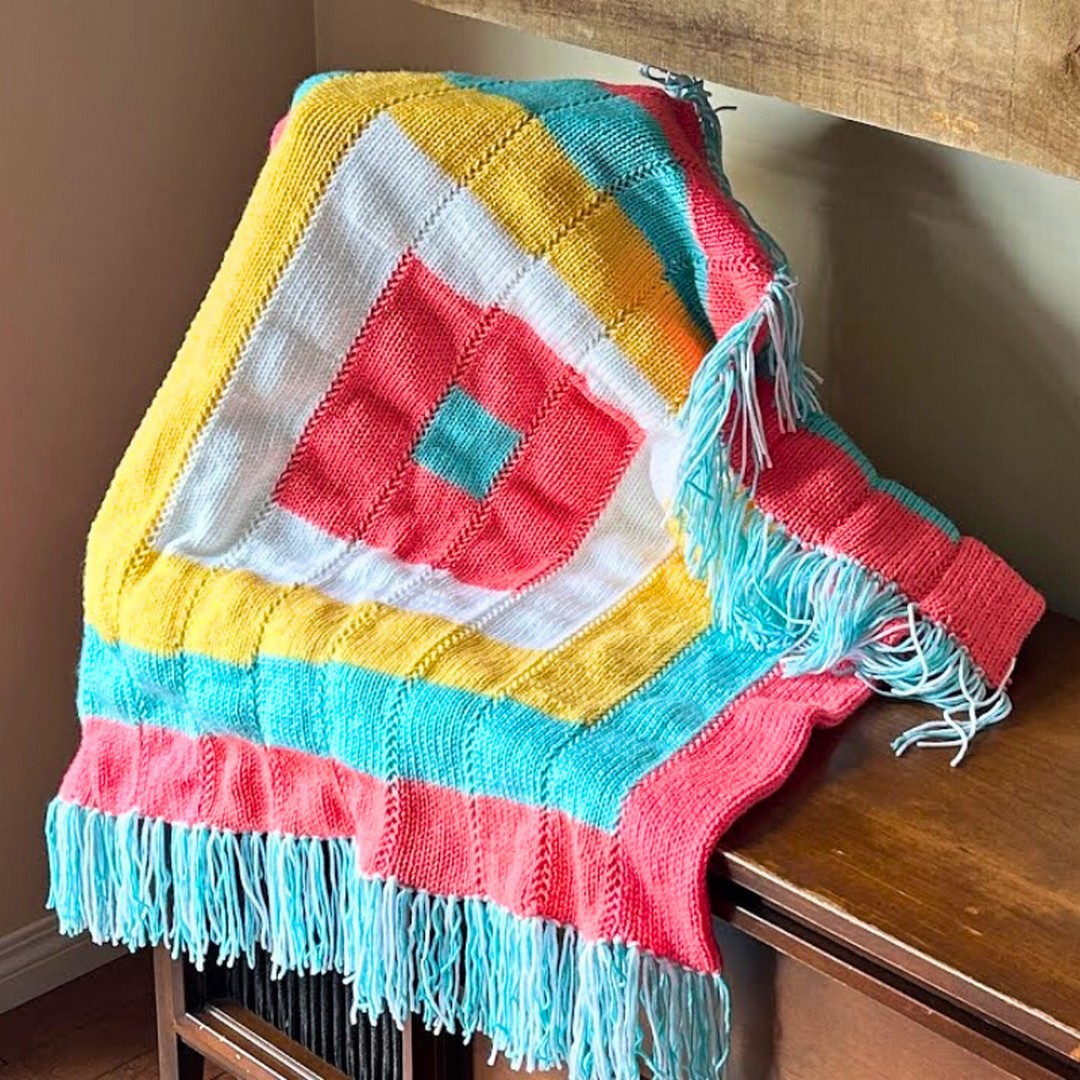
This Square Baby Blanket or Lap Throw tutorial by Shelly is a fantastic project crafted using a 22-needle circular knitting machine. Designed to be versatile, it’s ideal as a cosy baby blanket, a comforting lap throw for seniors, or a compact travel blanket. Measuring 37″x 37″, this blanket emphasises usability without compromising aesthetics. Using clear instructions and creative colour combinations, Shelly guides viewers to create a beautiful, functional handmade piece that’s perfect for gifting or personal use.
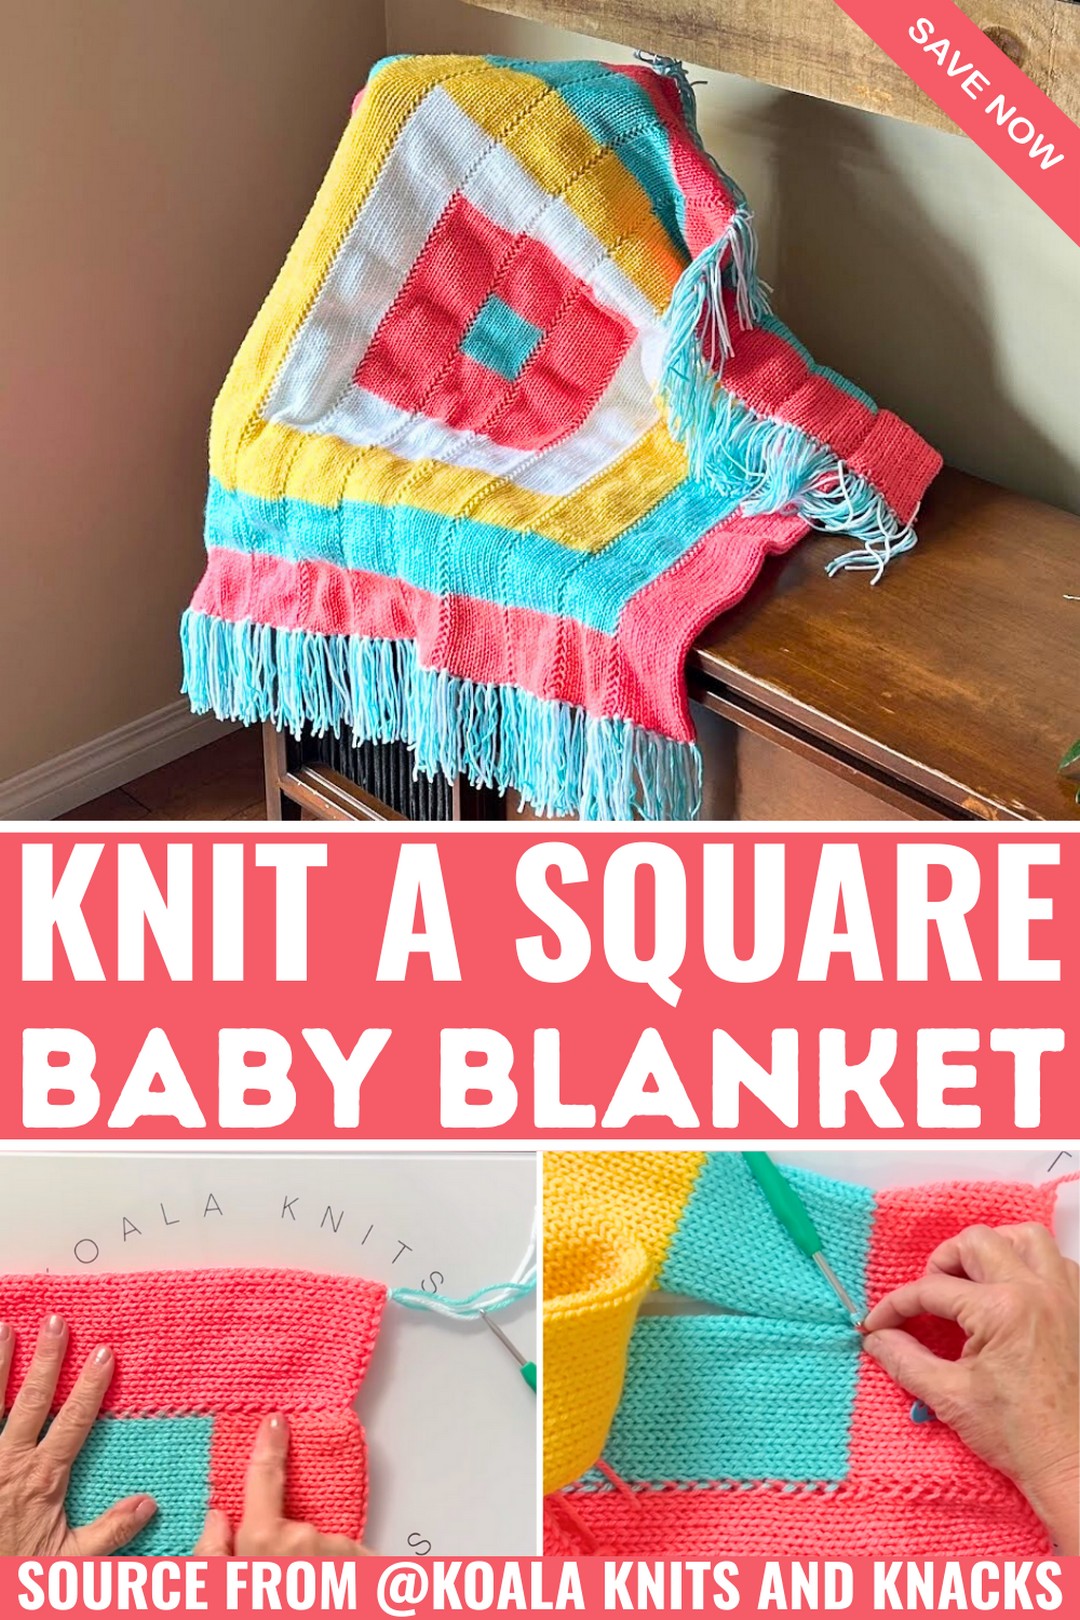
Square Baby Blanket Tutorial
A standout feature of this tutorial is Shelly’s thoughtful use of colour-blocked panels. She incorporates four distinct yarn colours, adding a visually striking yet harmonious look to the blanket. Shelly provides an in-depth explanation of the braided seam technique, which creates decorative yet durable joins between the panels. Additionally, she addresses potential tension challenges, highlighting how to manage variations to ensure a polished result. Her practical tips, such as using jogless joins for colour transitions and suggestions on yarn selection, elevate the outcome for all skill levels.
Highlights
- Jogless Joins Technique: Shelly demonstrates an easy way to transition colours seamlessly in circular knitting projects for a smooth, clean finish.
- Tension Control Advice: Learn ways to manage yarn tension effectively to prevent uneven stitches and achieve professional-looking panels.
Credit Koala Knits and Knacks
Step-by-Step Pattern
Materials
To knit this square baby blanket, you’ll need the following materials:
- Yarn
- 4colourss of yarn (referenced in the tutorial)
- Suggested option: Bernat Premium Yarn in three complementary colours.
- If using yellow, it’s recommended to avoid Loops and Threads Soft Classic, as it may cause tension issues in knitting machines. Opt instead for Bernat Premium Butter.
- Knitting Machine: 22-needle circular knitting machine.
- Waste yarn: For cast-on and cast-off sections (use a contrasting colour).
- Basic Tools:
- Row counter
- Crochet hook (4.5mm recommended for braided join)
- Scissors
- Stitch markers (or bobby pins for marking rows and sections)
Stitch Guide
1. The Drawstring Cast-On:
- Set up your knitting machine with waste yarn.
- Align the last white needle and first black needle with your yarn feeder.
- Alternate looping the yarn in front of one needle and behind the next. Continue this pattern all the way around the knitting machine.
Tips:
- Go slowly to ensure all loops are caught on their respective needles.
- Keep your tension light during the cast-on process to avoid stitches splitting.
2. Knit Stitches in Multiple Colours
- Once the cast-on is complete, begin knitting the tubes row by row.
- Change colours as needed (refer to “Pattern Instructions”), using the jogless join (one colour pulls over to align seamlessly).
3. Braided Join:
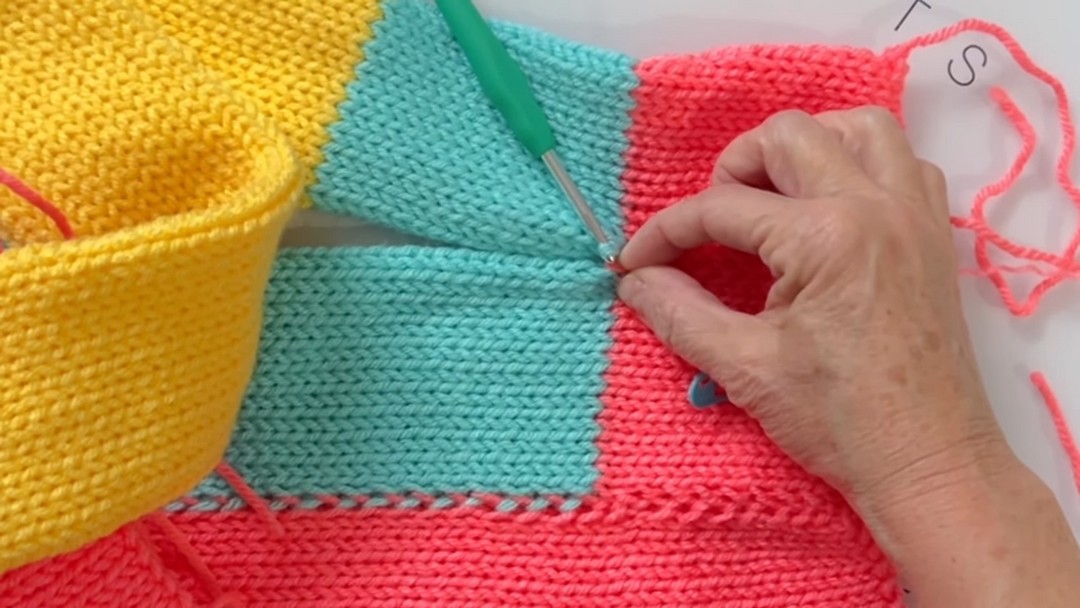
The braided join adds texture and a polished finish to the blanket. Use a crochet hook to interlock stitches from each tube without gaps or puckering.
Notes
Gauge Adjustments:
- Test your yarn on the 22-needle machine beforehand to ensure it suits the machine and doesn’t cause splitting or tension irregularities.
- Tension issues often arise due to yarn type, speed, or using overly tight yarn. Knit slowly at first to check consistency.
Customisation Ideas:
- Colour Variation:
- Choose your favourite yarn colours to create a custom design. Soft pastels work well for baby blankets, while bolder colours may suit lap blankets.
- Size Adjustments:
- The tutorial creates an approximately 37″ x 37″. Modify the panel length to adjust the tube width for larger or smaller squares.
- Edging:
- You can add fringe at the ends for a decorative look.
Pattern Instructions
To construct this blanket, follow these instructions step by step:
1. Create Panels (Tubes)
The blanket consists of 11 panels created on a 22-needle circular knitting machine.
Panel Structure Overview:
Each tube consists of:
- Waste yarn at both the beginning and end (7 rows per section).
- Knit stitches in designated colours and row counts.
Step-by-Step Panel Knitting:
Panel 1 & Panel 11
- Begin with seven rows of waste yarn to cast on.
- Knit 198 rows of colour A to form a tube of solid colour.
- Cast off with seven rows of waste yarn.
- Label the finished panel as 1 or 11 using paper or markers.
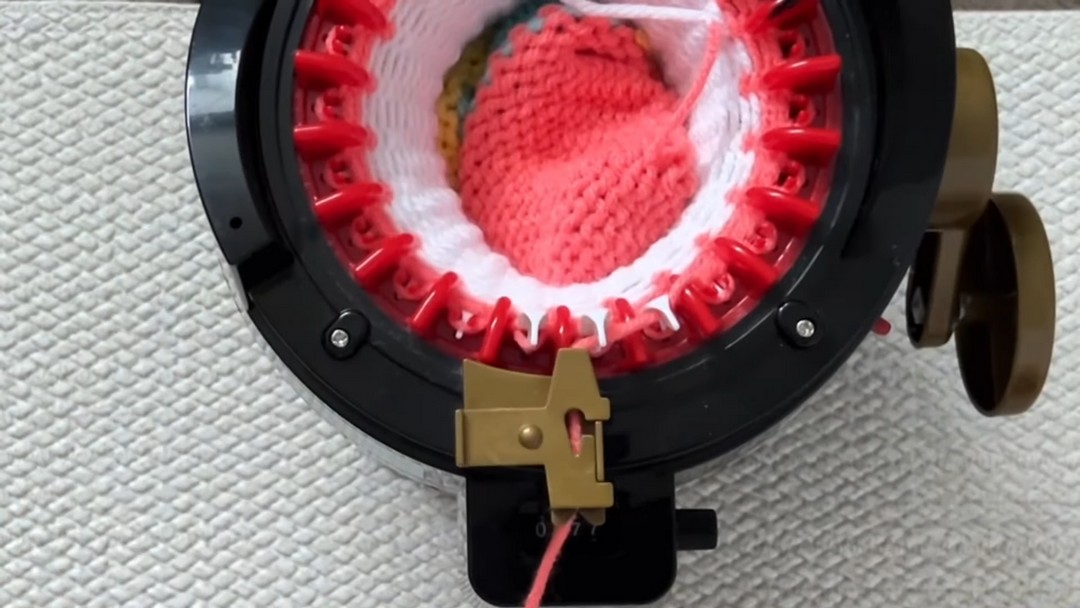
Panels 2 & 10
- Cast on with waste yarn (7 rows).
- Knit 18 rows of colour A.
- Switch to colour B and tie the jogless join. Knit 162 rows.
- Return to colour A for 18 rows.
- Cast off with seven rows of waste yarn.
And Panels 3 & 9
- Cast on using waste yarn.
- Colour Rows:
- Knit 18 rows in colour A.
- 18 rows colour B.
- 126 rows colourC.
- 18 rows colour B.
- 18 rows colourA.
- Cast off with waste yarn.
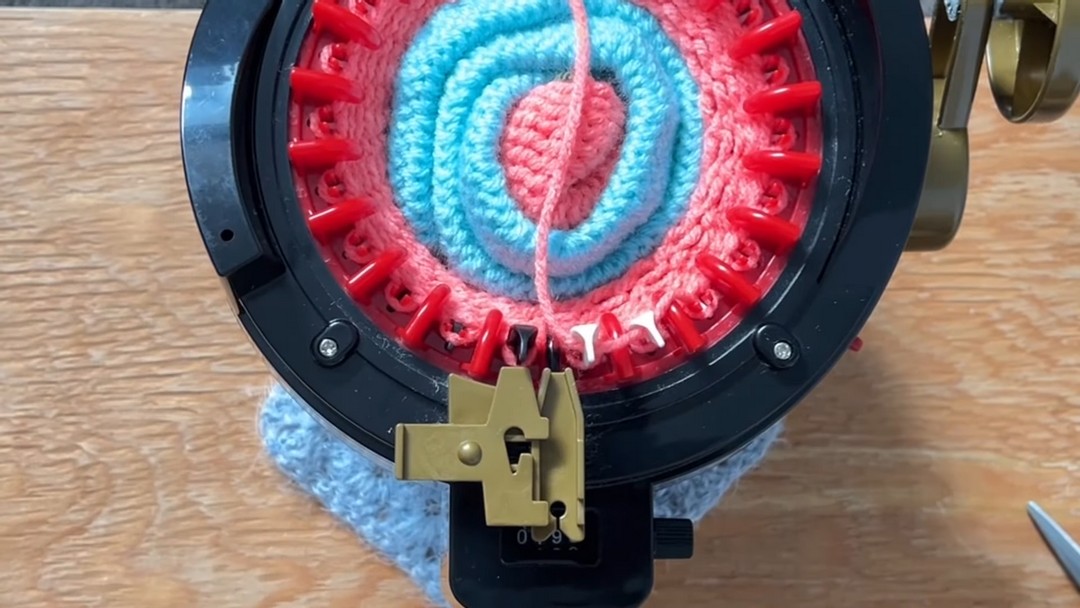
Panels 4 & 8
These include 4fourbase colours and a white middle band:
- Cast on using waste yarn.
- Knitting Sequence:
- 18 rows colour A.
- 18 rows colour B.
- 18 rows colour C.
- 90 rows colour D (white).
- 18 rows colourC.
- 18 rows colour B.
- 18 rows colourA.
- Cast off with waste yarn after ensuring alignment.
Panels 5, 6, 7
- Follow a structured colour sequence: Colour A through Colour D.
- To create the central square, the middle tube (Panel 6) features a mirrored palette across rows.
For a detailed breakdown of each row pattern and visual guidance, refer to the YouTube tutorial at key timestamps.
2. Finishing the Panel Edges
- Remove all waste yarn from the edges by unravelling, leaving the loops visible.
- Use a crochet hook (4.5mm) to close the open stitches on each edge, creating flat edges.
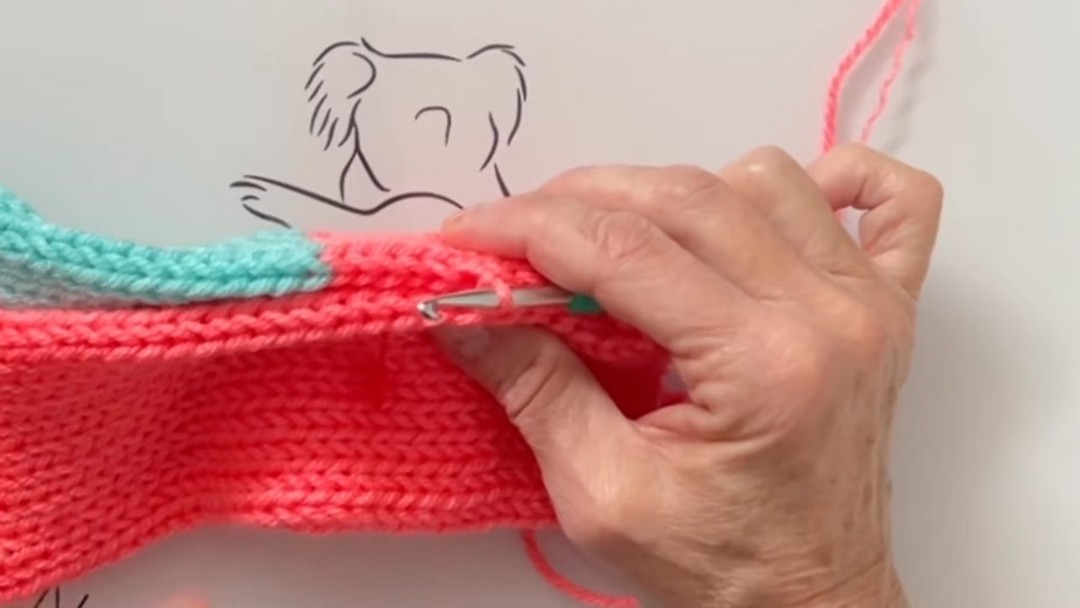
3. Assembling the Blanket with a Braided Join
- Layout: Align the 11 panels in their intended order on a flat surface.
- Joining Tubes:
- Pair two panels together (start with Panel 1 and Panel 2).
- Work on the front-facing side of the blanket to ensure the braided detail appears correctly.
- Use a crochet hook, working one loop at a time to connect panels. Ensure no loops are skipped.
- Repeat until all tubes are joined.
4: Optional Fringe Edging
- Cut leftover yarn into strips.
- Using a crochet hook, pull sections of yarn through the blanket’s edge, then tie securely to form fringe.
Pattern Question
How do I ensure my blanket panels align perfectly when assembling
Answer: Always label your panel tubes and work with consistent row counts. Use the braided join method for alignment, starting from the same edge to maintain uniformity and prevent twisting.