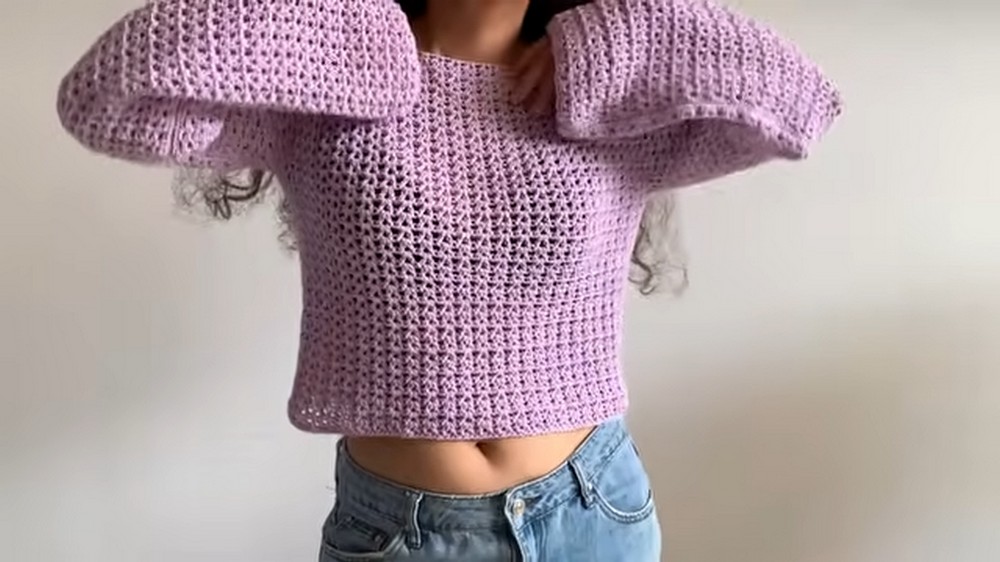
Free Crochet V-Stitch Bolero Pattern for Beginners
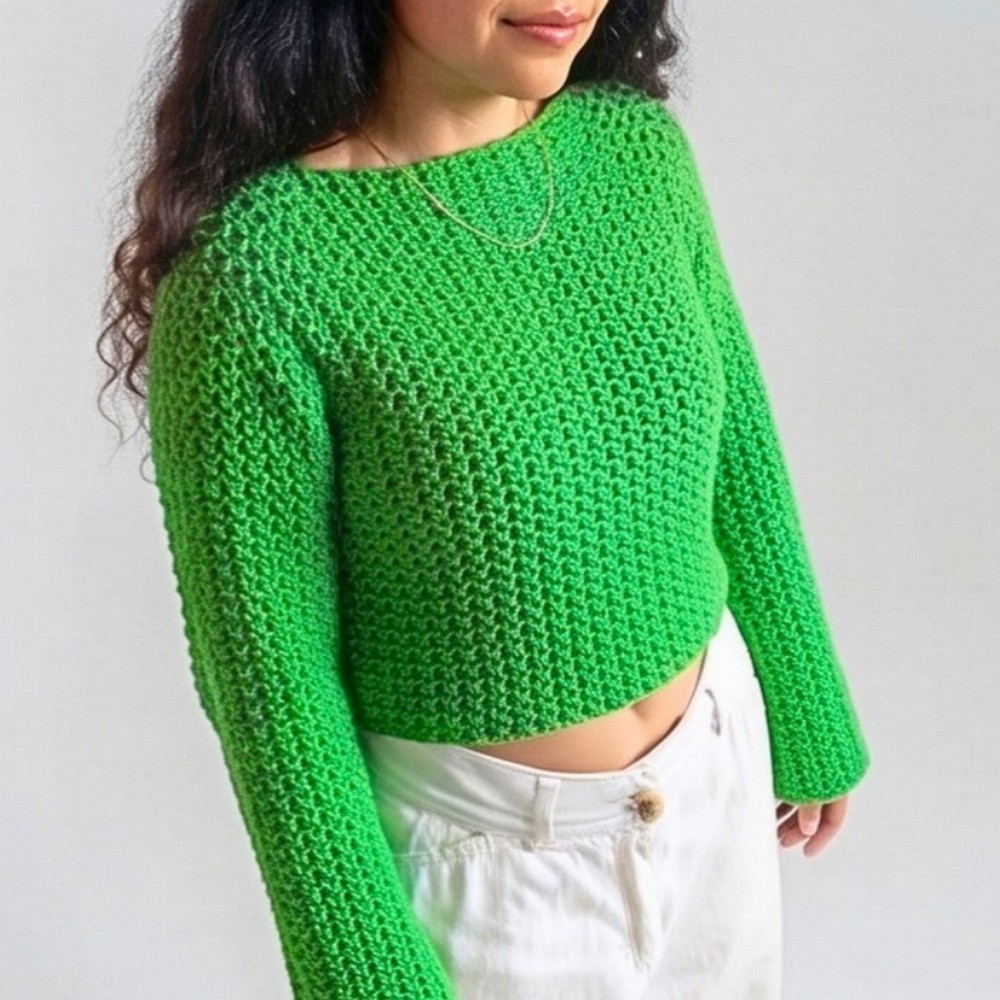
Need a light layer for your outfit? This airy V-stitch crochet bolero has a relaxed shape, pretty texture, and customizable sleeves and length.
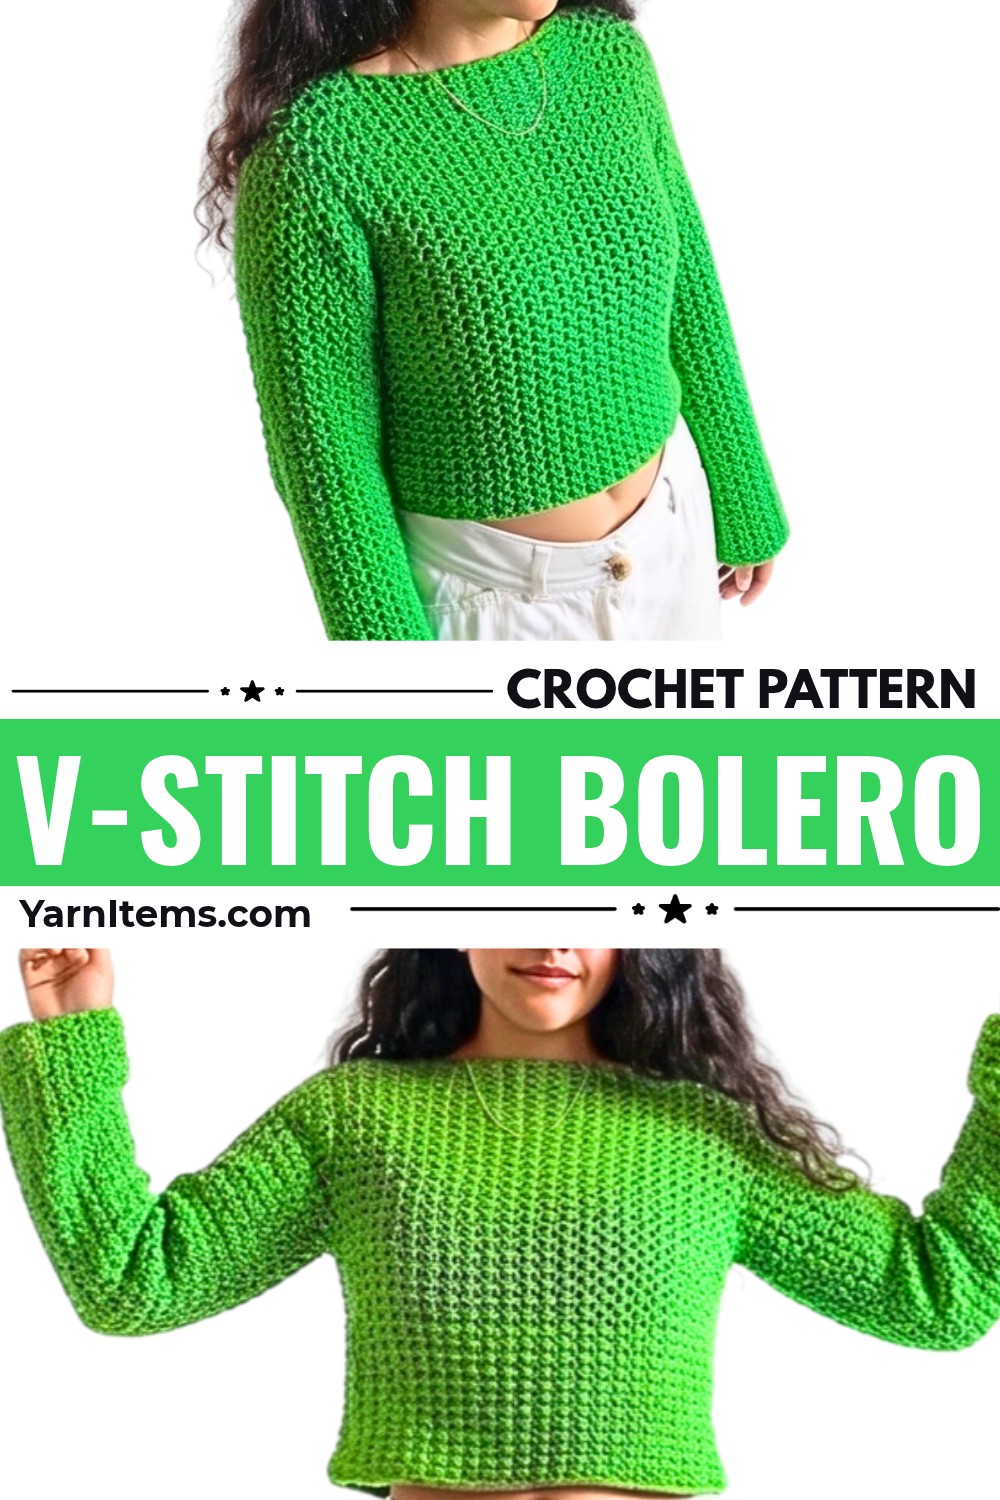
An open V-stitch pattern gives this crochet bolero a delicate, airy look, while its simple panel construction creates a comfortable layer to wear over tops and dresses. Made with soft microfiber yarn, it drapes beautifully and can be adjusted to suit your preferred body and crochet sleeve length.
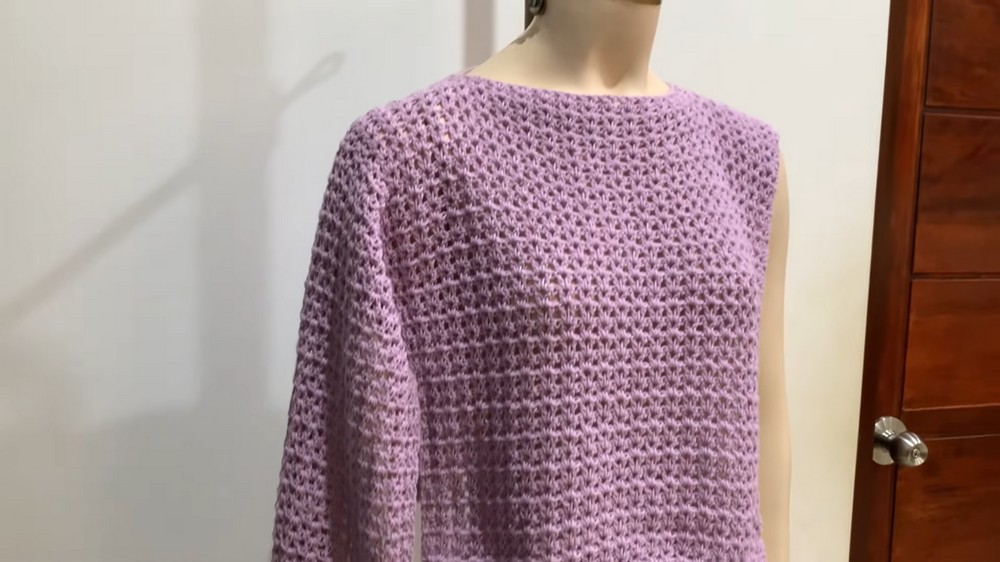
You’ll begin with the front panel, shape the neckline connection, and continue into the back before adding both crochet sleeves. The finishing steps include a single crochet edging and neat side seams, so you can follow the process from the first foundation chain to the finished bolero.
Credit Casttañaz Crochets
Materials & Tools Needed
- Yarn: 260 grams of 100% microfibra yarn (Brand used in video: Silvia Agüita, Lilac). You can substitute any 100% microfibra yarn you prefer.
- Crochet Hook: 3.5 mm hook
- Notions:
- Tapestry needle
- Measuring tape
- Scissors
- Stitch markers
Finished Size & Customization Ideas
The following measurements are from the tutorial:
- Bust Width: 40 cm (half-width based on an 80 cm bust measurement).
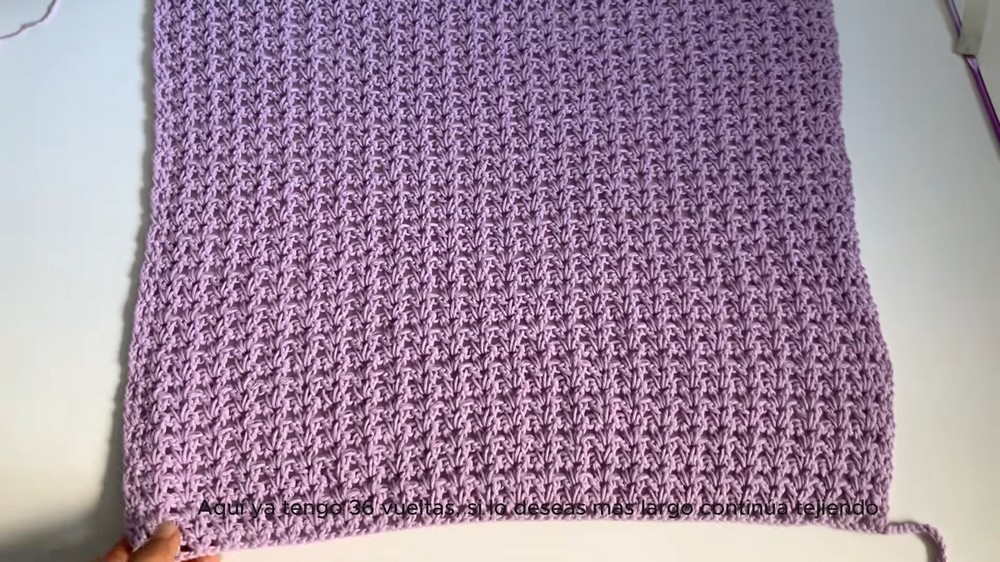
- Body Length: 36 rows for the front and back panels, measuring approximately 41 cm long.
- Sleeve Length: 44 rows, measuring approximately 55 cm long, with an arm width of 34 cm.
Ways to Customize Your Bolero
- Body Length: Add or subtract rows to make the front and back panels longer or shorter while maintaining the V-stitch repeat pattern.
- Sleeve Length: Adjust the number of sleeve rows to suit your preferred length.
- Sizing: Adjust the initial foundation chain in multiples based on your exact bust measurement divided by two.
For example, the tutorial uses an 80 cm bust measurement. Dividing it by two gives 40 cm, which is the foundation-chain width used for the front panel.
Pattern Abbreviations & Terminology
The pattern uses standard US crochet terminology.
- Ch: Chain
- Dc: Double crochet (punto alto)
- Sl st: Slip stitch (punto deslizado)
- Sc: Single crochet (punto bajo)
- V-st: V-stitch: [1 dc, 1 ch, 1 dc] worked into the same stitch or space
- St(s): Stitch(es)
Understanding the V-Stitch Pattern
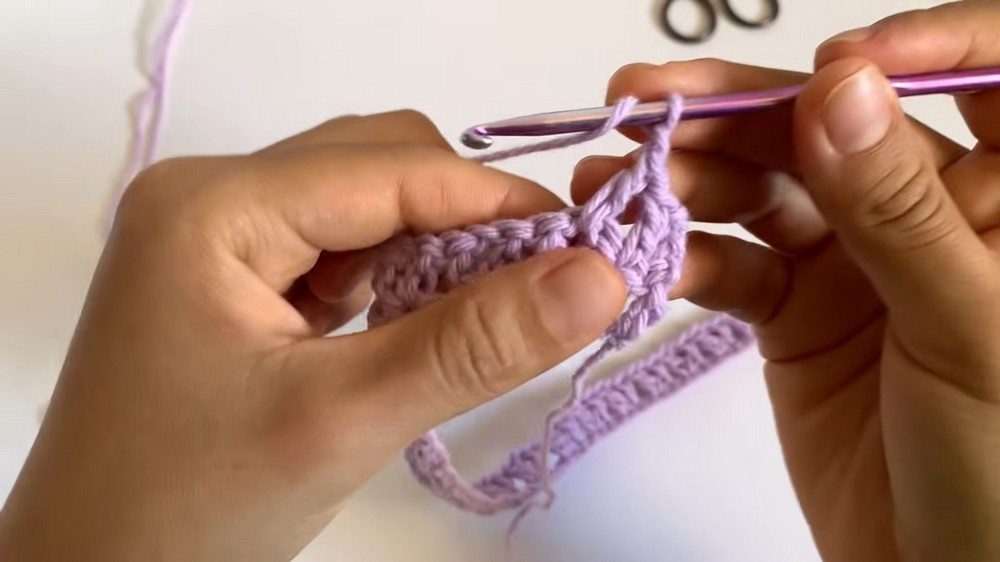
The main texture of this bolero comes from the V-stitch. Each V-stitch is made by working 1 dc, ch 1, and 1 dc into the same stitch or space.
On the first row, the V-stitches are placed into the foundation chain. On the following rows, each new V-stitch is worked into the 1-chain space of the V-stitch below it. This creates the open, repeating pattern throughout the panels and sleeves.
Step-by-Step Crochet Instructions
Part A: Crochet the Front Panel
Begin with the front panel using your 3.5 mm crochet hook and microfibra yarn.
Foundation Chain
- Measure half your bust circumference. For example, an 80 cm bust measurement divided by two gives 40 cm.
- Crochet an initial foundation chain matching this length.
- In the tutorial, a 40 cm foundation chain equals 81 chains.
- Check the chain length with a measuring tape before starting Row 1.
Row 1
- Chain 3 (counts as your first starting stitches/height).
- Work 1 dc into the 4th chain from the hook.
- Skip 2 chains.
- In the 3rd chain, work 1 V-st ([1 dc, 1 ch, 1 dc] in the same space).
- Repeat [skip 2 chains, work 1 V-st in the 3rd chain] across the row.
- Finish the row by matching the beginning: end with 2 dc in the final chains.
Row 2
- Chain 3 and turn your work.
- Work 1 dc into the first dc from the previous row.
- Skip to the 1-chain space inside the first V-st and work a new V-st ([1 dc, 1 ch, 1 dc]).
- Repeat working 1 V-st inside every V-st space across the row.
- Finish the row with 1 dc in the last dc, and 1 dc in the 3rd chain of the turning chain.
Rows 3-36
Repeat Row 2 until you reach a total of 36 rows, measuring approximately 41 cm long. Fasten off or leave live depending on continuity, but ensure you end on Row 36.
Part B: Shape the Shoulders and Create the Back Bridge
Once the front panel is complete, mark the shoulder sections and connect them across the neckline.
Marking the Shoulders
- Lay the front panel flat.
- Count 6 V-stitch patterns from the right edge and place a stitch marker.
- Count 6 V-stitch patterns from the left edge and place a second stitch marker.
This creates a 10 cm shoulder span on each side and a 22 cm neck opening in the center.
Bridging the Neckline
- Attach or continue the yarn at the edge.
- Chain 3, turn, and work the pattern across the right shoulder until you reach the first stitch marker.
- From the first marker, chain the exact number of chains needed to bridge the gap across the neckline to the second marker.
- In the tutorial, this gap requires 41 chains.
- Reach the second marker and work your next V-st directly into the space at the marker.
- Continue the pattern to the end of the row.
Part C: Crochet the Back Panel
The back panel continues from the shoulder and neckline bridge, connecting both sides of the bolero.
Row 1 of Back
- Chain 3 and turn.
- Work dc over dc and V-st over V-st until you reach the bridge chain section.
- Across the 41 bridge chains, skip 2 chains and work 1 V-st in the 3rd chain.
- Repeat this V-stitch sequence across the bridge section.
- Continue working regular V-st patterns to the end of the row.
Rows 2-36
Repeat the V-stitch row pattern for 36 rows total on the back panel, matching the exact number of rows worked on the front panel.
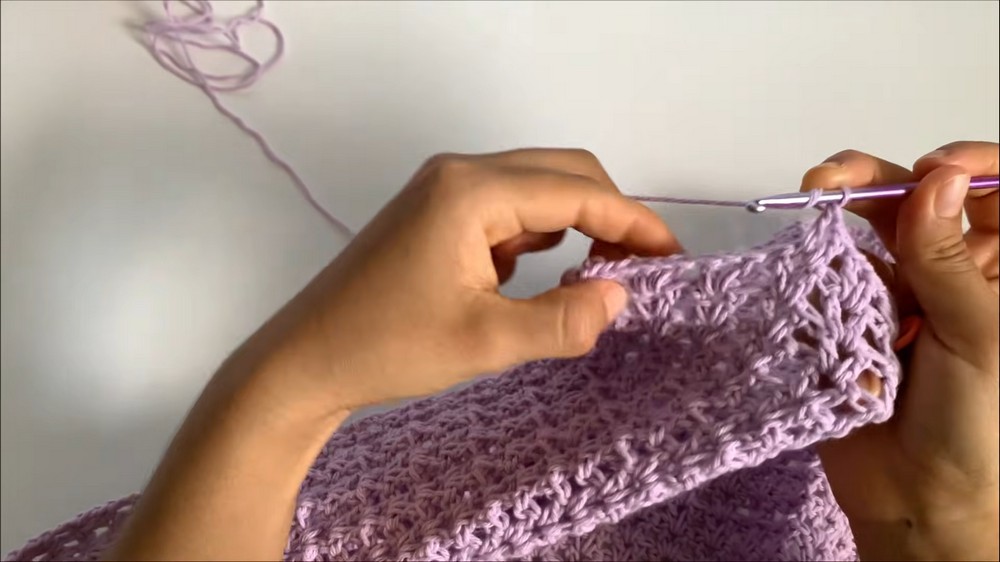
Part D: Crochet the Sleeves
Both sleeves are worked around the armhole openings. The tutorial uses a 34 cm arm opening width.
Marking the Armholes
- Measure out the arm opening width on both sides.
- In the tutorial, the arm opening measures 34 cm.
- Secure stitch markers to outline the armhole zone.
Sleeve Foundation Round
- Attach yarn at the armhole marker.
- Chain 3, and work 2 dc total in that first space.
- Working around the armhole opening, alternate placing V-stitches into the large row-end spaces and the small central connecting spaces between rows to maintain proper tension without bunching.
- Join the round if working in rounds, or turn back and forth following the established pattern rows.
Sleeve Length
Continue working the V-stitch pattern for a total of 44 rows, measuring approximately 55 cm long. Repeat for the second sleeve.
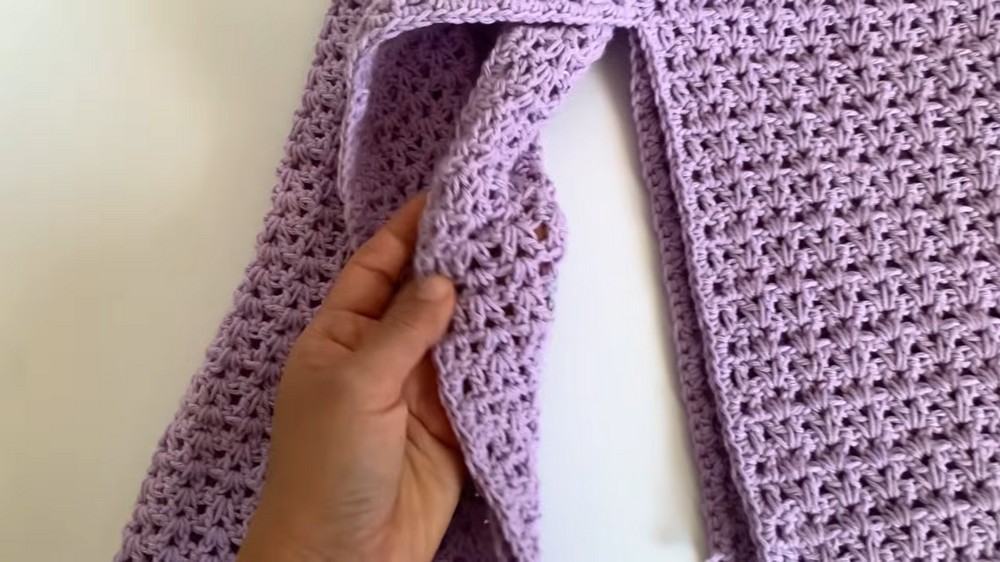
Part E: Edging and Assembly
After completing both sleeves, finish the outer edges with a continuous single crochet border. The border gives the bolero a neater outline around the sleeves, bottom hem, and front and neckline openings.
Single Crochet Border
- Without cutting the yarn after completing the second sleeve, chain 1 and work 1 sc in the same space.
- Crochet a continuous round of sc all along the outer raw edges of the bolero, including the sleeves, bottom hem, and front/neckline openings.
- Keep the sc stitches loose.
- Work 2 sc into each large side space to prevent the edge from curling or tightening.
- Join with a sl st to the first sc and fasten off.
Seaming the Bolero
- Turn the entire bolero inside out.
- Align the side seams and the underarm-to-wrist sleeve edges.
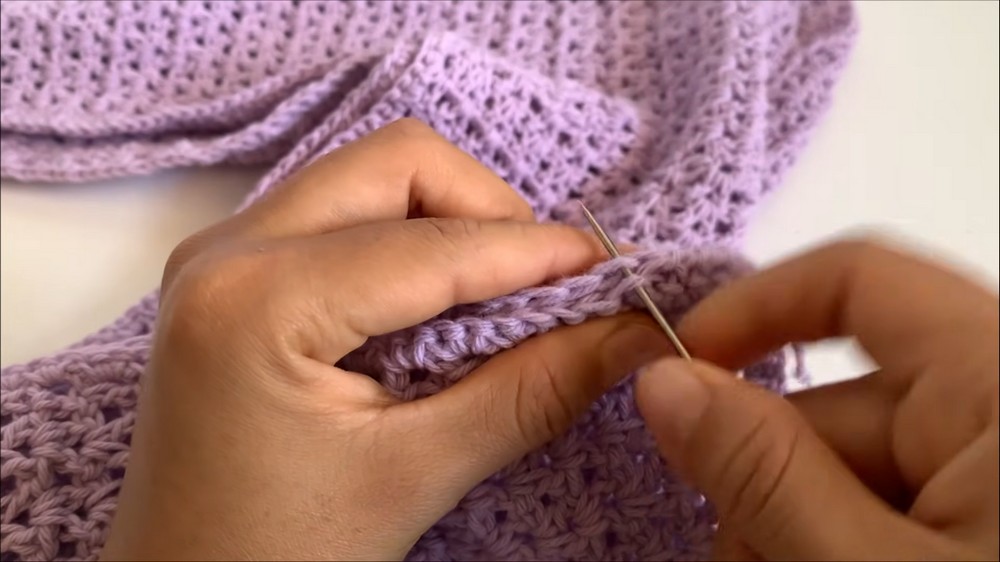
- Thread your tapestry needle with matching yarn.
- Use a whip stitch, catching only the inner loops of the edge stitches on both sides. Avoid piercing through both full chains to create a clean, invisible, flat seam.
Finishing
- Secure with a firm knot on the final stitch.
- Weave in all remaining yarn tails using the tapestry needle.
- Turn the bolero right-side out.
Your Crochet V-Stitch Bolero Is Ready
Your lightweight crochet bolero is now complete. The open V-stitch texture gives it an airy finish, while the adjustable panel and sleeve lengths make it easy to adapt to your preferred fit. Wear it over a simple top or dress whenever you want an extra handmade layer.