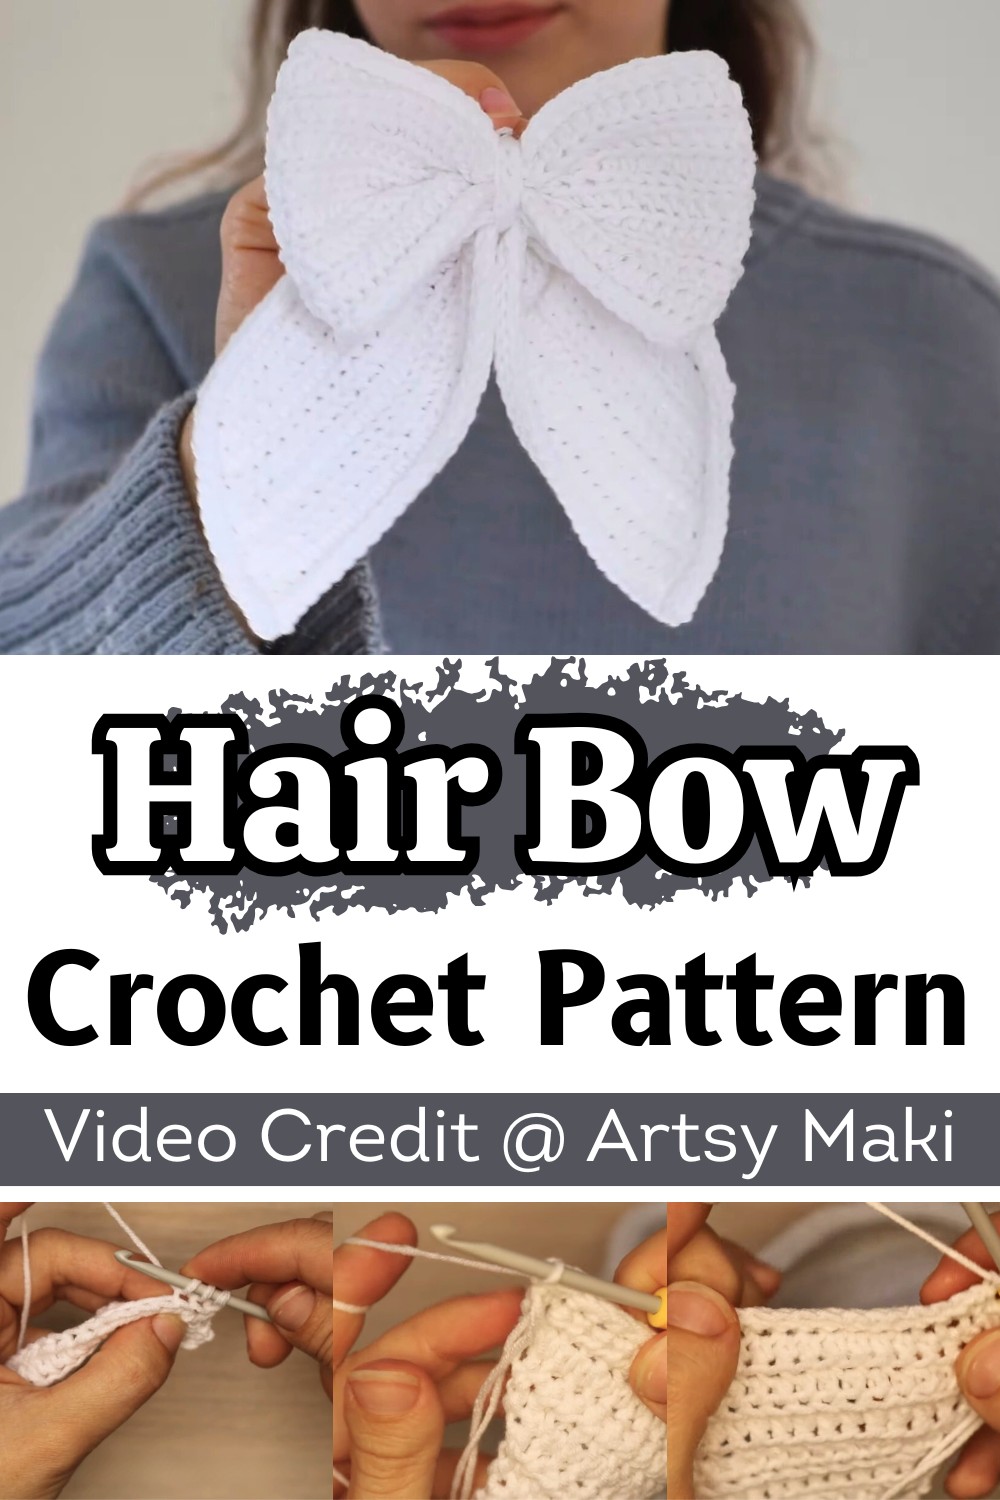
Create a charming crochet hair bow—an adorable accessory that’s quick to make, perfect for beginners, and easily customizable for any outfit or occasion.

Looking for a fun way to brighten up your day? This crochet hair bow is perfect. It’s simple yet stylish, making it a wonderful accessory to wear, an adorable decoration for gifts, or even a pretty touch for your home. Its charm lies in its versatility; it can dress up your hairstyle in seconds or add a sweet detail wherever you like.
How To Crochet Hair Bow Tutorial
Making this crochet hair bow is easier than you think. With a bit of yarn, a hook, and the steps shown, you can create something both beautiful and practical. This crochet bow can be made to suit different preferences, if you want it soft and flowy or firm and structured. The making process combines basic crochet techniques, making it beginner-friendly while delivering a polished result.
Credit Artsy Maki
Key Features and Construction Overview:
- Simple rectangle base forms the bow, typically crocheted in rows.
- Easy stitches, like single crochet or half-double crochet, create a smooth texture.
- Gathered center cinches the rectangle into a bow shape.
- A small band or wrap secures the bow’s center tightly, adding structure.
- Versatile finishing options include attaching the bow to a clip, headband, or even using it as a decorative embellishment.
How To Make:
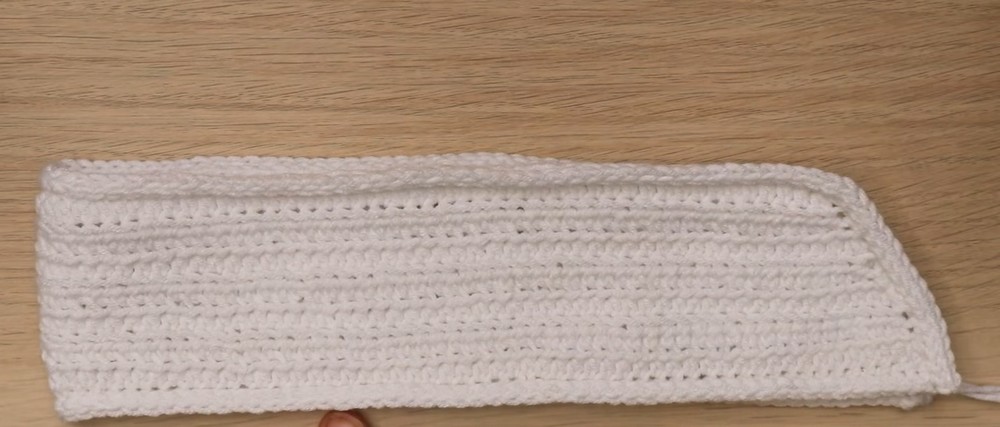
This adorable crochet hair bow begins with a flat rectangle, crocheted using a simple stitch for an even, polished appearance. The foundation is straightforward and ideal for beginners, with even stitch counts and clean edges contributing to its crisp structure.
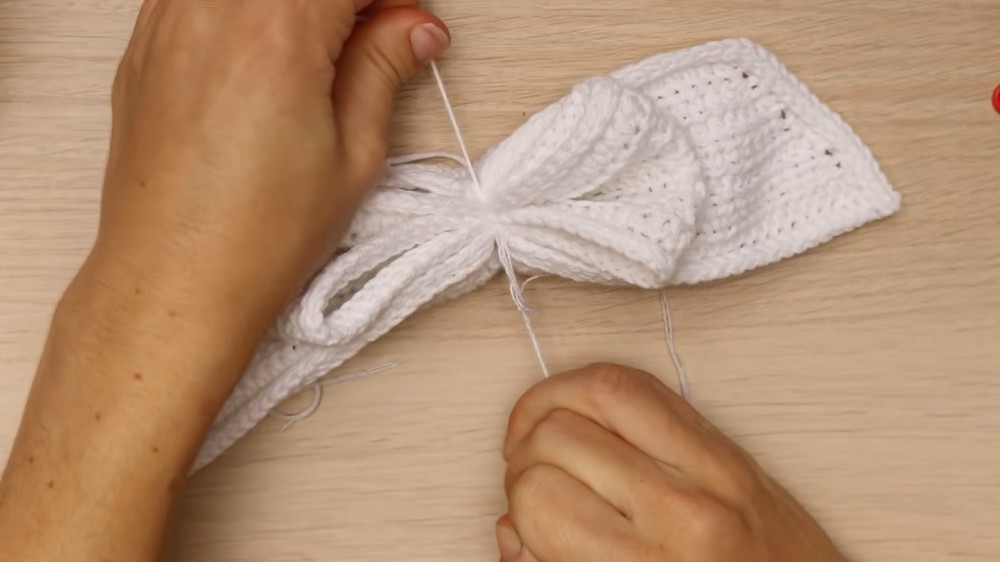
Once the rectangle is complete, the magic happens in how you create the bow shape! The gathered center is achieved by cinching the middle tightly, instantly transforming the flat piece into a bow full of character. This step is where the bow starts to come to life, and it’s delightfully satisfying to see.
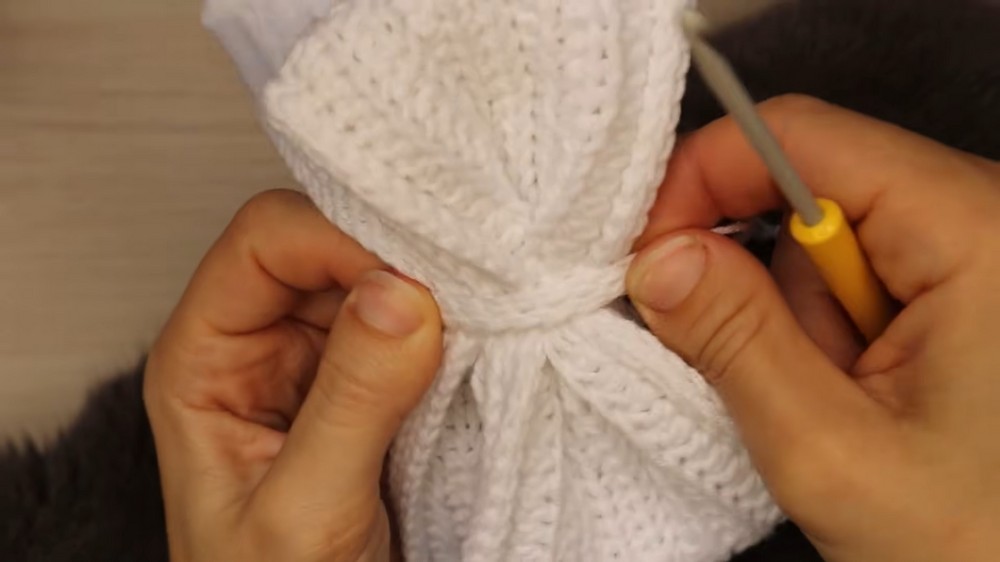
To secure the gathered center, a small crocheted band or even a piece of yarn is wrapped around the middle and tied or sewn in place. This clever finishing touch locks the bow’s shape while also serving as a design element. Many crocheters opt for a contrasting yarn color or even sparkly thread for this center band, lending a playful pop to the bow.
Once the bow is formed, it’s time to attach it to your accessory of choice. Whether you prefer an alligator clip, a hair tie, or a soft headband, this bow is incredibly versatile. It’s even perfect for sewing onto bags, clothing, or other patterns as a cheerful embellishment.

Video Tutorial
Required Materials
- Sport Weight Yarn:
- Suggested: AETRO Jeans (thicker for stiff bows) or Concept Ultra Soft (thinner for a drapier feel).
- Crochet Hook: 3.5 mm hook.
- Stitch Markers: Helpful for marking folds and sewing lines.
- Yarn Needle: For sewing edges and assembling the bow.
Step-by-Step Instructions
Part 1: Creating the Bow Base
- Start with a Slip Knot:
- Make a slip knot and chain 112 stitches.
- Row 1:
- Skip the first two stitches and begin with a Half Double Crochet Decrease (HDC Dec):
- Pull up a loop in the next two stitches.
- Yarn over and pull through all loops on the hook.
- Continue with Half Double Crochets (HDC) across the row.
- Finish with another Half Double Crochet Decrease in the last two stitches.
- Chain 2 and turn your work.
- Skip the first two stitches and begin with a Half Double Crochet Decrease (HDC Dec):
- Row 2:
- Work only in the Front Loops.
- Start with an HDC Decrease.
- Continue with HDC across the row, and finish with another HDC Decrease.
- Chain 2 and turn your work.
- Row 3:
- Similar to Row 2, but work only in the Back Loops.
- Start with an HDC Decrease, continue HDC, and end with an HDC Decrease.
- Chain 2 and turn your work.
- Repeating Rows:
- Alternate between working in the Front Loops (Row 2) and the Back Loops (Row 3) until you complete 9 rows (or desired bow width).
- Note: The sample bow used 7 rows due to thicker yarn.
Part 2: Adding the Border
- Slip Stitch Border:
- Start with the longer edge (right side facing up).
- Attach yarn to the corner and Slip Stitch across the edge.
- Chain 1, turn, and slip stitch only through the Back Loops for the next row.
- Repeat for one more row, working through the Back Loops only.
- Continue Around All Edges:
- Work along the slanted edges with two slip stitches per HDC row.
- At the corners, make two slip stitches in the same corner stitch.
- Repeat the slip stitch edging along all sides or leave unfinished for a simpler look.

Part 3: Folding & Securing the Bow
- Folding:
- Fold the bow in half (wrong sides together) and then fold it again width-wise.
- Use stitch markers to mark the fold line.
- Sew Line:
- Sew along the marked line by hand using the same yarn or a sewing machine.
- Adjust Shape:
- Lay out the bow to see how the loops and tails look; adjust as needed.
- Tie Center:
- Wrap yarn tightly around the center to secure the bow into its final shape.
Part 4: Making the Center Wrap
- Chain 15 (or adjust for desired length to fit around the center).
- Slip Stitch through every stitch in the chain.
- Turn and slip stitch again, working through the Back Loops only.
- Repeat for three rows total to create a neat band for the bow center.
- Wrap the band around the center of your bow and secure it tightly.
Troubleshooting and Suggestions
- Common Issues: Struggling with uneven edges or gaps? Make sure your stitch count remains consistent across rows and your turning chain isn’t too loose or tight.
- Shaping Tip: When cinching the center, take a few moments to adjust the folds evenly for maximum symmetry; this step makes a big difference!
- Creative Modifications: Experiment with different yarn textures, like velvet or variegated colors, for fun effects. Add embellishments such as beads, buttons, or sequins to the center wrap for more flair.
- Alternative Uses: Don’t stop with hair accessories! These bows look great as gift wrap decorations, keychains, or strung together as cheerful bunting.