Crochet Christmas Hexagon Pattern For Holiday Decor
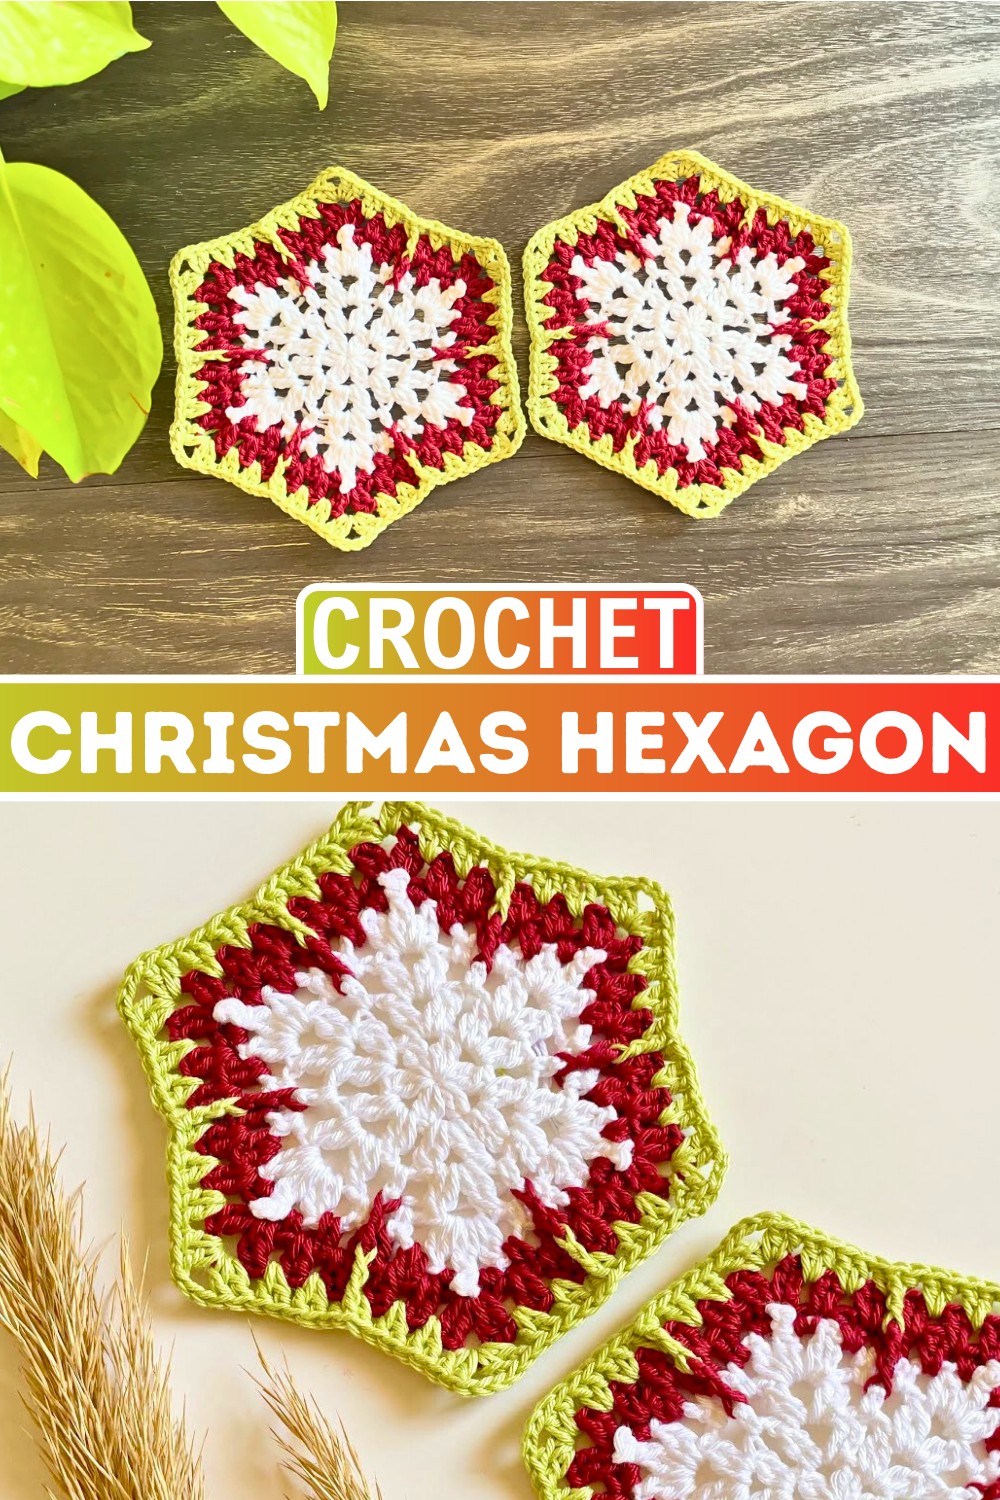
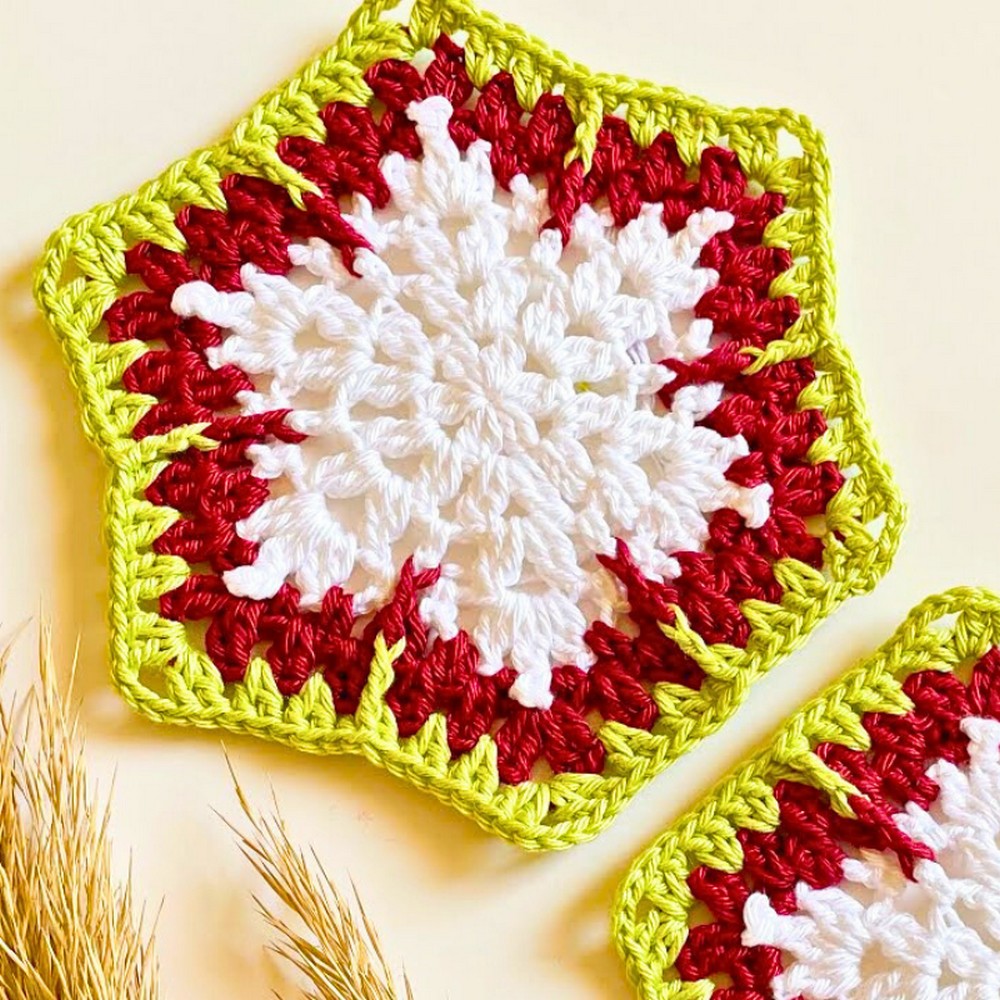
A simple strand of yarn transforms into a beautiful crochet Christmas hexagon with a snowflake-like texture and layered details. This pattern creates a unique 3D design that brings a handmade winter feel to your holiday piece.
Whether used for a blanket, cushion cover, coaster, or seasonal decoration. This crochet hexagon adds a creative touch wherever it is placed.
Crochet Christmas Hexagon Pattern
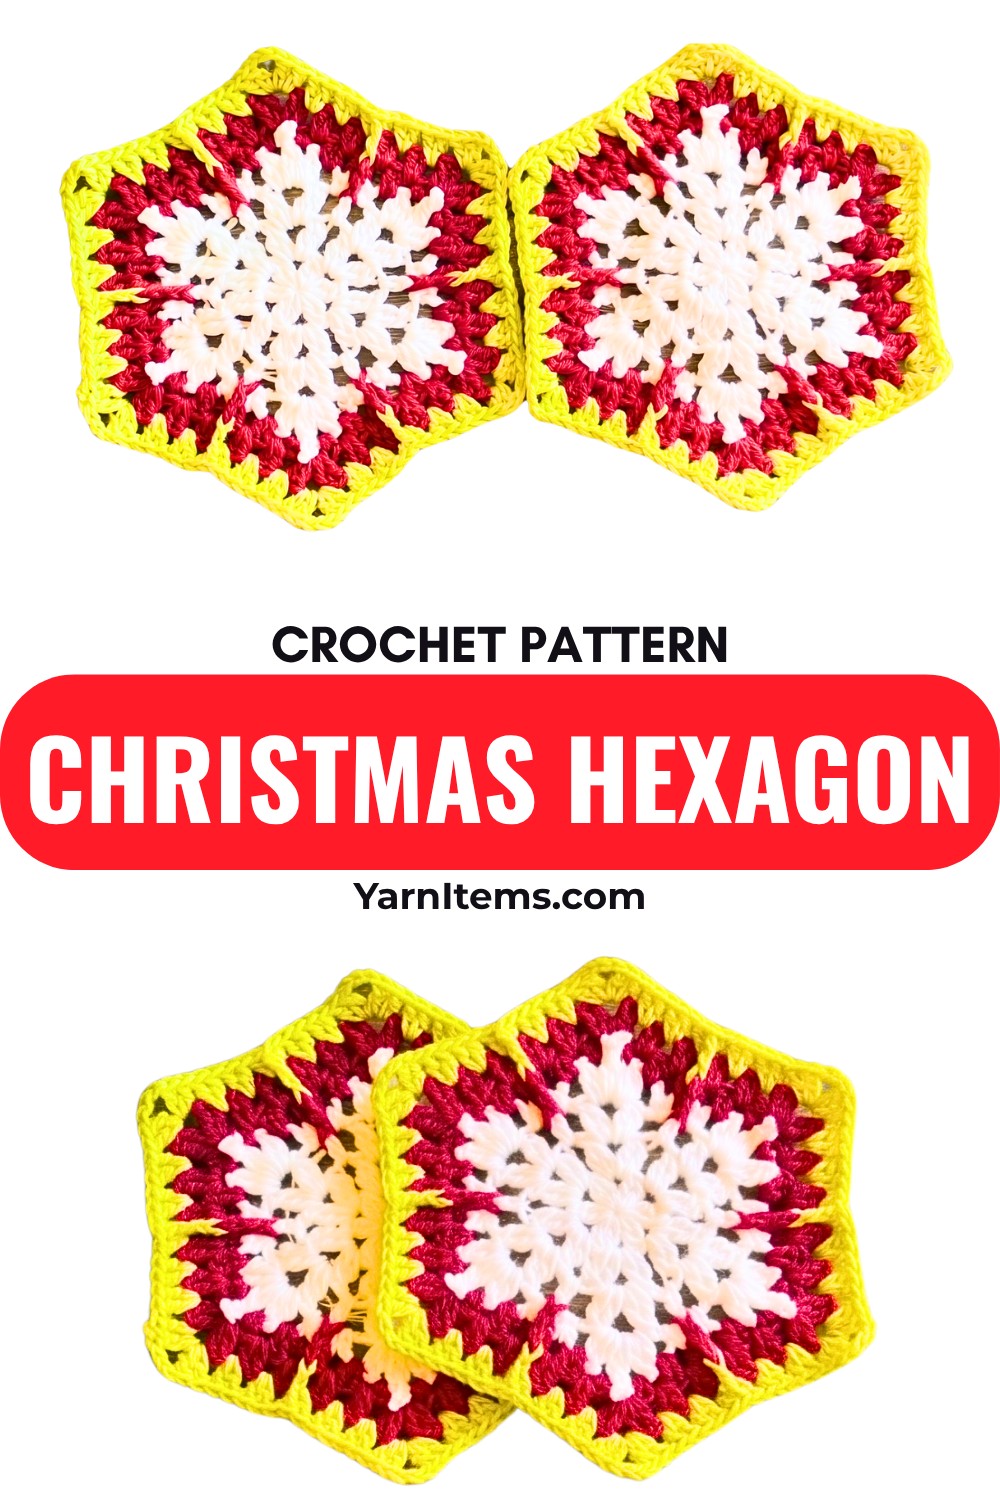
Made with three colors of cotton yarn and easy-to-follow crochet steps, this tutorial guides you through creating the hexagon from start to finish. The mix of colors, raised stitches, and structured shape gives the finished piece a beautiful textured look. Continue reading to learn the process behind this charming hexagon and create your own handmade crochet piece for the season.
Credit Beyond Diary
Materials & Tools Needed
- Yarn: Cotton yarn in three colors – White, Maroon, and Green.
- Crochet Hook: 2.6mm.
- Additional Items: Scissors, yarn needle for weaving in ends.
Finished Size & Customization Ideas
Finished Size
- The finished hexagon size depends on your yarn weight and the tension you crochet with. For the demonstrated 2.6mm hook and cotton yarn, the final hexagon measures approximately 5 inches across.
Customization Ideas
- Blanket: Combine multiple hexagons for a vibrant holiday-themed blanket.
- Coaster: Use a single hexagon for a classy holiday coaster.
- Cushion Cover: Arrange hexagons as required to create a crochet cushion cover.
- Wall Hanging: Combine hexagons and connect with tassels for a decorative wall hanging.
Pattern Abbreviations & Terminology
Terminology (US terms):
- ch: Chain
- sl st: Slip Stitch
- dc: Double Crochet
- dc cluster: A group of two or more partially worked double crochets joined at the top
- fp tr: Front Post Treble Crochet
- sc: Single Crochet
- picot: Small decorative bump (chain 3, then join into the base chain with a slip stitch).
- sp: Space
- yo: Yarn Over
Step-by-Step Detailed Crochet Instructions
Round 1: The First Layer of Clusters (White Yarn)
- Magic Ring: Form a magic ring with your white yarn.
- Ch 1, then ch 3 more: This counts as your first dc.
- Work 1 dc into the magic ring.
- Now, start the cluster pattern:
- Ch 2, create a 2-dc cluster in the ring:
- Yarn over (yo), insert hook into the ring, pull up a loop, yo, pull through two loops.
- Yarn over, insert hook into the ring again, pull up a loop, yo, pull through two loops.
- Now, pull through all 3 loops on your hook (cluster completed).
- Ch 2, repeat step 4 to create five more 2-dc clusters.
- When you have six clusters, chain 2 and close the round by making a sl st into the top of the initial ch-3.
- Pull the magic ring tail tightly to close the center hole.
Round 2: Expanding the Hexagon
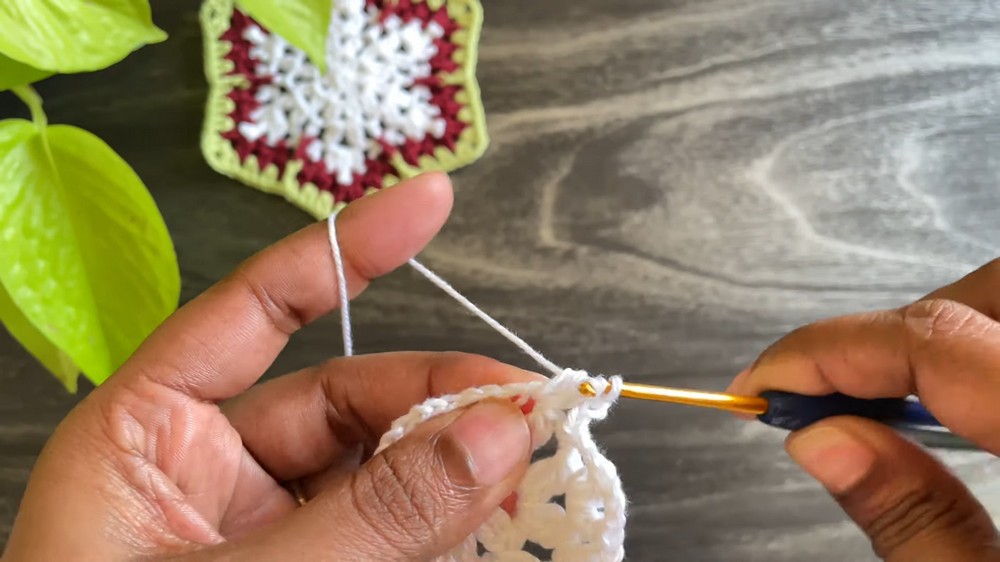
- Make a sl st into the nearest ch-2 sp (between clusters).
- Ch 3 (counts as the first dc), then make 1 dc into the same ch-2 sp. This forms the first part of a new cluster on this round.
- Ch 2 and work another 2-dc cluster into the same ch-2 sp.
- Continue to the next ch-2 sp: work 2-dc cluster, ch 2, 2-dc cluster. Repeat this in each ch-2 sp around.
- At the end of the round, finish by chaining 2 and making a sl st into the top of the initial ch 3.
Round 3: Adding Dimension with Chain Spaces
- Sl st into the nearest ch-2 sp.
- Ch 3 (counts as the first dc), then make 1 dc into the same ch-2 sp (this is your first cluster in this row).
- Ch 3 and work another 2-dc cluster in the same space.
- Ch 3, then make a sc into the next ch-2 sp.
- Ch 3 again and in the next ch-2 sp, work:
- A 2-dc cluster, ch 3, 2-dc cluster.
- Repeat steps 4 and 5 around the hexagon. End the round by chaining 3 and making a sl st into the top of the initial ch-3.
Round 4: Adding the Iconic Picots
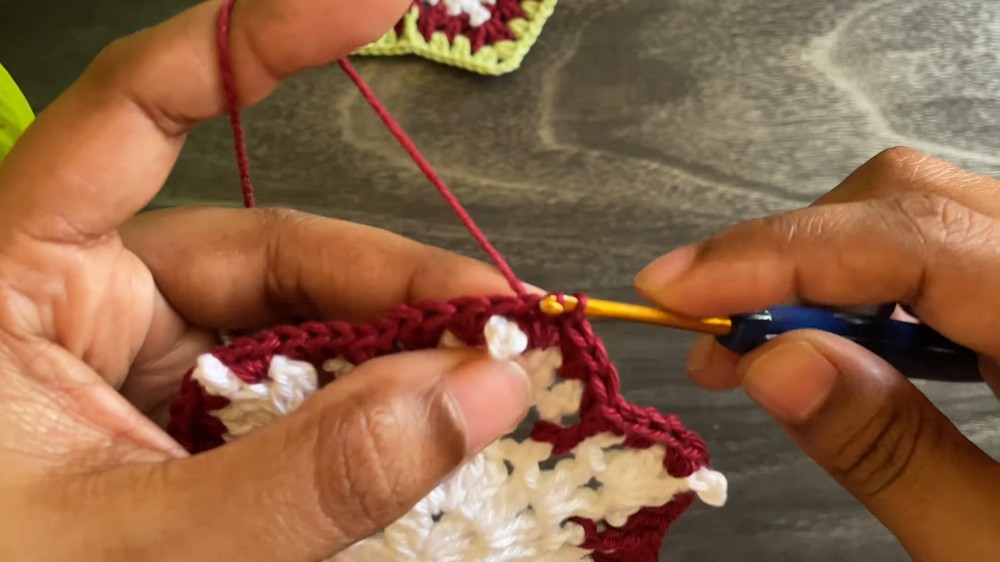
- Sl st into the nearest ch-3 sp.
- Ch 3 (counts as the first dc). Work 1 dc into the same ch-3 sp. Ch 1.
- Work another 2-dc cluster in the same ch-3 sp.
- Create a Picot: Ch 3, insert your hook into the top of the previous ch-3, and make a sl st to secure it.
- Ch 1 and make another 2-dc cluster into the same ch-3 sp. This completes one corner.
- Ch 3 and make a sc into the next ch-3 sp.
- Move to the next ch-3 sp, repeat step 2–5. Continue this pattern until the end of the round.
- Sl st into the top of the initial ch-3 to complete the round.
Round 5: Adding the First Post Trebles (Maroon Yarn)
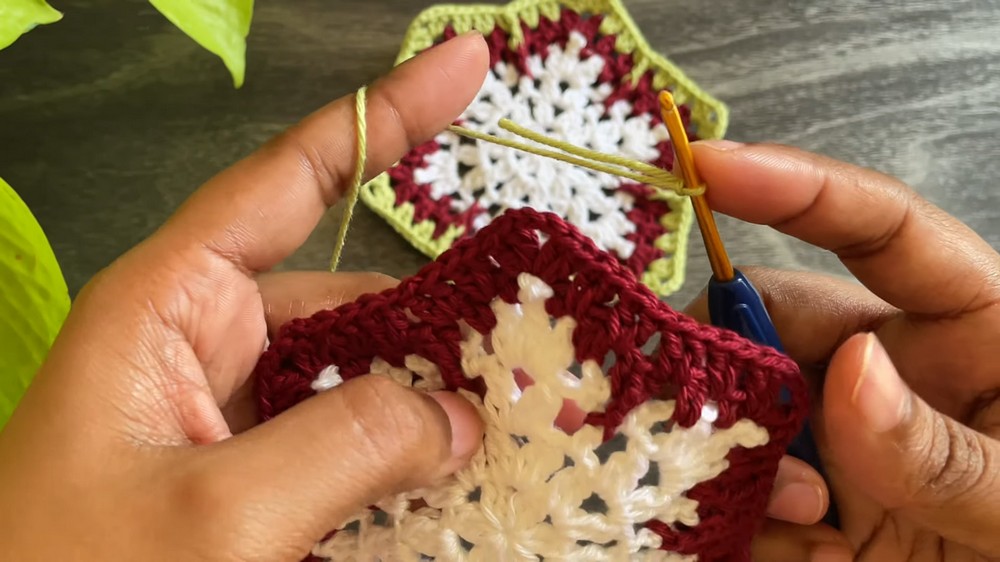
- Fasten off white yarn and attach maroon yarn with a sl st into a space between two clusters.
- Ch 1 (does not count as a stitch), then sc in the same space.
- In the next ch-3 space:
- Work 1 dc, then 1 fp tr around the sc of the previous row, then another dc into the same space.
- Work 2 dc into the next ch-3 sp.
- Continue the sequence: sc into spaces between clusters, work 2-dc clusters in ch-3 spaces, and incorporate fp tr stitches around sc posts from the previous row.
- At the corners, work your clusters carefully and balance the hexagonal shape.
- Slip stitch to finish the round and weave in ends.
Round 6: Final Border & Adding Green Yarn
- Attach the green yarn in any corner space with a sl st.
- Ch 3 (counts as a dc): Work 2 dc, ch 2, and 2 dc (corner).
- Work 2 dc into every space between dc clusters from the previous round.
- At corners, repeat the (2 dc, ch 2, 2 dc) pattern to preserve the hexagonal shape.
- Incorporate additional fp tr stitches for a dimensional 3D texture where needed.
- Complete the round and sl st to finish.
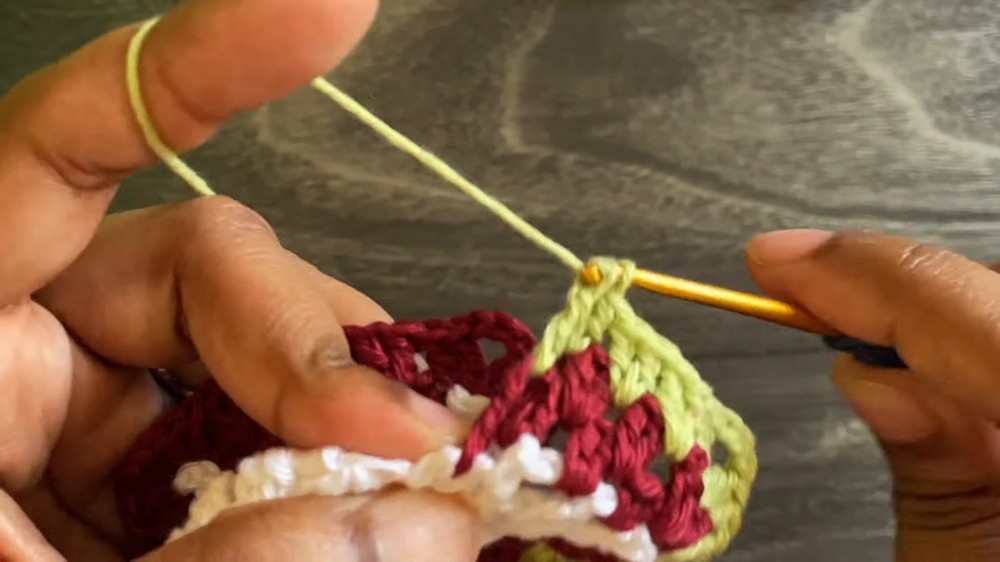
Finishing the Hexagon
- Weave in all yarn ends securely using a yarn needle.
- Block the hexagon (optional) to shape it evenly, especially if joining multiple hexagons for a larger pattern.
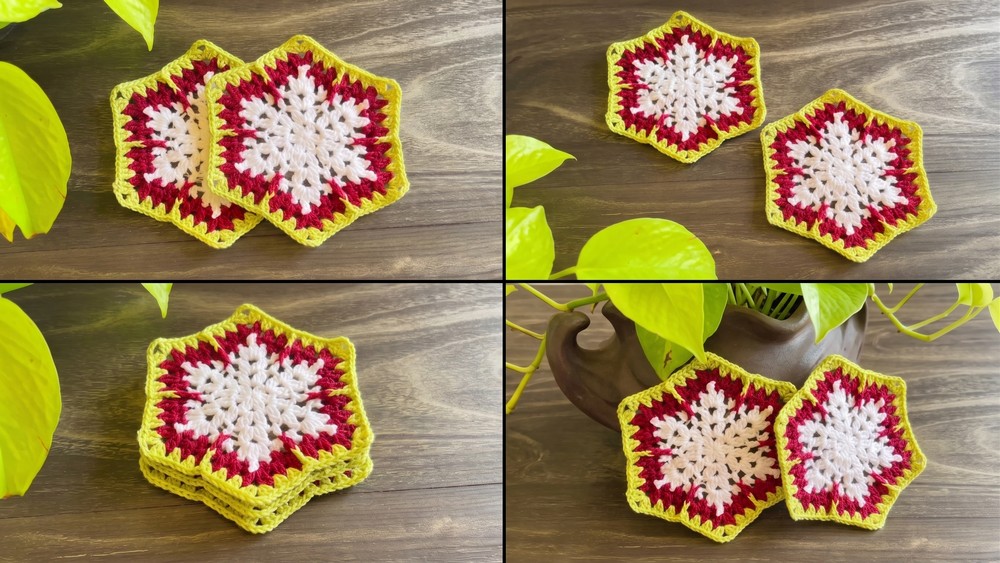
Final Notes
- The pattern incorporates decorative picots and front post treble crochets, adding a 3D effect to the hexagon.
- It is important to maintain consistent tension throughout the pattern for uniformity.
- Feel free to customize the colors to match your holiday or personal theme.
Let me know if you’d like instructions tailored for joining multiple hexagons or additional details!