How to Crochet Beautiful Pumpkins With Simple Steps
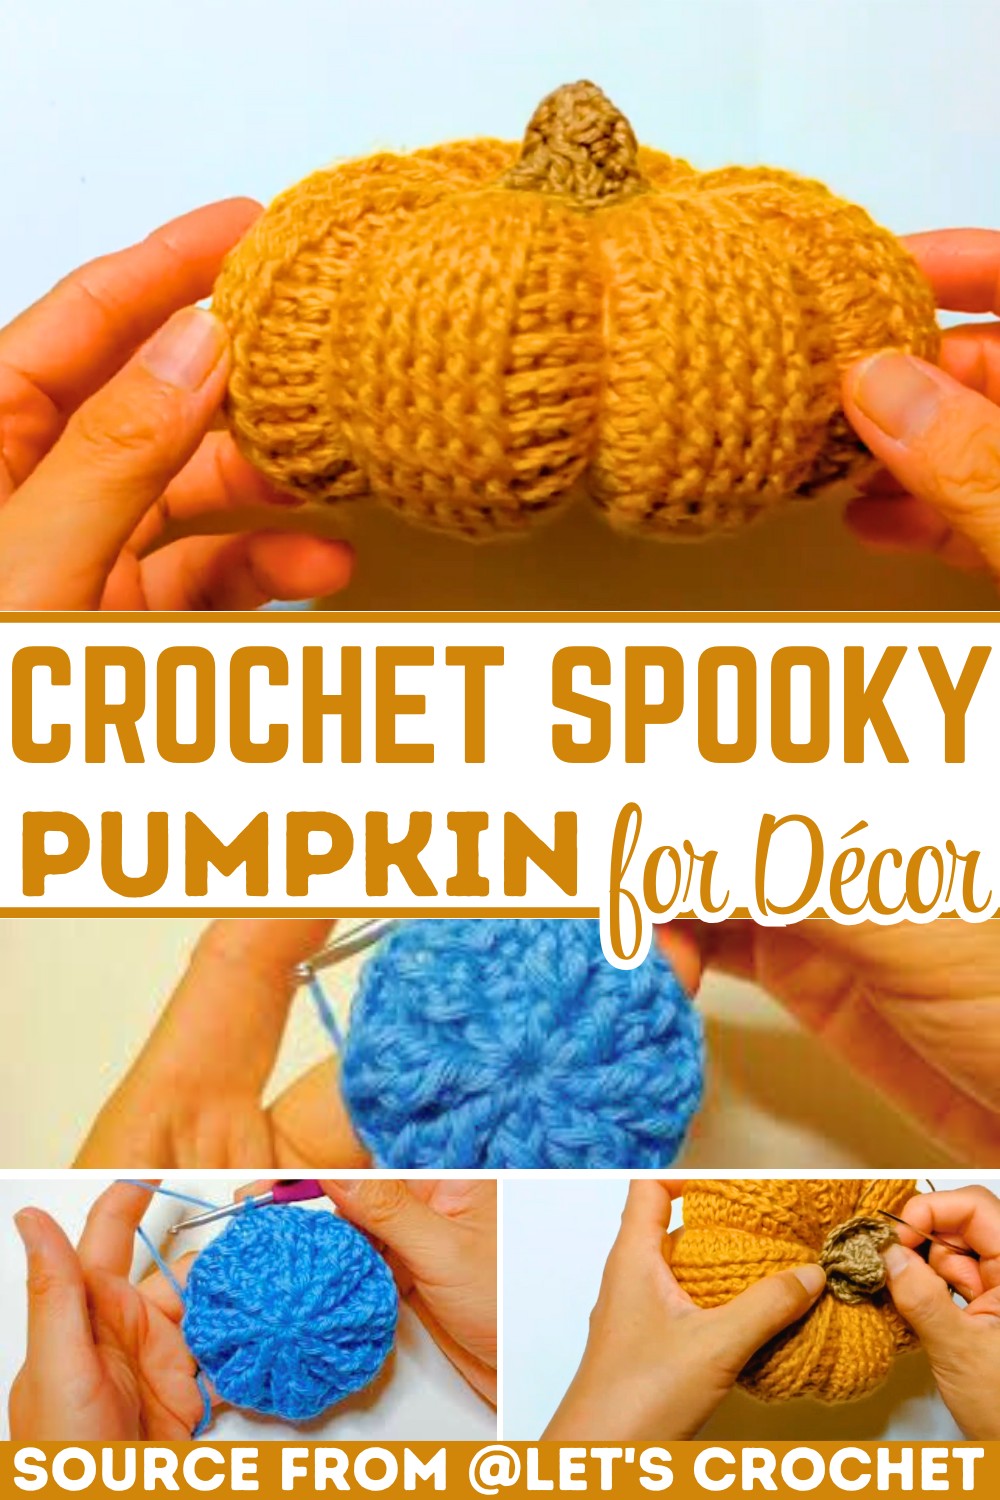
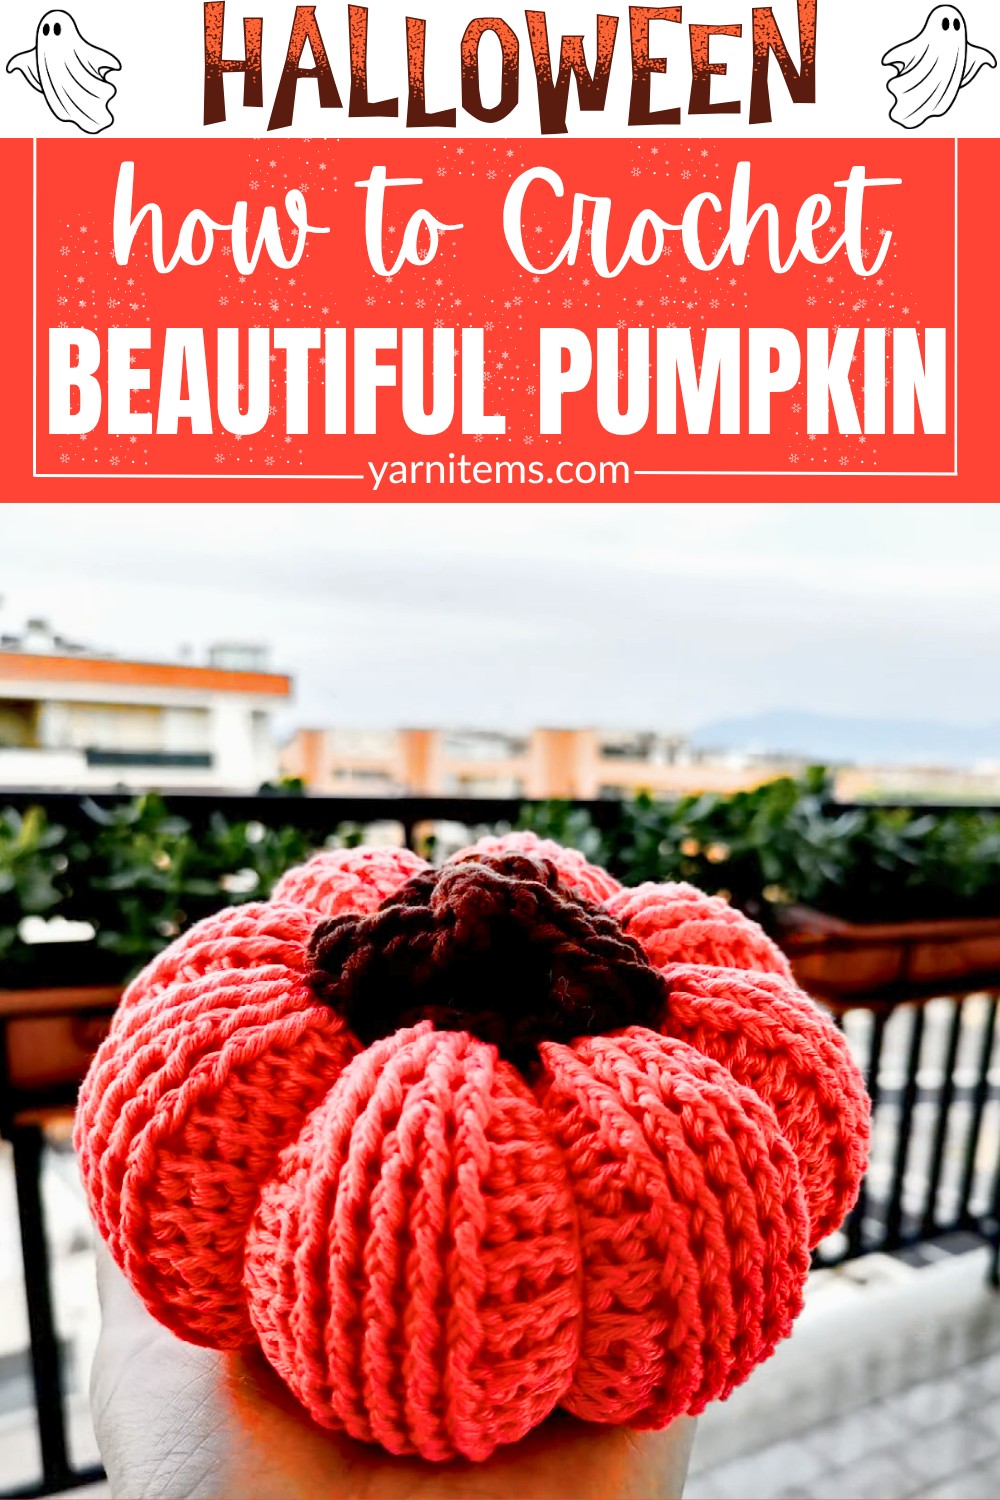
A beautifully textured crochet pumpkin can bring warmth and character to your décor long after the season has passed. This charming piece is worked in the round with raised post stitches that create deep ridges and a realistic pumpkin shape.
Soft stuffing gives it a plump finish, while the crocheted stem completes the classic look. Whether displayed on a shelf, table, or mantel, it adds a cozy handmade accent to any space.
Crochet Beautiful Pumpkins Pattern
Thoughtful details make this crochet piece enjoyable to personalize with different yarn weights, colors, and decorative touches. The guide below includes the materials, stitch abbreviations, shaping techniques, assembly instructions, and finishing steps needed to create crochet pumpkins in multiple sizes. From classic autumn shades to modern neutral palettes, you can easily match the finished piece to your decorating style. The result is a timeless handmade decoration that looks beautiful year after year.
Credit Let’s crochet
The Secret Supply List Pros Use
- Yarn:
- Soft Cotton Yarn or Wool Yarn (thick or thin per preference)
- Main Pumpkin Color: Orange, Mustard Yellow, or Pink
- Stem Color: Brown or Tan
- Crochet Hooks:
- Option A (Larger): ~2 mm yarn with a 3.5 mm crochet hook
- Option B (Smaller): ~1 mm yarn with a 2.5 mm crochet hook
- Other Tools:
- Fiber Fill (Polyester stuffing)
- Yarn/Tapestry Needle (long darning needle helpful for shaping)
- Stitch Markers
- Scissors
The Ultimate Pattern Guide
Construction
- Method: Worked in the round.
- Direction: Start from the bottom center and work upward.
Textured Ridges
- Technique: Created using alternating Front Post Double Crochet (FPdc) and Back Post Double Crochet (BPdc) stitches.
Lifting Chains
- At the start of every round, use a 2-chain lifting chain (ch 2) to match the height of double crochet rows.
Colors Demonstrated
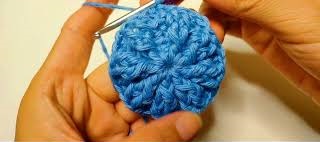
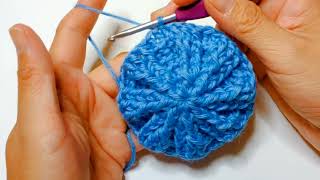
- Tutorial: Blue yarn is used for clarity in instructional steps.
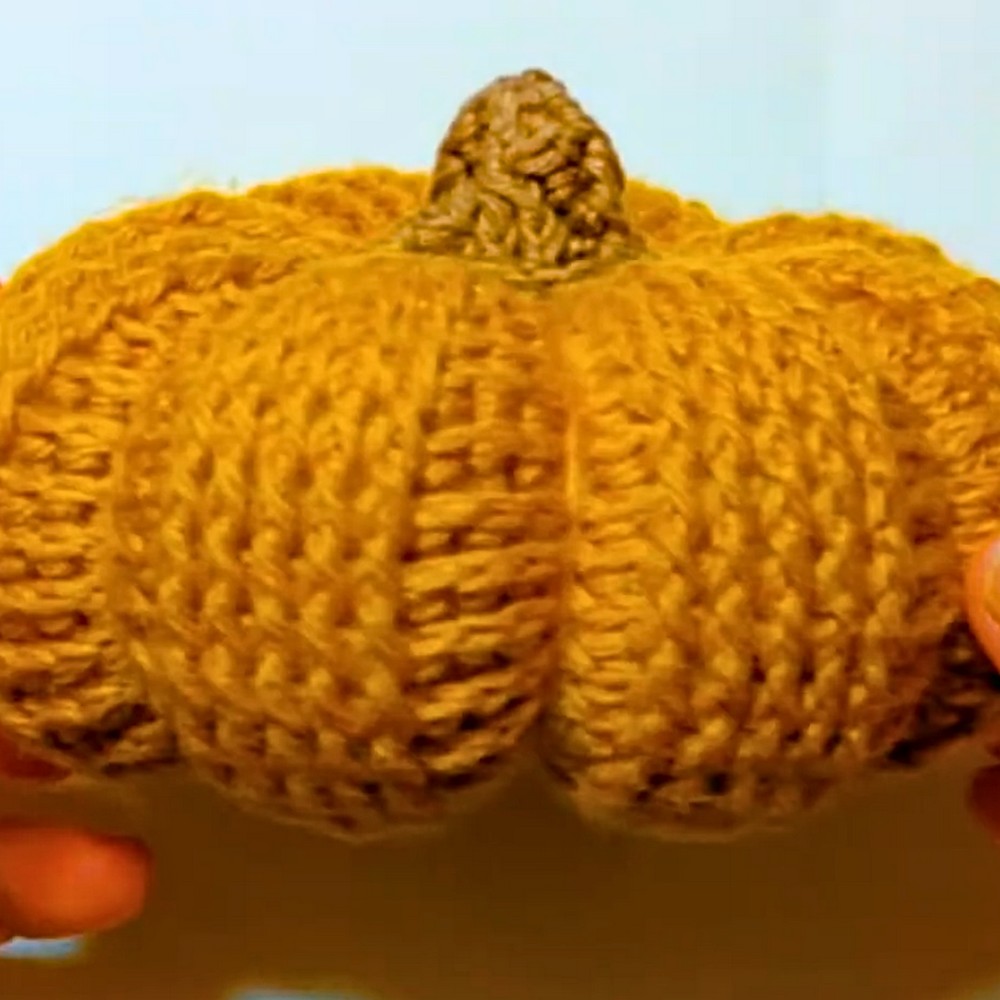
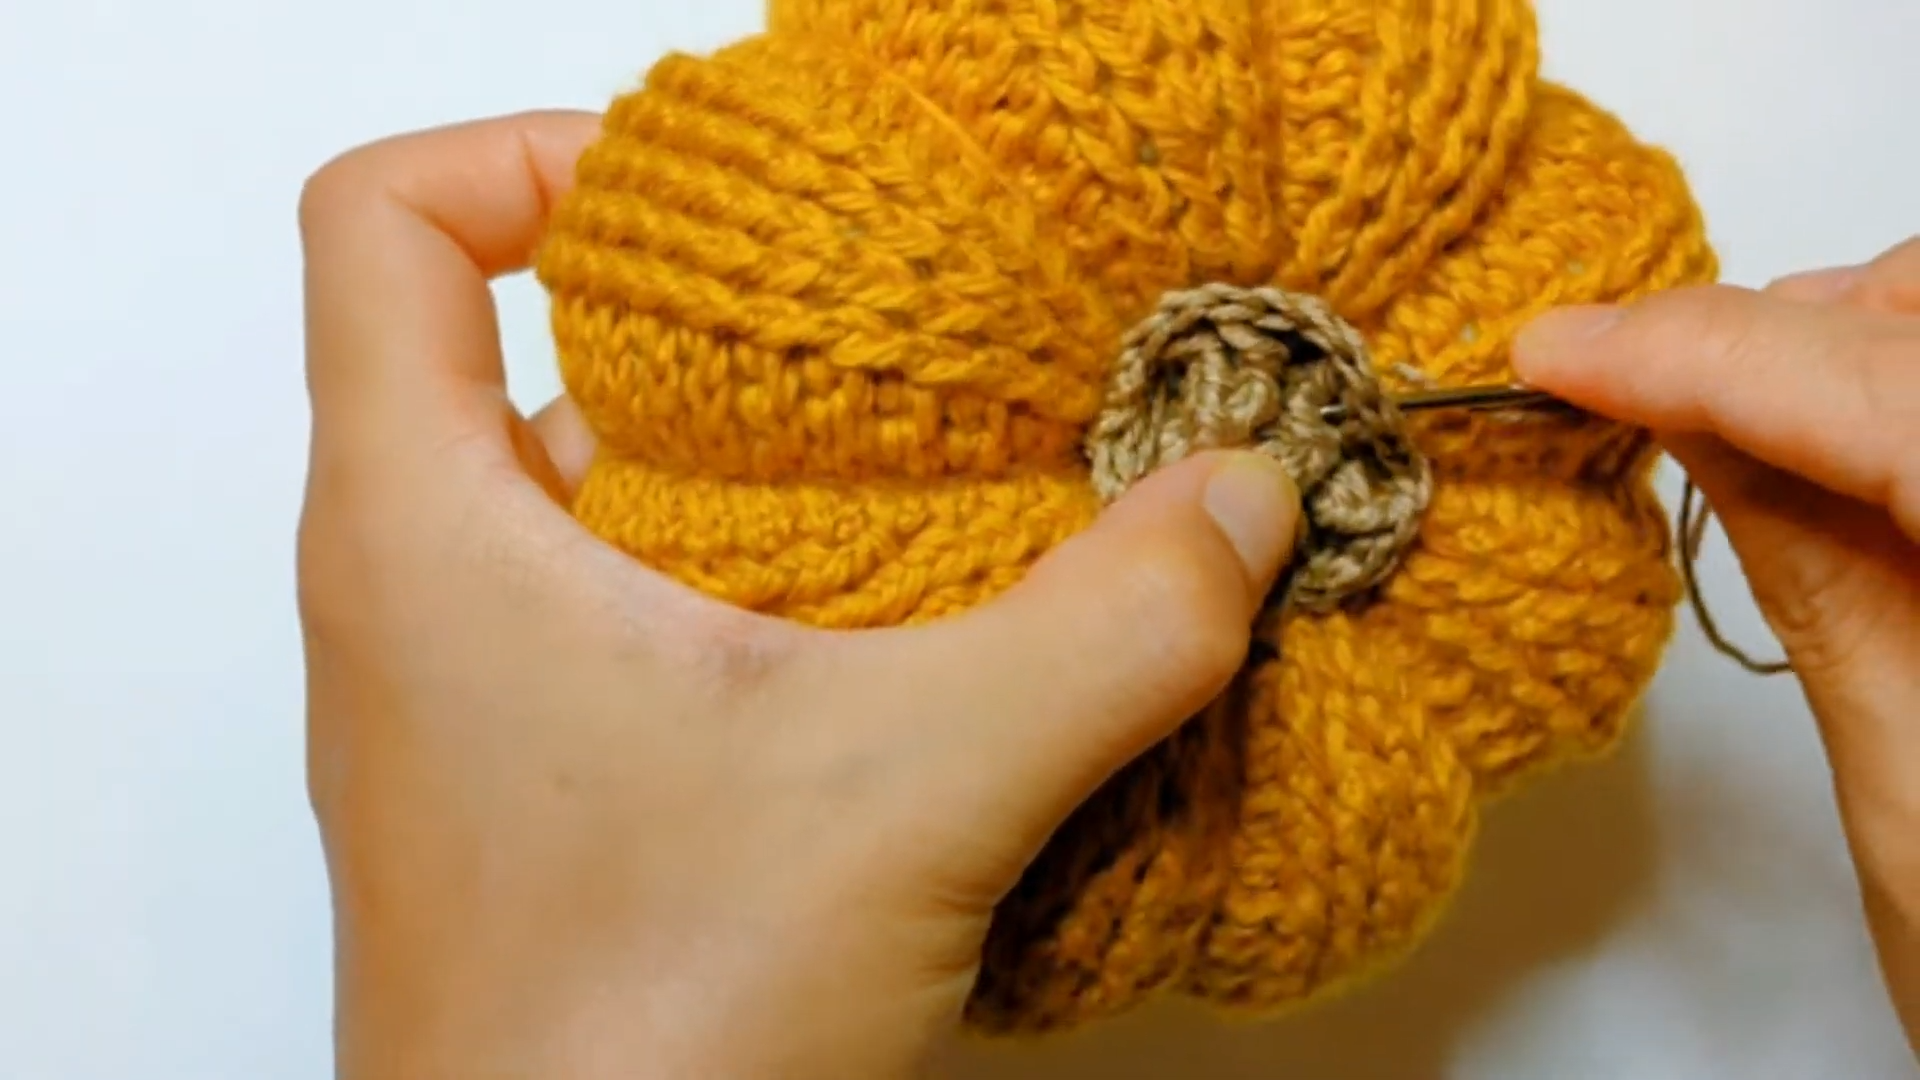
- Final Assembly: Showcased in mustard yellow.
The Perfect Finishing Formula Revealed
- Larger Pumpkin:
Use approximately 2 mm yarn paired with a 3.5 mm hook to achieve a bigger, fluffier pumpkin. - Mini Pumpkin:
Opt for approximately 1 mm yarn with a 2.5 mm hook for a smaller, detailed pumpkin.
Customization Made Easy with This Simple Key
- Play with Color Palettes:
- Classic: Bright orange and dark mustard.
- Modern Fall: Cream, pastel pink, or burnt orange.
- Neutral Elegance: Shades of taupe, grey, or even muted greens.
- Stem Alternatives:
- Swap out the crocheted stem for creative and textured options like:
- Cinnamon Sticks for a rustic, aromatic touch.
- Dried Wooden Stems for a natural, organic vibe.
- Faux Leather Tags for a chic, modern finish.
- Swap out the crocheted stem for creative and textured options like:
- Additional Embellishments:
- Add embroidered leaves or vines for extra detail.
- Use buttons or beads to decorate or anchor the bottom.
- Incorporate twine bows or lace accents.
- Textural Variations:
- Experiment with fluffy yarns for a cozy appearance.
- Introduce metallic threads or shimmer yarn for a festive or decorative pumpkin.
Don’t Get Confused by These Abbreviations
-
ch: chain
-
sl st: slip stitch
-
dc: double crochet
-
FPdc: Front Post double crochet
-
BPdc: Back Post double crochet
-
FPdc2inc: Front Post double crochet increase (2 FPdc around the same post)
-
BPdc2inc: Back Post double crochet increase (2 BPdc around the same post)
-
FPdc2tog: Front Post double crochet 2 together (Front post decrease)
-
BPdc2tog: Back Post double crochet 2 together (Back post decrease)
Color Palette Inspiration
- Classic Orange with a Brown Stem: Perfect for achieving a traditional autumn aesthetic.
- Mustard and Cream Shades: A warm and cozy option for fall décor.
- Soft Pink, Ivory, or Sage Green: Ideal for creating a chic modern farmhouse vibe.
- Neutral Gray or Taupe: Timeless palettes for versatile year-round decoration.
- Mixed Colors and Sizes: Combine various hues and dimensions to craft a unique decorative pumpkin collection.
Step-by-Step Pattern
Part 1: Main Pumpkin Body
Initial Increases (Rounds 1–9)
- Round 1: Magic ring, ch 2, work 16 dc into the ring. Join to the first stitch with sl st. (16 sts)
- Round 2: Ch 2. [1 BPdc, FPdc2inc] repeat 8 times. Join with sl st. (24 sts)
- Round 3: Ch 2. [BPdc2inc, 2 FPdc] repeat 8 times. Join with sl st. (32 sts)
- Round 4: Ch 2. [2 BPdc, 1 FPdc, FPdc2inc] repeat 8 times. Join with sl st. (40 sts)
- Round 5: Ch 2. [1 BPdc, BPdc2inc, 3 FPdc] repeat 8 times. Join with sl st. (48 sts)
- Round 6: Ch 2. [3 BPdc, 1 FPdc, FPdc2inc, 1 FPdc] repeat 8 times. Join with sl st. (56 sts)
- Round 7: Ch 2. [1 BPdc, BPdc2inc, 1 BPdc, 4 FPdc] repeat 8 times. Join with sl st. (64 sts)
- Round 8: Ch 2. [4 BPdc, 1 FPdc, FPdc2inc, 2 FPdc] repeat 8 times. Join with sl st. (72 sts)
- Round 9: Ch 2. [1 BPdc, BPdc2inc, 2 BPdc, 5 FPdc] repeat 8 times. Join with sl st. (80 sts)
Body Straight Rounds (Rounds 10–15)
- Rounds 10–15: Ch 2. [5 BPdc, 5 FPdc] repeat 8 times. Join each round with sl st. (80 sts per round)
Decreases (Rounds 16–23)
- Round 16: Ch 2. [1 BPdc, BPdc2tog, 2 BPdc, 5 FPdc] repeat 8 times. Join with sl st. (72 sts)
- Round 17: Ch 2. [4 BPdc, 1 FPdc, FPdc2tog, 2 FPdc] repeat 8 times. Join with sl st. (64 sts)
- Round 18: Ch 2. [1 BPdc, BPdc2tog, 1 BPdc, 4 FPdc] repeat 8 times. Join with sl st. (56 sts)
- Round 19: Ch 2. [3 BPdc, 1 FPdc, FPdc2tog, 1 FPdc] repeat 8 times. Join with sl st. (48 sts)
- Round 20: Ch 2. [1 BPdc, BPdc2tog, 3 FPdc] repeat 8 times. Join with sl st. (40 sts)
- Round 21: Ch 2. [2 BPdc, 1 FPdc, FPdc2tog] repeat 8 times. Join with sl st. (32 sts)
- Round 22: Ch 2. [BPdc2tog, 2 FPdc] repeat 8 times. Join with sl st. (24 sts)
Stuffing & Final Decrease
- Stuff the pumpkin firmly with fiber fill through the top opening.
- Round 23: Ch 2. [1 BPdc, FPdc2tog] repeat 8 times. Join with sl st. (16 sts)
Fasten off, leaving a long yarn tail (~20–30 inches) for shaping.
Part 2: Pumpkin Stem
- Round 1: Magic ring, ch 2, work 8 dc into the ring. Join with sl st. (8 sts)
- Round 2: Ch 2. [1 BPdc, 1 FPdc] repeat 4 times. Join with sl st. (8 sts)
- Round 3: Ch 2. [1 BPdc, FPdc2inc] repeat 4 times. Join with sl st. (12 sts)
- Round 4: Ch 2. [1 BPdc, 2 FPdc] repeat 4 times. Join with sl st. (12 sts)
- Round 5: Ch 2. [BPdc2inc, 1 FPdc, FPdc2inc] repeat 4 times. Join with sl st. (20 sts)
Fasten off, leaving a yarn tail for sewing the stem onto the pumpkin.
Assembly & Finishing Techniques
- Closing Top & Bottom Openings:
- Thread the long yarn tail into a tapestry needle.
- Weave through front loops of the final round around the top opening. Pull tight to close.
- Indenting & Creating Pumpkin Sections (Grooves):
- Pass needle straight down through the center (top to bottom).
- Wrap yarn around one post-stitch ridge and repeat to define ribs.
- Tie off with a knot at the center and hide ends inside.
- Attaching the Stem:
- Position the stem on the pumpkin and secure using whip stitches.
- Secure yarn tails and weave into the pumpkin body.
Shaping Tips
Follow these steps to shape your pumpkin perfectly:
- Stuff the Pumpkin Firmly
Fill the pumpkin with stuffing, ensuring it is firm but not overfilled. Overstuffing can distort the shape, so maintain a balance for a plump, rounded appearance. - Pull the Shaping Yarn Evenly
Wrap the yarn around the pumpkin and pull it evenly to create balanced grooves that mimic the natural segments of a pumpkin. Adjust the tightness gradually for symmetry. - Adjust Each Section
Use your fingers to smooth and refine each segment. Ensure that the grooves are well-defined and evenly spaced before moving on to the next step. - Tighten the Center Gradually
Gently pull the yarn at the center to tighten it, giving the pumpkin a more natural, realistic appearance. Avoid rushing this step to prevent uneven shaping. - Weave in the Yarn Ends
Secure all yarn ends by weaving them into the pumpkin. Make sure they are tucked away neatly and snugly for a polished, long-lasting finish.